• Regeln für den Video-Bereich:

    In den Börsenbereich gehören nur Angebote die bereits den Allgemeinen Regeln entsprechen.

    Einteilung

    - Folgende Formate gehören in die angegeben Bereiche:
    - Filme: Encodierte Filme von BluRay, DVD, R5, TV, Screener sowie Telesyncs im Format DivX, XviD und x264.
    - DVD: Filme im Format DVD5, DVD9 und HD2DVD.
    - HD: Encodierte Filme mit der Auflösung 720p oder darüber von BluRay, DVD, R5, TV, Screener sowie Telesyncs im Format x264.
    - 3D: Encodierte Filme von BluRay, die in einem 3D Format vorliegen. Dies gilt auch für Dokus, Animation usw.
    - Serien: Cartoon/Zeichentrick, Anime, Tutorials, Dokumentationen, Konzerte/Musik, Sonstiges sind demnach in die entsprechenden Bereiche einzuordnen, auch wenn sie beispielsweise im High Definition-Format oder als DVD5/DVD9/HD2DVD vorliegen. Ausnahme 3D.
    - Bereich Englisch: Englische Releases gehören immer in diesen Bereich.
    - Bereich Talk: Der Bereich, in dem über die Releases diskutiert werden kann, darf, soll und erwünscht ist.


    Angebot/Beitrag erstellen

    - Ein Beitrag darf erst dann erstellt werden, wenn der Upload bei mindestens einem OCH komplett ist. Platzhalter sind untersagt.
    - Bei einem Scenerelease hat der Threadtitel ausschließlich aus dem originalen, unveränderten Releasenamen zu bestehen. Es dürfen keine Veränderungen wie z.B. Sterne, kleine Buchstaben o.ä. vorgenommen werden. Ausnahme Serienbörse:
    - Bei einem Sammelthread für eine Staffel entfällt aus dem Releasename natürlich der Name der Folge. Beispiel: Die Simpsons S21 German DVDRip XviD - ITG
    - Dementsprechend sind also u.a. verboten: Erweiterungen wie "Tipp", "empfehlenswert", "only", "reup", usw. / jegliche andere Zusatzinformation oder Ergänzung, welche nicht in obiger Beschreibung zu finden ist.

    Aufbau des Angebots und Threadtitel

    Der Titel nach folgendem Muster erstellt zu werden. <Name> [3D] [Staffel] [German] <Jahr> <Tonspur> [DL] [Auflösung] <Quelle> <Codec> - <Group>
    Beispiel: The Dark Knight German 2008 AC3 DVDRip XviD - iND
    Beispiel: The Dark Knight 2008 DTS DL BDRip x264 - iND
    Beispiel: The Dark Knight 2008 AC3 DL BDRip XviD - iND
    Beispiel: The Dark Knight German 2008 AC3 720p BluRay x264 iND
    Beispiel: The Dark Knight 2008 DTS DL 1080p BluRay x264 iND
    Beispiel: Die Simpsons S01 German AC3 DVDRip XviD iND
    Beispiel: Die Simpsons S20 German AC3 720p BluRay x264 iND
    Beispiel: Sword Art Online II Ger Sub 2014 AAC 1080p WEBRip x264 - peppermint
    Entsprechend sind also u.a. verboten: Sonderzeichen wie Klammern, Sterne, Ausrufezeichen, Unterstriche, Anführungszeichen / Erweiterungen wie "Tipp", "empfehlenswert", "only", "reup", usw. / jegliche andere Zusatzinformation oder Ergänzung, welche nicht in obiger Beschreibung zu finden ist
    Ausnahmen hiervon können in den Bereichen geregelt sein.

    Die Beiträge sollen wie folgt aufgebaut werden:
    Überschrift entspricht dem Threadtitel
    Cover
    kurze Inhaltsbeschreibung
    Format, Größe, Dauer sind gut lesbar für Downloader außerhalb des Spoilers zu vermerken
    Nfo sind immer Anzugeben und selbige immer im Spoiler in Textform.
    Sind keine Nfo vorhanden z.B. Eigenpublikationen, sind im Spoiler folgende Dateiinformationen zusätzlich anzugeben :
    Quelle
    Video (Auflösung und Bitrate)
    Ton (Sprache, Format und Bitrate der einzelnen Spuren)
    Untertitel (sofern vorhanden)
    Hosterangabe in Textform außerhalb eines Spoiler mit allen enthaltenen Hostern.
    Bei SD kann auf diese zusätzlichen Dateiinformationen verzichtet werden.

    Alle benötigten Passwörter sind, sofern vorhanden, in Textform im Angebot anzugeben.
    Spoiler im Spoiler mit Kommentaren :"Schon Bedankt?" sind unerwünscht.


    Releases

    - Sind Retail-Release verfügbar, sind alle anderen Variationen untersagt. Ausnahmen: Alle deutschen Retail-Release sind CUT, in diesem Fall sind dubbed UNCUT-Release zulässig.
    - Im Serien-Bereich gilt speziell: Wenn ein Retail vor Abschluss einer laufenden Staffel erscheint, darf diese Staffel noch zu Ende gebracht werden.62
    - Gleiche Releases sind unbedingt zusammenzufassen. Das bedeutet, es ist zwingend erforderlich, vor dem Erstellen eines Themas per Suchfunktion zu überprüfen, ob bereits ein Beitrag mit demselben Release besteht. Ist dies der Fall, ist der bereits vorhandene Beitrag zu verwenden.
    - P2P und Scene Releases dürfen nicht verändert oder gar unter einem iND Tag eingestellt werden.


    Support, Diskussionen und Suche

    - Supportanfragen sind entweder per PN oder im Bereich Talk zu stellen.
    - Diskussionen und Bewertungen sind im Talk Bereich zu führen. Fragen an die Uploader haben ausschließlich via PN zu erfolgen, und sind in den Angeboten untersagt.
    - Anfragen zu Upload-Wünschen sind nur im Bereich Suche Video erlaubt. Antworten dürfen nur auf Angebote von MyBoerse.bz verlinkt werden.


    Verbote

    - Untersagt sind mehrere Formate in einem einzigen Angebotsthread, wie beispielsweise das gleichzeitige Anbieten von DivX/XviD, 720p und 1080p in einem Thread. Pro Format, Release und Auflösung ist ein eigener Thread zu eröffnen.
    - Grundsätzlich ebenso verboten sind Dupes. Uploader haben sich an geeigneter Stelle darüber zu informieren, ob es sich bei einem Release um ein Dupe handelt.
    - Gefakte, nur teilweise lauffähige oder unvollständige Angebote sind untersagt. Dies gilt auch für eigene Publikationen, die augenscheinlich nicht selbst von z.B. einer DVD gerippt wurden. Laufende Serien, bei denen noch nicht alle Folgen verfügbar sind, dürfen erstellt und regelmäßig geupdatet werden.
    - Untersagt sind Angebote, welche nur und ausschließlich in einer anderen Sprache als deutsch oder englisch vorliegen. Ausnahmen sind VORHER mit den Moderatoren zu klären.


    Verstoß gegen die Regeln

    - Angebote oder Beiträge, die gegen die Forenregeln verstoßen, sind über den "Melden"-Button im Beitrag zu melden.
  • Bitte registriere dich zunächst um Beiträge zu verfassen und externe Links aufzurufen.


Englische Tutorials

Elementor Pro Masterclass 2022

45048327f31kjivq.jpg


Elementor Pro Masterclass 2022 - Wordpress Web Development
Last updated 12/2022
MP4 | Video: h264, 1280x720 | Audio: AAC, 44.1 KHz
Language: English | Size: 7.41 GB | Duration: 11h 57m

Learn Rapid Web Design & Development in WordPress and start building custom websites like an Expert!


What you'll learn
You will learn all about Elementor Page builder
You will know how to make use of Basic and General widgets
All about Elementor Pro version
You will be able to make use of Elementor Pro widgets
You can build multiple kinds of Pop-ups along with their conditions, triggers and advance rules
You will be able to create different kinds of forms and error pages
You will be in a state to do Woocommerce Customizations using Elementor page builder
Requirements
Laptop/PC with normal Internet connection to watch and practice the course content
Description
Are you a WordPress developer or want to become one, There is this one skill set that is mandatory and you cannot skip it if you are serious about your growth as WordPress Developer/Expert? In this course, you will learn extremely In-demand skills to create beautiful professional, and fully functional WordPress websites using Elementor Pro Page Builder. wondering why page builder? then let me tell you why. Traditionally WordPress websites used to be created either using a ReadyMade theme or Creating a custom theme by coding, but the drawback with the ready-made theme is that we cannot have a custom feature/design when needed, and developing the same by coding will increase the resources like money and time required which clients usually don't support.So, to overcome these drawbacks of traditional WordPress development, we have something called Page builders where you get a drag-and-drop editor and can create pixel-perfect designs/features very quickly and deliver it to clients making us independent of a particular theme or coding skills. and out of all available page builders, Elementor Pro tops the chart as it's Robust and holds the capability to develop a full-fledged theme ( header footer builder, complex popup builder, form builder, Accept direct online payments, and many more functionalities... ).We will go from scratch and learn basics like design and customizing widgets and slowly will learn advanced concepts like theme builders, forms, popups, blogs, product pages, etc., So This course is going to be super exciting and extremely useful if you want to master Elementor Page Builder and elevate your career in WordPress Web Development.Once you complete this course you will learn everything you need to know about how to use Elementor Pro to create WordPress Websites at blazing-fast speed like an expert, You will know how to create custom complex designs, You will know how to create a global header footer for a websiteYou will know how to create complex popups and triggers and when to show/hideYou will be able to build complex contact forms or multistep forms with email functionalityYou will be able to create any kind of designsNot just design but you will learn how to use Elementor to create a professional blog and Functional E-commerce sites as well.Free Gifts worth $1000USD Coming to the Freebies, Everyone likes freebies. while learning WordPress or building Projects you will need some premium plugins along the way, but you need not worry as once you enroll we offer those plugins to you for free ( for educational purposes ). Additionally, you can avail of well-designed templates to speed up your work and customize them as per your requirements. Freebies include:Free Elementor Pro Plugin along with activationFree Woo-Commerce Premium PluginsFree CrocoBlock plugins &Complete Project files 10+ Standard Templates30 Days of Free hosting to go LiveWhat are you waiting for? Am really excited to see you inside the course, Enroll now, let's get started!!!
Overview
Section 1: Introduction
Lecture 1 Complete Introduction to the Course
Lecture 2 How to claim FREE Welcome Gifts of Worth $1000USD?
Lecture 3 How to take the course - Detailed Overview
Lecture 4 How to Get Technical Support 24/7
Section 2: Introduction to Elementor
Lecture 5 Install WordPress in your PC - Multiple Websites
Lecture 6 Installation of Elementor
Lecture 7 Over view of Elementor Editor
Section 3: Basic widgets in Elementor
Lecture 8 Elementor's Basic Elements with a Mini project
Section 4: General Widgets in Elementor
Lecture 9 Image Box in Elementor
Lecture 10 Icon Box in Elementor
Lecture 11 Star rating in elementor
Lecture 12 Image carousel in Elementor
Lecture 13 Image Gallery in Elementor
Lecture 14 Icon List in Elementor
Lecture 15 Counter in Elementor
Lecture 16 Progress Bars in Elementor
Lecture 17 Testimonials in Elementor
Lecture 18 Tabs in Elementor
Lecture 19 Accordians in Elementor
Lecture 20 Toggles in Elementor
Lecture 21 Social Icons in Elementor
Lecture 22 Alerts in Elementor
Lecture 23 Sound cloud in Elementor
Lecture 24 Short Code in Elementor
Lecture 25 Custom HTML in Elementor
Lecture 26 Menu Anchor in Elementor
Lecture 27 Side bar in Elementor
Section 5: Introducing Elementor Pro
Lecture 28 Install Elementor pro version
Lecture 29 How to use Elementor Template Library
Lecture 30 Creating Dynamic Headers and Footers
Lecture 31 Blog Archive and Single Post Development
Section 6: Elementor Pro Widgets
Lecture 32 Create Posts Using Elementor pro
Lecture 33 Portfolio Widget in Elementor Pro
Lecture 34 Gallery Widget in Elementor Pro
Lecture 35 Login Widget in Elementor Pro
Lecture 36 Navigation Menu in Elementor pro
Lecture 37 Animated Headlines in Elementor pro
Lecture 38 Pricing List in Elementor Pro
Lecture 39 Testimonials in Elementor pro
Lecture 40 Reviews Widget in Elementor pro
Lecture 41 Table of Contents in Elementor Pro
Lecture 42 Countdown Widget in Elementor Pro
Lecture 43 Share Button in Elementor pro
Lecture 44 Block Quotes in Elementor Pro
Lecture 45 Facebook Button in Elementor Pro
Lecture 46 Facebook Comments in Elementor Pro
Lecture 47 Facebook Embed in Elementor pro
Lecture 48 Facebook Page in Elementor Pro
Lecture 49 Template widget in Elementor Pro
Lecture 50 Lottie Animation in Elementor Pro
Lecture 51 Code Highlight in Elementor Pro
Section 7: Pop-ups With Elementor pro
Lecture 52 Introduction to Elementor Pop-ups
Lecture 53 Creating a Pop-Up
Lecture 54 Pop-up Conditions, Triggers and Advance Rules
Section 8: Extra Features with Elementor pro
Lecture 55 Contact Forms and Advnaced Multi-step Forms
Lecture 56 Error Page Design in Elementor
Lecture 57 Create Custom Search Results page
Section 9: Woocommerce Customization with Elementor Pro
Lecture 58 Introduction to Woocommerce Customizations with Elementor Pro
Lecture 59 Import Sample Products with Images
Lecture 60 Design a Custom Product Archive Page using Elementor
Lecture 61 Design a Single Product page Template
Students who have the knowledge of wordpress and would like to further increase their expertise,Web developers who want to learn how to use the Elementor page builder plugin,Any WordPress user who want flexible website design, and total control over the placement of design elements.,Wordpress developer looking to add rich features to their websites easily


elementorpromasterclaqrcch.jpg


The Complete Strapi Course - with plugins and deployment!

47108923be37c5ep5.jpg


The Complete Strapi Course - with plugins and deployment!
Last updated 12/2022
Created by Artcoded Academy
MP4 | Video: h264, 1280x720 | Audio: AAC, 44.1 KHz, 2 Ch
Genre: eLearning | Language: English + srt | Duration: 144 Lectures ( 15h 1m ) | Size: 6 GB


The only Strapi v4 course you'll ever need! From the basics to building a full app, a plugin and production deployment!


What you'll learn
Master the Strapi 4, the leading headless CMS, from the basics to advanced skills
Create a complete Strapi application, with custom features and a full plugin
Learn Strapi basics: content types, relations, components, dynamic zones, and more
Customize the Strapi REST API with custom routes, controllers, services, etc.
Customize the Strapi GraphQL API with custom operations
Interact with your app via Strapi's REST and GraphQL API
Learn Strapi plugins development by creating a full plugin (admin UI included)
Deploy Strapi with 2 different architectures and CI/CD pipeline
Requirements
Basic knowledge of Javascript is enough
For the Strapi Plugins section (only the admin UI part), a basic knowledge of React is useful
Description
The definitive course to learn Strapi™ v4 from the basics to advanced usage!WhyStrapi and why this course?This course is perfect for anyone that wants to add Strapi to their developer toolbox, being it the most popular headless CMS in the market (and still growing!), which combines top-level out-of-the-box features with strong flexibility and extensibility.Build and deploy a complete Strapi app, plus a complete plugin!In this course I will drive you from the very basic concepts to building, customizing and deploying a complete Strapi application.The application we'll be creating includes features built by extending the Strapi core via custom logic (routes, controllers, GraphQLresolvers, etc.). Furthermore, in this course you'll be developing a complete plugin (admin + server code), that is ready to be published on the Strapi Market (and in fact you will find it there now!).Let me say that the Strapi Plugin section is a course in the course, and it will give you the skills to propose Strapi plugins to customers, both through the newborn Strapi market (that has high growth potential) and directly.Course topics listHere are the main topics you will be learning:Working with content: content types, fields, relations, components, dynamic zones Authorization &authentication systemWorking with the RESTAPIWorking with the GraphQLAPIExtending Strapi core:custom routes, controllers, services, policies, middlewareExtending the GraphQLpluginCustomizing the Admin PanelCreating a complete plugin (server and admin included), ready for the Strapi marketplaceDeploying Strapi in productionWhat you'll be able to do afterwardsBy the end of this course, you will feel empowered as you'll master a framework that dramatically speeds up time to market in developing production-ready backend applications, while not sacrificing extensibility to adapt it to endless use cases and business requirements!DisclaimerThe Strapi™ name and logo are property of Strapi Solutions SAS and are shown, as well as parts of the Strapi application, for educational purposes.This course is published independently, with no affiliation with Strapi Solutions SAS.
Who this course is for
Whoever aims at fully mastering the n. 1 headless CMS in the market
Front-end developers who see in Strapi the best way to embrace full-stack development
Back-end engineers who see in Strapi the most efficient and flexible development framework


thecompletestrapicourrnfa5.jpg


Build 25 Real World Machine Learning Project In 2022

wupqb0jewmouw7kcdgphi34cq1.jpg


Build 25 Real World Machine Learning Project In 2022
Updated 07/2022
Genre: eLearning | MP4 | Video: h264, 1280x720 | Audio: AAC, 48.0 KHz
Language: English | Size: 10.1 GB | Duration: 147 lectures • 18h 51m

Learn To Build Machine Learning Project Practically From Scratch


What you'll learn
Understanding how to create machine learning projects
Learn to create machine learning models
Learn to build various ML methods
Create Exploratory Data Analysis


Requirements
basic knowledge of machine learning

Description
Studying Machine Learning opens a world of opportunities to develop cutting edge applications in various areas, such as cybersecurity, image recognition, medicine, and face recognition.

Machine Learning is no longer just a niche subfield of computer science but technology giants have been using it for years - Machine learning algorithms power Walmart product recommendations, surge pricing at Uber, fraud detection at top financial institutions, content that Twitter, LinkedIn, Facebook and Instagram display on social media feeds or Google Maps. Machine learning products are being used daily, perhaps without realizing it. The future of machine learning is already here, it's just that machine learning career is exploding now because of smart algorithms being used everywhere from email to mobile apps to marketing campaigns. If you are in search of the most in-demand and most-exciting career domains, gearing up yourself with machine learning skills is a good move now.

With several machine learning companies on the verge of hiring skilled ML engineers, it is becoming the brain behind business intelligence. Netflix announced prize worth $1 million to the first individual who could enhance the accuracy of its recommendation ML algorithm by 10%. This is a clear evidence on how significant even a slight enhancement is in the accuracy of recommendation machine learning algorithms to improve the profitability of Netflix. Every customer- centric organization is looking to adopt machine learning technology and is the next big thing paving opportunities for IT professionals. Machine learning algorithms have become the darlings of business and consumers so if you want to put yourselves somewhere in the upper echelon of software engineers then this is the best time to learn ML.

Who this course is for
Beginners in machine learning

Homepage


build25realworldmachi5wf6t.jpg


The Complete MERN Stack Developer Course 2020

y0nu24pdcibs8mkhln18mgzcfx.jpg


The Complete Mern Stack Developer Course 2020
Last updated 9/2020
MP4 | Video: h264, 1280x720 | Audio: AAC, 44.1 KHz
Language: English | Size: 6.43 GB | Duration: 13h 3m

Learn how to create Full Stack Web applications using React as Front-End , Node+Express as Backend and Mongo as Database


What you'll learn
Build a full stack Web Apps with React ,Node, Express & MongoDB
Learn Node JS API (Backend) Development
Node JS Runtime Environment
Express JS and Express Routing
Mongo DB and its Operations
Connecting Node JS with Mongo DB
React Introduction
Developing Single Applications With React
Learn to Write Functional Components with React Hooks

Requirements
Javascript Basics

Description
MERN is a free and open-source JavaScript software stack for building dynamic web sites and web applications. Because all components of the MERN stack support programs that are written in JavaScript, MERN applications can be written in one language for both server-side and client-side execution environmentsIn This Course You Will LearnWhat is MERN StackAdvantages Of Mern StackNode JsImplementing Routes in Node JSRendering HTML Files in Node JsExpress JSExpress RoutingNPM Node Package ManagerMongo DBMongoDB Commands Like Create, Read, Update, DeleteConnecting Node JS With Mongo DBHow To Create a new React ApplicationComponents and Different types of ComponentsComponents Structure and Life CycleHow to handle events in ReactApplying styles to React JS ComponentsReact HooksForms and Form SubmissionsRouting in ReactControlling one component from another Component with the help of Context-APIConnecting React Applications to Back-End and build complete full-stack Applications
Overview
Section 1: Introduction
Lecture 1 What is MERN Stack
Lecture 2 Course Structure
Lecture 3 Node Installation
Lecture 4 Join The Community
Section 2: ES6 Brush Up
Lecture 5 Let Keyword
Lecture 6 Const Keyword
Lecture 7 Arrow Functions
Lecture 8 For Of loop
Lecture 9 Template Literals
Lecture 10 Spread Operator
Section 3: React - Intro
Lecture 11 What is React
Lecture 12 What is Component
Lecture 13 JSX Overview
Section 4: First React App
Lecture 14 Helloworld App in React
Lecture 15 Project Structure of React-App
Lecture 16 Debuggung React App
Section 5: Components
Lecture 17 Components Introduction
Lecture 18 Class Components
Lecture 19 Functional Components
Lecture 20 Parent , Child Components
Lecture 21 What is state
Lecture 22 setState Method
Lecture 23 Props in Class Components
Lecture 24 Props in Functional Components
Section 6: Event Handling In React
Lecture 25 Event Handling in Class Components
Lecture 26 Event Handling in Functional Components
Section 7: CSS in React
Lecture 27 Inline CSS
Lecture 28 Local CSS
Lecture 29 Manipulating CSS using Events
Section 8: Project - Counter App
Lecture 30 Counter Application
Section 9: LifeCycle
Lecture 31 Class Component Life Cycle Methods
Section 10: React Hooks
Lecture 32 What is a React Hook
Lecture 33 useState Hook
Lecture 34 useEffect Hook
Lecture 35 Manipulating CSS using Hooks
Section 11: React Forms with Hooks
Lecture 36 Forms Introduction
Lecture 37 Forms Submission
Section 12: Project - User Authentication
Lecture 38 Authentication - Part1
Lecture 39 Authentication - Part2
Lecture 40 Authentication - Part3
Section 13: Project - TODO List
Lecture 41 Todo List Part-1
Lecture 42 Todo List Part-2
Section 14: React Router
Lecture 43 Routing Part-1
Lecture 44 Routing Part-2
Section 15: Maps in React
Lecture 45 Maps Introduction
Lecture 46 Maps Part-2
Lecture 47 Maps Part-3
Lecture 48 Conditional Rendering in React
Section 16: HTTP Methods
Lecture 49 Fetch Method
Lecture 50 Axios Method
Lecture 51 Return HTML Content using HTTP Methods
Section 17: Project - HOTEL App
Lecture 52 Hotel App - Part1
Lecture 53 Hotel App - Part2
Section 18: Node JS
Lecture 54 Hello World in Node JS
Lecture 55 Hello World On Screen
Lecture 56 Creating Multiple Routes
Section 19: Node JS Modules
Lecture 57 What is Node JS Module
Lecture 58 Local Modules
Lecture 59 NPM
Lecture 60 Installing first NPM Module - Nodemon
Section 20: Express Framework
Lecture 61 What is Express Framework
Lecture 62 HelloWorld in Express Framework
Section 21: Creating Rest API
Lecture 63 Postman - GET Method
Lecture 64 Postman - POST Method
Section 22: Express Router
Lecture 65 Express Router
Section 23: Mongo DB
Lecture 66 What is Mongo DB
Lecture 67 Installing Mongo DB
Lecture 68 Mongo DB Insert
Lecture 69 Mongo DB Update and Delete
Section 24: Mongo DB with Node Js
Lecture 70 Connecting Node JS with Mongo DB
Lecture 71 Node-Mongo Create , Read Operations
Lecture 72 Node-Mongo Delete and Update Operations
Section 25: MERN Helloworld
Lecture 73 Connecting React and Node
Lecture 74 Helloworld in MERN
Section 26: MERN Authentication
Lecture 75 Creating Front-End
Lecture 76 Applying Styles
Lecture 77 User Registration
Lecture 78 User Login
Lecture 79 Getting Users List
MERN Stack,React,Node,Mongo DB,Express,Javascript


thecompletemernstackdlrff6.jpg


Learn how to build a Backend REST API with Node JS

4774978448e08fzx.jpg


Learn how to build a Backend REST API with Node JS
Last updated 10/2022
Created by Pierre-Henry Soria MP4 | Video: h264, 1280x720 | Audio: AAC, 44.1 KHz, 2 Ch
Genre: eLearning | Language: English + srt | Duration: 44 lectures (11h 44m) | Size: 6.83 GB


Build a backend NodeJS API with a React client


What you'll learn
Being able to quickly build a backend API for any kinds of projects
Software Architecture: Learn the n-tier and layered architecture pattern
Build a client React application and being able to plug it to an API
Clean code and good practices in NodeJS and RESTful API architecture
Learning how to create API endpoints, testing an API and secure an API
Calling an API from a client and how to deal with CORS
Axios library and Fetch Native JS API
React Bootstrap v5
Implementing unit tests to our API with AVA test runner
Requirements
Basic knowledge of programming (using a code editor, installing Web extensions, ...)
Basic knowledge in CSS and JavaScript
Have an IDE (WebStorm, IntelliJ, Visual Studio Code, ...)
Description
Quickly learn the fundamental of building a robust RESTFul API with NodeJS based on an efficient professional architecture pattern, and then, see how to plug your API with a client which you will also learn how to build. A client built with the latest React and Bootstrap versions.
You will learn how to build a backend API from scratch and build a client that will speak to your API through HTTP protocol.
Communicate with your backend. HTTP and HTTP methods and codes.
How to validate the input data validation.
How to request some API endpoints easily
How to test your API gradually.
How to design a flexible and solid API architecture.
How to secure your API.
CORS on your API.
Building a client from scratch with React
Calling the CRUD (Create-Read-Update-Delete) endpoints from your client.
And so much more will be covered in this course.
This JavaScript course will also cover some great packages that will change your life during the development of an API efficiently.
You will learn to create very easily a design in a matter of minutes, without any complicated CSS (just a few reusable components).
You will learn how to embrace the power of "styled-components".
You will be able to add as many pages as needed in your React application thanks to React Router Dom.
At the end of this course, you will be comfortable enough to create an API from scratch by yourself, implement new endpoints, being comfortable with many packages (such as logging, rate-limiter, Yup schema validation, ...).
And icing on the cake, you will be able to create a client frontend from scratch and use those endpoints to interact with the backend on your frontend JavaScript application.
At the end of the course, you will even learn how you can create different unit tests for your API.
Who this course is for
Beginners and intermediate developers
Anyone looking to gain more professional knowledge in JavaScript and NodeJS/React
Anyone interested in building a clean RESTFul backend API in NodeJS
Anyone interested in building a modern frontend React JS client


learnhowtobuildabackeppe17.jpg


Blazor Bootcamp - .NET 6 E-Commerce Web App(WASM and Server)

2817271c57827rigz.jpg


Blazor Bootcamp - .NET 6 E-Commerce Web App(WASM and Server)
Last Updated 07/2022
MP4 | Video: h264, 1280x720 | Audio: AAC, 44.1 KHz, 2 Ch
Genre: eLearning | Language: English + srt | Duration: 216 lectures (15h 36m) | Size: 5.23 GB


Learn to build e-commerce web application using Blazor Server, Blazor WASM and .NET 6(EF Core) API and deploy to azure


What you'll learn
Learn fundamentals of Blazor
Forms in Blazor with Validation
Build real world e-commerce application using Blazor Web Assembly and Blazor Server
Manage admin features using Blazor Server
Build .NET 6 API from scratch
Consume .NET 6 API using Blazor WASM
Authentication & Authorization in Blazor Server and WASM
Emails with Blazor
Integrate Stripe Payments in Blazor WASM
Repository Pattern and Dependency Injection
Deploying .NET API, Blazor WASM & Server to Azure
Syncfusion and Radzen Blazor Components
Blazored Local Storage
And much more!
Requirements
3-6 months familiarity with .NET Core / EF Core / .NET API
Visual Studio 2022
SQL Server Management Studio
.NET 6
Description
For years JavaScript frameworks have dominated the front end/client side development! But things are about to change with Blazor!
Blazor is an exciting new part of .NET Core (.NET 6) designed for building rich web user interfaces in C#. This course will help developers transition from building basic sample apps to implementing more real world concepts, design patterns, and features.
With that there are many questions.
What is Blazor? How do I get started with fundamentals of Blazor?
How do you scale an existing application?
How do you architect a mid-large scale project?
How to correctly process payments?
How to efficiently understand Blazor and use it in real world projects?
This course will provide you a complete real world scenario with Blazor which will make you face many challenges and solve those issues as we proceed with the course.
There are other courses on Udemy, but this is the ultimate course, it covers everything there is to Blazor from Blazor Server to Blazor WASM applications which consumes .NET 6 API.
This course will help developers transition from building basic sample apps to implementing more real world concepts, design patterns, and features.
So join me in this exciting course of exploring what real world challenges are with Blazor as it evolves drastically!
We will be using the latest .NET 6 for this course along with Entity Framework Core and Stripe for payment processing.
Who this course is for
Anyone who wants to learn fundamentals of Blazor using .NET 6
Anyone who wants to understand new file structure in Blazor WASM and Server Application
Build e-commerce website using Blazor WASM and Server in .NET 6!


blazorbootcamp.net6eceffj4.jpg


Java Native Compiler in depth

46561925d929hc54.jpg


Java Native Compiler in depth
Published 08/2022
MP4 | Video: h264, 1280x720 | Audio: AAC, 44.1 KHz, 2 Ch
Genre: eLearning | Language: English + srt | Duration: 43 lectures (16h 11m) | Size: 7.94 GB


Compile Your Java Application to Native Executable Binary


What you'll learn
Compile Java Application into Native Executable Binary
How Java Virtual Machine Executes an Application
How to Develop a Command-Line Application
Details of JVM Internals such as ClassPath
Requirements
Basic understanding of Java
Basic understanding of terminal and command-line
Basic understanding of C++
Description
Learn how to use GraalVM native-image tool to compile your Java application to a native executable binary. This allows you to get runtime speeds as fast as C++ applications! This course also teaches you in-depth knowledge of JDK tools and the required knowledge of command-line for running java applications.
- Section 1: Fundamentals of Java Applications
This section teaches you the fundamental concepts such as launching an application in terminal and environment variables such as "PATH" and "CLASSPATH" and how to access them inside a Java application. It also teaches you the meaning of command-line arguments and how to use them in an application.
- Section 2: Default Compiler Tool Chain
This section walks you through the installation process of the default compiler toolchain for each operating system. macOS uses Apple Clang (Xcode), whereas Linux uses the open-source GCC and Windows uses MSVC. You will learn how to ensure the correct installation and configuration of these toolchains.
- Section 3: Introduction to GraalVM Native-Image
This section provides the introduction to GraalVM and native-image. You will learn how to download and install GraalVM and how to run the native-image tool. It walks you through all the steps for writing a simple "HelloWorld" java application and compiling it to a native executable binary.
- Section 4: Compiling Java Applications with Native-Image
This section is the more serious introduction to the native-image tool from GraalVM. You will learn about the outputs that native-image provides while compiling your java application. You will also learn how to provide build configuration by passing various flags to the native-image on the command-line. The important concept of pipelining and redirection of commands on the terminal is also discussed in this section.
- Section 5: Eclipse IDE's External Tool
This section provides an in-depth introduction to Eclipse's IDE external tool. It is highly recommended to use Eclipse IDE in conjunction with the native-image tool to seamlessly compile your java applications to the native executable binary. It also shows you how to handle jar dependencies of your java application when using Maven build tool.
- Section 6: Native-Image Options
This section describes the most important flags that you can set when running native-image from the terminal. It also introduces how to handle dynamic features of java such as Reflections, Dynamic class loading, JNI, by invoking the tracing agent that is embedded in the GraalVM's JVM. Once the configuration files are created, you'll learn how to pass them to the native-image compiler so that the final executable binary can be run successfully.
- Section 7: Parsing Command-Line Arguments
This interesting section describes the use of a java library called "JCommander" that provides an easy-to-use API for parsing command-line arguments of a java application and creating objects or setting the state of objects. You will learn how to instruct native-image to work with JCommander so that the final executable binary also benefits from easily parsing command-line arguments.
- Section 8: Native-Image Official Documentation
This section provides the link to the online documentation of the native-image tool.
- Section 9: Resources (PowerPoint, source codes, .)
You will find the complete set of PowerPoint slides of the course in this section.
Who this course is for
Java Developers
Java Enthusiasts


javanativecompilerindpme13.jpg


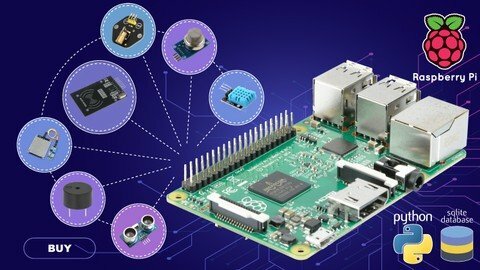
Raspberry Pi: Start Coding With 18 Sensors, 8 Projects!

ksqtkti7hokwkebinukrq4pdwv.jpg


Raspberry Pi: Start Coding With 18 Sensors, 8 Projects!
Last updated 5/2020
MP4 | Video: h264, 1280x720 | Audio: AAC, 44.1 KHz
Language: English | Size: 5.91 GB | Duration: 11h 11m

Python Coding with Raspberry Pi, Working with Database, Working with Sensors With So Many Examples, Use Multiple Sensors


What you'll learn
Project Development from scratch with Raspberry
Working with 18 Separate Sensors and Using Sensor Logic Advanced
Coding with Python
Working with Database from A to Z
Using Breadboard from Scratch
Working In Terminal
Advanced Projects for Students
GPIO Library Usage
General Software and Hardware Tools and Resources Related to Raspberry Pi
Storing Error Logs in a File

Requirements
You need a computer and a Raspberry Pi.
You need to know how to use computers as beginner and have a learning discipline

Description
We have created a Whatsapp Group so that our students and instructors can interact faster and generate new ideas. You can send a message to +905494842486 to participate.In our course you will learn the basics of Raspberry Pi with Python from scratch, SQL database queries, and design and code Advanced projects with Raspberry Pi. Linux and Terminal usage, detailed sample coding with Python,With Raspberry Pi, you'll gain the ability to work with 18 different sensors and use them together. You can integrate all the work you have done during the training into your projects. You can download resources and use them on your Raspberry.Be the Master the use of cross sensors with 8 different advanced projects.If you have no idea about Raspberry Pi and Python, this course is just for you!You will learn in detail with 2 teachers who are experts and you will enjoy the lessons.You will get quick answers and detailed solutions.
Overview
Section 1: What is Raspberry Pi?
Lecture 1 About Raspberry Pi
Lecture 2 Rasbian Installation
Lecture 3 Raspbian Configuration
Lecture 4 Sensors of Raspberry Pi
Section 2: Connect Remotely To Raspberry Pi
Lecture 5 SSH and VNC Activation and Connection
Section 3: Breadboard and GPIO Usage
Lecture 6 Breadboard Usage
Lecture 7 Raspberry Pi GPIO Heading and Numbering System
Lecture 8 Calculation with resistance color codes
Lecture 9 Terminal usage and commands
Lecture 10 Section 3 - Assignment
Lecture 11 Section 3 - Assignment Answers
Section 4: Coding with Python
Lecture 12 Variables
Lecture 13 Python and Raspberry Pi with a Simple Program
Lecture 14 Some Local Python Functions
Lecture 15 Mathematical Operations and Operators
Lecture 16 Conditional Statements
Lecture 17 Coding With Python - Assignment 1
Lecture 18 Coding With Python - Assignment 1 Answers
Lecture 19 Loops
Lecture 20 Lists
Lecture 21 Dictionaries
Lecture 22 Functions
Lecture 23 Working with different files
Lecture 24 Catching Error
Lecture 25 Working with Python in GPIO
Lecture 26 Coding With Python - Assignment 2
Lecture 27 Coding With Python - Assignment 2 Answers
Section 5: Working with Database
Lecture 28 What is Database?
Lecture 29 Getting to know database systems
Lecture 30 Installation of Sqlite and working with sample database
Lecture 31 Working with Select,Where statement and sorting
Lecture 32 Working with Insert
Lecture 33 Working with Update
Lecture 34 Working with Delete
Lecture 35 Let's create our own database
Lecture 36 Making a Database Connection with Python
Lecture 37 Python database queries
Lecture 38 SQL - Assignment
Lecture 39 SQL - Assignment Answers
Section 6: Using Sensors with Raspberry
Lecture 40 Working With Push Button
Lecture 41 Temperature and Humidty Sensor
Lecture 42 Infrared Human Body Induction Sensor
Lecture 43 Rain Sensor
Lecture 44 Sound Sensor
Lecture 45 Ultrasonic Distance Sensor
Lecture 46 Flame Sensor
Lecture 47 Laser Head Sensor
Lecture 48 Obstacle Avoidance Sensor
Lecture 49 Vibration Sensor
Lecture 50 Photosensitive Resistance Sensor
Lecture 51 Tilt Sensor
Lecture 52 RFID Module
Lecture 53 Hall Effect Sensor
Lecture 54 Tracking Sensor
Lecture 55 Buzzer Usage
Lecture 56 Gas Sensor
Lecture 57 Display Panel
Section 7: Project Development with Raspberry
Lecture 58 Number Prediction Game (Led Lighting by Answer)
Lecture 59 Quiz (Led Lighting and Buzzer Use According to Answer)
Lecture 60 Ringing and Sending Mail with Motion Detection Sensor
Lecture 61 Using Buzzer and Led with Flame Sensor
Lecture 62 Led Lighting and work with buzzer with vibraiton sensor
Lecture 63 Use of temperature humidity sensor with Display Panel
Lecture 64 Working on the Display Panel with Distance Sensor
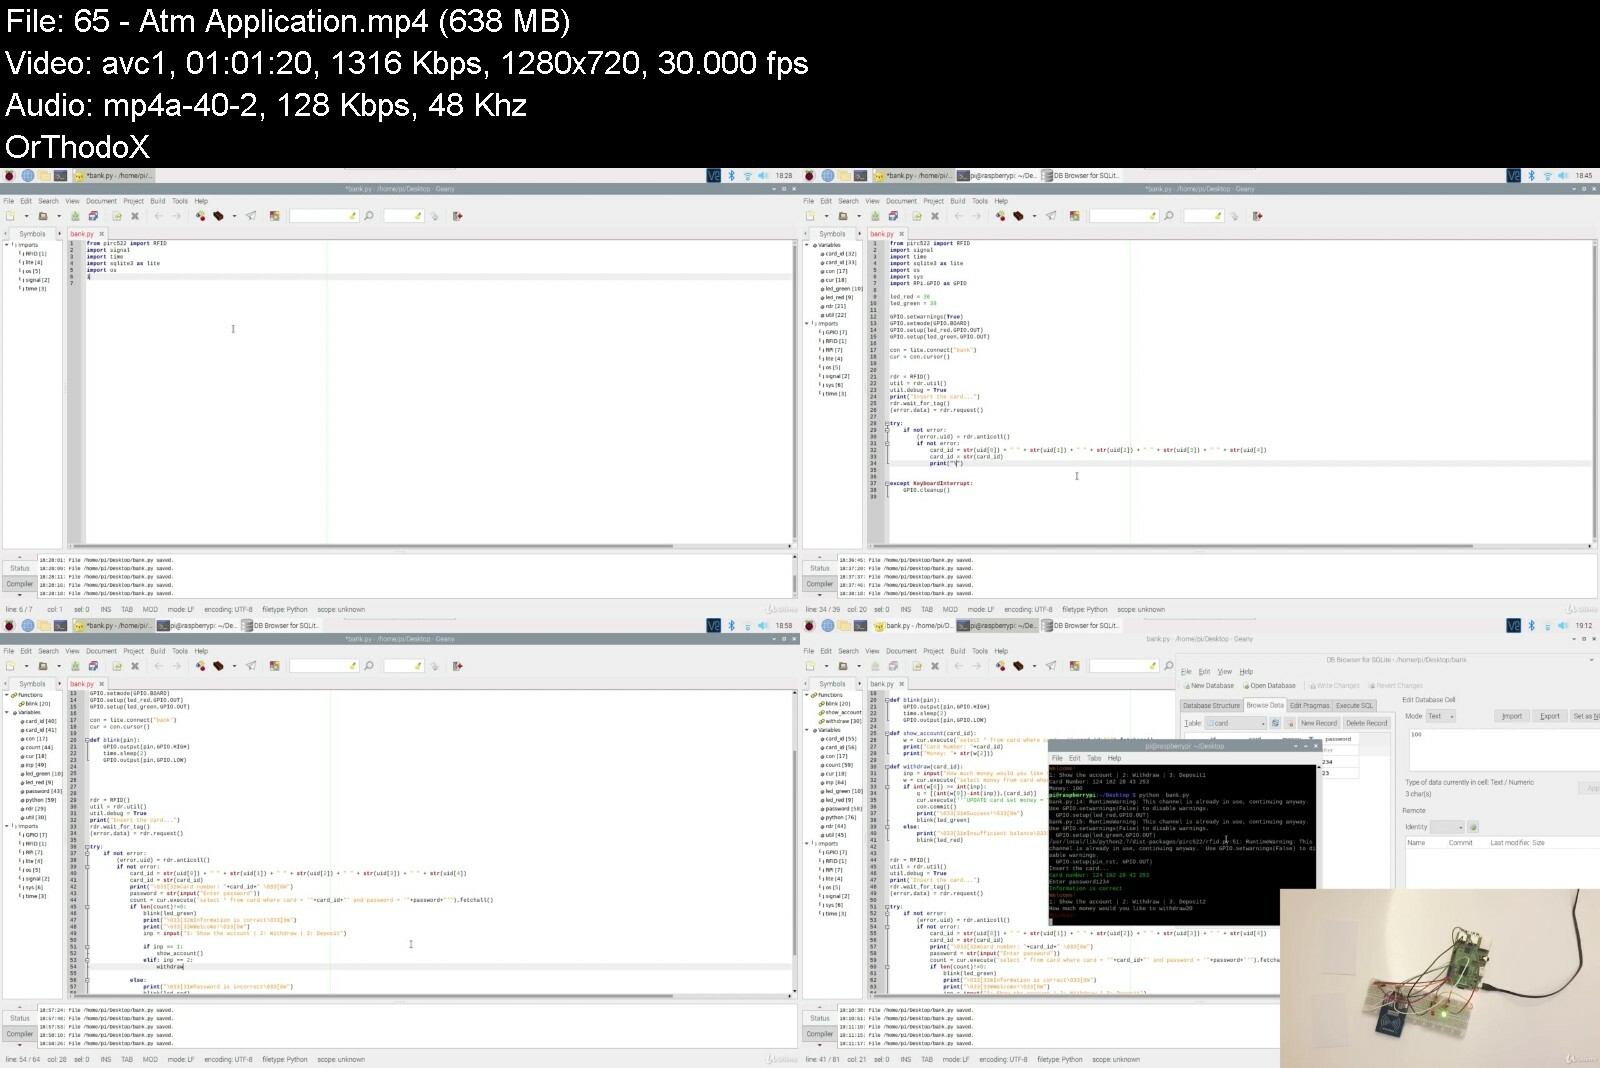
Lecture 65 Atm Application
Lecture 66 Project Development With Raspberry - Assignment
Lecture 67 Project Development With Raspberry - Assignment Answers
Anyone interested in programming,Anyone with Interests IOT,All producers who wants to develop projects or products for institutions and competitions.,Anyone who wants to learn Python,Anyone Wishing to Use Raspberry Effectively


raspberrypistartcodin6tej5.jpg


MERN Stack Music Player App 2022

rwtwille79jbpxcdp5sgyzae14.jpg


Mern Stack Music Player App 2022
Last updated 7/2022
MP4 | Video: h264, 1280x720 | Audio: AAC, 44.1 KHz
Language: English | Size: 5.12 GB | Duration: 9h 9m

Build a fullstack dynamic music/audio player using React , Redux , Node , Mongo , Multer , Cloudinary


What you'll learn
Building Real Time Project From Scratch
Building our custom audio player which will have all the controls like play , pause , next song , previous song , shuffle songs , forward song , volume controls
Handling file uploads with Multer and Cloudinary
Working with Tailwind CSS
Building everything from scratch by avoiding external libraries
We will also work on playlists concept , Creating playlist , add songs to playlist , removing songs from playlist etc.
Working with admin panel where the admin can control the entire application.
Adding song , uploading files , edit song etc.
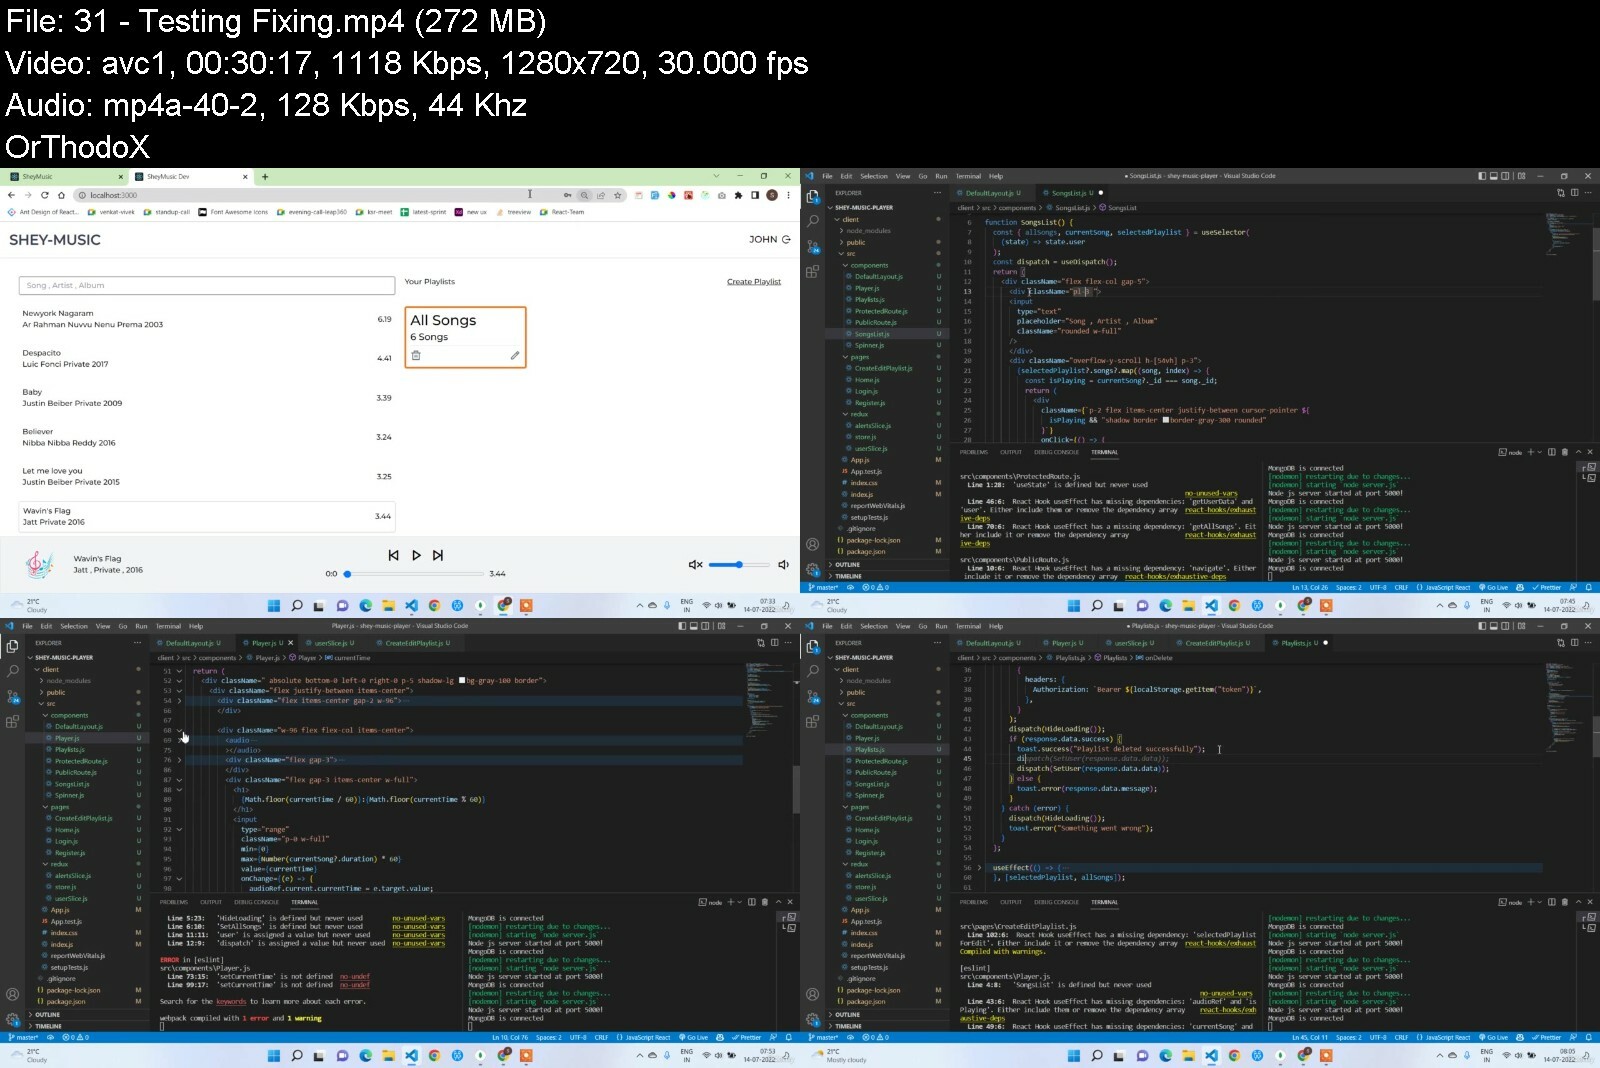
Two rounds of unit testing , Fixing issues after unit testing
By the end of this course you can able to build your own music player with all controls and functionalities.
Deployment to Heroku.

Requirements
React
Node

Description
Hi Guys , Welcome to the course MERN Stack Music PlayerBy listening the word music player you may be wondering that why we need a separate course for music player app. Because already we lot of tutorials available to build music player. So to the student who are having this question...my answer is very simple You might have seen music player web apps which were build using plain Html/CSS or React or Plain Java script.But in this course we will build the music player using MERN STACK. What will students learn in this course ?Building Real Time Project From ScratchHandling file uploads with Multer and CloudinaryWorking with Tailwind CSS.Building components from scratch without using any external libraries and frameworks.Building our custom audio player which will have all the controls like play , pause , next song , previous song , shuffle songs , forward song , volume controls etc.We will also work on playlists concept.Creating playlist , add songs to playlist , removing songs from playlist etc.Working with admin panel where the admin can control the entire application.Adding song , uploading files , edit song etc.Two rounds of unit testing.Fixing issues after unit testingBy the end of this course you can able to build your own music player with all controls and functionalities.24/7 Q/A SupportDeployment to Heroku.--------------------------------------------------------------------------------------------------------------MERN stands for MongoDB, Express, React, Node, after the four key technologies that make up the stack.MongoDB - document databaseExpress(.js) - Node.js web frameworkReact(.js) - a client-side JavaScript frameworkNode(.js) - the premier JavaScript web serverExpress and Node make up the middle (application) tier. Express.js is a server-side web framework, and Node.js the popular and powerful JavaScript server platform. Regardless of which variant you choose, ME(RVA)N is the ideal approach to working with JavaScript and JSON, all the way through.React is a free and open-source front-end JavaScript library for building user interfaces based on UI components. It is maintained by Meta and a community of individual developers and companies.Redux is an open-source JavaScript library for managing and centralizing application state. It is most commonly used with libraries such as React or Angular for building user interfaces. Similar to Facebook's Flux architecture, it was created by Dan Abramov and Andrew Clark.Node.js is an open-source, cross-platform, back-end JavaScript runtime environment that runs on the V8 engine and executes JavaScript code outside a web browser, which was designed to build scalable network applications.MongoDB is an open source cross-platform document-oriented database program. Classified as a NoSQL database program, MongoDB uses JSON-like documents with optional schemas. MongoDB is developed by MongoDB Inc. and licensed under the Server Side Public License which is deemed non-free by several distributions
Overview
Section 1: Introduction / Project Setup
Lecture 1 PROMO / Source Code
Lecture 2 Project Preview
Lecture 3 Front End Setup
Lecture 4 Tailwind Setup
Lecture 5 Node/Express setup
Lecture 6 Node Mongo Connection
Section 2: User Registration
Lecture 7 Register Page
Lecture 8 User Model
Lecture 9 Register API
Section 3: User Login
Lecture 10 Login API
Lecture 11 Authorization / Middlewares
Lecture 12 Protected Routes
Section 4: Alerts / Toast Messages
Lecture 13 Redux Setup
Lecture 14 Alerts - Toasts
Section 5: Layout
Lecture 15 Default Layout
Section 6: Get Songs List to Home Page
Lecture 16 Song Model
Lecture 17 Gel all songs - API
Lecture 18 Display Songs in UI
Section 7: Designing Audio Player
Lecture 19 Audio Player-1
Lecture 20 Audio Player-2
Lecture 21 Audio Player-3
Lecture 22 Audio Player-4
Lecture 23 Audio Player-5
Lecture 24 Audio Player-6
Section 8: Playlists
Lecture 25 Default Playlists
Lecture 26 Add Playlist-1
Lecture 27 Add Playlist-2
Lecture 28 Add Playlist-3
Section 9: Edit & Delete Playlists
Lecture 29 Edit Playlists
Lecture 30 Delete Playlists
Section 10: First Round Testing
Lecture 31 Testing / Fixing
Section 11: Admin Panel
Lecture 32 Admin Home - All Songs
Lecture 33 Add Song Form
Lecture 34 Upload File UI
Lecture 35 Upload File - Multer
Lecture 36 Add Song Final API
Lecture 37 Edit Song
Section 12: Search and Shuffle Songs
Lecture 38 Search Songs
Lecture 39 Shuffle Songs
Section 13: Final Round Testing
Lecture 40 UI Fixes
Lecture 41 Testing-2
Lecture 42 Admin access fix
Section 14: Deployment
Lecture 43 Deployment - Heroku/Github
MERN Stack Developers,Fullstack Developers


mernstackmusicplayera09e85.jpg


Master Unity and C# By Developing 5 Super Mario Games

44829886d5a483c20.jpg


Master Unity and C# By Developing 5 Super Mario Games
Published 07/2022
MP4 | Video: h264, 1280x720 | Audio: AAC, 44.1 KHz, 2 Ch
Genre: eLearning | Language: English + srt | Duration: 166 lectures (17h 24m) | Size: 10 GB


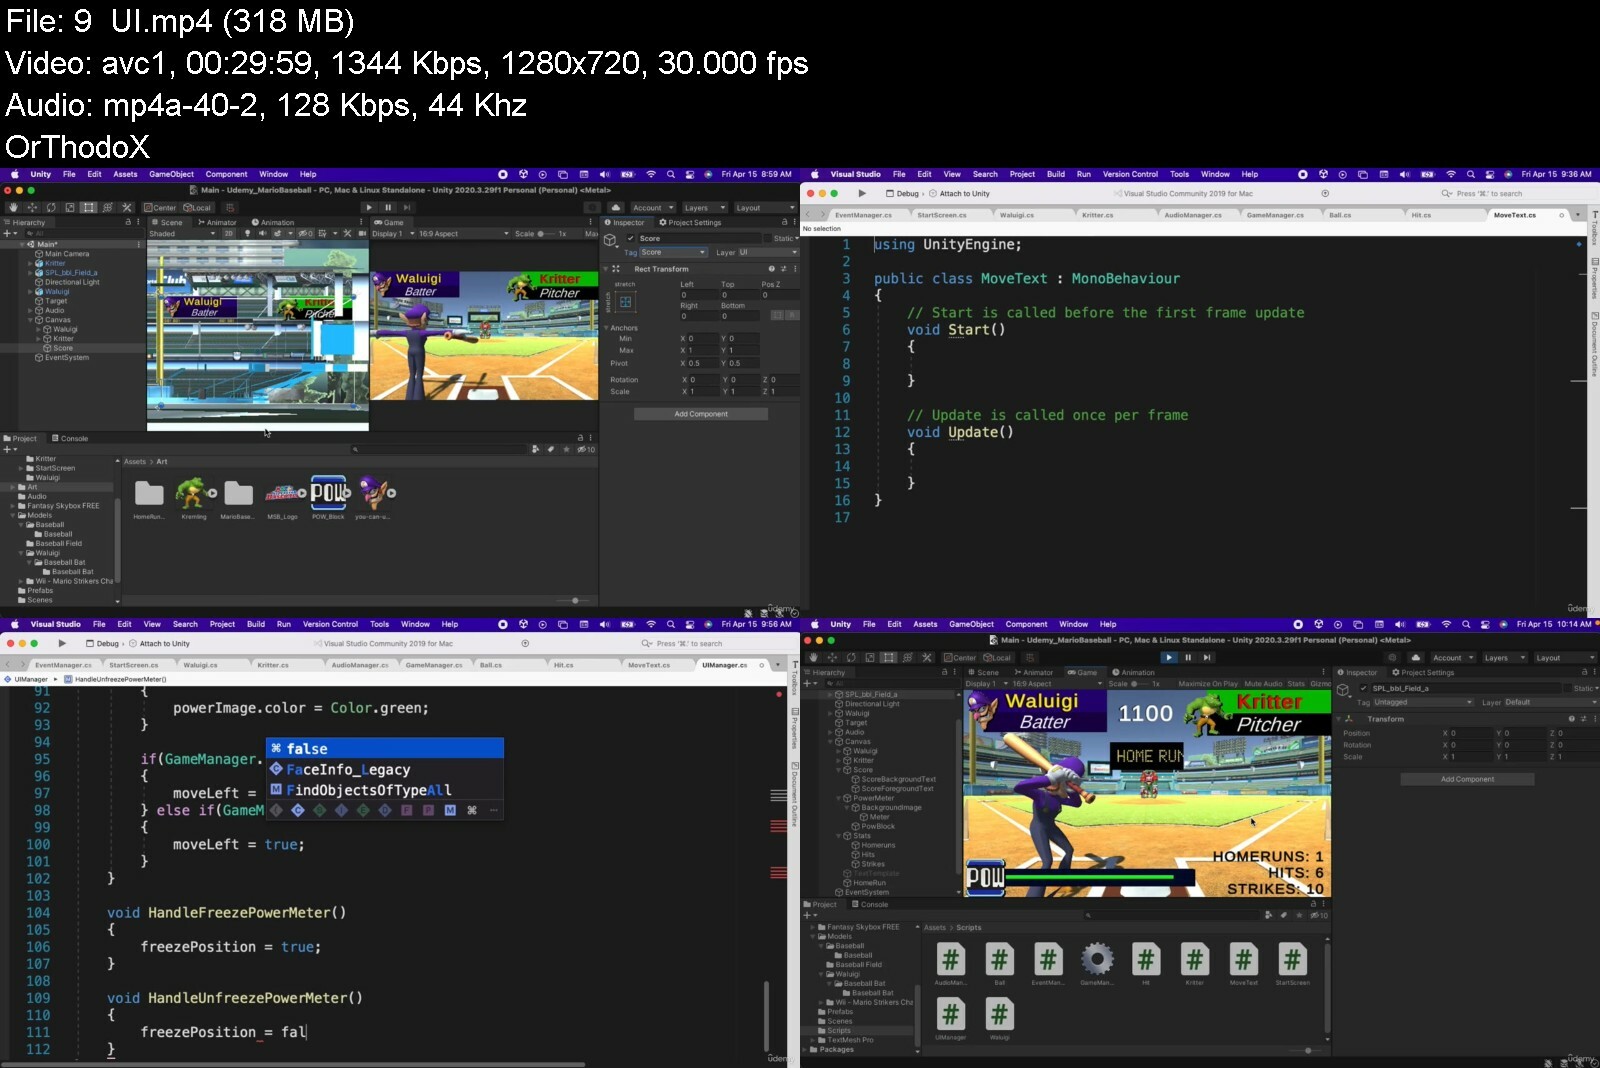
Create Dance Dance Mario Mix, Super Mario Bros, Mario Sunshine, Mario Baseball, and a VR game for Google Cardboard!


What you'll learn
Develop 5 Super Mario games in Unity using C#
Create a Dance Dance Revolution Mario Mix game for mobile
Build a Super Mario VR game for Google Cardboard
Develop a 2D Super Mario Bros. game for PC and Web
Create a Super Mario Baseball game for Android and iOS
Develop a Super Mario Sunshine version of Jetpack Joyride
Learn how to develop Artificially Intelligent (AI) enemies in Unity using C#
Create exciting power-up effects like Mega Mario, Fire Mario, Metal Mario, and Mini Mario
Learn how to program swinging on rope, swimming, and other physics driven behaviors
Packed with professional C# coding techniques to level you up as a developer
Practice industry standard version control techniques with GitHub
Over 17 hours of content
Requirements
A computer running Mac, Windows, or Linux
Basic knowledge of Unity and C#
Google Cardboard for VR Section (Optional)
Description
In this course we will use Unity and C# to develop 5 Super Mario video games
Dance Dance Revolution - Mario Mix
Super Mario Bros.
Super Mario Sunshine (Jetpack Joyride style)
Super Mario Baseball
Super Mario VR (for Google Cardboard)
Here are some more details on each of the games we will develop
Dance Dance Revolution - Mario Mix
3D game development
Animated start screen
In-game audio
3D dance animations
Rotating disco lights effect
Pattern timing and coordination
Android and iOS
Super Mario Bros.
2D game development
7 levels
Enemy AI including
Goomba
Koopa
Flying Koopa
Dry Bones
Cheep Cheep
Blooper
Mr. Blizzard
Frost Piranha
Bowser (boss fight)
Items and Power-ups including
Fire Flower
Red Mushroom
Mega Mushroom
1up Mushroom
PC and Web
Super Mario Sunshine (Jetpack Joyride style)
3D game development
Infinite Runner / Sidescroller style
Enemy AI
Petey Piranha
Bullet Bill
Bowser
Power-ups
Mini Mushroom
Mega Mushroom
Metal Armor
1up Mushroom
Fruit
Super Star
Android and iOS
Super Mario Baseball
3D game development
Mario sports style game
Waluigi is up to bat, Kritter is pitching
Tap the screen to hit the ball
Android and iOS
Super Mario VR
3D Virtual Reality Game Development
Google Cardboard SDK for Unity
Main Menu that uses gaze tracking
3 levels
By the end of this course you will have 5 Super Mario games you developed in Unity using C# and have an intricate knowledge of the Unity game engine that you can use to develop professional quality games and content for your portfolio. Are you ready to master Unity game development? If so, then in the words of our favorite plumber dressed in red, "Here we goooo!"
Who this course is for
Anyone that wants to build 5 awesome Super Mario games in Unity using C#
Anyone that wants to gain mastery of the Unity Game Engine
Aspiring game developers that want to build professional quality games for their portfolio
Video game fans that are curious how to build Super Mario Games


masterunityandcbydeves7fb3.jpg


Learn Raylib: C++ fast and easy graphics library

4chfqudvozu0igipzwvus8sd91.jpg


Learn Raylib: C++ fast and easy graphics library
Published 07/2022
Genre: eLearning | MP4 | Video: h264, 1280x720 | Audio: AAC, 48.0 KHz
Language: English | Size: 6.41 GB | Duration: 58 lectures • 11h 12m


What you'll learn
Will be to understand functionalities in programing.
Learn how to Make your own GUI using custom library.
Get better in coding.
Will be able to make your own application.
Learn about 2D Coordinates.
Will be able to use mathematic functions .
Will be able to detect collisions (2D Only).

Requirements
Having computer.
Knowing some basics in programing.
Having hobbies to start.

Description
Hey this is Raylib course for graphics, games ,audio and GUI in this course we will use C++ to work with the graphics,
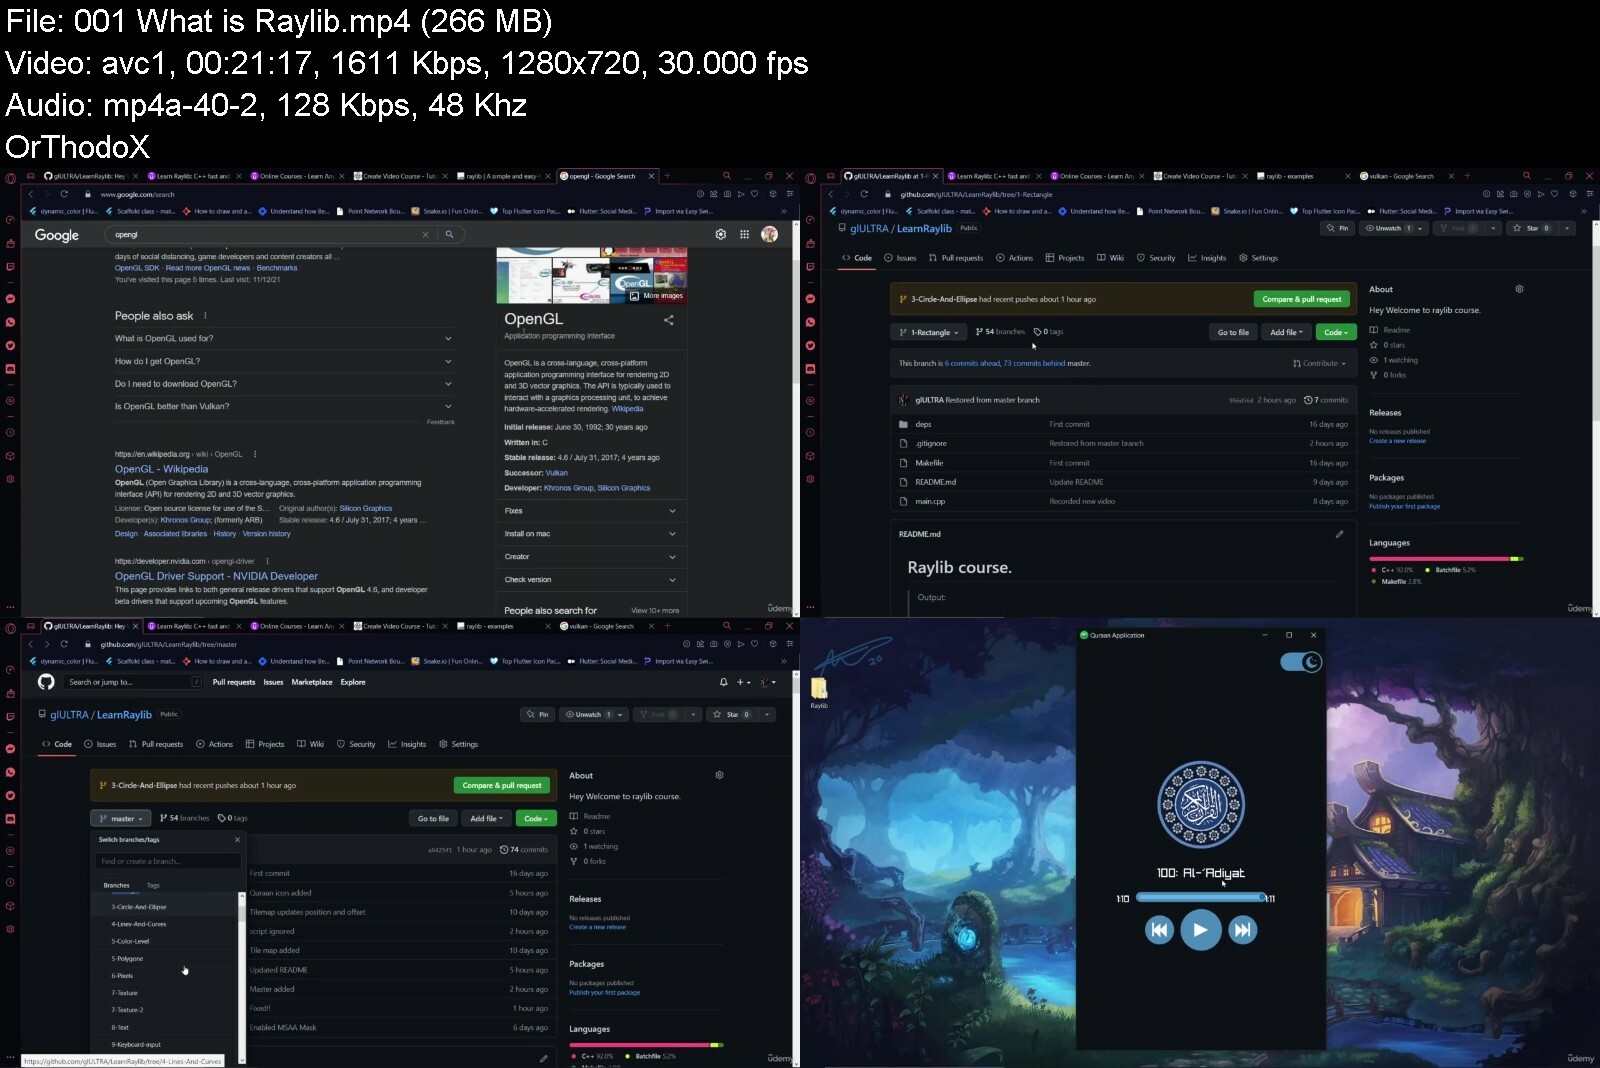
And try to learn those things you know but you didn't code before like making music player, GUI Buttons, Sliders, Hovers, loading textures , mathematics in programming and one of the most important thing making a Quraan player which can include several things: Loading Surats (Quraan receptions) , GUI, Design, Responsive and publish it.
Things you learn in this course and will be able for yourself
Making your application.
2D Rendering.
Drawing shapes (Lines,Pixels,Rectangles,Circles,eEllipses,Triangles and Polygones).
Loading Textures
Interaction with the application (Mouse or Keyboard).
Checking Collision Detection.
Using mathematics for specific movements.
Drawing Tilemaps.
Making internal GUI.
Making button and slider.
Using 2D Camera.
Loading Music.
Making quraan player.
What is raylib?
A\\ Raylib is a highly modular library. Everything is contained within a small number of well defined, specific and self-contained modules, named accordingly to its primary functionality. Note that some of those modules can be used in standalone mode, independently of raylib library.
NOTE for ADVENTURERS: raylib is a programming library to enjoy videogames programming; no fancy interface, no visual helpers, no auto-debugging... just coding in pure spartan-programmers way.
Prepared by: Muhammad Khalid
Who this course is for
Intermediate students
Game lovers
Developers who interested in C++


learnraylibcfastandeavscp7.jpg


Create 2D Multiplayer Game with photon in unity

47514769c73n0f0j.jpg


Create 2D Multiplayer Game with photon in unity
Published 07/2022
MP4 | Video: h264, 1280x720 | Audio: AAC, 44.1 KHz, 2 Ch
Genre: eLearning | Language: English | Duration: 54 lectures (12h 25m) | Size: 5.86 GB


Create 2D Multiplayer Game with photon in unity


What you'll learn
Learn C#,a modern Programming Language
Understanding the capabilities in 2D development in Unity
Gain an understanding of the game developement progress
Gain understanding of Multiplayer game function with photon
Requirements
mac or pc
Description
Welcome to the Course!
you will learn how to create player
We are going to be creating a multiplayer RPG inside of Unity, using Photon.
Photon Unity Networking is a popular networking framework for Unity.
We will be creating a player controller, allowing you to move around and attack enemies.
Pickups will grant the player either gold or health.
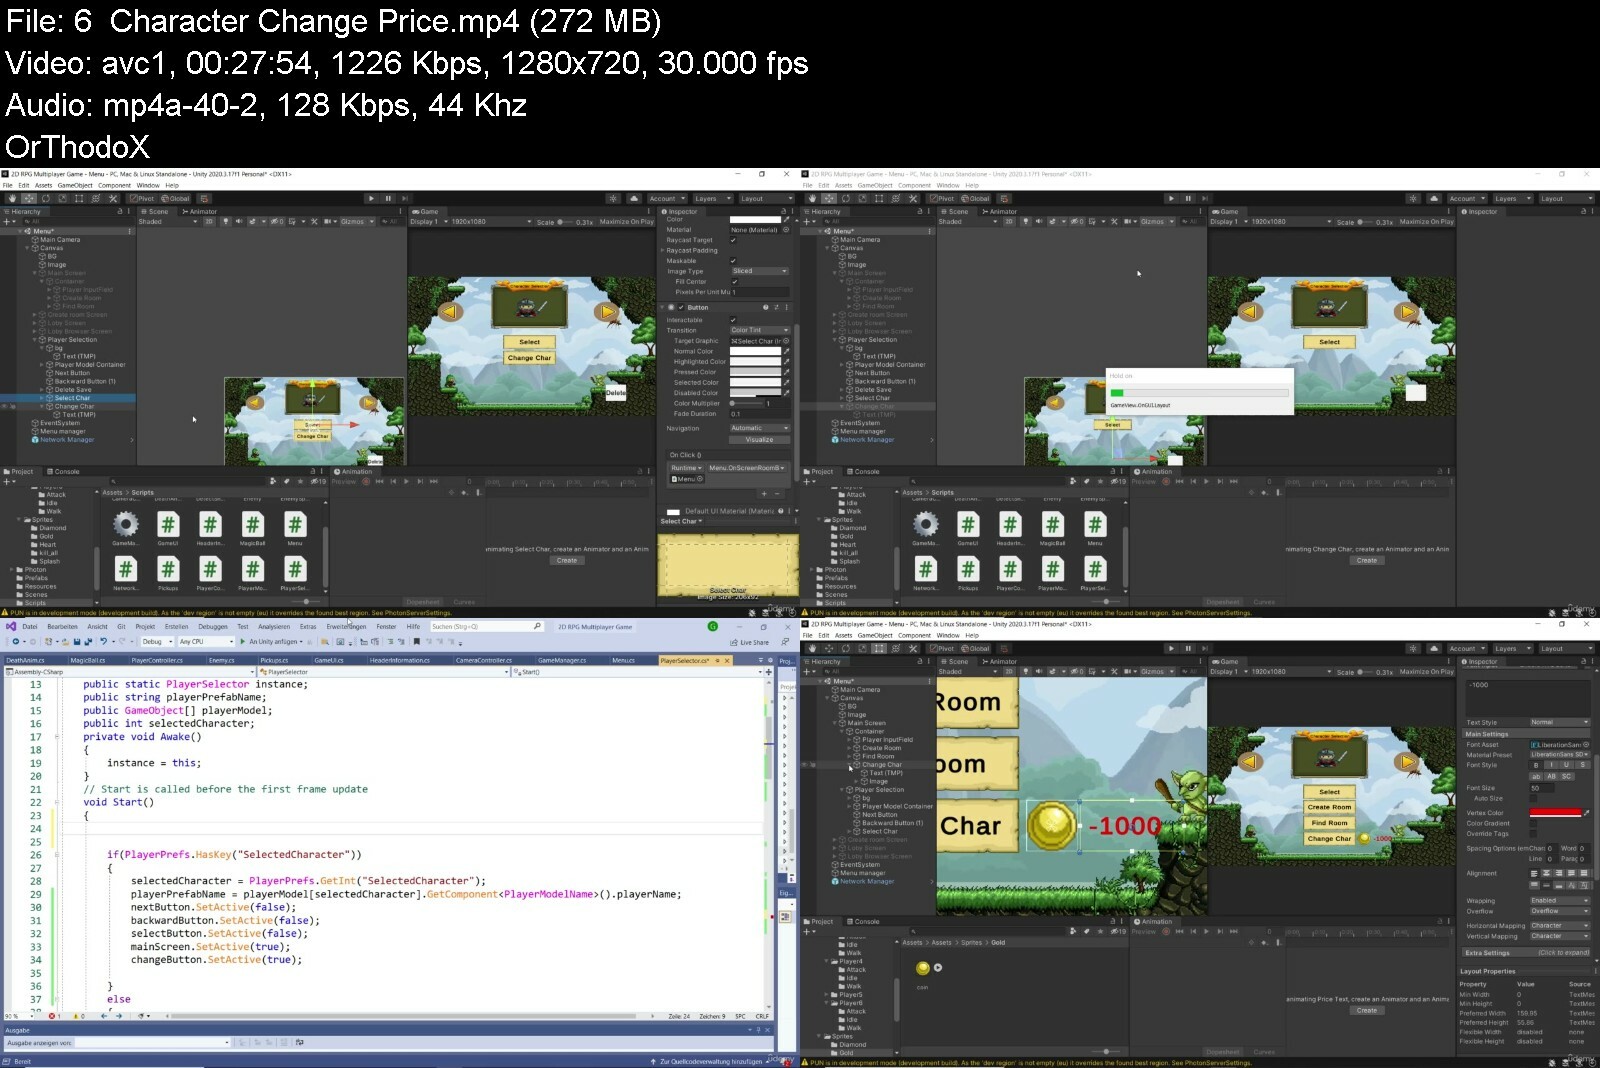
using coin in shop to increase player stats
Player Selection which players can pick their favorite character
We'll be making a lobby system, allowing players to find games to connect up with each other.
player stats and level up system which with every level up player become stronger
This will be done using Unity's UI system.
Let's have a look at what we learned and made.
We learned how to use Photon inside of Unity We created a player controller which can move, attack, get gold and heal Pickups which can give the player health or gold A lobby system for players to team up together before entering the game This was all done using Unity's UI system.
this course has been designed to be easy understanding to everyone so whether you are beginner or advance programmer
Let's get started on the project today level up your skill with this course!
Who this course is for
Beginner to advance


create2dmultiplayergaamejm.jpg


Zurück
Oben Unten