• Regeln für den Video-Bereich:

    In den Börsenbereich gehören nur Angebote die bereits den Allgemeinen Regeln entsprechen.

    Einteilung

    - Folgende Formate gehören in die angegeben Bereiche:
    - Filme: Encodierte Filme von BluRay, DVD, R5, TV, Screener sowie Telesyncs im Format DivX, XviD und x264.
    - DVD: Filme im Format DVD5, DVD9 und HD2DVD.
    - HD: Encodierte Filme mit der Auflösung 720p oder darüber von BluRay, DVD, R5, TV, Screener sowie Telesyncs im Format x264.
    - 3D: Encodierte Filme von BluRay, die in einem 3D Format vorliegen. Dies gilt auch für Dokus, Animation usw.
    - Serien: Cartoon/Zeichentrick, Anime, Tutorials, Dokumentationen, Konzerte/Musik, Sonstiges sind demnach in die entsprechenden Bereiche einzuordnen, auch wenn sie beispielsweise im High Definition-Format oder als DVD5/DVD9/HD2DVD vorliegen. Ausnahme 3D.
    - Bereich Englisch: Englische Releases gehören immer in diesen Bereich.
    - Bereich Talk: Der Bereich, in dem über die Releases diskutiert werden kann, darf, soll und erwünscht ist.


    Angebot/Beitrag erstellen

    - Ein Beitrag darf erst dann erstellt werden, wenn der Upload bei mindestens einem OCH komplett ist. Platzhalter sind untersagt.
    - Bei einem Scenerelease hat der Threadtitel ausschließlich aus dem originalen, unveränderten Releasenamen zu bestehen. Es dürfen keine Veränderungen wie z.B. Sterne, kleine Buchstaben o.ä. vorgenommen werden. Ausnahme Serienbörse:
    - Bei einem Sammelthread für eine Staffel entfällt aus dem Releasename natürlich der Name der Folge. Beispiel: Die Simpsons S21 German DVDRip XviD - ITG
    - Dementsprechend sind also u.a. verboten: Erweiterungen wie "Tipp", "empfehlenswert", "only", "reup", usw. / jegliche andere Zusatzinformation oder Ergänzung, welche nicht in obiger Beschreibung zu finden ist.

    Aufbau des Angebots und Threadtitel

    Der Titel nach folgendem Muster erstellt zu werden. <Name> [3D] [Staffel] [German] <Jahr> <Tonspur> [DL] [Auflösung] <Quelle> <Codec> - <Group>
    Beispiel: The Dark Knight German 2008 AC3 DVDRip XviD - iND
    Beispiel: The Dark Knight 2008 DTS DL BDRip x264 - iND
    Beispiel: The Dark Knight 2008 AC3 DL BDRip XviD - iND
    Beispiel: The Dark Knight German 2008 AC3 720p BluRay x264 iND
    Beispiel: The Dark Knight 2008 DTS DL 1080p BluRay x264 iND
    Beispiel: Die Simpsons S01 German AC3 DVDRip XviD iND
    Beispiel: Die Simpsons S20 German AC3 720p BluRay x264 iND
    Beispiel: Sword Art Online II Ger Sub 2014 AAC 1080p WEBRip x264 - peppermint
    Entsprechend sind also u.a. verboten: Sonderzeichen wie Klammern, Sterne, Ausrufezeichen, Unterstriche, Anführungszeichen / Erweiterungen wie "Tipp", "empfehlenswert", "only", "reup", usw. / jegliche andere Zusatzinformation oder Ergänzung, welche nicht in obiger Beschreibung zu finden ist
    Ausnahmen hiervon können in den Bereichen geregelt sein.

    Die Beiträge sollen wie folgt aufgebaut werden:
    Überschrift entspricht dem Threadtitel
    Cover
    kurze Inhaltsbeschreibung
    Format, Größe, Dauer sind gut lesbar für Downloader außerhalb des Spoilers zu vermerken
    Nfo sind immer Anzugeben und selbige immer im Spoiler in Textform.
    Sind keine Nfo vorhanden z.B. Eigenpublikationen, sind im Spoiler folgende Dateiinformationen zusätzlich anzugeben :
    Quelle
    Video (Auflösung und Bitrate)
    Ton (Sprache, Format und Bitrate der einzelnen Spuren)
    Untertitel (sofern vorhanden)
    Hosterangabe in Textform außerhalb eines Spoiler mit allen enthaltenen Hostern.
    Bei SD kann auf diese zusätzlichen Dateiinformationen verzichtet werden.

    Alle benötigten Passwörter sind, sofern vorhanden, in Textform im Angebot anzugeben.
    Spoiler im Spoiler mit Kommentaren :"Schon Bedankt?" sind unerwünscht.


    Releases

    - Sind Retail-Release verfügbar, sind alle anderen Variationen untersagt. Ausnahmen: Alle deutschen Retail-Release sind CUT, in diesem Fall sind dubbed UNCUT-Release zulässig.
    - Im Serien-Bereich gilt speziell: Wenn ein Retail vor Abschluss einer laufenden Staffel erscheint, darf diese Staffel noch zu Ende gebracht werden.62
    - Gleiche Releases sind unbedingt zusammenzufassen. Das bedeutet, es ist zwingend erforderlich, vor dem Erstellen eines Themas per Suchfunktion zu überprüfen, ob bereits ein Beitrag mit demselben Release besteht. Ist dies der Fall, ist der bereits vorhandene Beitrag zu verwenden.
    - P2P und Scene Releases dürfen nicht verändert oder gar unter einem iND Tag eingestellt werden.


    Support, Diskussionen und Suche

    - Supportanfragen sind entweder per PN oder im Bereich Talk zu stellen.
    - Diskussionen und Bewertungen sind im Talk Bereich zu führen. Fragen an die Uploader haben ausschließlich via PN zu erfolgen, und sind in den Angeboten untersagt.
    - Anfragen zu Upload-Wünschen sind nur im Bereich Suche Video erlaubt. Antworten dürfen nur auf Angebote von MyBoerse.bz verlinkt werden.


    Verbote

    - Untersagt sind mehrere Formate in einem einzigen Angebotsthread, wie beispielsweise das gleichzeitige Anbieten von DivX/XviD, 720p und 1080p in einem Thread. Pro Format, Release und Auflösung ist ein eigener Thread zu eröffnen.
    - Grundsätzlich ebenso verboten sind Dupes. Uploader haben sich an geeigneter Stelle darüber zu informieren, ob es sich bei einem Release um ein Dupe handelt.
    - Gefakte, nur teilweise lauffähige oder unvollständige Angebote sind untersagt. Dies gilt auch für eigene Publikationen, die augenscheinlich nicht selbst von z.B. einer DVD gerippt wurden. Laufende Serien, bei denen noch nicht alle Folgen verfügbar sind, dürfen erstellt und regelmäßig geupdatet werden.
    - Untersagt sind Angebote, welche nur und ausschließlich in einer anderen Sprache als deutsch oder englisch vorliegen. Ausnahmen sind VORHER mit den Moderatoren zu klären.


    Verstoß gegen die Regeln

    - Angebote oder Beiträge, die gegen die Forenregeln verstoßen, sind über den "Melden"-Button im Beitrag zu melden.
  • Bitte registriere dich zunächst um Beiträge zu verfassen und externe Links aufzurufen.

*** Bestes IPTV *** bester Preis *** gratis Test ***


Englische Tutorials

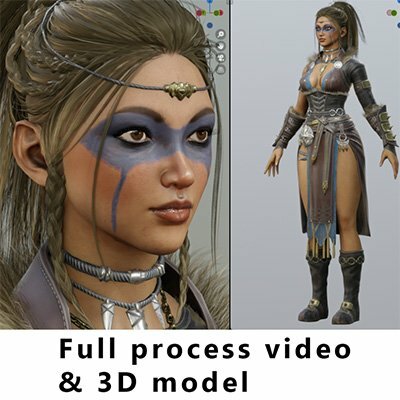
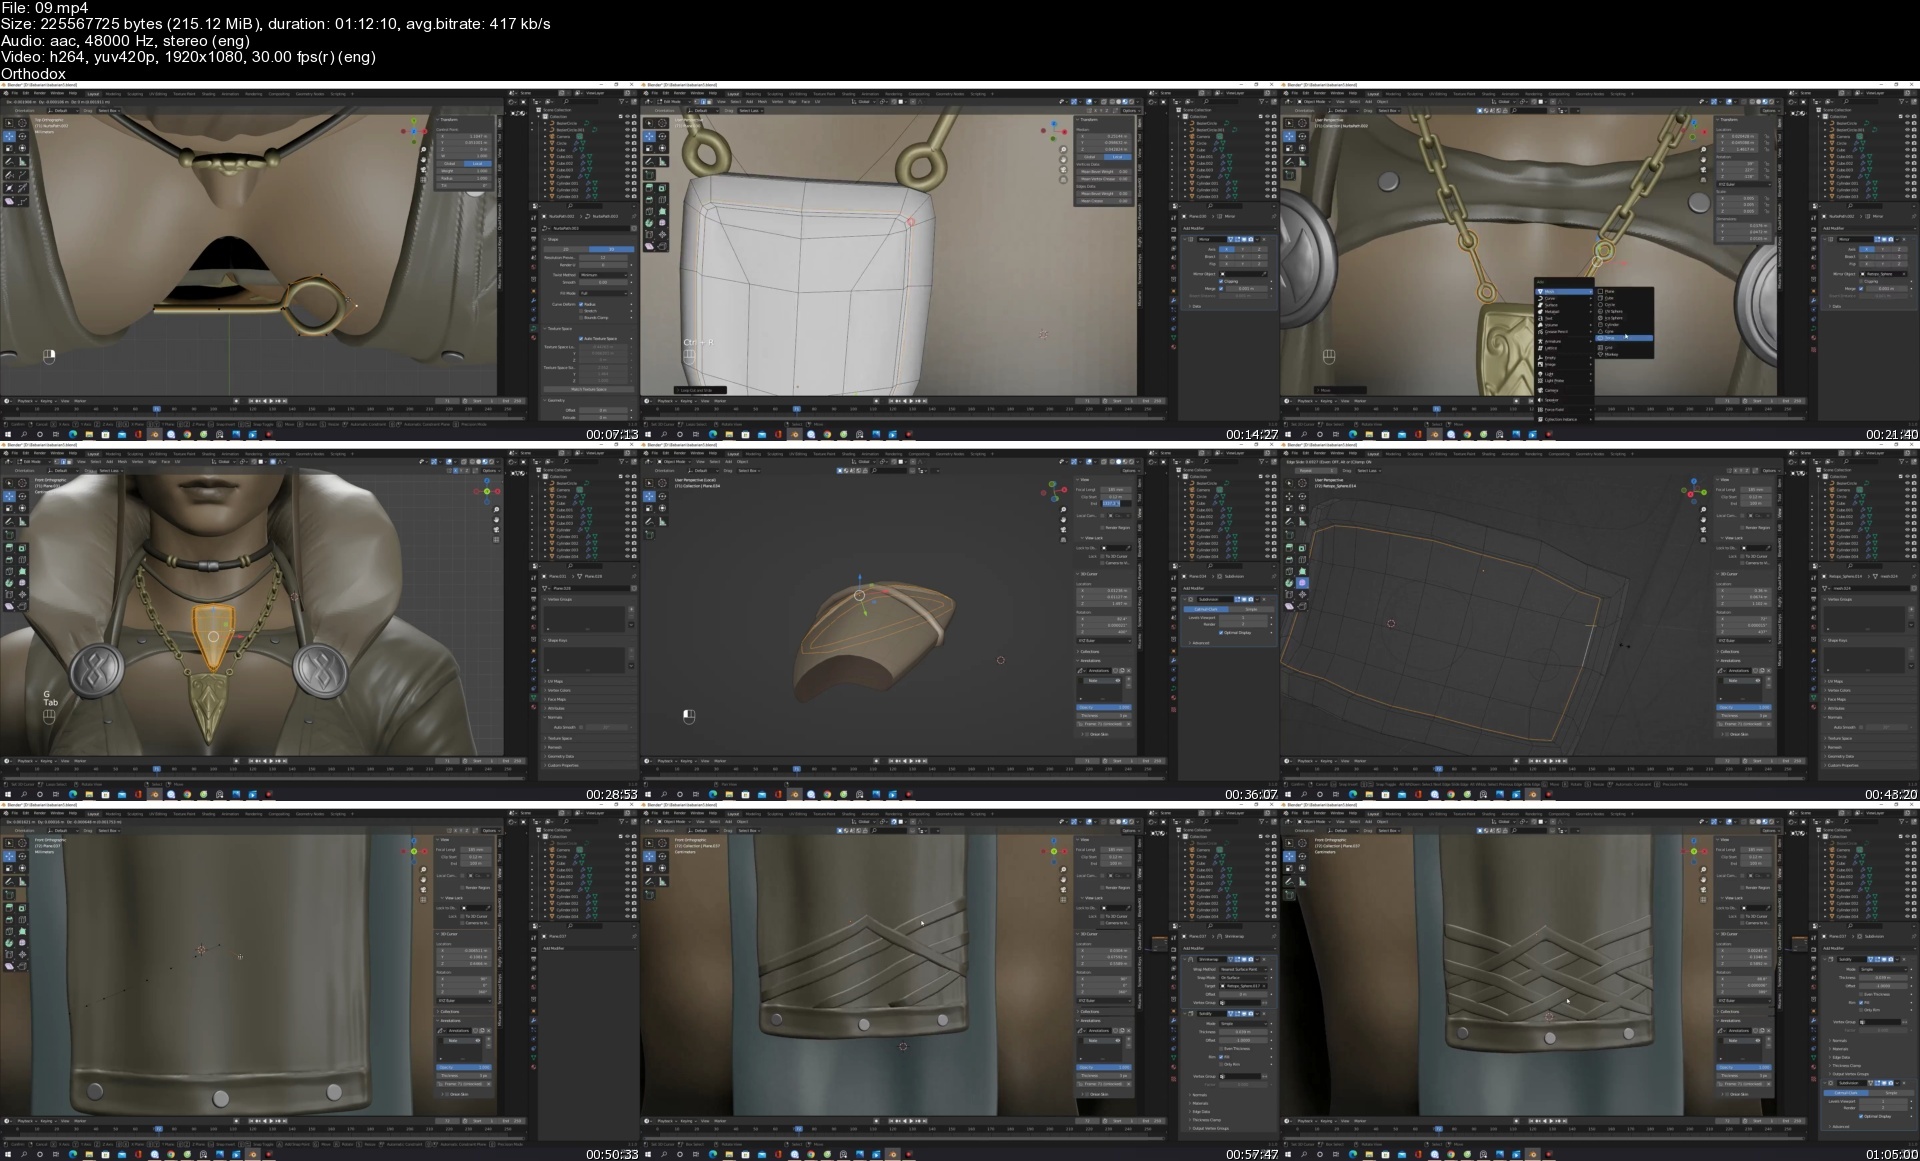
Gumroad - Blender: Game Ready Character Modeling

jc1bcdyrcadwyibey0ltg2yi6o.jpg


Gumroad - Blender: Game Ready Character Modeling
Flycat | Duration: 24h 52m | Video: H264 1920x1080 | Audio: AAC 48 kHz 2ch | 5,38 GB | Language: No soundtrack

Blender - Game Ready Character Modeling - Full process video & 3D model

App: Blender - Substance 3D Painter - Photoshop

- Video quality 1080p
- About 25 hours video in normal speed
- No audio
- 3D model (*blend format)

Homepage


09s0sixc.jpg


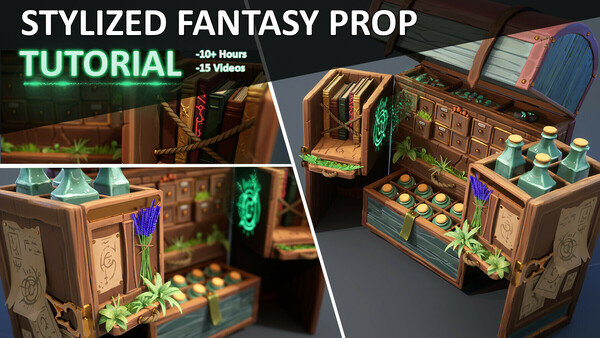
Stylized Fantasy Prop Tutorial

file9sf1r.jpg


Stylized Fantasy Prop Tutorial
Instructors: Phil Stoltz
15 Lessons | Duration: 10+ hours
Video: MP4 1920x1048 44 KHz | English
Beginners/intermediate | Size: 7.8910 GB

Greetings!

Throughout this tutorial series you are going to learn AAA techniques that I use personally and professionally to create props for video games! From blockout to final renders, I take you through my thought process and show you how I use various software like Maya, ZBrush, and Substance Painter to create: blockouts, sculpted wood, sculpting foliage, proper UVs and packing methods, lighting, and rendering in Unreal Engine 5 and more! My goal is to give you more confidence in the asset/prop creation process for video games.

NOTE

This course is intended for those wanting to further their knowledge of video game pipelines and will require a basic level of understanding in Maya, ZBrush, Photoshop, Substance Painter, and UE5. Intended for beginners/intermediate users.

What You Get

-10+ hours of recorded content

-15 video of my going over my process for how to create a stylized fantasy prop.

Product Outline

In each of these videos, I walk through my process in real-time and explain my methods and thoughts. Once I have gone over "How to" I speed the videos up and use the techniques I taught. After the sped up portion, I talk about any pitfalls I ran into along the way and explain anything that wasn't covered earlier.

00_Intro: In this video I look at the concept and break down it's individual parts and talk about ways to approach it as a whole.

01_The_Blockout: Here I discuss how to approach a blockout model and what to do and not to do. (Live commentary video & sped up video)

02_Preparing_The_Sculpt: I talk about specific techniques and methods to prepare the blockout model for sculpting in ZBrush.

03_Sculpting_The_Chest_Pt_01: Here I go over techniques for decimating our meshes down to get ready for sculpting. I also show how I sculpt stylized wood. (Live commentary video & sped up video)

04_Sculpting_The_Chest_Pt_02: Continuation of part 1...

05_Sculpting_The_Books: I show how easy it can be to sculpt simple stylized books using ZBrush.

06_Sculpting_The_Papers: I show how easy it can be to sculpt simple stylized pieces of paper using ZBrush.

07_Sculpting_The_Foliage: In this video I show how I create foliage using only ZBrush.

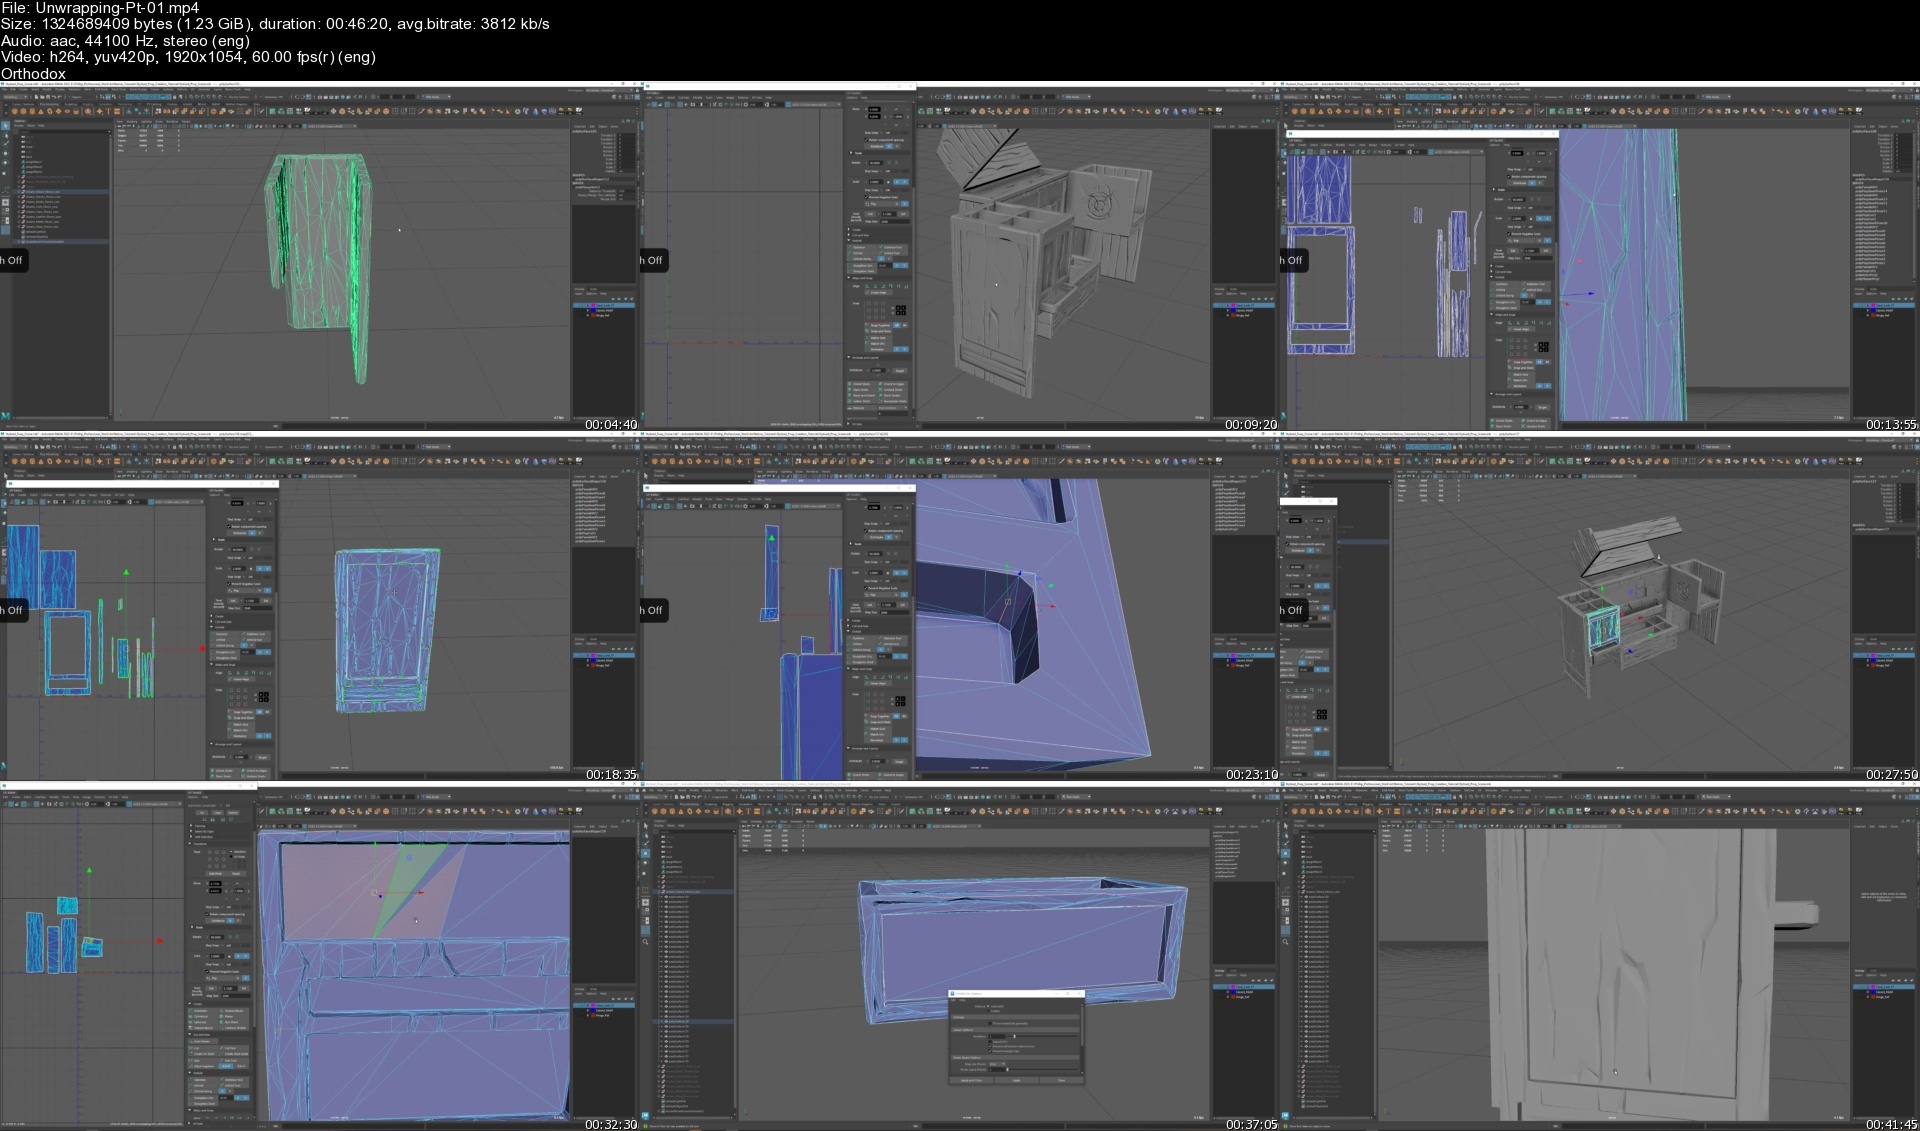
08_Unwrapping_Pt_01: In this video I show how to clean up a decimated low poly mesh in Maya and prepare it for unwrapping.

09_Unwrapping_Pt_02: This is a continuation of Pt_01 as well as show how I approach unwrapping and also packing of the UVs using Maya.

10_Texturing_The_Chest_Pt_01: I show you how I tackle the start of a stylized asset using Substance Painter.

11_Texturing_The_Chest_Pt_02: Continuation of Part 01

12_Texturing_The_Chest_Pt_03: Continuation of Part 02

13_Texturing_The_Foliage_and_Pages: I show you similar steps of texturing but how I approach texturing the foliage in Painter and doing some simple but effective hand painting in Photoshop for the pages.

14_Lighting_&_Rendering_in_UE5: I walk you through how to set up a very easy scene in UE5 and how to set up some simple lights as well as setting up a cinematic camera to take some high quality renders for the prop.

Release Notes
Added in a new video "Assembling_and_Texturing_The_Pages_and_Foliage"

unwrappingpt01s76d09.jpg


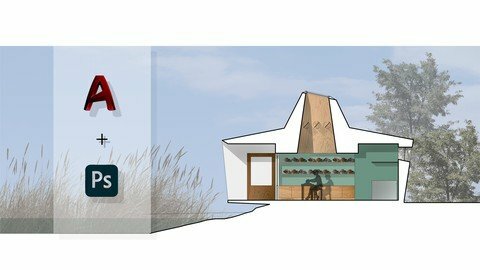
AutoCad and Photoshop for Architects

j06rp6cjss8wur8qhkmraypizq.jpg


AutoCad and Photoshop for Architects
Published 07/2022
Genre: eLearning | MP4 | Video: h264, 1280x720 | Audio: AAC, 48.0 KHz
Language: English | Size: 6.13 GB | Duration: 12 lectures 5h 44m

Express your architectural ideas quickly and efficiently with and AutoCad to Photoshop workflow.


What you'll learn
Use AutoCad and Photoshop to create your very first design presentation in plan section and elevation.
Learn simple, efficient Photoshop presentation skills taking advantage of the program's inherent layer's function.
Understand AutoCad and Photoshop Layers.
Assemble a professional quality Design Presentation on a standard sized presentation panel.


Requirements
No experience in AutoCad and Photoshop is required. None whatsoever.

Description
In this course we ll develop a clear and easy to follow workflow to bring hand drawn architectural sketches from the drafting table and onto the computer. The methodology involves the development of a targeted range of skills in AutoCad and Photoshop.

We begin with a brief discussion about the nature of architectural drawing and note the important distinction to be made between presentation and production/working modes. In this course we focus exclusively on presentation drawings: we re interested in acquiring skills to express design ideas.

Beginning with AutoCad we learn the surprisingly limited number of skills required to draw plans, sections and elevations (in metric as well as imperial) to generate the linework necessary for transition to Photoshop for rendering.

Once in Photoshop, we focus on the layer function with specific reference to its usefulness in rendering architectural drawings.

Skills in both AutoCad and Photoshop are developed through reference to a specific architectural project a small pottery studio of an appropriately manageable size.

At the end of this course we ll have generated a professional type presentation sheet (in this instance it happens to be a metric A1 but it could just as easily be a 24 x 36) with fully rendered plans, sections and elevations of the pottery studio arranged and labelled using standard architectural conventions.

The course is designed for absolute beginners. It might be particularly suitable for

students starting out in architecture school

people considering architecture as their career

architects of a certain generation who missed the initial transition from the drafting table to computer

All the files used during the making of this course (dwg, png, jpg, etc.) are fully available and downloadable for use.

Absolutely no previous experience in CAD or image manipulation is required but you will need access to working versions of both AutoCad and Photoshop.

Who this course is for
This course is for architecture students or others starting out in the architecture careers.

Homepage


Zuletzt bearbeitet:
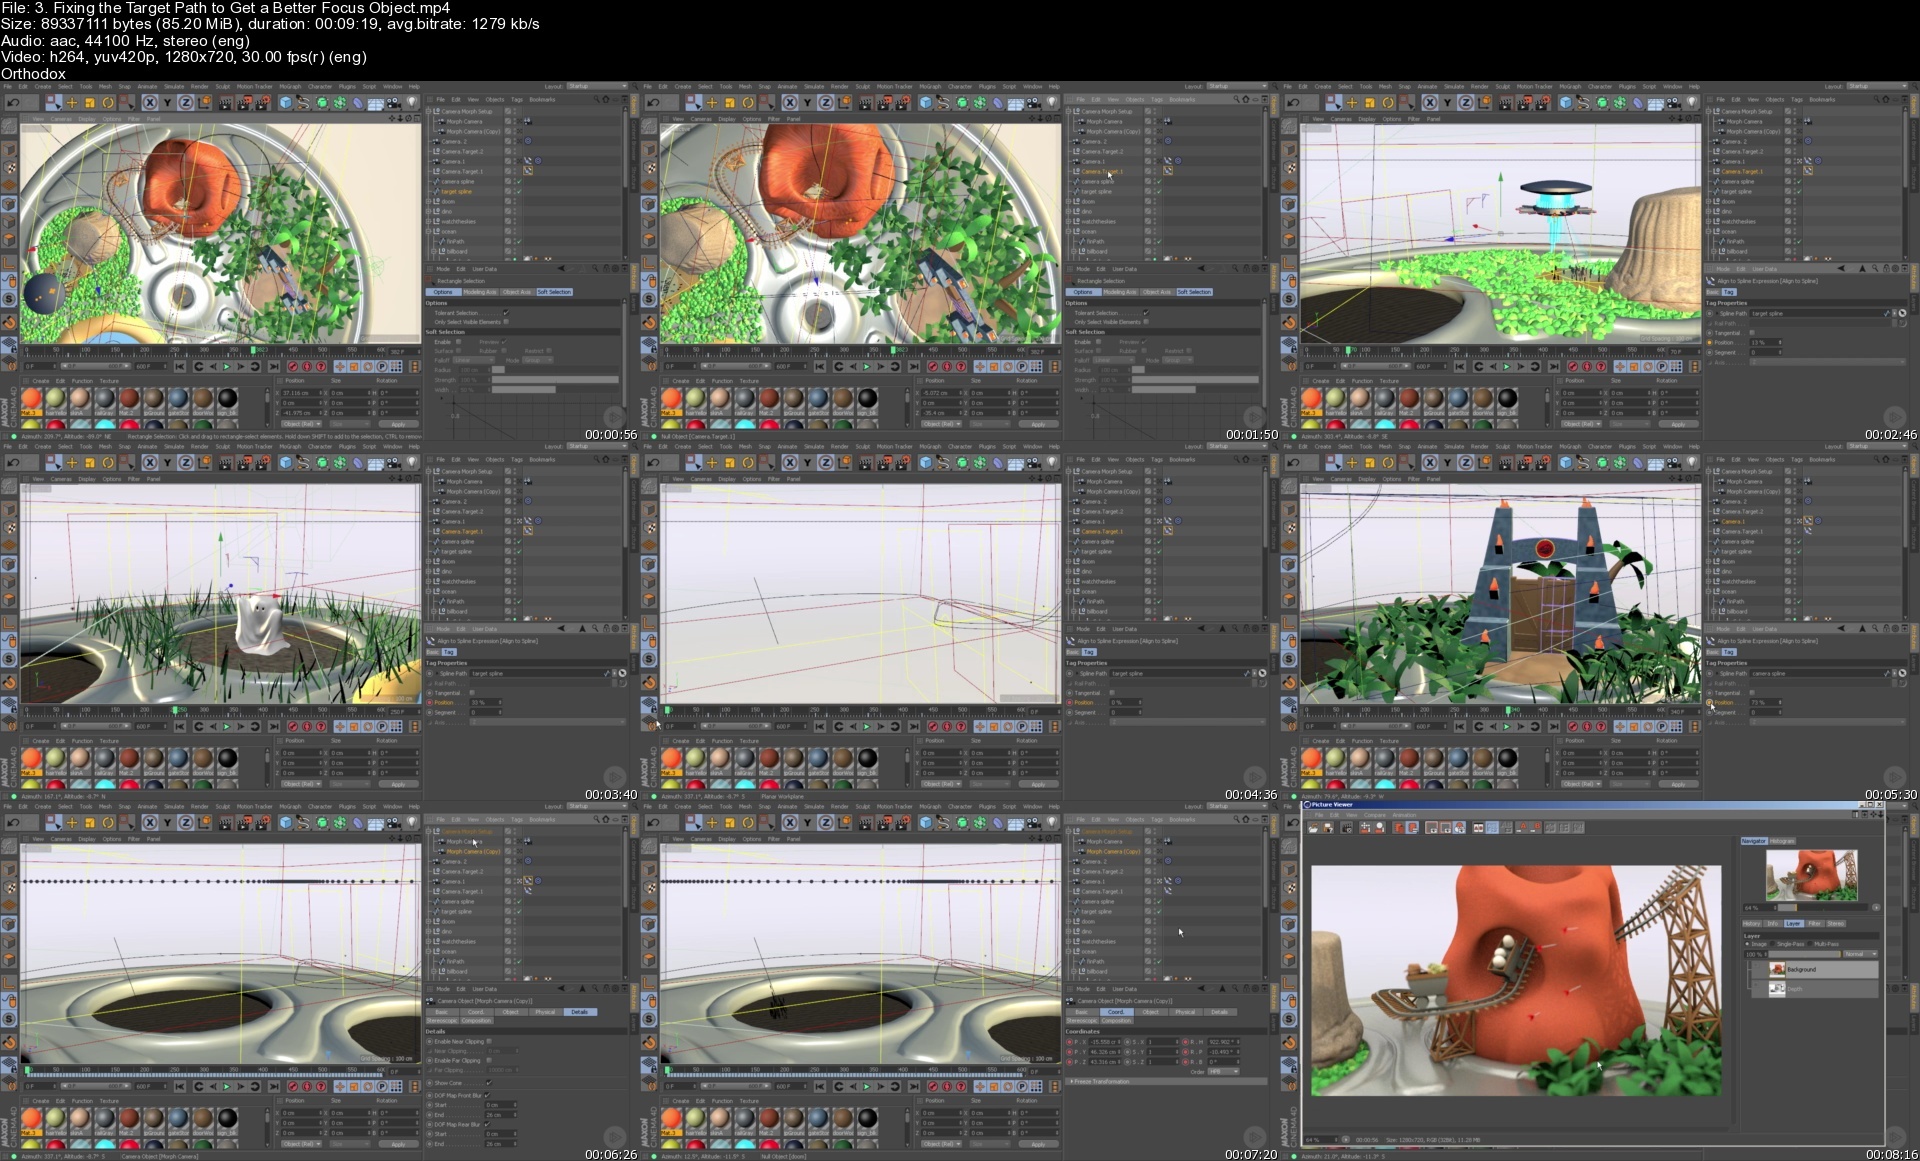
Building a Pop-up Style Broadcast Opener in CINEMA 4D and After Effects

uxdwe0mwo9dov8ohvfehdhcepr.jpg


Building a Pop-up Style Broadcast Opener in CINEMA 4D and After Effects
Justin Marshall, Laura Hawk | Duration: 10h 16 m | Video: H264 1280x720 | Audio: AAC 44,1 kHz 2ch | 5,13 GB | Language: English

In this course, you'll animate a broadcast opener from scratch, building skills in motion graphics, rendering, and compositing. Software required: CINEMA 4D R17, After Effects CC 2015, Frischluft Lenscare, Reel Smart Motion Blur, Knoll Light Factory.

Usually, a variety of skillsets and software are needed to bring an animator s 3D motion-graphics project from start to finish. In this course, Building a Pop-Up Style Broadcast Opener in CINEMA 4D and After Effects, you will develop many important animation skills using multiple kinds of software, all while working on a single project: a movie-themed motion graphics opener in a pop-up style. You ll work with CINEMA 4D s great modeling tools and learn how to set up different kinds of cameras. Next, you'll add animation to your vignettes by creating pop-up effects to keep them alive and moving, afterwards moving onto lighting, rendering, and compositing your project. Finally, you ll import your composite to After Effects, where you ll add finishing touches and create a logo for the closing shot. By the end of this course, you'll have created a high-quality motion-graphics opener from scratch and developed the many skills you need to succeed at every stage of your future animation projects. Software required: CINEMA 4D R17, After Effects CC 2015, Frischluft Lenscare, Reel Smart Motion Blur, Knoll Light Factory.


Homepage


3.fixingthetargetpathgii3s.jpg


Autocad [2D+3D] Mastery Course 2021 - Become Professional

bjifxopt4a83nyvdw8vfpixiex.jpg


Autocad [2D+3D] Mastery Course 2021 - Become Professional
Last updated 12/2021
MP4 | Video: h264, 1280x720 | Audio: AAC, 44.1 KHz
Language: English | Size: 6.87 GB | Duration: 13h 16m

Master AutoCAD 2D/3D Tools&Techniques On The Real World Examples Following Step By Step Course Even If You Are Beginner


What you'll learn
Learn AutoCAD 2D/3D Tools & Techniques
Being able to create and edit AutoCAD 2D drawings and 3D models
Increase your confidence to negotiate for bigger salary
Confidently list your AutoCAD skills in your resume
Practice AutoCAD on examples
Make and edit their own AutoCAD Drawings, Plans and Layouts
On completion, you will have gained the skills and knowledge to take a project from start to finish, utilizing all tools and drawing methods.
Being able to make your ideas come to life
You will be able to start earning money from your AutoCAD Skills
You'll learn to use AutoCAD commands and their applications to solve drafting and design problems.
After finishing this course, the user will be able to use AutoCAD commands to make a drawing, dimension a drawing, apply constraints to sketches, insert symbols

Requirements
PC
AutoCAD 2021 Application

Description
Master AutoCAD 2D/3D Tools & Techniques On The Real World Examples Following Step By Step Course Even If You Are Beginner! The problem is that most of the students...1. Don t have the right mind strategy to think like a designer2. They are not able to find the quickest way to find the design solution 3. They don t know how to approach to the design problemIf you want to have full confidence in your skills let me introduce you to the training that will teach you professional skills even if you never touched AutoCAD before.In this course you will get skills, training and examples to overcome those obstacles and start employing your skills in industry environment by ...Learning all drawing tools for creating simple to complicated drawingsLearning modifying tools such as Trim, Extend, Mirror, Stretch, Chamfer and so onLearning Singleline and Multiline text as well how to create a table and how to use a functions in tableCreating, using and modifying layersLearning to create geometrical and dimensional constraintsCreating, modifying and using Blocks Learning attributes and how to create them and modify themLearning attaching external references such as different drawing or a pdf fileLearning to create various viewports in layoutWorking with pagesetupLearning to create a title block and how to insert newly created and existing title blockPlotting from models space and layoutCreating sheets sets and publishing themLearning to create primitive tools Box, Cylinder, Sphere, Wedge, Pyramid and Torus.Learning to work with coordinate systemLearning to use solid tools such as Presspull, Polysolid, Sweep, Loft, RevolvedLearning editing tools such as: 3D Array, Mirror, Fillet, Offset, Taper, Move, Boolean operations, Section plane, Imprint, Copy, Convert to solid Learning to create different views: Detail, Projected, Section view, Orthographic viewLearning to work with mesh toolsLearning to apply material, set up the lights, camera, scene and how to renderLearning to create animation video of the productYou'll gain confidence to negotiate for bigger salaryYou ll learn to confidently design CAD models from the sketch to 3D even if you never open AutoCAD beforeYou ll be able to start your AutoCAD designer career and start making moneyYou ll start to think like a CAD designerYou ll be able to confidently list your AutoCAD skills in your resumeNow what makes me credible to teach you this topic?I have master s degree in mechanical engineering and I m Solidworks certified professional designer. I have over 5 years industry experience in using Solidworks, CATIA and AutoCAD where I was designing resistance welding machines.On the other hand last two years I have enrolled over 30 000 students on my 12 courses with my average courses rate 4.6 out of 5.This course can transform your AutoCADskills, your career and at the end your life as you know but don t take my word for it.Read just few of these raving student testimonials for yourself " Great. Most beneficial for the beginners. Each lecture is accompanied by a file for practice. This amazing!!!" Md. Mirazul Islam B. " Great. Most beneficial for the beginners. Each lecture is accompanied by a file for practice. This amazing!!! Thank you so much for putting so much effort for creating this course. And I found it really helpful in learning some new tools and skills. I took this course in hope for another step towards professional AutoCAD career and it was completely up to the mark." Muhammad Arslan Arshad " Course is excellent for beginners with step by step explanation and covers almost all the tools in AutoCAD." - Mageshwaran R.BONUS: Students who enroll today will receive my lifetime personal email support. So you can contact me anytime regarding any question you have.30-DAY GUARANTEE: If you don t see incredible results from this course within the next 30 days, Udemy will refund your entire investment!You literally have nothing to lose and so much to gain!ADD TO CART now to truly change your life forever.

Overview

Section 1: INTRODUCTION

Lecture 1 Welcome

Lecture 2 Note!!!

Lecture 3 Command List

Section 2: GETTING TO KNOW AUTOCAD

Lecture 4 Create, Save And Open A Drawing File

Lecture 5 User Interface

Lecture 6 Navigation Tools

Lecture 7 Units

Lecture 8 Selections

Section 3: DRAWING TOOLS

Lecture 9 Line In Absolute Coordinate System

Lecture 10 Line In Relative Coordinate System

Lecture 11 Line In Polar Coordinate System

Lecture 12 Circle

Lecture 13 Arc

Lecture 14 Ellipse

Lecture 15 Rectangle

Lecture 16 Polyline

Lecture 17 Polygon

Lecture 18 Spline

Lecture 19 Centerline And Centermark

Lecture 20 Construction Line And Ray

Lecture 21 Revision Clouds And Points

Section 4: EDITING TOOLS

Lecture 22 Move

Lecture 23 Copy

Lecture 24 Rotate

Lecture 25 Scale

Lecture 26 Fillet And Chamfer

Lecture 27 Mirror

Lecture 28 Trim And Extent

Lecture 29 Stretch

Lecture 30 Offset

Lecture 31 Explode

Lecture 32 Rectangular Array

Lecture 33 Polar Array

Lecture 34 Path Array

Lecture 35 Erase And Overkill

Lecture 36 Lengthen And Reverse

Lecture 37 Break, Join And Blend Curves

Lecture 38 Divide And Measure

Lecture 39 Quick Measurement Tool

Lecture 40 Distance, Radius And Angle

Lecture 41 Area

Lecture 42 Wipeout

Lecture 43 Region And Boundary

Lecture 44 Align

Lecture 45 Grips

Lecture 46 From Snap

Section 5: HATCHES

Lecture 47 Creating Hatch

Lecture 48 Set Point And Associative

Lecture 49 Advanced Hatch Tools

Section 6: TOOLBAR SETTINGS

Lecture 50 Grid And Snap

Lecture 51 Ortho Mode And Polar Tracking

Lecture 52 Object Snap

Lecture 53 Dynamic Input

Lecture 54 Snap Tracking

Lecture 55 Limits

Lecture 56 More Settings

Section 7: DIMENSIONS AND MULTILEADER

Lecture 57 Creating Dimensions

Lecture 58 DIM Tool

Lecture 59 Modify Dimension

Lecture 60 Creating Dimension Style

Lecture 61 Modify And Override Dimensions Style

Lecture 62 Baseline And Continue Dimensions

Lecture 63 Quick Tool

Lecture 64 Adjust Space And Update Tool

Lecture 65 Break And Inspect

Lecture 66 Breakline And Dimjogline

Lecture 67 Associative And Disassociative Dimensions

Lecture 68 Feature Control Frame

Lecture 69 Creating Multileader

Lecture 70 Modify Multileader

Lecture 71 Multileader Style

Section 8: TEXT AND TABLE

Lecture 72 Singleline Text

Lecture 73 Multiline Text

Lecture 74 Text Style

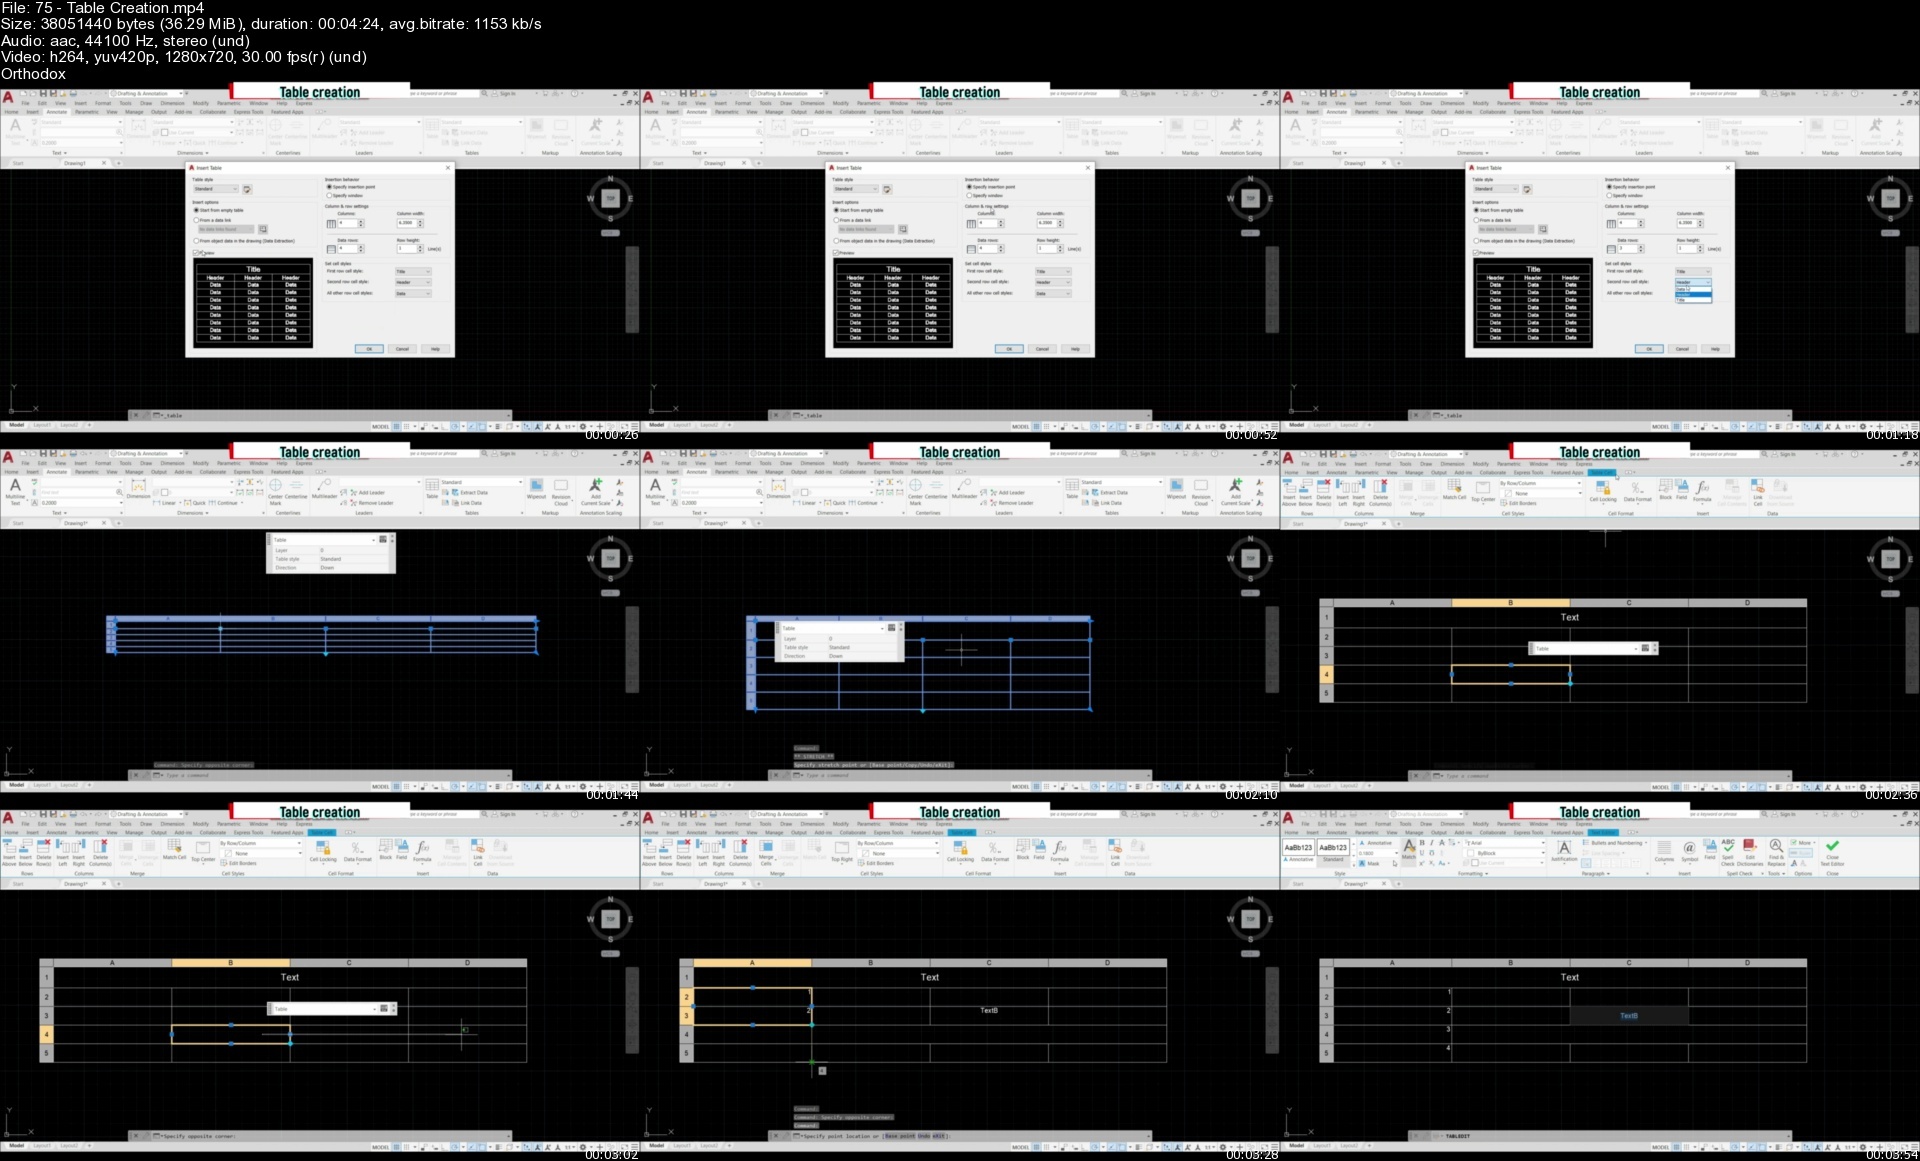
Lecture 75 Table Creation

Lecture 76 Table Style

Lecture 77 Formula

Section 9: LAYERS

Lecture 78 Creating Layers

Lecture 79 Layer Properties

Lecture 80 Layer State

Lecture 81 Layer Walk

Lecture 82 Layer Filter

Lecture 83 Hide And Isolate

Lecture 84 Quick Tools

Lecture 85 Merge, Delete And Copy

Section 10: EXERCISES

Lecture 86 Exercise 1

Lecture 87 Exercise 2

Lecture 88 Exercise 3

Lecture 89 Exercise 4

Lecture 90 Exercise 5

Lecture 91 Exercise 6

Lecture 92 Exercise 7

Lecture 93 Exercise 8

Lecture 94 Exercise 9

Lecture 95 Exercise 10

Lecture 96 Exercise 11

Lecture 97 Exercise 12

Lecture 98 Exercise 13

Section 11: PARAMETRIC TOOLS

Lecture 99 Constraint Concept

Lecture 100 Autoconstraint

Lecture 101 Geometric Constraint

Lecture 102 Dimensional Constraint

Lecture 103 Infer Constraint

Lecture 104 Equation

Section 12: BLOCKS AND GROUPS

Lecture 105 Block Concept

Lecture 106 Creating A Block

Lecture 107 Annotative Block

Lecture 108 Insert Block

Lecture 109 Modify Block

Lecture 110 Write Block

Lecture 111 Tool Pallet

Lecture 112 Creating Groups

Lecture 113 Group Manager

Section 13: ATTRIBUTES

Lecture 114 Creating Attributes

Lecture 115 Edit Attributes

Lecture 116 Attribute Manager

Lecture 117 Attributed Blocks

Section 14: DYNAMIC BLOCKS

Lecture 118 Dynamic Block Concept

Lecture 119 Creating Dynamic Block - Stretch1

Lecture 120 Creating Dynamic Block - Stretch2

Lecture 121 Creating Dynamic Block - Scale

Lecture 122 Dynamic Block Properties

Lecture 123 Creating Dynamic Block Using Constraints

Lecture 124 Move And Rotate Object In Dynamic Block

Lecture 125 Visibility Parameter

Lecture 126 Block Table

Section 15: EXTERNAL REFERENCES (X-Ref)

Lecture 127 External Reference Concept

Lecture 128 Attaching X-Ref

Lecture 129 Edit And Clip X-Ref

Lecture 130 X-Ref Pallet

Lecture 131 Attaching PDF And Image

Lecture 132 Compare X-Ref

Section 16: PAGESETUP

Lecture 133 Layout And Paper Size

Lecture 134 Modify Pagesetup

Lecture 135 New Pagesetup

Lecture 136 Importing Pagesetup

Section 17: VIEWPORT

Lecture 137 Creating Viewport

Lecture 138 Layers In Viewport

Lecture 139 Scale In Viewport

Section 18: TITLE BLOCK

Lecture 140 Creating A Title Block

Lecture 141 Adding Text And Fields

Lecture 142 Inserting Title Block

Section 19: PLOTTING

Lecture 143 Plotting From Model Space

Lecture 144 Plotting From The Layout

Lecture 145 Color Plot Style

Lecture 146 Named Plot Style

Section 20: SHEETSET

Lecture 147 Creating Sheetset

Lecture 148 Publish Sheetset To PDF

Lecture 149 Creating A ZIP File

Lecture 150 Inserting A View To Sheetset

Section 21: EXERCISES

Lecture 151 Exercise 14

Lecture 152 Exercise 15

Lecture 153 Exercise 16

Lecture 154 Exercise 17

Lecture 155 Exercise 18

Lecture 156 Exercise 19

Lecture 157 Exercise 20

Section 22: MANIPULATION WITH 3D MODEL

Lecture 158 Navigation

Lecture 159 Views

Lecture 160 Visual Style

Lecture 161 Viewports

Lecture 162 3D Workspace

Section 23: 3D PRIMITIVES

Lecture 163 Box

Lecture 164 Cylinder

Lecture 165 Cone

Lecture 166 Pyramid

Lecture 167 Wedge

Lecture 168 Sphere

Lecture 169 Torus

Section 24: COORDINATE SYSTEM

Lecture 170 User Coordinate System

Lecture 171 Dynamic User Coordinate System

Section 25: 3D TOOLS

Lecture 172 Extrude

Lecture 173 Presspull

Lecture 174 Polysolid

Lecture 175 Revolve

Lecture 176 Loft

Lecture 177 Sweep

Section 26: 3D EDITING TOOLS

Lecture 178 Move, Rotate And Scale

Lecture 179 3D Array

Lecture 180 3D Mirror

Lecture 181 Shell

Lecture 182 Align

Lecture 183 Boolean Operations

Lecture 184 Fillet

Lecture 185 Chamfer

Lecture 186 Helix

Lecture 187 Interfere

Lecture 188 Imprint, Extract And Copy Edges

Lecture 189 Copy, Offset And Color Faces

Lecture 190 Convert To Solid/Surface And Thicken Tool

Lecture 191 Taper, Offset And Extrude Face

Lecture 192 Section Plane And Live Section

Section 27: EXAMPLES

Lecture 193 Cup

Lecture 194 Pen

Lecture 195 Allen Key

Lecture 196 Table

Section 28: DRAWING VIEWS

Lecture 197 Base And Projected View

Lecture 198 Section View

Lecture 199 Detail View

Lecture 200 Annotating Views

Section 29: MESH MODELING

Lecture 201 Mesh Concept

Lecture 202 Mesh Primitives

Lecture 203 Mesh Tools

Lecture 204 Mesh Surface

Lecture 205 Mesh Editing Tools

Section 30: SURFACE MODELING

Lecture 206 Extrude And Revolve

Lecture 207 Loft And Sweep

Lecture 208 Planar Surface And Network

Lecture 209 Patch And Fillet

Lecture 210 Offset And Blend

Lecture 211 Trim, Untrim, Extend And Scculpt

Lecture 212 Project Geometry

Lecture 213 NURBS

Section 31: EXAMPLES

Lecture 214 Sofa

Lecture 215 Ventilator

Lecture 216 Bottle

Lecture 217 Basket

Section 32: RENDERING AND ANIMATION

Lecture 218 Applying Material

Lecture 219 Edit, Change And Remove Material

Lecture 220 Camera And Views

Lecture 221 Lights

Lecture 222 Environment

Lecture 223 Rendering

Lecture 224 Animation

Section 33: EXAMPLES

Lecture 225 Bolt

Lecture 226 Screwdriver

Section 34: CUSTOMIZATION AND ADVANCED TOOLS

Lecture 227 New Workspace

Lecture 228 DWG Compare

Lecture 229 Express Tools

Lecture 230 Action Recorder Tool

Lecture 231 Quick Select Tool

Lecture 232 Extract Data

Lecture 233 3D Print

Section 35: CONCLUSION

Lecture 234 Congratulations

Lecture 235 Bonus Lecture

Students,Engineers,Individuals interested in AutoCAD

Homepage


75tablecreations1icat.jpg


The Art Of Drawing The Face | Beginner'S Course (New) 2022

o4h0n07esxe0mmfpahyvsmafp1.jpg


The Art Of Drawing The Face | Beginner'S Course (New) 2022
Last updated 7/2022
MP4 | Video: h264, 1280x720 | Audio: AAC, 44.1 KHz
Language: English | Size: 6.54 GB | Duration: 5h 13m

Discover Your Inner Creativity and Become a Professional Artist. VERY EASY


What you'll learn
How to draw the human face
How to draw using free hand method
how to draw the eyes, nose , mouth etc and facial features.
How to scale a Drawing.
How to Draw from a reference Photograph.
How to make a DIY blending Smudge tool at Home.
How to hold a pencil for drawing
How to shade with cahrcoal Pencil.
How to Blend Shadows and Highlights on the Face
How to Draw with Charcoal Pencil
How to use Charcoal Sticks
How to draw realistically

Requirements
A4 Paper (White)
Charcoal Pencil (soft)
Eraser
Ruler
Charcoal Stick
passion to learn
no prior drawing experience

Description
Important Updates 15/07/2022Main Drawing 3: Basquiat The Lengend Charcoal Portrait Drawing.Complete lecture series..08/07/2022Main Drawing 2 Complete Lecture Video Series. - A little Boy Artpiece 08/07/22 New Updates: Lecture No.1 Introduction to Charcoal medium(NEW)Lecture 6: Drawing Exercise, How to Draw the Mouth (NEW)09/06/22 Update: Lecture No. 13. HOW TO BLOCK SHADOWS & HIGHLIGHTS.Everyone is gifted but some people just don't open up their package.Don't just let your inner Artist die without you developing your Talent. Alot of people do that without knowing what they are truly capable of creating.At least you owe it to yourself to try.Using This 10 steps Drawing Technique. I have come to understand that any body can learn how to draw even if you have no experience.All you need is the right Knowledge and practice. Learn How to Draw Anyone, Anytime! VERY EASY Realistic Portrait Drawing Course.10 steps Drawing Technique made simple. Imagine for a Moment; that you could Draw your Friends, the Face of the one you Love, or even Your Family Members.Imagine you could Draw just anyone and you made them so happy each time.Imagine the Joy and Fulfilment.DRAWING IS A Basic Instinct; We are all born with.Many People think that Drawing is Hard but The Truth is that Drawing is a Skill and with the right knowledge and Practice, You can master the Art of Drawing.My Name is Red T. Jacobs and I'm a Creative. We have simplified our Drawing Techniques into 10 simple Steps. In this Course, I'm going to show you How I Draw a Real Human Face from a Reference photo. You will follow me step by step; From Start to Finish.How I Scale My Drawing.How I Draw the Eyes, The Nose, The Mouth & Ears.How I Achieve the right Proportion.The measurements I Use.How I Draw the Facial Hair.How I Draw the Beard.How I blend the Highlights and Shadows.How to make a Blending Stump Smudge Tool at Home.How to highlight your eyes to make it vibrant. This is a step by Step Process you can master and start drawing in very little time.We start with some basic Drawing Exercises.How to Hold a Drawing PencilHow to Draw the Eye.How to Draw the Nose .How to Draw the Ear.You will learn how to use a Charcoal Stick.Everything you need to know about Drawing the Human Face from a reference Photo as a Beginner.I want to share with you in this course my drawing Processes and tips that work for me. These 10 steps Technique in Drawing are simple and easy to apply.Grab Your Charcoal Pencil and let's us Begin.

Overview

Section 1: Basic Drawing Exercise

Lecture 1 Introduction to Charcoal Medium (NEW)

Lecture 2 How to Hold Your Drawing Pencil

Lecture 3 Drawing Exercise : How to Draw an Eye

Lecture 4 Drawing Exercise : How To Draw The Nose

Lecture 5 Drawing Exercise: How to draw the Basic Ear

Lecture 6 Drawing Exercise: How to Draw the Mouth (NEW)

Section 2: D.I.Y Project

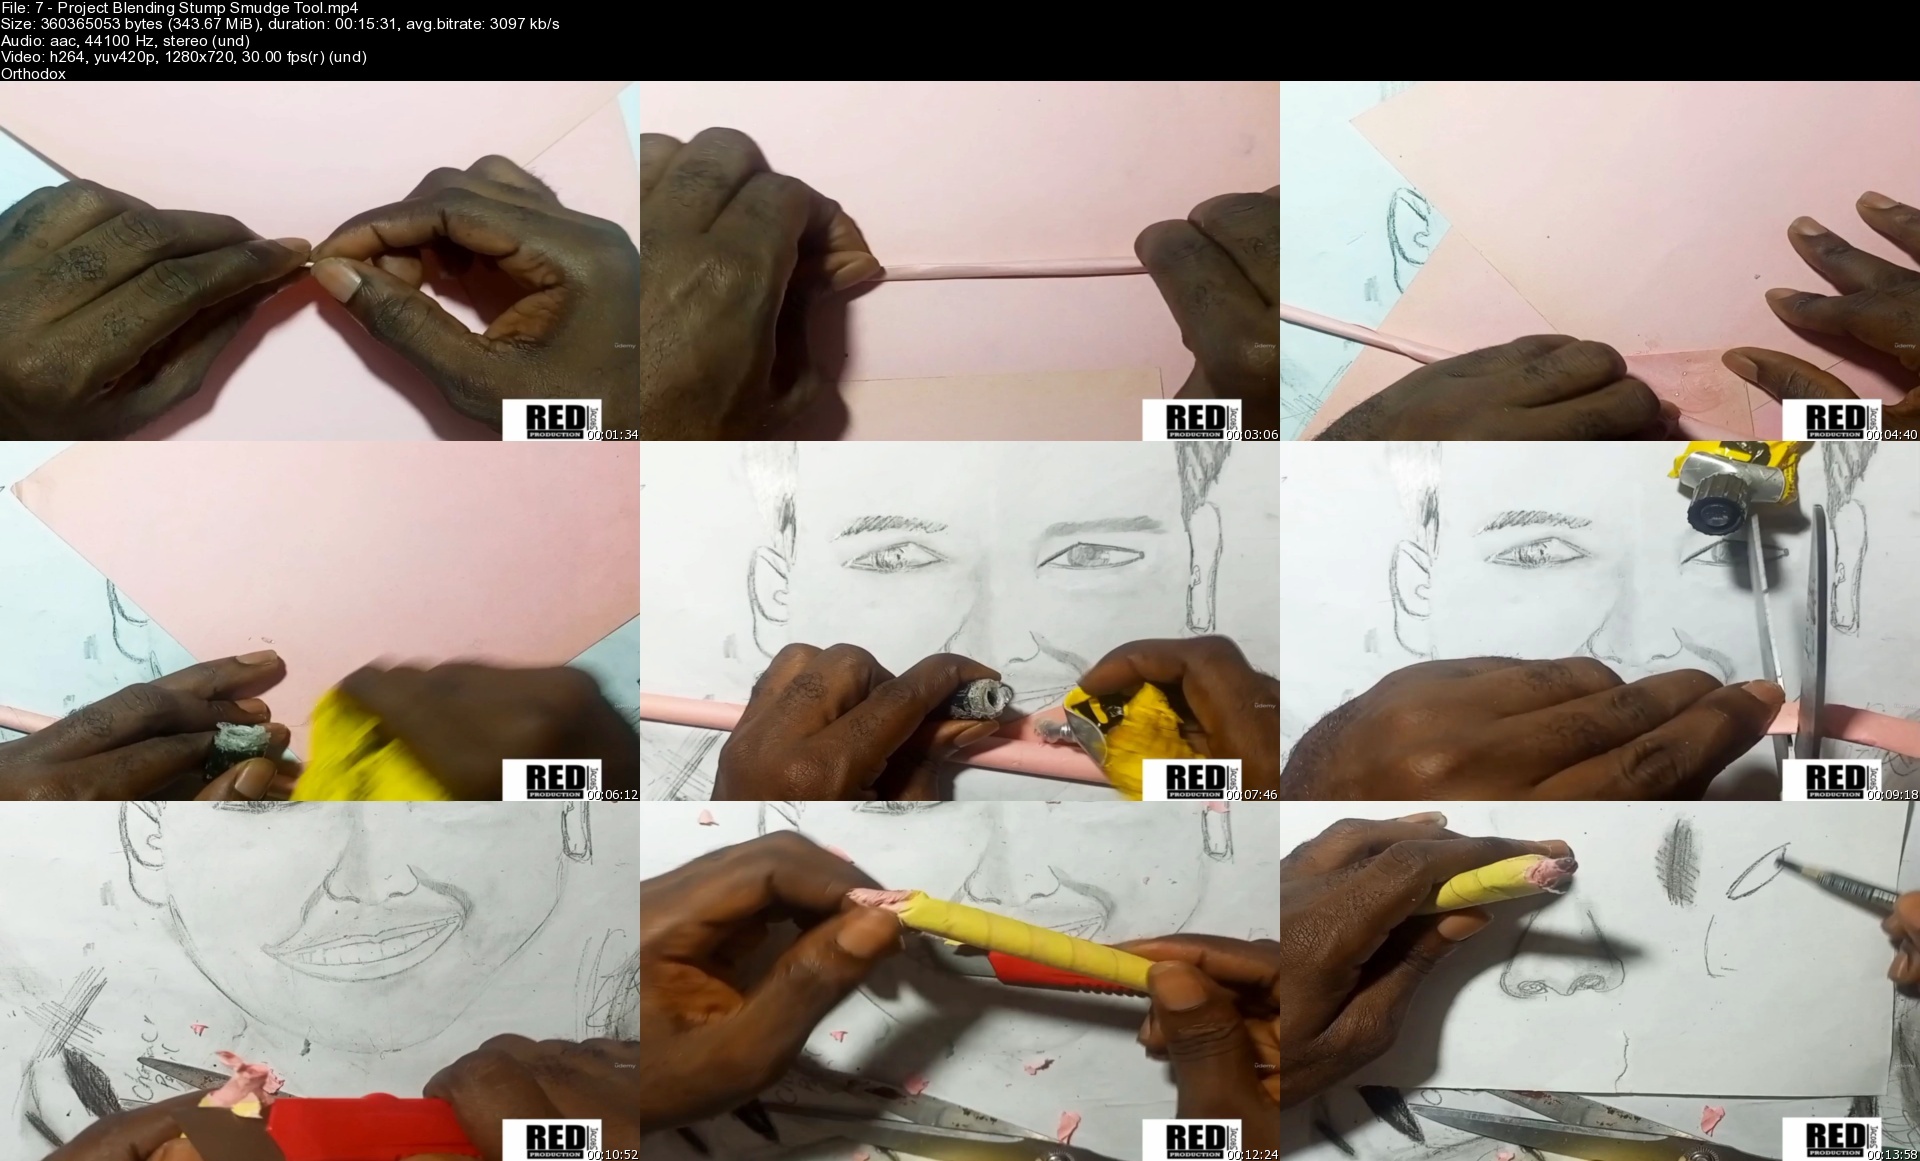
Lecture 7 Project : Blending Stump Smudge Tool

Section 3: Main Drawing 1 How to Draw A FAce

Lecture 8 Main Drawing: How to Scale your Drawing

Lecture 9 Main Drawing: How to Draw the Eyes

Lecture 10 Main Drawing: How to Draw The Nose

Lecture 11 Main Drawing: How to Draw the Mouth

Lecture 12 Main Drawing: How to Draw the Facial Hair

Lecture 13 Main Drawing: How to draw the Beard

Lecture 14 Main Drawing: How to Draw the Shape of the Face

Lecture 15 Main Drawing : How to Block the Shadows & Highlights ( (UPDATED)

Lecture 16 Main Drawing: How to Draw the Hair

Lecture 17 Main Drawing: How to Blend the Shadows & Highlights

Section 4: Main Drawing 2 (NEW) - How to draw a Cute Little Boy

Lecture 18 Main Drawing 2 : How to paint The Background Paper

Lecture 19 Main Drawing 2 : How to scale Your drawing

Lecture 20 Main Drawing 2: How to Draw the Eyes

Lecture 21 Main Drawing 2: How to Draw The Nose

Lecture 22 Main Drawing 2: How to Draw the Mouth

Lecture 23 Main Drawing 2 : How to Draw the Chin

Lecture 24 Main Drawing 2 : How to Draw the Eye Brow

Lecture 25 Main Drawing 2: How to draw the Face

Lecture 26 Main Drawing 2 : How to block the Shadow

Lecture 27 Main Drawing 2: How to draw the Ear

Lecture 28 Main drawing 2: How to Hight the eyes

Lecture 29 Main Drawing 2: How to add Highlights to the Face

Lecture 30 Main Drawing 2: How to draw the Hair

Lecture 31 Main Drawing 2: How to highlight the Hair

Lecture 32 Main Drawing 2: How to Draw the Body

Lecture 33 Main Drawing 2 : How to draw the Shirt

Lecture 34 Main Drawing 2: How to Sign off your Drawing

Section 5: Main Drawing 3 (NEW) - Basquiat (The Legendary Artist) Charcoal Portrait

Lecture 35 Main Drawing 3: How to Scale your Drawing

Lecture 36 Main Drawing 3 : How to Paint your Background

Lecture 37 Main Drawing 3: How to Draw the Eyes

Lecture 38 Main Drawing 3: How to Draw the Nose

Lecture 39 Main Drawing 3 : How to Draw the Mouth

Lecture 40 Main Drawing 3 : How to Draw the Eye Brow

Lecture 41 Main Drawing 3: How to Draw the Shape of the Face

Lecture 42 Main Drawing 3: How to draw The Hair

Lecture 43 Main Drawing 3: How to shade the Hair

Lecture 44 Main Drawing 3 : How to Add the Shadows

Lecture 45 Main Drawing 3: How to Draw the Body

Lecture 46 Main Drawing 3: How to Blend the Clothes

Lecture 47 Main drawing 3: How to add Highlight the Eyes

Lecture 48 Main Drawing 3 : How to Sign off your drawing

Begineer Artist,People who want to learn how to draw the Human Face,Beginner Pencil Artist,People who love to draw,People who want to learn a new Skill

Homepage


7projectblendingstump1td9e.jpg


Key Frame Illustration for Production

jalqkm5q2jqidsxnebauzjjiik.jpg


Key Frame Illustration for Production
MP4 | Video: h264, yuv420p, 1920x1080 | Audio: aac, 44100 Hz | Duration: 13h 35m | 9.18 GB
Genre: eLearning | Language: English

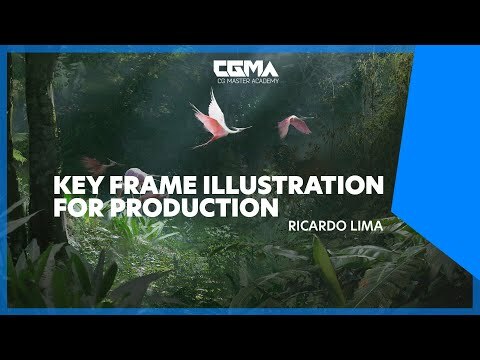
This course focuses on teaching students how to create beautiful and cinematic key frame illustrations. Using a mix of rendering techniques, we will tackle important elements of creating key frames such as composition, color, mood, and lighting.

The course will be composed of two parts: first, we will study the fundamentals behind cinematic images in order to get familiar with those structures and languages. In the second part, students will tackle a small project where the goal is to create a set of key frames using the knowledge learned in the past weeks. This course will help students work to develop a more cinematic feeling, as well as improve their workflow using industry-standard techniques.

Say Thank You

Homepage

keyframeillustrationfdxdp5.jpg


Animal Creation for Film: Tiger

47841260cef7dcdhm.jpg


Animal Creation for Film: Tiger
Published 07/2022
MP4 | Video: h264, 1280x720 | Audio: AAC, 44.1 KHz, 2 Ch
Genre: eLearning | Language: English + srt | Duration: 56 lectures (19h 45m) | Size: 17.4 GB


Sculpt accurate anatomy, texture & groom realistic animals for your portfolio


What you'll learn
Sculpting the basic tiger skeleton with ZSphere
Sculpting the major superficial muscles
Adding skin & fat layer on top
Quick retopology using ZRemesher & PolyGroups
Quick UV unwrap in ZBrush
Posing our animal
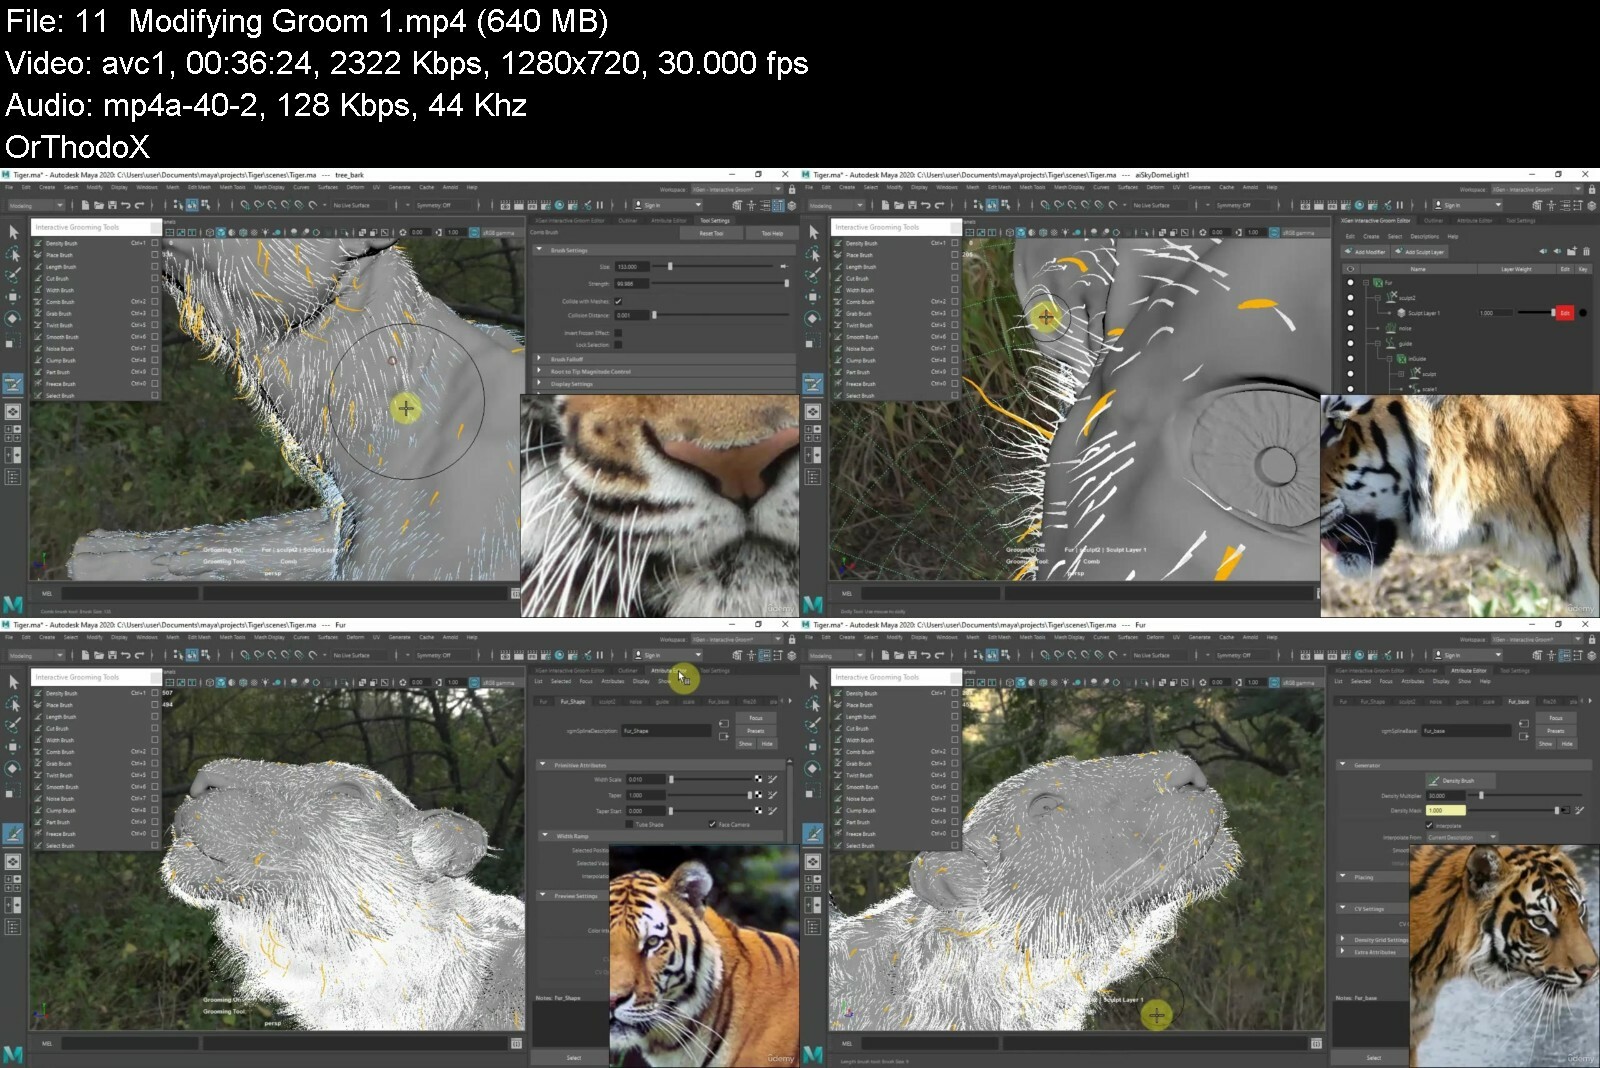
Groom in Xgen & render in Maya/Arnold
Color Correction In Photoshop

Requirements
This course is not designed for absolute beginner Zbrush & Maya users.
I expect you to have some sort of basic ZBrush, Maya & Photoshop experience.
You should have Zbrush, Maya & Photoshop installed on your computer.

Description
Do you have problems sculpting realistic animals in ZBrush?

Tried searching for a step by step tutorial online but still no luck?

Then I welcome you to Nexttut education's Animal Anatomy Sculpting for Beginners..

WHY SHOULD YOU LEARN FROM ME

My name is Adrian Krokodil and with a bit of medical background I founded a company called SA Anatomy where I have been teaching human & animal anatomy in ZBrush for many years now. Precision & Accuracy has been always mandatory for me since I supply 3D Anatomical models around the globe.

BENEFITS

By the end of this course, you ll be able to,

Understand the fundamentals of animal anatomy for artists,

Sculpt, texture & groom realistic animals

WHAT WILL I LEARN

Sculpting the basic tiger skeleton with ZSphere

Sculpting the major superficial muscles

Adding skin & fat layer on top

Quick retopology using ZRemesher & PolyGroups

Quick UV unwrap in ZBrush

Posing our animal

Making a stand & eye parts

Polypaint our sculpts

Export all the required maps & files for Maya

Groom in Xgen & render in Maya/Arnold

Color Correction In Photoshop

COURSE PROJECTS

We will start by customizing our Zbrush so we can work much faster and efficiently. Then we ll use our ZSphere to block out the basic skeleton. Then after our proportions are in place we ll start blocking our muscles. Then we will sculpt the skin & fat layer on top(without the fine details yet). After that we will do a quick zremesher on our model using polygroups & guides, this is not to say our model will be game ready, it's just for us to get decent typology(Manual retopology is always recommended). We ll then sculpt a stand for our animal to help best present our art for our portfolio & model the eyes. Then we'll do quick UV s in ZBrush(Again not production ready).Then we ll pose our animal to a specific dynamic pose. Then we ll sculpt some fine details(We ll not be too concerned about the animal as it will be covered in fur). Then we ll polypaint our sculpts using ZBrush spotlight (which we ll also serve as guides for our groom). We ll use the multimap exporter to export the required maps & files for maya. Then we ll groom our animal in maya xgen then set up a quick scene for our renders with MtoA. Then lastly we ll do some quick color correction for our render in Photoshop.

IS THIS COURSE RIGHT FOR ME

I have designed this course for beginner sculptors, who want to sculpt anatomically correct animals in ZBrush but they struggle because they don't find a tutorial which is step by step, no fast forward, no skip and coming from a human & animal anatomy artist who s been doing this for years.

The course is also for artists who want basic knowledge in grooming & rendering realistic animals in Maya.

WHO IS NOT THE IDEAL STUDENT

This course is not designed for absolute beginner Zbrush & Maya users.

WHAT SHOULD I KNOW OR HAVE FOR THE COURSE

I expect you to have some sort of basic ZBrush, Maya & Photoshop experience.

You should have Zbrush, Maya & Photoshop installed on your computer.

JOIN ME NOW

So if you want to sculpt realistic animals in ZBrush, then join me now, and take your skills to the next level. Hope to see you in the course.

Who this course is for
The course is also for artists who want basic knowledge in grooming & rendering realistic animals in Maya.
I have designed this course for beginner sculptors, who want to sculpt anatomically correct animals in ZBrush but they struggle because they don't find a tutorial which is step by step, no fast forward, no skip and coming from a human & animal anatomy artist who s been doing this for years.


Say Thank You

animalcreationforfilms2d16.jpg


Siemens NX Surface Training

8cyi8stn51yadybojilxpfvijb.jpg


Siemens Nx Surface Training
Last updated 6/2022
MP4 | Video: h264, 1280x720 | Audio: AAC, 44.1 KHz
Language: English | Size: 9.65 GB | Duration: 13h 52m

Siemens NX Surface & Curves Essential Training


What you'll learn
You will understand CAD concept and the most used operation of Siemens NX surfacing .
Work independently on any Part in any version of Siemens NX Surfacing.
Confidently list your NX surface skills in your resume.
Make any complex Designs easily using a combination of tools as shown in Examples & Exercises.

Requirements
You will need to download the free Siemens NX CAD Academic Version. You can do this with a simple web search: NX Academic - Software for Students and Teacher

Description
DescriptionIn this "Siemens NX Surface Training" program you will experience a unique successful method with hands on for practice.This course is designed for individuals who are not new to NX CAD as well as working in any company who had learned any CAD course long time ago and just want a brush up on the tools and operation quickly and use in their projects immediately.Even if you presently know nothing about 3D Design and Siemens NX Surface this course is geared to accelerate you professional development and validate your skills in surfacing.This course is not a shortcut to certification. To pass you will need to cover all the course material and spend time using and experimenting with NX Surface and get industry recognized credentials.NX Surface with curves is a computer-aided design (CAD) system for creating complicated surfacing parts and assemblies. NX Surface boosts essential CAD user productivity by capturing engineers' Surface modeling design intentions through inference logic and decision-management concepts. 3D Curves makes it possible to modify the design of any model, without having to know how it was constructed.About this course:With this course, you will get:Full, free lifetime access to all lectures (increasing over time).All future extra lectures and upgrades will always be free.Unconditional Udemy 30 days money-back guarantee - We are sure you would love the course though Today, you can start your journey to becoming a NX Surface professional !I stress that you need no prior experience and there is nothing to buy or pay for!!! You will only need NX itself.You will learn:How to navigate through the NX CAD interface.How to sketch with different sketch commands.How to define sketches using constraint or distances.How to use more than 10 different features to create 3D models. How to create additional reference planes.How to modify given parts to match design needs.How to explore different materials for your models.How to design surface parts.How to assemble different surface parts into an assembly file.How to generate drawings from parts and models.How to work with surface models.How to generate drafting of any model.Who this course is for:Students - Engineers Hobbyists: Interested in 3D Mechanical Design? - Want to improve their job skills? Students interested in 3D Printing." program you will experience a unique successful method with hands on for practice.

Overview

Section 1: Surface Design

Lecture 1 Introduction

Lecture 2 Four Point Surface

Lecture 3 Extrude exercise 1

Lecture 4 Revolve Surf Exercise 2

Lecture 5 Edge Blend

Lecture 6 Face Blend

Lecture 7 Aesthetic Face Blend

Lecture 8 BLEND CORNER

Lecture 9 EMBOSS SURFACE

Lecture 10 OFFSET SURFACE

Lecture 11 VARIABLE OFFSET FACE

Lecture 12 Offset Emboss

Lecture 13 Ribbon Builder

Lecture 14 Patch opening

Lecture 15 Sheet from Curves

Lecture 16 Bounded Plane

Lecture 17 Fill Surface

Lecture 18 Fill Surf Exercise. 3

Lecture 19 Transition Surface

Lecture 20 Divide Face

Lecture 21 Trim and Extend

Lecture 22 Trim and Extend Exercise 4

Lecture 23 Trim and Extend Exercise 5

Lecture 24 Untrim

Lecture 25 Extract Geometry

Lecture 26 Combine

Lecture 27 Silhouette Flange

Lecture 28 Extension Surface

Lecture 29 Law Extension

Lecture 30 Through Curves

Lecture 31 Through Curve Exercise 6

Lecture 32 Through Curve Mesh

Lecture 33 Studio Surface

Lecture 34 N Sided Surface

Lecture 35 Ruled

Lecture 36 Midsurface by Face Pair

Lecture 37 TRIM SHEET

Lecture 38 EXTEND SHEET

Lecture 39 VARIABLE OFFSET FACE

Lecture 40 BRIDGE SURFACE

Lecture 41 Bridge Surface Exercise 7

Lecture 42 Swept

Lecture 43 Swept II

Lecture 44 Swept Vector Direction

Lecture 45 Swept Angular Law

Lecture 46 SWEEP ALONG GUIDE

Lecture 47 Variational Sweep

Lecture 48 Patch

Lecture 49 Flattening and forming

Lecture 50 Sew

Lecture 51 Unsew

Lecture 52 Section Surface

Lecture 53 Section Surface II

Lecture 54 Section Surface III

Lecture 55 STYLED BLEND

Lecture 56 STYLED CORNER

Lecture 57 Styled Sweep part1

Lecture 58 Styled Sweep part2

Lecture 59 styled sweep exercise 8

Lecture 60 Xform

Lecture 61 I-Form

Lecture 62 Enlarge Surface

Lecture 63 Edge Symmetry

Lecture 64 Global Shaping by to Point

Lecture 65 Global Shaping by open region

Lecture 66 Global Shaping by to curves

Lecture 67 Global Shaping by overbend

Lecture 68 Global Shaping by surface

Lecture 69 Global Shaping BY curves

Lecture 70 Global Shaping by surface2

Lecture 71 Global Shaping by surface3

Lecture 72 Global Shaping by stretch to point

Lecture 73 Global Shaping by stretch to curve

Lecture 74 Global Shaping by to curves2

Lecture 75 Jug Exercise 9

Lecture 76 Dart Exercise 10

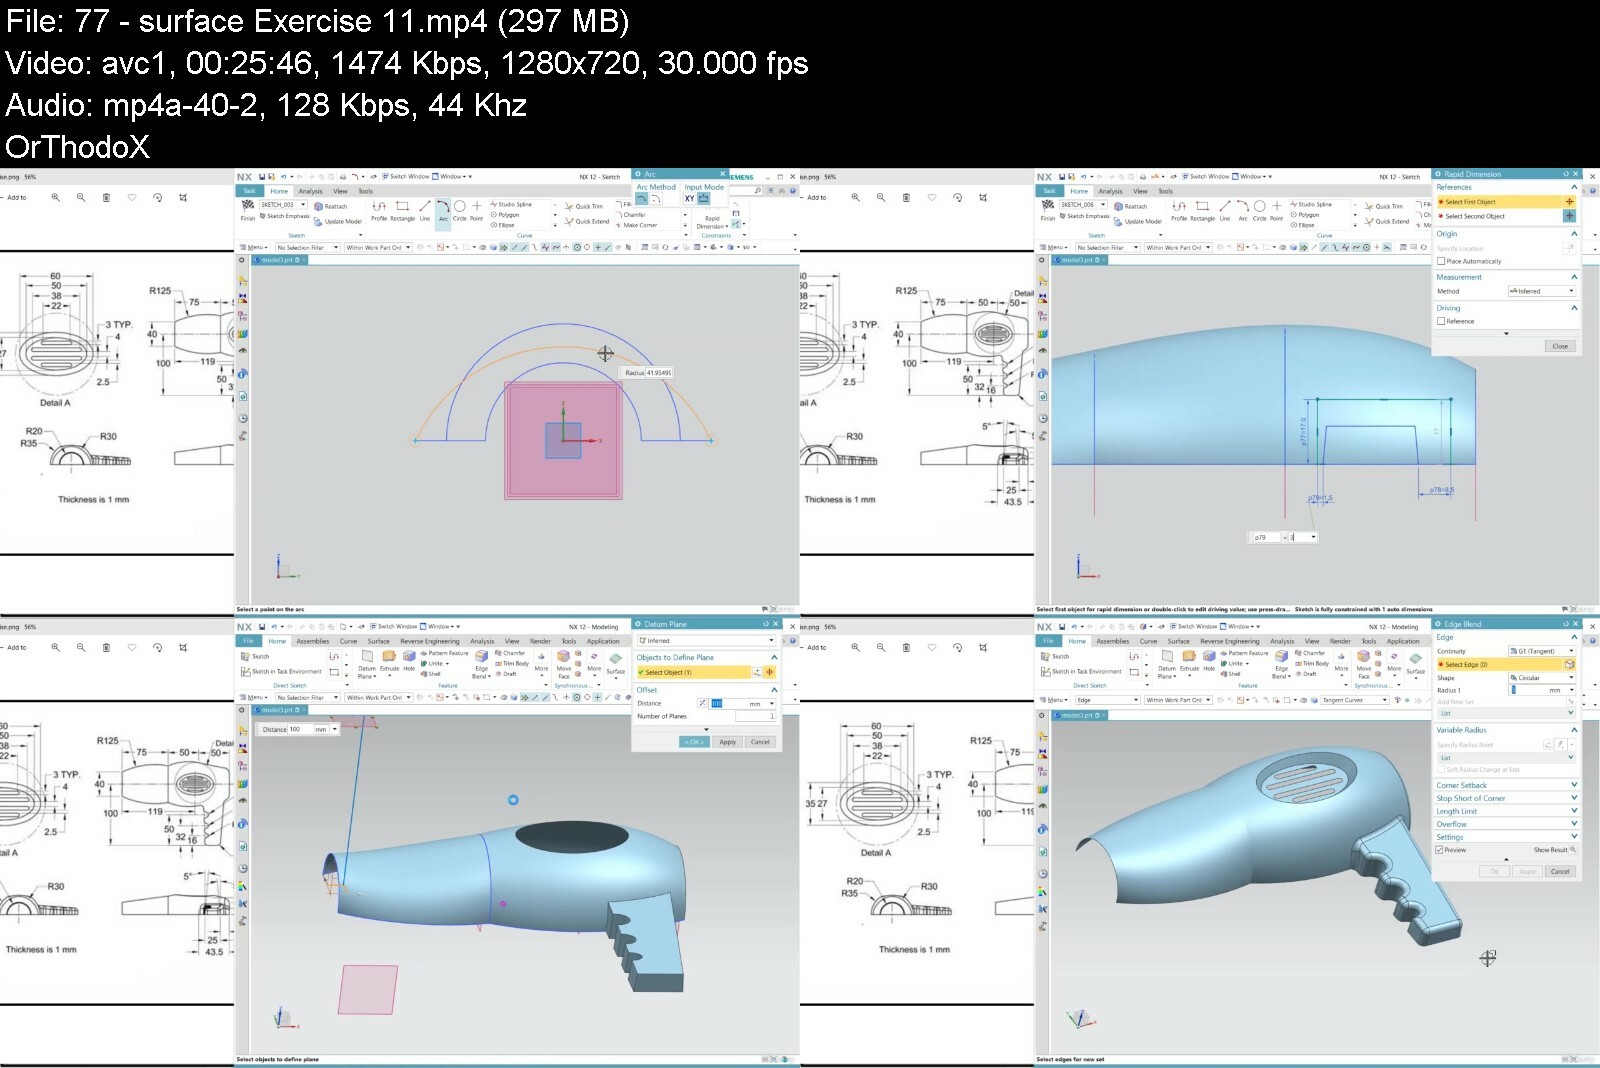
Lecture 77 surface Exercise 11

Lecture 78 Surface Exercise 12

Lecture 79 Through Curves Exercise 13

Lecture 80 Surface Exercise 14

Lecture 81 Surface Exercise 15

Lecture 82 surface exercise 16

Lecture 83 Surface Exercise 17

Lecture 84 Surface Exercise 18

Lecture 85 Surface Exercise 19

Lecture 86 Surface Exercise 20

Lecture 87 Surface Exercise 21

Section 2: Curve

Lecture 88 Offset Curve

Lecture 89 Offset Curve in face

Lecture 90 Offset 3D Curve

Lecture 91 Bridge Curve

Lecture 92 Composite Curve

Lecture 93 Combined Curve

Lecture 94 combined Curve Exercise 1

Lecture 95 Delete Edge

Lecture 96 Scale Curve

Lecture 97 Project Curve

Lecture 98 Intersection Curve

Lecture 99 Wrap Curve

Lecture 100 Unwrap Curve

Lecture 101 Isoparametric Curve

Lecture 102 Isocline Curve

Lecture 103 Section Curves

Lecture 104 Mirror Curve

Lecture 105 Raster image

Lecture 106 Virtual Curve

Lecture 107 Helix Curve

Lecture 108 Helix Curve

Lecture 109 Helix Exercise

Lecture 110 Helix Blend Corner Exercise 2

Lecture 111 Text

Lecture 112 Curve on surface

Lecture 113 Trim Curve

Lecture 114 Curve Length

Lecture 115 X-form for spline

Lecture 116 3D Curve Exercise 3

Lecture 117 3D Curve Exercise 4

Technical students,Diploma mechanical,BTech Mechanical,M. Tech CAD CAM,Any technical person,First Timer Professionals

Say Thank You


siemensnxsurfacetrainjnezs.jpg


Complete Industry Oriented Program On CATIA V5 R20

0e2hqwopo6msoouanqxceyxetv.jpg


Complete Industry Oriented Program On Catia V5 R20
Last updated 4/2022
MP4 | Video: h264, 1280x720 | Audio: AAC, 44.1 KHz
Language: English | Size: 5.43 GB | Duration: 7h 26m

Complete Sketching, Part Design, Assembly and Detailing with Industry Standards


What you'll learn
CATIA V5 R20
Product Development
Manufacturing Basics
Engineering
Sketching
Part Modeling for Detailing, 3D Printing , Additive Manufacturing or for the Automation Purposes
Assembling
Detailing for the Manufacturing
Angle of Projections
Drawing Quality Checking Before Sending To Manufacturing
Applying GD&T
Design Standards

Requirements
Basics of Cad Knoweldge
Manufacturing Basics
Engineering Basics

Description
Course Has been created to provide the CAD knowledge in the Industrial Level, This course has been created exactly how the industry projects will be executed to produce Quality products to the Clients.I am sure after taking this course with proper practice with the material provided in the course the students can execute the Operations as per the industry needs.While Explaining the Part Modelling and Drafting Manufacturing methods has been explained clearly and how a designer should adopt his design methods according to the manufacturer needs.Apart from the Design for manufacturing and design for assembly this method of Designing can be followed to produce even automation works also.CurriculumSketchingAbout CatiaCatia InterfaceEntering into Mechanical DesignIntroduction to Sketcher ModuleEntering into Sketcher InterfaceSketching InterfaceSpecification TreeMouse ControlsProfile CommandRectangle and its typesParallelogramElongated HoleCylindrical Elongated HoleKey Hole ProfileHexagonCentered RectangleCentered ParallelogramCircle and TypesArcs and TypesSpline and TypesConic Curves and TypesLine and TypesPoint and TypesCornerChamfer TrimBreakQuick TrimClose arc and ComplimentMirror and SymmetryTranslate and RotateScale and OffsetDimensions and TypesGeometric ConstrainsAnimate DimensionsMulti Dimension EditSketching PracticePart ModellingEntering into Part Design module from SketcherPadMulti PadPocketMulti PocketShaftGrooveHole and Its TypesRibSlotStiffenerMulti Section SolidRemoved Multi Section SolidFillets and TypesChamfer and TypesDraft AngleShell and ThicknessFace RemoveThreadsTranslateRotateSymmetryMirrorPattern and TypesScaling and AffinityDifferent ShadesMaterialsPart Design PracticeSection ViewsMeasure ToolsAssemblyIntroduction to AssemblyBase Component ImportFixing the Base ComponentChild component Assembly methodUsing Different constrainsDifferent Patterns in AssemblyLinear Pattern in Assembly Circular Pattern in AssemblyCopy of Child ComponentsBill of MaterialsHiding a componentExploded View in AssemblyExploded Line Sketch in AssemblyAssembly FeaturesAssembly PracticeDrafting/DetailingIntroduction To DraftingSelecting Sheet Its Size and Sheet StandardsChoosing the Model to DetailsStandard Views Creation MethodsModel Views/ Custom Views Section ViewsDetail ViewsBroken ViewBroken Out ViewCrop ViewAuxiliary ViewSmart DimensionsDimension TypesBase Line DimensionChain DimensionOrdinate DimensionModel DimensionNotes and Spell CheckSurface FinishHole Call OutGD&T and Datum FeaturesCenter Mark & Center LineBlocks and HatchingRevision Symbols and TablesAssembly DraftingBallooningWeld SymbolsDrafting PracticeQuality CheckingDrawings Comparison at Different Revisions

Overview

Section 1: Introduction

Lecture 1 Introduction to CATIA V5

Section 2: SKETCHING

Lecture 2 Different Modules In CATIA V5

Lecture 3 Sketching Module and Introduction.

Lecture 4 Mouse Controls

Lecture 5 Profile Tools

Lecture 6 Profile Tools-01

Lecture 7 Operation Tools

Lecture 8 Operation Tools_01

Lecture 9 Dimensions and Geometric Constrains

Lecture 10 Multi Dimension Edit and Dimension Animation

Lecture 11 Sketch Practice_00

Lecture 12 Sketching Practice Manual

Section 3: Part Design

Lecture 13 Method of Product Design

Lecture 14 Extrude Using Pad

Lecture 15 Extrude Using Pad_01

Lecture 16 Extrude Using Pocket

Lecture 17 Multi Pad and Multi Pocket

Lecture 18 Shaft and Groove

Lecture 19 Reference planes Creation

Lecture 20 Rib and Slot

Lecture 21 Stiffner

Lecture 22 Multi Section Solid and Removed Multi section Solid

Lecture 23 Multi Section Solid using Coupling

Lecture 24 Fillet and Chamfer and itsTypes

Lecture 25 Draft angle, Shell and Thick fature

Lecture 26 Thread and Tapping

Lecture 27 Holes and Types

Lecture 28 Transform, Rotate and Symmetry

Lecture 29 Patterns and types

Lecture 30 Scaling and Affinity

Lecture 31 Part Design Practice_01

Lecture 32 Part Design Practice_02

Lecture 33 Part Design Practice_03

Lecture 34 Part design Practice Manual.

Section 4: Assembly

Lecture 35 Assembly Introduction

Lecture 36 Base Component Management

Lecture 37 Child component import method and assemble with parent component

Lecture 38 Universal Coupling Assembly Practice

Lecture 39 Radial Engine Piston Assembly

Lecture 40 Radial Engine Piston Assembly_01

Lecture 41 Radial Engine Piston Assembly_02

Lecture 42 Radial Engine Piston Assembly_03

Lecture 43 Radial Engine Piston Assembly_04

Lecture 44 Radial Engine Piston Assembly_05

Lecture 45 Radial Engine Piston Assembly Exploding method

Lecture 46 Assembly Circular Pattern

Lecture 47 Assembly Practice Manual

Section 5: Drafting/Detailing

Lecture 48 Angle of Projection

Lecture 49 Introduction to Drafting Environment

Lecture 50 Introduction to Drafting Environment and Creating Base View

Lecture 51 Section View and Detail View

Lecture 52 Crop View, Break View and Broken out View

Lecture 53 Dimensions and Types

Lecture 54 GD&T Application

Lecture 55 Modal Dimension

Lecture 56 Title Block Creation

Lecture 57 Creating New Drawing Sheets

Lecture 58 Drafting Practice_01

Lecture 59 Drafting Practice_02

Lecture 60 Drafting Practice_03

Lecture 61 Drafting Practice_04

Lecture 62 Drafting Practice_05

Lecture 63 Drafting Practice_06

Lecture 64 Drafting Practice_07

Lecture 65 Drafting Practice_08

Lecture 66 Drafting Practice_09

Lecture 67 Drafting Practice_10

Lecture 68 Drafting Practice_11

Lecture 69 Drafting Practice_12

Lecture 70 Drafting Practice_13

Lecture 71 Drafting Practice_14

Lecture 72 Drafting Practice_15

Lecture 73 Drafting Practice_16

Lecture 74 Drafting Practice_17

Lecture 75 Drafting Practice_18

Lecture 76 Drafting Practice_19

Lecture 77 Drafting Practice_20

Section 6: Complimentary Lecture

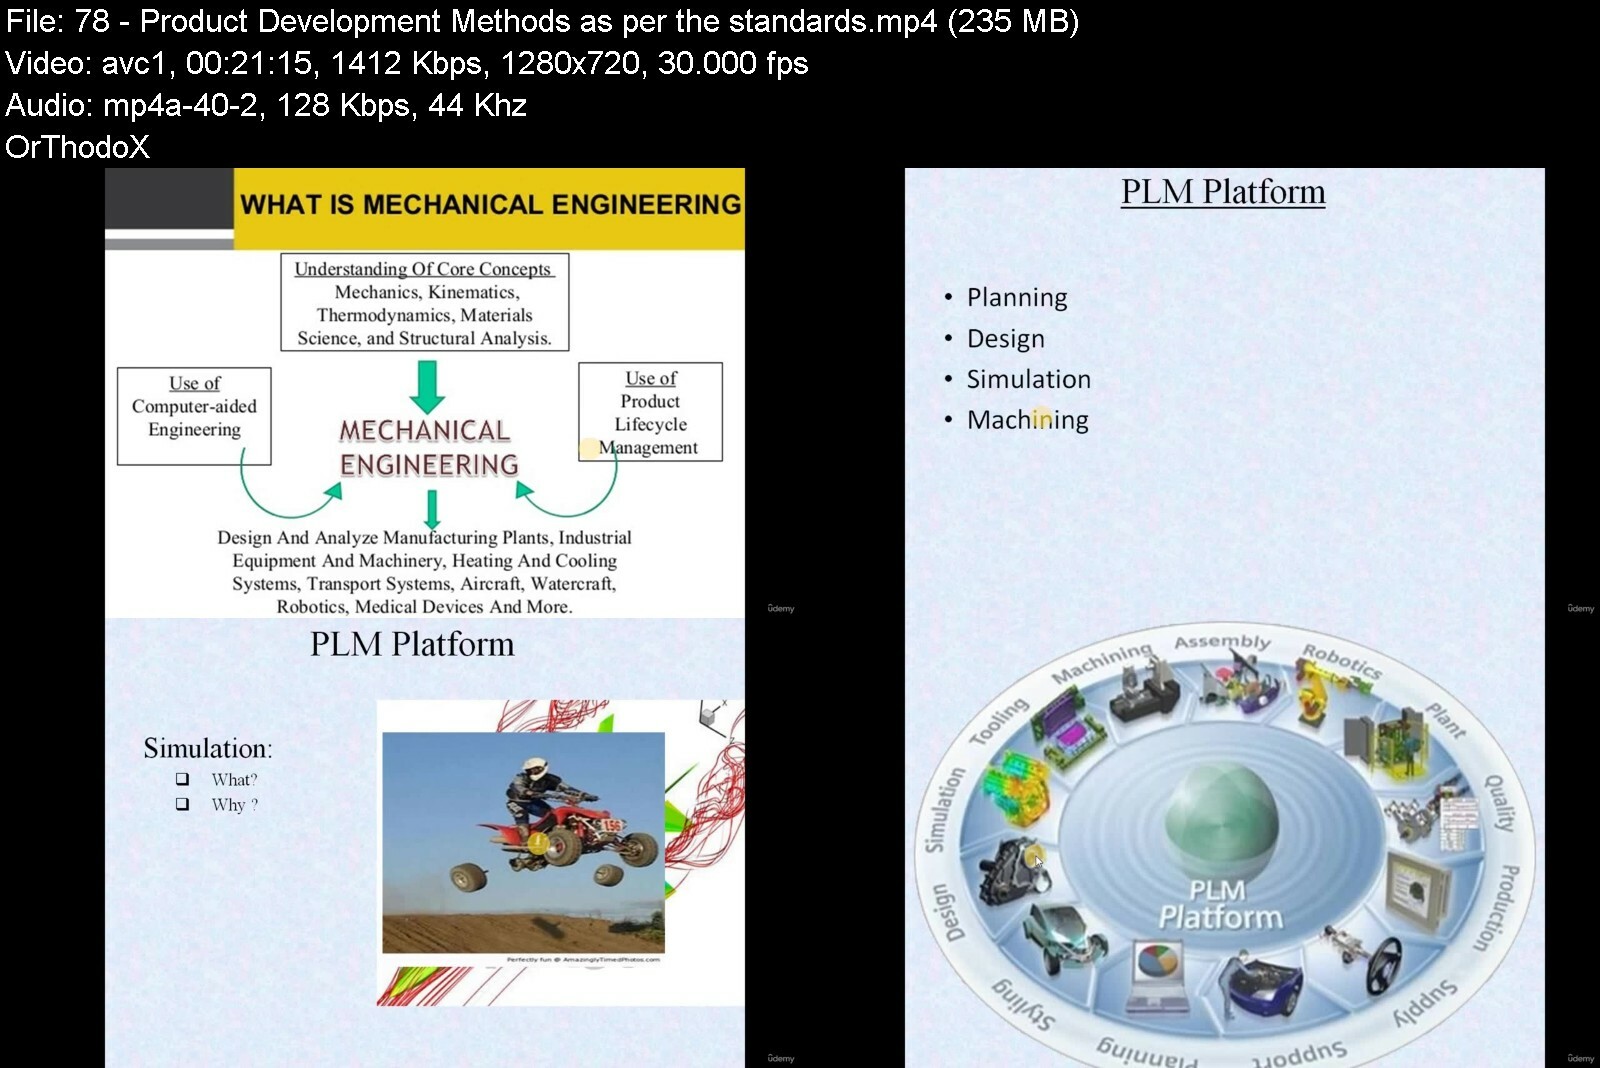
Lecture 78 Product Development Methods as per the standards

Section 7: Interview Question and Answers

Lecture 79 CATIA Interview Questions Asked in HCL for Boieng Client

Engineers,Design enthusiasts

Say Thank You


completeindustryorienb2cm9.jpg


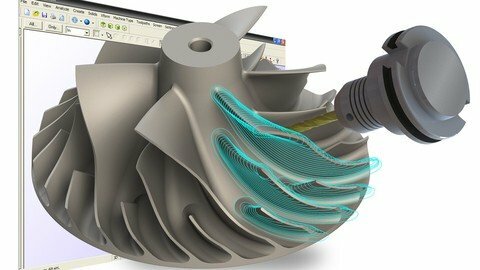
Mastercam L Cnc Programming

82sfyeiomvgylebdk10gyeicvo.jpg


Mastercam L Cnc Programming
Last updated 1/2022
MP4 | Video: h264, 1280x720 | Audio: AAC, 44.1 KHz
Language: English | Size: 8.93 GB | Duration: 15h 33m

Mastercam 2018, from beginner-advanced techniques Mailing, lathe, and Multi-axis operation with CNC Programming


What you'll learn
Wire-frame Geometry Creation, Surface And Solid Modeling, Dimension, Importing and Exporting of Non-MasterCAM files (such as AutoCAD, SolidWorks etc.)
Lathe ,Milling and Multi Axis Programming Solution
Toolpath Generation & Verification Programming
Generate Machining Code (G - Code and M - code)
Learn how to Work in 4 axis and 5 axis
We give you more than 25 Effective Exercise from us (Free Download)
We can also give you the video as per query
learner Mastercam tutorial
learner Mastercam programming

Requirements
Install Master CAM software
Basic knowledge of engineering drawings
Basic knowledge of G-Code and M-Code
Basic Knowledge of CNC Programming
Knowledge of Manufacturing Process and Their Related Machine

Description
What is MasterCAM? MasterCAM is a computer-aided manufacturing (CAM) software program used by manufacturing professionals, such as machinists and computer numerical control (CNC) programmersMastercam In addition to materials requirements, modern CAM systems include real-time controls and roboticsDepending on enterprise solution and manufacturer, CAM may present inadequacies in the following areas:The manufacturing process and usage complexityProduct Lifecycle Management (PLM) and modern enterprise integrationMachine process automation

Overview

Section 1: Introduction

Lecture 1 Introduction to MasterCAM

Lecture 2 Selection method

Lecture 3 Mouse Button Features

Section 2: Geometry Creation

Lecture 4 Create line Horizontal, vertical and etc

Lecture 5 How to Create Line parallel

Lecture 6 How to Create Line perpendicular

Lecture 7 How to Create Line closest

Lecture 8 How to Create Line bisect

Lecture 9 How to Create Line tangent through point

Lecture 10 Create Circle center point

Lecture 11 Create Circle edge point

Lecture 12 Create Arc 3 Point Method

Lecture 13 Create Arc End Point Method

Lecture 14 Create Arc Polar Method

Lecture 15 Create Arc Polar Endpoint Method

Lecture 16 Create Arc Tangent Method

Lecture 17 Create Point and spline

Lecture 18 Rectangle Command

Lecture 19 Rectangular shape

Lecture 20 Polygon Command

Lecture 21 Ellipse Command

Lecture 22 Create letter (Text)

Section 3: Geometry Modification

Lecture 23 Trim break and extend entity

Lecture 24 Offset and Offset Chain Entity

Lecture 25 Chamfer and Chamfer Chain Entity

Lecture 26 Fillet and fillet chain entity

Lecture 27 Arc Convert to Circle and break circle Entity

Lecture 28 Use Bolt Circle

Lecture 29 Apply Translate

Lecture 30 Apply Rotate

Lecture 31 Set Entity to Origin

Lecture 32 Convert entity to Mirror Shape

Lecture 33 Apply Rectangular Array

Lecture 34 Change Scale and Stretch your entity

Section 4: Annotation

Lecture 35 Smart Dimension

Lecture 36 Baseline, Chained and Tangent Dimension

Lecture 37 Ordinate Dimension

Lecture 38 Note and Label

Lecture 39 Cross Hatch

Section 5: Solid Creation

Lecture 40 Introduction and Create Cylinder

Lecture 41 Create Block

Lecture 42 Create Sphere

Lecture 43 Create Cone

Lecture 44 Create Torus

Lecture 45 Apply Visual Style

Lecture 46 Extrude Command

Lecture 47 Revolve Command

Lecture 48 Loft Command

Lecture 49 Sweep Command

Section 6: Solid Modification

Lecture 50 Boolean Operation

Lecture 51 Impression

Lecture 52 Chamfer On Solid Object

Lecture 53 Constant Fillet On Solid Object

Lecture 54 Face To Face And Variable Fillet

Lecture 55 Rectangular Pattern

Lecture 56 Circular Pattern

Lecture 57 Manual Pattern

Lecture 58 Shell Operation

Lecture 59 Draft Operation

Section 7: Lathe Operation

Lecture 60 Introduction Of Machine Module And Facing Operation

Lecture 61 Facing, Roughing and Finishing

Lecture 62 Step Turning Operation

Lecture 63 Drilling Operation

Lecture 64 Chamfering Operation

Lecture 65 Fillet Operation

Lecture 66 Chamfer, Fillet and Drilling Operation

Lecture 67 Grooving operation

Lecture 68 Chamfer, Fillet and Grooving Operation

Lecture 69 Chamfer, Fillet And Grooving Operation part 2

Lecture 70 Threading Operation

Section 8: Milling Operation

Lecture 71 Milling Machine and Facing Operation

Lecture 72 Mill Machine Setting

Lecture 73 Milling Operations

Lecture 74 Mill Toolpath Introduction and Stock Set Up

Lecture 75 Facing Operation-Selection Method

Lecture 76 Facing Operation-Toolpath Setting

Lecture 77 Facing Operation-Simulation

Lecture 78 Modify Facing Operation-Different Toolpath Style

Lecture 79 Modify Facing Operation-Change Depth of Cut

Lecture 80 Slot Operation

Lecture 81 Slot Operation-Simulation

Lecture 82 Slot Operation-Depth of Cut Passes

Lecture 83 Pocket Milling Operation

Lecture 84 Pocket Milling Operation-Simulation

Lecture 85 Pocket Milling Operation-Roughing Cutting Method

Lecture 86 Pocket Milling Operation-Depth of Cut

Lecture 87 Pocket Milling Operation- Different type

Lecture 88 Pocket Milling Operation-Open Type

Lecture 89 Pocket Milling Operation-Open Type-2

Lecture 90 Pocket Milling Operation-Draft Angle Type

Lecture 91 Facing, Pocket And Contour Operation

Lecture 92 Toolpath Motion of Facing and Pocket Milling Operation

Lecture 93 Contour and Drilling Operation

Lecture 94 Contour And Drilling Operation part 2

Lecture 95 Area Milling Operation

Lecture 96 Area Milling Operation-Simulation and Depth of Cut

Lecture 97 Area Milling Operation-Different Type

Lecture 98 Slot Operation

Lecture 99 Combine Operation of Facing, Pocket Milling, Drilling and Slotting

Lecture 100 Blend Mill Operation

Lecture 101 Blend Milling Operation-Cutting Method

Lecture 102 Blend milling Operation-Different Type

Lecture 103 Contour Milling Operation

Lecture 104 Contour Milling Operation-Different Type

Lecture 105 Dynamic Milling Operation

Lecture 106 Swept 2D Milling Operation

Lecture 107 Swept 2D Milling Operation-Different Type

Lecture 108 Swept 3D Milling Operation

Lecture 109 Swept 3D Milling Operation-Different Type

Lecture 110 Milling on Text

Lecture 111 Milling on Image

Lecture 112 Milling On Image

Lecture 113 Revolve Operation

Lecture 114 Revolved Milling Operation-Different Type

Lecture 115 Model Chamfer Milling Operation

Lecture 116 FBM (Feature Based Milling) Operation

Lecture 117 Exercise File For Milling Operation

Section 9: Hole Making Module

Lecture 118 Drill Operation

Lecture 119 Countersink Operation

Lecture 120 Counterbore Operation

Lecture 121 Circle Mill Operation

Lecture 122 Helix Bore Operation

Lecture 123 Thread Mill Operation

Section 10: Multi Axis Operation

Lecture 124 Morph Operation

Lecture 125 Multi Surface Operation

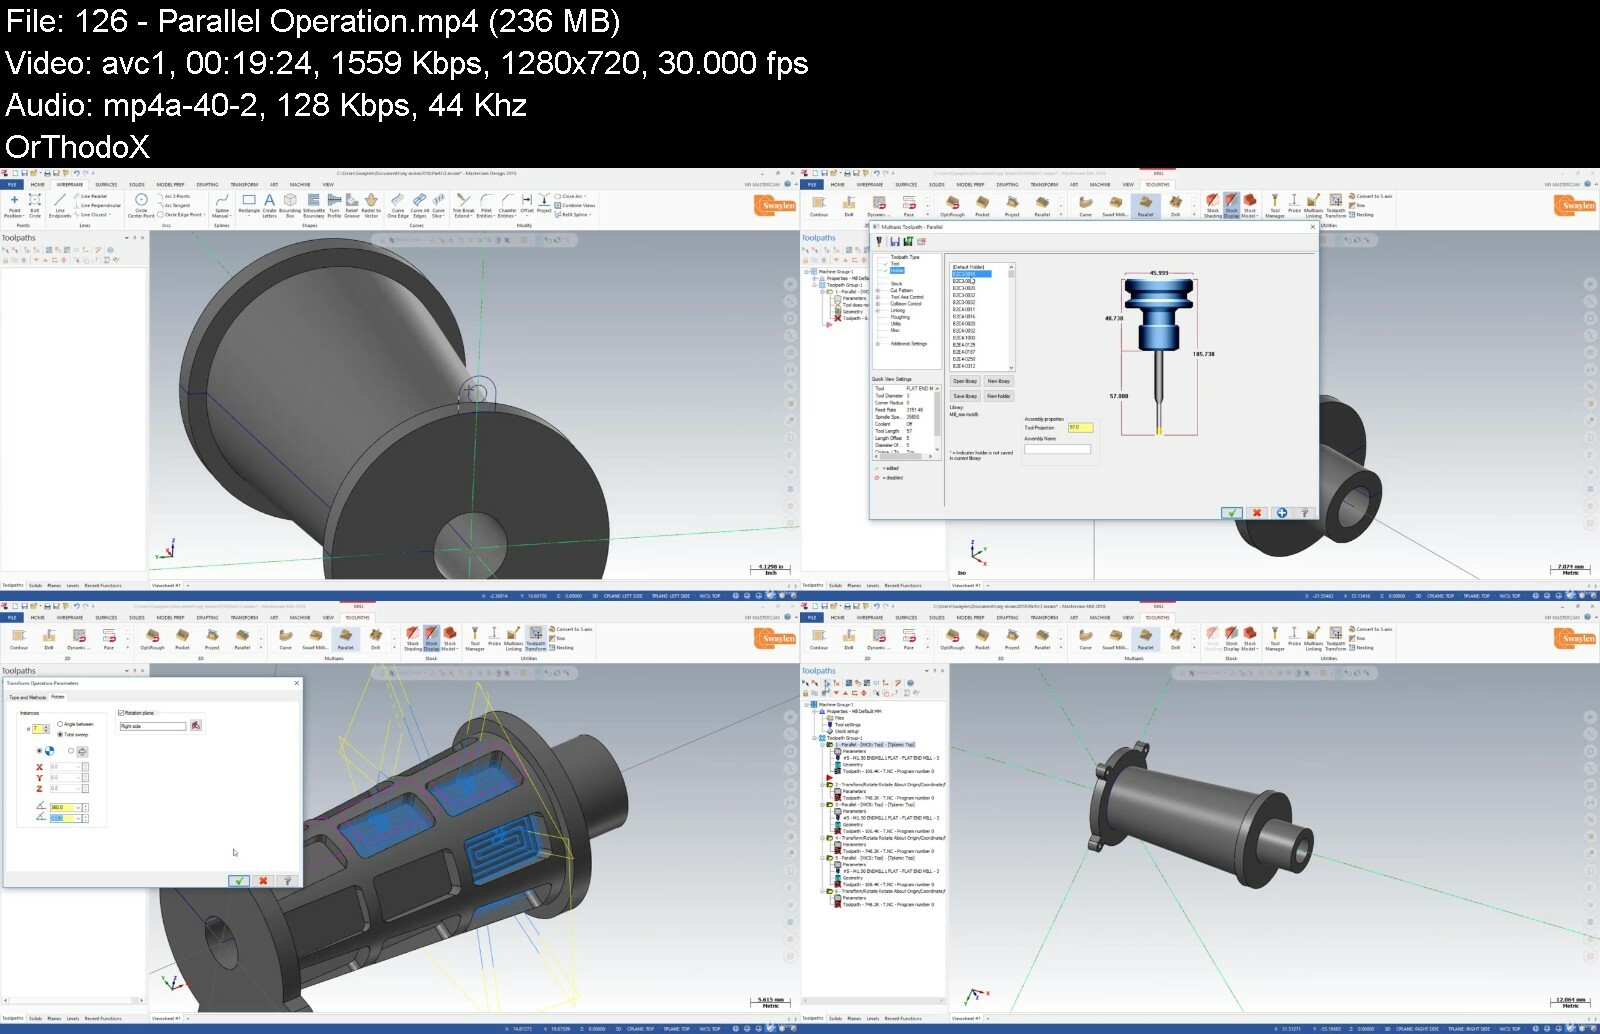
Lecture 126 Parallel Operation

Lecture 127 Multi axis Drill Operation

Lecture 128 Morph Operation

Lecture 129 Blade expert operation

Lecture 130 Multi Surface Operation

Lecture 131 Multi Surface Operation-2

Lecture 132 Face Contour Operation

Lecture 133 C-Axis Contour Operation

Lecture 134 Cross Contour Operation

Lecture 135 Face Drill Operation

Lecture 136 Cross Drill Operation

Section 11: Practical Project Creation

Lecture 137 Cavity Part Creation

Lecture 138 Cavity Part Creation-2

Lecture 139 Cavity Part Creation-3

Lecture 140 Cavity Part Creation-4

Lecture 141 Core Part Creation

Lecture 142 Core Part Creation-2

Lecture 143 Core Part Creation-3

Mechanical Engineer,Production engineer,Person of Working on CNC Machine,Industry Person,Person of Working on the Manufacturing process

Say Thank You



mastercamlcncprogramm25e8x.jpg


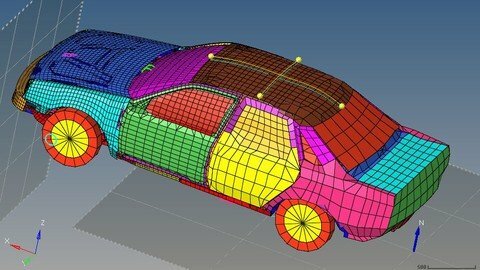
Altair Hypermesh : Learn Meshing And Linear Static Analysis

tuurtbq9p3oa1kylxye7q43edi.jpg


Altair Hypermesh : Learn Meshing And Linear Static Analysis
Last updated 5/2022
MP4 | Video: h264, 1280x720 | Audio: AAC, 44.1 KHz
Language: English | Size: 7.93 GB | Duration: 19h 0m

Learn meshing with hypermesh and perform linear static analysis with optistruct


What you'll learn
create meshing of different parts and components
meshing of 1-D elements like rods, beams, bars, trusses etc.
meshing of 2-D components like plates, Plastics, sheetmetals etc
meshing of 3-D components like piston, wheel, crankshaft etc.
performing linear static analysis to calculate values like stresses, strains, deformation, failure criterion etc.

Requirements
Basic Knowledge of CAD modeling on any software will be advantageous.
Knowledge of fundamentals of mechanics of solids like stress, strains, heat transfer, machine design will be helpful in understanding the analysis
Basic Knowledge of handling PC
Hypermesh software version 2017 or any older version upto 13.

Description
Hello friends, welcome to this course on hypermesh . in this course, you everything about meshing and performing linear static analysis. the meshing is done in hypermesh and analysis is done in optistruct.About Software Hyperworks is a complete software package developed by altair engineering. hypermesh and optistruct are a part of that package .About CourseThis course is divide into 4 modules1-dimensional (1D) meshing - for elements like rods, bars, beam, trusses etc.2-dimensional (2D) meshing - for elements like plates, plastic components, sheetmetal etc.3-dimensional (3D) meshing - for components like piston, engine ,shaft etc.Linear static analysis - to calculate stresses, strains, deformation etc.Why This Coursethis course will take you from a beginner to pro in meshing and analysis. after taking this courseyou can confidentally highlight hypermesh in your resume.with the skills learned in this course, you can get a job as a CAE or FEA engineer.(simulation or analysis engineer)we have covered all the basic fundamentals of solid mechanics, engineering mechanics to give you knowledge behind the analysis.

Overview

Section 1: Introduction

Lecture 1 Introduction to hypermesh Course

Lecture 2 About Softwares hyperworks and hypermesh

Lecture 3 User interface of hypermesh software

Lecture 4 Mouse Working in Hypermesh

Section 2: Download Resource files

Lecture 5 Download Project Files

Section 3: 1 Dimensional (1D) meshing

Lecture 6 FEA Theory

Lecture 7 Stress and Strain

Lecture 8 Degree of Freedom

Lecture 9 1D bar Problem part 1

Lecture 10 1D bar Problem part 2

Lecture 11 Rod 1D

Lecture 12 1D Beam Bending Problem ( Cantilever Beam )

Lecture 13 Beam Bending Problem part 2

Lecture 14 Fix Fix Beam Assignment

Lecture 15 Assignment Solution ( Simply Supported Beam )

Lecture 16 Beam Orientation

Lecture 17 Line Mesh

Section 4: 2D meshing

Lecture 18 Import and Export Files

Lecture 19 create Nodes

Lecture 20 Organize a Model

Lecture 21 Repair Geometry

Lecture 22 Generating a Mid Surface

Lecture 23 Defeature Geometry

Lecture 24 Automesh Tool

Lecture 25 Quick Edit

Lecture 26 2D mesh Part 1

Lecture 27 2D mesh Part 2

Lecture 28 2D mesh Part 3

Section 5: Mesh Edit Options

Lecture 29 Free Edges

Lecture 30 Mask

Lecture 31 Measure

Lecture 32 Node Edit

Lecture 33 Project Elements

Lecture 34 Replace Nodes

Lecture 35 Smooth Elements

Lecture 36 Translate Nodes

Lecture 37 Split Element

Section 6: Shell Mesh Project

Lecture 38 Element Quality

Lecture 39 Improve Element Quality 1

Lecture 40 Improve Element Quality 2

Lecture 41 2D mesh Project 1

Lecture 42 2D mesh Project 2

Lecture 43 2D mesh Project 3

Lecture 44 2D mesh Project 4

Section 7: Shell mesh Assembly

Lecture 45 Assembly mesh part 1

Lecture 46 Assembly mesh part 2

Lecture 47 Ruled mesh

Section 8: 2D mesh Practice

Lecture 48 2D mesh Practice

Section 9: Create Geomtery

Lecture 49 create line part 1

Lecture 50 create line part 2

Lecture 51 Create Surfaces

Lecture 52 Create Solids

Section 10: 3D meshing

Lecture 53 3D meshing fundamentals

Lecture 54 Solid Edit

Lecture 55 Types of 3D Elements

Lecture 56 Solid Map Command

Lecture 57 Solid Map Techniques

Lecture 58 Solid Edit

Lecture 59 Surface Edit

Section 11: Hex Mesh Examples

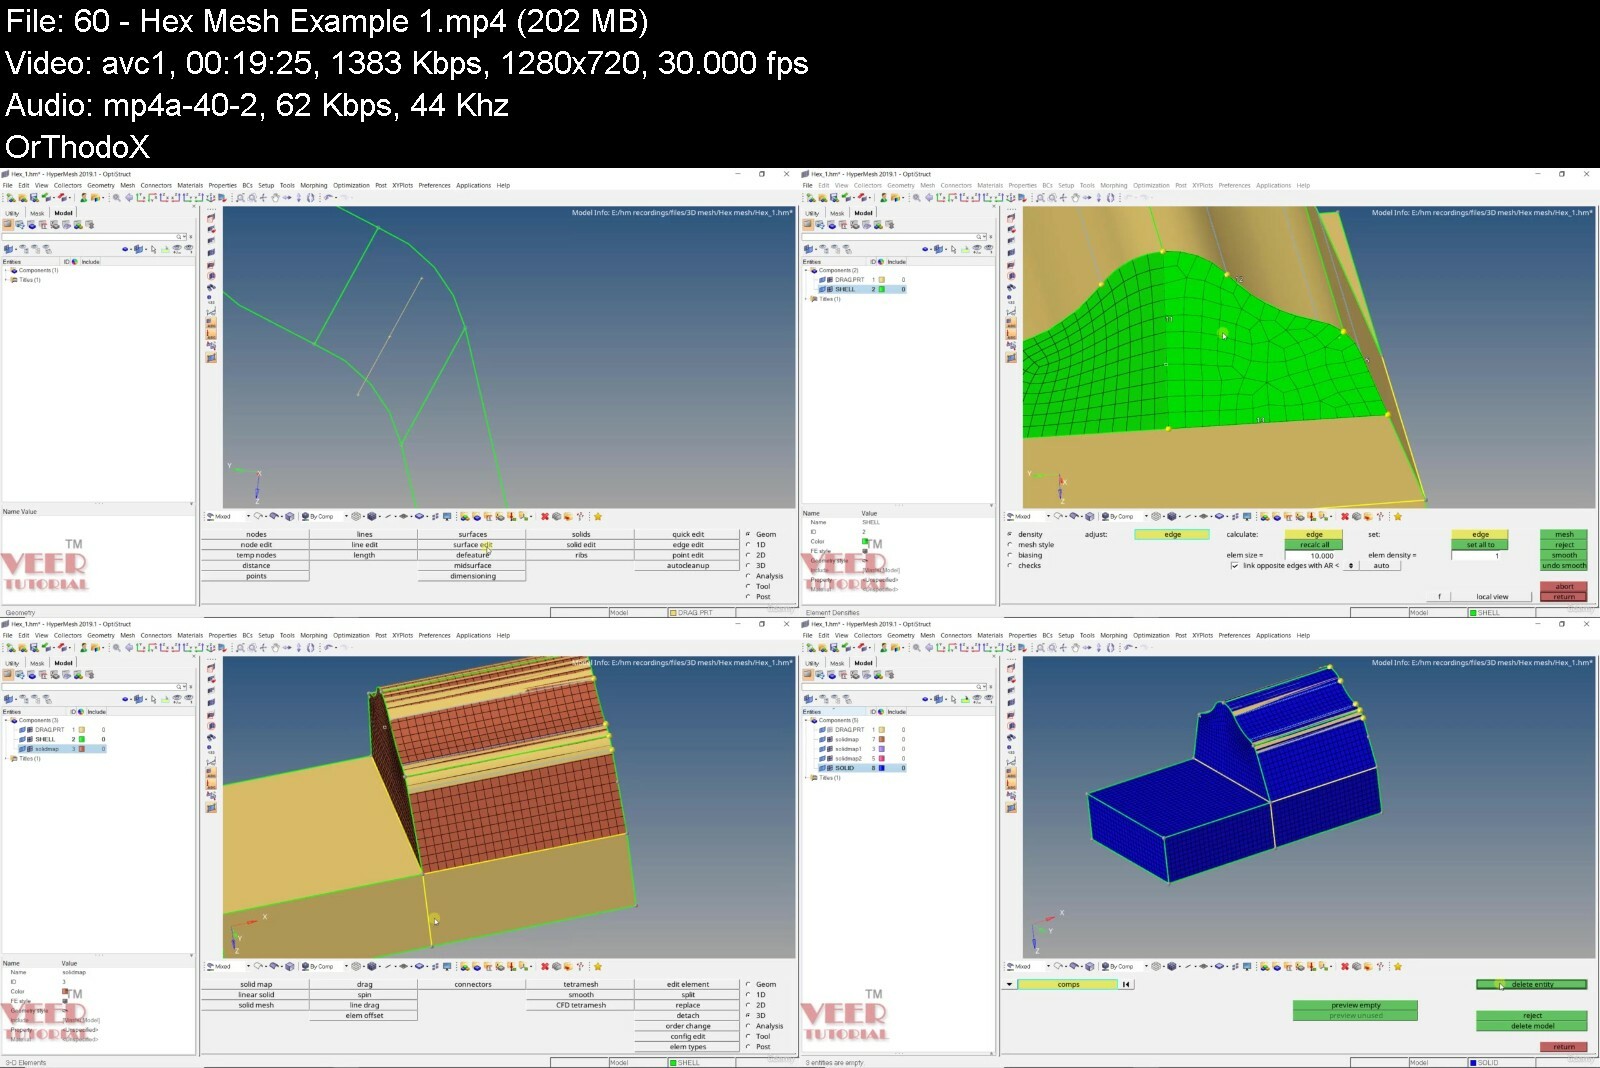
Lecture 60 Hex Mesh Example 1

Lecture 61 Hex Mesh Connectivity

Lecture 62 Improve Hex Mesh Flow

Lecture 63 Hex Mesh Example 2

Lecture 64 Hex Mesh Example 3

Lecture 65 Hex Mesh Example 4

Lecture 66 Meshing Self Practice Models

Section 12: Additional Hex Meshing

Lecture 67 Sphere Meshing 1

Lecture 68 Sphere Meshing 2

Lecture 69 Arm Bracket 1

Lecture 70 Arm Bracket 2

Section 13: Tetra meshing

Lecture 71 Tetra - meshing Part 1

Lecture 72 Tetra - meshing Part 2

Lecture 73 Tetra mesh Manual

Lecture 74 Position Command

Section 14: Analysis

Lecture 75 Concept of Von Mises Stress

Lecture 76 Linear Static Analysis part 1 (Problem Definition)

Lecture 77 Linear Static Analysis part 2 (Material Properties)

Lecture 78 Linear Static Analysis part 3 (Performing analysis)

Lecture 79 Linear Static Analysis part 4

Lecture 80 Linear Static Analysis part 5

Lecture 81 Linear Analysis using Psolid 1

Lecture 82 Linear Analysis using Psolid 2

Section 15: Addition Linear Analysis

Lecture 83 Multi-Ple Loads

Lecture 84 Multi Load Steps

Lecture 85 Oblique Loading

Lecture 86 Loading using Rigid elements

Lecture 87 Loading with Pressure

Lecture 88 Constraints

Section 16: Contacts

Lecture 89 Autocontact

Lecture 90 Manual Contacts

Lecture 91 Types of contacts

Lecture 92 Surface Interactions

Lecture 93 Contact Parameters

Lecture 94 Master vs Slave Contacts

Lecture 95 Finite vs Small Sliding

Lecture 96 Friction Contact

Lecture 97 Flange Contact

Section 17: Modal Analysis

Lecture 98 Dynamic analysis intro

Lecture 99 Static vs Dynamic Analysis

Lecture 100 Basics of Modal Analysis

Lecture 101 Modal Analysis

Section 18: Rigid Body Elements

Lecture 102 Rigid elements 1

Lecture 103 Rigid Elements 2

Lecture 104 Rigid Applications

Lecture 105 Bolt Connection using RBE2

Section 19: Non Linear Analysis

Lecture 106 Basics of non linearity

Lecture 107 Source of Non linearity

Lecture 108 Geometric Non Linearity

Lecture 109 Material Non Linearity

Lecture 110 Contact Non Linearity

Lecture 111 Non Linear Algorithm for Optistruct

Lecture 112 Non Linear Analysis Beam 1

Lecture 113 Non Linear Analysis Beam 2

Lecture 114 Non Linear Analysis Beam 3

Section 20: Pretension Loading

Lecture 115 Pretension Intro

Lecture 116 Pretension for 1D Bolt

Lecture 117 Pretension 3D

Lecture 118 Pretension Loadstep

Section 21: Buckling Analysis

Lecture 119 Buckling Analysis

Lecture 120 Buckling Analysis Example 1 Part 1

Lecture 121 Buckling Analysis Example 1 Part 2

Lecture 122 Buckling Analysis Example 2 Part 1

Lecture 123 Buckling Analysis Example 2 Part 2

Section 22: Thermal Analysis

Lecture 124 Thermal Analysis

Lecture 125 Thermal Analysis Example 1 Part 1

Lecture 126 Thermal Analysis Example 1 Part 2

Lecture 127 Thermal Analysis Example 2 Part 1

Lecture 128 Thermal Analysis Example 2 Part 2

Section 23: Plastic Meshing

Lecture 129 Plastic Meshing Intro

Lecture 130 Midmesh Tool Plastic 1

Lecture 131 Midmesh Tool Plastic 2

Lecture 132 Assign Auto Thickness

Section 24: Bumper Plastic Meshing Project

Lecture 133 Bumper Plastic Mesh 1

Lecture 134 Bumper Plastic Mesh 2

Lecture 135 Bumper Plastic Mesh 3

Lecture 136 Bumper Plastic Mesh 4

Lecture 137 Bumper Plastic Mesh 5

Lecture 138 Bumper Plastic Mesh 6

mechanical engineers and research scholars in Masters & Phd degree,Aerospace Engineers,automobile Design Engineer,Anyone who wants to be a CAE engineer (computer aided engineering),Anyone who wants to learn practical application of FEA ( finite element analysis),anyone who wants to learn meshing and analysis of mechanical systems

Say Thank You


altairhypermeshlearnm2wf09.jpg


Zurück
Oben Unten