

• Regeln für den Video-Bereich:

    In den Börsenbereich gehören nur Angebote die bereits den Allgemeinen Regeln entsprechen.

    Einteilung

    - Folgende Formate gehören in die angegeben Bereiche:
    - Filme: Encodierte Filme von BluRay, DVD, R5, TV, Screener sowie Telesyncs im Format DivX, XviD und x264.
    - DVD: Filme im Format DVD5, DVD9 und HD2DVD.
    - HD: Encodierte Filme mit der Auflösung 720p oder darüber von BluRay, DVD, R5, TV, Screener sowie Telesyncs im Format x264.
    - 3D: Encodierte Filme von BluRay, die in einem 3D Format vorliegen. Dies gilt auch für Dokus, Animation usw.
    - Serien: Cartoon/Zeichentrick, Anime, Tutorials, Dokumentationen, Konzerte/Musik, Sonstiges sind demnach in die entsprechenden Bereiche einzuordnen, auch wenn sie beispielsweise im High Definition-Format oder als DVD5/DVD9/HD2DVD vorliegen. Ausnahme 3D.
    - Bereich Englisch: Englische Releases gehören immer in diesen Bereich.
    - Bereich Talk: Der Bereich, in dem über die Releases diskutiert werden kann, darf, soll und erwünscht ist.


    Angebot/Beitrag erstellen

    - Ein Beitrag darf erst dann erstellt werden, wenn der Upload bei mindestens einem OCH komplett ist. Platzhalter sind untersagt.
    - Bei einem Scenerelease hat der Threadtitel ausschließlich aus dem originalen, unveränderten Releasenamen zu bestehen. Es dürfen keine Veränderungen wie z.B. Sterne, kleine Buchstaben o.ä. vorgenommen werden. Ausnahme Serienbörse:
    - Bei einem Sammelthread für eine Staffel entfällt aus dem Releasename natürlich der Name der Folge. Beispiel: Die Simpsons S21 German DVDRip XviD - ITG
    - Dementsprechend sind also u.a. verboten: Erweiterungen wie "Tipp", "empfehlenswert", "only", "reup", usw. / jegliche andere Zusatzinformation oder Ergänzung, welche nicht in obiger Beschreibung zu finden ist.

    Aufbau des Angebots und Threadtitel

    Der Titel nach folgendem Muster erstellt zu werden. <Name> [3D] [Staffel] [German] <Jahr> <Tonspur> [DL] [Auflösung] <Quelle> <Codec> - <Group>
    Beispiel: The Dark Knight German 2008 AC3 DVDRip XviD - iND
    Beispiel: The Dark Knight 2008 DTS DL BDRip x264 - iND
    Beispiel: The Dark Knight 2008 AC3 DL BDRip XviD - iND
    Beispiel: The Dark Knight German 2008 AC3 720p BluRay x264 iND
    Beispiel: The Dark Knight 2008 DTS DL 1080p BluRay x264 iND
    Beispiel: Die Simpsons S01 German AC3 DVDRip XviD iND
    Beispiel: Die Simpsons S20 German AC3 720p BluRay x264 iND
    Beispiel: Sword Art Online II Ger Sub 2014 AAC 1080p WEBRip x264 - peppermint
    Entsprechend sind also u.a. verboten: Sonderzeichen wie Klammern, Sterne, Ausrufezeichen, Unterstriche, Anführungszeichen / Erweiterungen wie "Tipp", "empfehlenswert", "only", "reup", usw. / jegliche andere Zusatzinformation oder Ergänzung, welche nicht in obiger Beschreibung zu finden ist
    Ausnahmen hiervon können in den Bereichen geregelt sein.

    Die Beiträge sollen wie folgt aufgebaut werden:
    Überschrift entspricht dem Threadtitel
    Cover
    kurze Inhaltsbeschreibung
    Format, Größe, Dauer sind gut lesbar für Downloader außerhalb des Spoilers zu vermerken
    Nfo sind immer Anzugeben und selbige immer im Spoiler in Textform.
    Sind keine Nfo vorhanden z.B. Eigenpublikationen, sind im Spoiler folgende Dateiinformationen zusätzlich anzugeben :
    Quelle
    Video (Auflösung und Bitrate)
    Ton (Sprache, Format und Bitrate der einzelnen Spuren)
    Untertitel (sofern vorhanden)
    Hosterangabe in Textform außerhalb eines Spoiler mit allen enthaltenen Hostern.
    Bei SD kann auf diese zusätzlichen Dateiinformationen verzichtet werden.

    Alle benötigten Passwörter sind, sofern vorhanden, in Textform im Angebot anzugeben.
    Spoiler im Spoiler mit Kommentaren :"Schon Bedankt?" sind unerwünscht.


    Releases

    - Sind Retail-Release verfügbar, sind alle anderen Variationen untersagt. Ausnahmen: Alle deutschen Retail-Release sind CUT, in diesem Fall sind dubbed UNCUT-Release zulässig.
    - Im Serien-Bereich gilt speziell: Wenn ein Retail vor Abschluss einer laufenden Staffel erscheint, darf diese Staffel noch zu Ende gebracht werden.62
    - Gleiche Releases sind unbedingt zusammenzufassen. Das bedeutet, es ist zwingend erforderlich, vor dem Erstellen eines Themas per Suchfunktion zu überprüfen, ob bereits ein Beitrag mit demselben Release besteht. Ist dies der Fall, ist der bereits vorhandene Beitrag zu verwenden.
    - P2P und Scene Releases dürfen nicht verändert oder gar unter einem iND Tag eingestellt werden.


    Support, Diskussionen und Suche

    - Supportanfragen sind entweder per PN oder im Bereich Talk zu stellen.
    - Diskussionen und Bewertungen sind im Talk Bereich zu führen. Fragen an die Uploader haben ausschließlich via PN zu erfolgen, und sind in den Angeboten untersagt.
    - Anfragen zu Upload-Wünschen sind nur im Bereich Suche Video erlaubt. Antworten dürfen nur auf Angebote von MyBoerse.bz verlinkt werden.


    Verbote

    - Untersagt sind mehrere Formate in einem einzigen Angebotsthread, wie beispielsweise das gleichzeitige Anbieten von DivX/XviD, 720p und 1080p in einem Thread. Pro Format, Release und Auflösung ist ein eigener Thread zu eröffnen.
    - Grundsätzlich ebenso verboten sind Dupes. Uploader haben sich an geeigneter Stelle darüber zu informieren, ob es sich bei einem Release um ein Dupe handelt.
    - Gefakte, nur teilweise lauffähige oder unvollständige Angebote sind untersagt. Dies gilt auch für eigene Publikationen, die augenscheinlich nicht selbst von z.B. einer DVD gerippt wurden. Laufende Serien, bei denen noch nicht alle Folgen verfügbar sind, dürfen erstellt und regelmäßig geupdatet werden.
    - Untersagt sind Angebote, welche nur und ausschließlich in einer anderen Sprache als deutsch oder englisch vorliegen. Ausnahmen sind VORHER mit den Moderatoren zu klären.


    Verstoß gegen die Regeln

    - Angebote oder Beiträge, die gegen die Forenregeln verstoßen, sind über den "Melden"-Button im Beitrag zu melden.
  • Bitte registriere dich zunächst um Beiträge zu verfassen und externe Links aufzurufen.

*** Bestes IPTV *** bester Preis *** gratis Test ***


Englische Tutorials

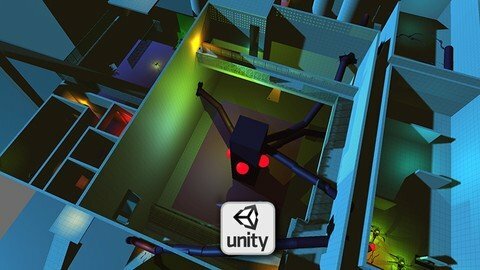
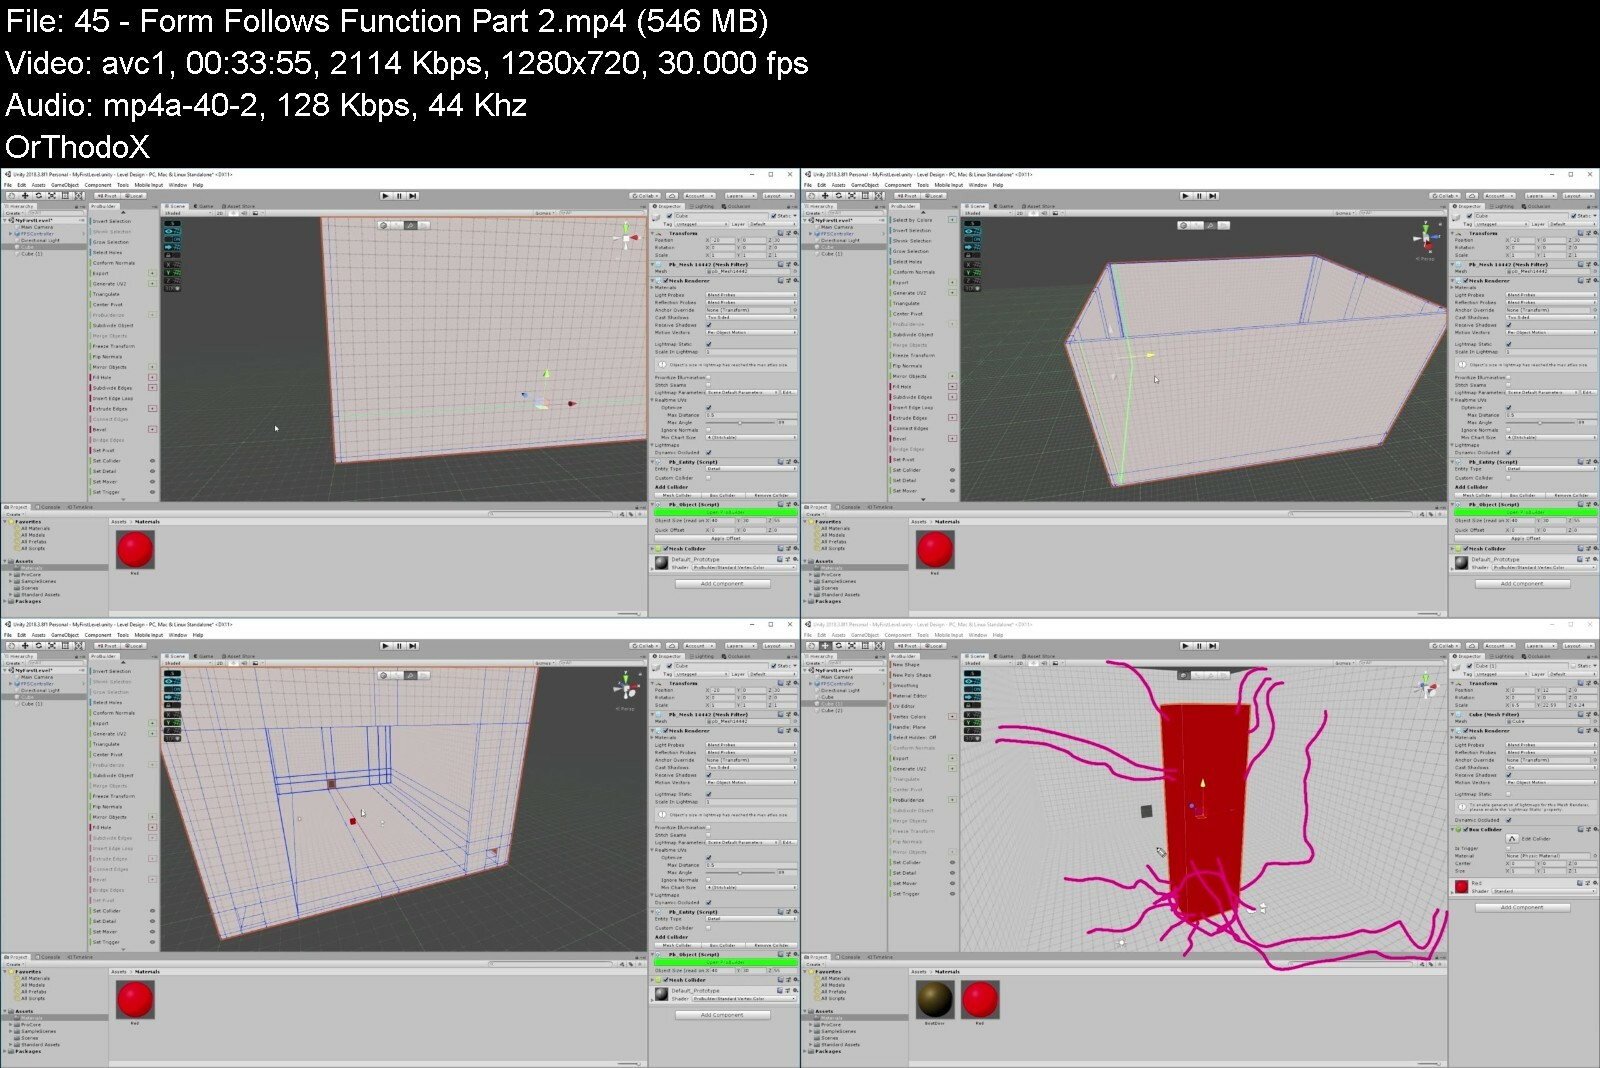
Learn the ART of Level Design
v1osvelkogfs7tymfysiel3eb3.jpg


Learn The Art Of Level Design
Last updated 8/2020
MP4 | Video: h264, 1280x720 | Audio: AAC, 44.1 KHz
Language: English | Size: 9.65 GB | Duration: 13h 3m

Learn Design Principles and Techniques so you too, can build video game levels like the pros.


What you'll learn
You'll learn design principles and skills so you too can design game levels like a pro. Quickly iterate, and get awesome results.

Requirements
You will need a PC / MAC that can run Unity, and you should be able to use Unity at a basic level.

Description
WHAT YOU ARE GOING TO LEARN:Design compelling, engaging video game levels like a professional. To do this you need game design skills, and if you want to stand out from the crowd, you need to build your own levels and present your skills to potential clients / employers.Drawing on 30 years of game development, experience in art and game design, and a game design book published by Pearson Education (not included), I will show you how to create your own game ready levels from scratch. You will begin with learning the basics of creating bubble diagrams and sketching on paper to iterate quickly, then onto creating a 3D game environment presented in Unity. You will learn to use pro builder and pro grids to aid in your level creations.DESIGN / STORY / EMOTION:Creating levels for games, is at the heart of this course, but it's also about the ideas and the game design process that spawn the levels and worlds in which we play our games. The story you can tell through level design and the emotion your scene can invoke is also key to creating a successful level, and I will show you techniques on how you can deliver that in this course.DESIGN PRINCIPALS:I will teach you over 30 design principles and level creation techniques that level designers use today in top selling AAA games. Principles like; Design From the Core; Foreshadowing; Exposure; Layering; Immersion; Fight or Flight; Up the Ante; Pacing; Progression; Player Feedback; Situational Awareness; Scalable Rewards; Difficulty Ramping; Enemy Placement; Loot Placement; Player Choice; Colour as a Design tool, and many, many more.You will learn how to build a level in a 3D environment and install a character controller so you can explore and see your level from the players perspective, and come to realise what an iterative process level design actually is.This course is perfect for anybody seriously wishing to pursue a career as a Level Designer in the video game industry and would like to follow the process of level design by building an entire white box scene using various design principles and techniques.It's suitable for beginners to Intermediate levels. The more advanced designers may find that you're going over old ground in some areas, but it can still be a worthy refresher course. Over time, the course will get regular updates and keep on trend with industry techniques and standards.PLEASE NOTE: This IS NOT AN ART COURSE. Level design is a very specific discipline within the games industry, and here we are primarily focusing on highly detailed, level creation process in white box form. I am also not a programmer so there is no prgramming in this course. However, I am going to add an additional section to cover some basic scripting at a later date, as an extra section to this course.

Overview

Section 1: Introduction

Lecture 1 Introduction to The Course

Section 2: Course Details

Lecture 2 Course Requirements

Lecture 3 Course Structure

Lecture 4 How to Get the Most From This Course

Lecture 5 Join our Facebook Page.

Section 3: What's it all About?

Lecture 6 Introduction

Lecture 7 What is a Level Designer

Lecture 8 What is a Level?

Lecture 9 Constraints

Lecture 10 Position Your Level

Lecture 11 Level Components | Breaking it down

Lecture 12 Conclusion

Section 4: Developing Your Concept

Lecture 13 Introduction

Lecture 14 So where do I start - Ideas.

Lecture 15 The Design Brief

Lecture 16 CHALLENGE | Create Your Own Design Brief

Lecture 17 Creating Reference / Mood Boards

Lecture 18 Get Scribbling

Lecture 19 CHALLENGE | Create your Bubble Diagram

Lecture 20 Conclusion

Section 5: Design Principles

Lecture 21 Introduction

Lecture 22 The Map (first look forward)

Lecture 23 CHALLENGE | Follow Along

Lecture 24 Beats

Lecture 25 Design From the Core

Lecture 26 Exposure / Priming

Lecture 27 Layering / Immersion

Lecture 28 Shaping / Fight or Flight

Lecture 29 Up the Ante

Lecture 30 Pacing and Progression

Lecture 31 Communication / Player Feedback

Lecture 32 More about Communication

Lecture 33 Situational Awareness & Resolution

Lecture 34 Scalable Rewards & Difficulty Ramping

Lecture 35 Foreshadowing

Lecture 36 Colour as a Design Tool

Lecture 37 Refine Your 2D Map

Lecture 38 Conclusion

Section 6: Setting Up Unity

Lecture 39 Installing Unity, ProBuilder and Grids

Lecture 40 Unity | ProBuilder Overview

Lecture 41 Unity | Setting Up The Controller

Section 7: White Boxing | Blocking Out The Shapes

Lecture 42 Introduction

Lecture 43 Example of a Good White Box Level

Lecture 44 Form Follows Function | Part 1

Lecture 45 Form Follows Function | Part 2

Lecture 46 Composition and Colour | Part 1

Lecture 47 Composition and Colour | Part 2

Lecture 48 What is Modular Design?

Lecture 49 Modular Design | Part 1

Lecture 50 Modular Design | Part 2

Lecture 51 Modular Design | Challenge

Lecture 52 Focal Points

Lecture 53 Keep it Clear of Clutter

Lecture 54 Into The Lion's Den

Lecture 55 Storytelling Mechanisms

Lecture 56 Progress Update | Challenge

Lecture 57 First Draft | Basic Structure

Lecture 58 Conclusion

Section 8: Adding The FUNctionality

Lecture 59 Introduction

Lecture 60 Your Fix List

Lecture 61 Re-focus on the Game Mechanics

Lecture 62 Placeholder Prop Preperation

Lecture 63 Core Object Placement

Lecture 64 Whitebox Level Update

Lecture 65 Enemy Placement / Pacing | Part 1

Lecture 66 Enemy Placement / Pacing | Part 2

Lecture 67 Walkthrough Update

Lecture 68 Pickup Placement | Part 1

Lecture 69 Pickup Impact | Part 1

Lecture 70 Pickups Can Change Your Level | Part 2

Lecture 71 Game Events and Traps

Section 9: Scripting / Functionality

Lecture 72 Introduction

Lecture 73 What is NavMesh

Lecture 74 Adding NavMesh to your scene

Section 10: Bonus Lecture

Lecture 75 Bonus Lecture

If you want to learn the fundamentals of level design, level building and how to iterate quickly like a pro, then this course is for you.

learntheartofleveldesxmiwy.jpg


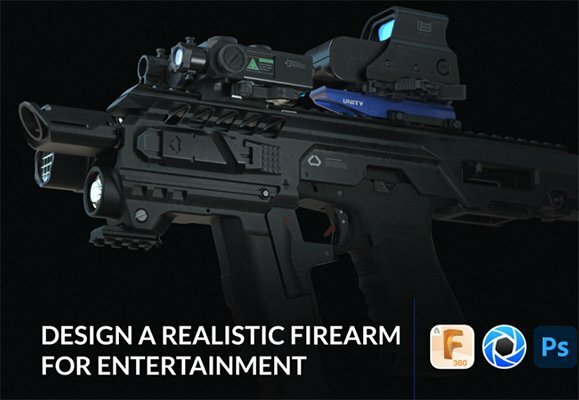
Design a realistic firearm for entertainment

cg4sa6wvwnunggu8vuo3sgbfq1.jpg


Design a realistic firearm for entertainment
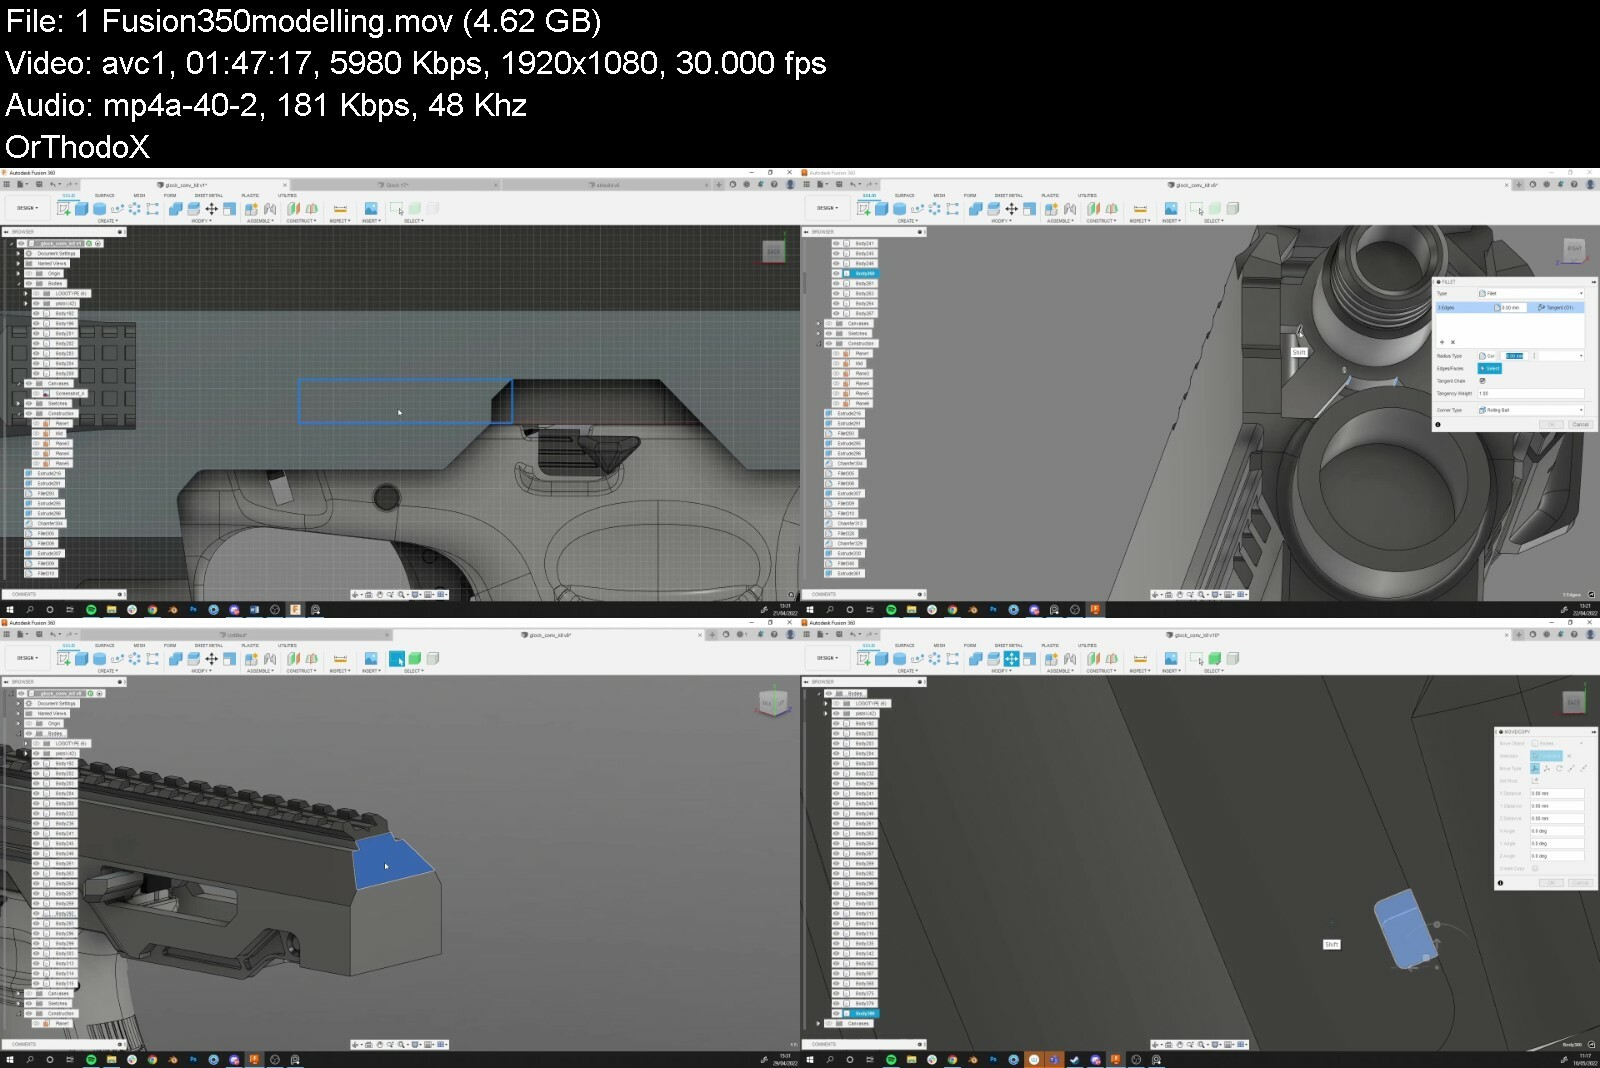
Daniele Trevisan | Duration: 3h 06m | Video: H264 1920x1080 | Audio: AAC 48 kHz 2ch | 6,52 GB | Language: English

In this tutorial I showcase my process for designing and modeling a realistic firearm concept in Fusion 360, my tricks for rendering high quality materials in keyshot and how I use Photoshop for post production.

In this product you'll get:

Around 3 hours of narrated material broken into 3 parts
A bonus video on how to kitbash accessories and modelling a sight riser
3 render images in HD

This is an advanced tutorial - A basic/intermediate knowledge of Fusion 360, Keyshot and Photoshop is required.

Say Thank You


designarealisticfireahld99.jpg


Scene Creation with Blender and Substance Painter

egkngmvgdhazm40qxnjxn3jeiv.jpg


Scene Creation With Blender And Substance Painter
Last updated 7/2020
MP4 | Video: h264, 1280x720 | Audio: AAC, 44.1 KHz
Language: English | Size: 19.86 GB | Duration: 16h 30m

Use Blender and Substance Painter to create an interior scene for animation, games, or architectural visualization.


What you'll learn
Blender's modeling tools and modifiers
UV map 3D objects in Blender
Prepare 3D models for export to Substance Painter
Create realistic PBR textures for 3D models in Substance Painter
Create an Export Template in Substance Painter to be used for Blender
Apply PBR textures in Blender
Add lights to a scene in Blender
Render a scene using both the Cycles and Eevee render engines in Blender

Requirements
This is an introductory course, but it assumes a basic familiarity with Blender and Substance Painter

Description
Would you like create realistic environments for animation, architectural visualization, or games? Then check out "Scene Creation with Blender and Substance Painter."In this course you will learn how to:Use Blender's modeling tools and modifiersUV map 3D objects in BlenderPrepare 3D models for export to Substance PainterCreate realistic PBR textures for 3D models in Substance PainterCreate an Export Template in Substance Painter to be used for BlenderApply PBR textures in BlenderAdd lights to a scene in BlenderRender a scene using both the Cycles and Eevee render engines in BlenderWe will go over Blender s modeling toolset and use blueprints to build up the walls, doors, and windows of the scene. We also will use reference images to help us model each piece of furniture in the various rooms.You'll learn how to UV map 3D objects and how to prepare each one for export to Substance Painter as an FBX file. In Substance Painter we ll create realistic PBR textures for our models, and you ll learn how best to set-up those textures for use in Blender.After we add the textures in Blender, we will begin working on the lighting. We ll add spot lights and area lights to the scene and we will render the scene out using both Blender s Cycles render engine, and the new Eevee render engine. You ll see the differences and benefits of both.All the project files are available for download, as well as all the reference images.Start creating your own 3D environments in Blender. Get "Scene Creation with Blender and Substance Painter" today!

Overview

Section 1: Introduction

Lecture 1 Introduction

Lecture 2 Importing a Reference Image

Lecture 3 Setting the Proper Scale

Section 2: Modeling the Rooms

Lecture 4 Beginning the Walls

Lecture 5 Creating the Interior Walls

Lecture 6 Tricks for Aligning the Walls

Lecture 7 Continuing with the Walls

Lecture 8 Using the Boolean Modifier

Lecture 9 Creating the Openings for the Doors

Lecture 10 Finishing the Window Openings

Lecture 11 Beginning the Window Frames

Lecture 12 Finishing the Window Frames

Lecture 13 Starting the Office Frames

Lecture 14 Finishing the Office Frames

Lecture 15 Creating the Door Frame

Lecture 16 Inserting the Door Frames

Lecture 17 Beginning the Doors

Lecture 18 Creating the Door Handle

Lecture 19 Creating the Door Lock

Lecture 20 Placing Doors and Organizing the Scene

Lecture 21 Creating the Closet Doors

Lecture 22 Finishing the Closet Doors

Lecture 23 Beginning the Kitchen Island

Lecture 24 Modeling the Cabinet Handles

Lecture 25 Beginning the Kitchen Counter

Lecture 26 Adding the Kitchen Cabinets and Drawers

Lecture 27 Creating the Kitchen Handles

Lecture 28 Fixing Smoothing Errors

Lecture 29 Organizing the Scene

Section 3: Creating the Furniture

Lecture 30 Modeling the End Tables

Lecture 31 Modeling the Sofa

Lecture 32 Beginning the Stools

Lecture 33 Continuing the Stools

Lecture 34 Finishing the Stools

Lecture 35 Modeling the First Chair

Lecture 36 Continuing the Chair

Lecture 37 More Work on the Chair

Lecture 38 Finishing the Chair

Lecture 39 Beginning the Table

Lecture 40 Finishing the Table and Rug

Lecture 41 Beginning the Second Chair

Lecture 42 Continuing the Chair

Lecture 43 Modeling the Chair Arms

Lecture 44 Creating the Legs of the Chair

Lecture 45 Working on the Wheels of the Chair

Lecture 46 Finishing the Second Chair

Lecture 47 Batch Renaming Multiple Objects

Lecture 48 Beginning the Third Chair

Lecture 49 Creating the Arm Rests and Back

Lecture 50 Modeling the Back Frame and Legs

Lecture 51 Adjusting Proportions of the Chair

Lecture 52 Finishing the Third Chair

Lecture 53 Populating the Offices

Lecture 54 Beginning the Refrigerator

Lecture 55 Finishing the Refrigerator

Lecture 56 Extrude Along a Path

Lecture 57 Finishing the Faucet

Lecture 58 Beginning the Coffee Machine

Lecture 59 Finishing the Coffee Machine

Lecture 60 Creating the Drop Ceilings

Lecture 61 Modeling the Kitchen Hanging Lights

Lecture 62 Creating the Large Hanging Lights

Lecture 63 Modeling the Air Vents

Lecture 64 Placing the Canister Lights

Lecture 65 Modeling the Conference Room Glass

Lecture 66 Adding the Glass for the Offices

Section 4: UV Mapping the Scene

Lecture 67 UV Mapping the Office Desks

Lecture 68 UV Mapping the Stools

Lecture 69 UV Mapping the Conference Room Chairs

Lecture 70 Creating the UVs for the End Tables

Lecture 71 Working on the Chair and Sofa

Lecture 72 Chair, Lights, and Drop Ceiling

Lecture 73 Kitchen Lights and Cannister Lights

Lecture 74 UV Mapping the Kitchen

Lecture 75 Finishing the UV Mapping

Section 5: Texturing with Substance Painter

Lecture 76 Exporting to Substance Painter

Lecture 77 Importing in Substance Painter

Lecture 78 Exporting Textures Out of Substance Painter

Lecture 79 Finishing the End Table and Beginning the Chair

Lecture 80 Texturing the Chair

Lecture 81 Preparing the Coffee Machine for Export

Lecture 82 Texturing the Coffee Machine

Lecture 83 Adding an Image Texture in Substance Painter

Lecture 84 Creating the Vertex Colors for Hanging Lights

Lecture 85 Creating and Applying an Emissive Texture

Lecture 86 A Brief Discussion of the Direction of Normals

Lecture 87 Using an Opacity Channel in Substance Painter

Lecture 88 Using an Alpha Channel in Blender

Lecture 89 Adjusting Mask Tolerances in Substance Painter

Lecture 90 Sampling Colors in Substance Painter

Lecture 91 Exporting Multiple Objects as a Single FBX

Lecture 92 Texturing the Kitchen Counter and Appliances

Lecture 93 Exporting Textures for Multiple Objects

Lecture 94 Applying Textures to the Kitchen_Objects

Lecture 95 Selection Tricks When Applying Vertex Colors

Lecture 96 Copy and Paste Layers in Substance Painter

Lecture 97 Using the Node Wrangler Add-on in Blender

Lecture 98 Preparing the Floors for Texturing

Lecture 99 Texturing the Floors

Section 6: Lighting and Rendering the Scene

Lecture 100 Adding Lights to the Scene

Lecture 101 Adding a Glass Material

Lecture 102 Rendering with Cycles

Lecture 103 Using the Denoise Node

Lecture 104 Rendering with Eevee

Lecture 105 Conclusion

Section 7: Bonus Lectures

Lecture 106 Bonus Lecture: Reflection Cubmaps in Eevee

Lecture 107 Bonus Lecture: Auto UV Unwrap in Substance Painter

Beginner 3D artists who would like to create and texture 3D environments


scenecreationwithblen9pets.jpg


Design Mobile Apps - Android & Ios - Ui, Ux & Prototyping

xbjvcdlfgmpfmkilm98wjp2fwm.jpg


Design Mobile Apps - Android & Ios - Ui, Ux & Prototyping
Last updated 1/2022
MP4 | Video: h264, 1280x720 | Audio: AAC, 44.1 KHz
Language: English | Size: 13.18 GB | Duration: 14h 39m

The Complete Course to Designing Apps in Adobe XD! Create interactive prototypes WITHOUT any coding!


What you'll learn
Create beautiful apps in Photoshop & Adobe XD
Create interactive prototypes that make the app look like it's coded
Design according to the Material Design principles
Increase your speed through tips, tricks, and special techniques

Requirements
Minimal Photoshop knowledge - know the hotkeys, tools, and you've used it at least 30 days combined in the last 6 months
Patience & commitment - the journey will be difficult at times!

Description
Do you want to design outstanding apps? Impressive prototypes that look like the real deal but without any coding? This course is a masterclass a comprehensive approach to mobile app designing. I ll teach you everything you need to know, from A to Z. We ll use Adobe XD. I've taught over 250.000 students on Udemy and I'm a best-selling instructor!You ll learn about Material Design, the principles of color, spacing, and typography, tips and tricks, how to get design resources, and much much more. Get a life skill that s high in demand in today s job market, all for the price of a fancy coffee. Create beautiful apps, interactive prototypes, and supercharge your career.You'll learn to:Design beautiful mobile apps;Create interactive prototypes without any previous knowledge;Use Photoshop for mobile app design;The principles of Material Design;Learn Adobe XD from scratch;Prepare all the files for developers through a special program called Zeplin;How to size elements correctly on ALL phone types and sizes;Typography best practices;Where to get design resources like icons, custom graphics, photos, and more;FAQ:Will I learn how to code them? Kotlin, Java, Swift, Android Studio, Xcode, Eclipse?No, that's not covered. However, I do teach you how to talk to developers and prepare everything. You won't have to slice or manually export your assets. I'll show you all my secrets as the CEO of my own Mobile App Design company, founded in 2013.What Photoshop version do I need to have?Any CC version will do. CS6 is not good enough, but you can get a free 7 day trial from Adobe's website. More than enough time to watch this course.Is this course for everybody?I don't assume you have any experience regarding mobile apps. You do need basic Photoshop skills. This is explained in detail in the lecture called "Requirements and your expectations". In short, if you're not a complete beginner in terms of Photoshop, you'll be fine.What will we design?We have a few projects, but there's a flagship app that's as real as they get. Over 70 screens in the final prototype - beautiful, sleek, interactive, modern. All the cutting edge techniques and best practices are used.Final, personal note: I can honestly say there isn't anything like this anywhere out on the market. Believe me, I've looked long and hard. The course is PACKED full of knowledge I would have loved to have at the beginning of my career as a mobile app designer. I believe it's going to help a lot of people get a fantastic life skill. By far, this is the best course I've ever created. I hope you'll feel the same way.

Overview

Section 1: Getting Started

Lecture 1 Requirements and your expectations

Lecture 2 Join Our Photoshop Community and Download all Resources

Lecture 3 Photoshop vs Adobe Experience Design vs Sketch

Lecture 4 Activity: Design your first app layout Part 1

Lecture 5 Activity: Design your first app layout Part 2

Lecture 6 Don t design any mobile app without this!

Lecture 7 How much money can you earn as an app designer?

Lecture 8 Preview your designs on your phone

Lecture 9 Optional - Computer requirements

Section 2: Best Photoshop Techniques for App Designing

Lecture 10 Introduction

Lecture 11 Set up Photoshop for app designing

Lecture 12 Best settings for an Android project in Photoshop

Lecture 13 Must-know artboard features in Photoshop

Lecture 14 10 Tips to efficiently work with vectors in Photoshop

Lecture 15 Best tips for layer alignment

Lecture 16 Learn to efficiently select layers in artboards

Lecture 17 Exercise: Layer selection and repositioning

Lecture 18 Solve the previous exercise

Lecture 19 Best typography tips for app designing

Lecture 20 Learn how to actually use smart objects

Section 3: Material Design and Essential Android Components

Lecture 21 Introduction to Material Design

Lecture 22 Android interface components overview

Lecture 23 Learn to design the action bar

Lecture 24 The simple guide to sizing components in pixels

Lecture 25 Sizes in pixels & action bar showcase

Lecture 26 Everything you need to know about tabs

Lecture 27 Displaying content in cards

Lecture 28 Beautiful and effective buttons on Android

Lecture 29 Text Fields

Lecture 30 FREE size guide for Android components

Section 4: Food Delivery App

Lecture 31 Introduction to this section

Lecture 32 Understanding the brief and the client's wishes

Lecture 33 Analyze the app s competitors Part 1

Lecture 34 Analyze the app s competitors Part 2

Lecture 35 Layout for the location (1) and listing (2) screens

Lecture 36 Layout for the restaurant details (3) screen

Lecture 37 How to make great design choices

Lecture 38 Design concepts for the location screen (1)

Lecture 39 Design concepts for the restaurant listing (2)

Lecture 40 Restaurant listing alternatives (2)

Lecture 41 Final restaurant listing variations (2)

Lecture 42 Design concepts for the restaurant details (3) screen

Lecture 43 Choosing the best typeface

Lecture 44 Define and refine our app s style

Lecture 45 Finishing touches screen 1

Lecture 46 Finishing touches on screens 2 and 3

Lecture 47 Section overview

Section 5: Android Icons & Design Principles

Lecture 48 Section introduction

Lecture 49 What do you want to be? A designer or a problem-solver?

Lecture 50 Discover the one thing that ruins all your designs

Lecture 51 UI Icons in Android apps

Lecture 52 Hands-on icons: Create a dashboard panel

Lecture 53 Android Icons: Case studies

Lecture 54 A guide for app design inspiration

Lecture 55 Target audience and the app s story

Lecture 56 Create a mood board

Lecture 57 Discover what makes an app beautiful

Section 6: The Principles of Color in Android Apps

Lecture 58 Android color fundamentals

Lecture 59 How to use color appropriately

Lecture 60 The principle of color contrast

Lecture 61 The best color schemes from top apps

Lecture 62 Tools for awesome color schemes

Lecture 63 How to implement a color scheme

Section 7: Typography in Android Apps

Lecture 64 Android typography fundamentals

Lecture 65 7 rules for Android legibility

Lecture 66 Guide for perfect font sizing in Android apps

Lecture 67 Typography: what the biggest apps are doing

Lecture 68 How to make lots of text look great

Lecture 69 How to pair fonts correctly

Section 8: Designing iOS Apps

Lecture 70 iOS apps Overview

Lecture 71 1x, 2x, 3x, PPI, notch?! iOS artboard size guide

Lecture 72 App design comparison: iOS vs Android

Lecture 73 My take on the official UI Kit

Lecture 74 iOS status bar (with/wo Notch)

Lecture 75 iOS Navigation bar

Lecture 76 iOS Tab bar

Lecture 77 iOS Text Fields

Lecture 78 iOS Controls

Lecture 79 Running Android apps on Mac OS

Lecture 80 The official iOS typeface should you use it?

Lecture 81 iOS conclusions

Section 9: Food Delivery App - Part 2

Lecture 82 Section introduction

Lecture 83 Preparing the PSD for 20+ screens

Lecture 84 Login and registration screens version 1

Lecture 85 Login and registration screens iteration

Lecture 86 Design the right menu

Lecture 87 Design the left menu

Lecture 88 Creating card-based layouts for Addresses and Payments

Lecture 89 Add a payment method Design a credit card

Lecture 90 Design the Reviews screens

Lecture 91 Create the restaurant s address and user profile screens

Lecture 92 Making the order history screen & success page

Lecture 93 Create the order details screen

Lecture 94 An overview of our progress

Section 10: Introduction to Adobe XD

Lecture 95 Introduction to Adobe XD (Experience Design)

Lecture 96 Learning XD and setting your expectations

Lecture 97 An overview of XD s interface

Lecture 98 Getting around in Adobe XD

Lecture 99 Selecting layers in XD

Lecture 100 Shape fundamentals in Adobe XD

Lecture 101 Editing shapes in Adobe XD

Lecture 102 Text fundamentals in XD

Lecture 103 Grid and smart guides

Lecture 104 Pen tool

Lecture 105 Working with photos and masks

Lecture 106 Adobe XD tips & quirks

Section 11: Supercharge your work in Adobe XD

Lecture 107 Optional - Disable Adobe XD's Recording Message on Windows

Lecture 108 From Photoshop to XD

Lecture 109 Create real-life mockups in just a few clicks

Lecture 110 Lightning speed with the Assets panel

Lecture 111 Linked symbols

Lecture 112 Preview and device preview

Lecture 113 Prototyping overview and sharing your design

Lecture 114 Create interactive prototypes

Lecture 115 Prototyping tips and tricks

Lecture 116 Make your app prototype seem real

Lecture 117 The incredible auto-animate and drag

Lecture 118 The Libraries panel

Section 12: How to Work with Mobile App Developers

Lecture 119 Introduction to Zeplin

Lecture 120 What the coder gets out of Zeplin

Lecture 121 From Photoshop to Zeplin to Android Developers

Lecture 122 Anything is possible in Android! Make clients & coders love you

Lecture 123 Design specs through XD

Lecture 124 Exporting from XD

Lecture 125 The best way to work with coders in Zeplin

Section 13: Designing & Prototyping in Adobe XD

Lecture 126 Introduction

Lecture 127 Import and fix the PSD in Adobe XD

Lecture 128 Setting up the prototype

Lecture 129 Prototyping the login and register screens

Lecture 130 Dealing with the City dropdown

Lecture 131 Creating the map interaction

Lecture 132 Finishing the initial screen interactions

Lecture 133 Analyzing our progress

Lecture 134 Recover password and create an account

Lecture 135 Recreate the restaurant listing in Adobe XD

Lecture 136 Creating a search bar

Section 14: Advanced Techniques in Adobe XD

Lecture 137 Connecting the left menu

Lecture 138 Connecting the filters

Lecture 139 Creating an animated tab system for the dish listing

Lecture 140 Creating the app s routes difficult!

Lecture 141 Continuing route 1: user registers at the beginning

Lecture 142 Route 2: user registers during checkout

Lecture 143 Route 3: user already has an account

Lecture 144 Restaurant information and reviews

Lecture 145 Fine-tuning and project analysis

Lecture 146 Preparing to export to Zeplin

Lecture 147 Export to Zeplin

Section 15: Final Thoughts from Chris

Lecture 148 Do this before you start freelancing

Lecture 149 Final Thoughts & What's Next

Anybody that wants a dependable life skill that can bring a solid income,Designers who want to know more about Material Design, creating apps, and interactive prototypes,Anyone who wants to launch their own mobile apps,Developers who want to expand their skill set,Photoshop users that are looking for an alternative tool - Adobe XD


designmobileappsandro19cyc.jpg


Beginning Fusion 360

xaveju4w0qcf5f6iwmjzid2f1k.jpg


Beginning Fusion 360
Last updated 2/2022
MP4 | Video: h264, 1280x720 | Audio: AAC, 44.1 KHz
Language: English | Size: 14.64 GB | Duration: 26h 3m

Learn to use Fusion 360 and all of its design tools so that making your own designs is a breeze


What you'll learn
Designing Objects in Fusion 360

Requirements
Computer That Can Run Fusion 360
Mouse is Recommended

Description
Learn to use Fusion 360 and its CAD designing toolsThese tools include Sketching, 3D Features, Drawing, and Part Assembly.At the end of this course we will bring together all of these concepts in some cool projects/When you are finished with this course making your own designs in Fusion 360 should be a breeze.

Overview

Section 1: Introduction

Lecture 1 Introduction

Lecture 2 What Will You Learn

Lecture 3 What is Required

Lecture 4 Udemy's Early Review Request

Lecture 5 What Is Fusion 360

Lecture 6 Creating Fusion 360 Account

Lecture 7 Downloading/Installing Fusion 360

Lecture 8 Introduction To Fusion 360

Lecture 9 Fusion Updates

Section 2: Sketching

Lecture 10 Cordinate System Have Z Be In Up Direction Rather Than Y

Lecture 11 Introduction To Sketching

Lecture 12 What is a Plane

Lecture 13 How to Use A Tool in Fusion 360

Lecture 14 Sketch Tool

Lecture 15 Sketching Learning Base On Projects

Lecture 16 Gas Flange Introduction

Lecture 17 Creating Rectangle

Lecture 18 Chamfer Tool On Sketch

Lecture 19 Adding Lines

Lecture 20 Adding Circles

Lecture 21 Dimensioning

Lecture 22 Offset Tool

Lecture 23 Nut Sector Introduction

Lecture 24 Circle and Offset

Lecture 25 Adding Lines and Circles

Lecture 26 Polygon Tool and Point Tool

Lecture 27 Circular Pattern Tool

Lecture 28 Shredder Dial Introduction

Lecture 29 Creating The Base Of Shredder Dial

Lecture 30 X, Y, And Hypotenuse Dimension Projections and Arc Radius

Lecture 31 Finishing Shredder Dial

Lecture 32 Jar Introduction

Lecture 33 Setting Up Sketch and Base Constraints

Lecture 34 Bottom Curve

Lecture 35 Starting The Neck

Lecture 36 Continuing Neck

Lecture 37 Finishing Jar

Lecture 38 Practice Sketch Introduction

Lecture 39 Practice Sketch 1

Lecture 40 Practice Sketch 2

Section 3: 3D Features

Lecture 41 3D Features Project Based Introduction

Lecture 42 Closed Profile and 3D Features Introduction

Lecture 43 Selected Profiles

Lecture 44 Adding Extrude

Lecture 45 Hole Tool

Lecture 46 Extruding Captive Clamp

Lecture 47 Thread Tool

Lecture 48 Cut Extrude

Lecture 49 Fillet Tool

Lecture 50 Chamfer Tool

Lecture 51 Shredder Dial Extrude and Emboss Tool

Lecture 52 Jar Revolve

Lecture 53 Section Analysis Tool

Lecture 54 Introduction To 3D Features

Lecture 55 Extrude Tool

Lecture 56 Revolve Tool

Lecture 57 Sweep Tool

Lecture 58 Loft Tool

Lecture 59 Loft Example

Section 4: Modifying Tools

Lecture 60 Introduction

Lecture 61 Hole Tool

Lecture 62 Thread Tool

Lecture 63 Fillet Tool

Lecture 64 Chamfer Tool

Lecture 65 Shell Tool

Lecture 66 Move/Copy

Lecture 67 Other Modifying Tools

Section 5: Putting It all Together

Lecture 68 Introduction

Lecture 69 Practice Part 1

Lecture 70 Practice Part 2

Section 6: Advanced Part Modeling

Lecture 71 Introduction

Lecture 72 Sketching On Existing 3D Geometry

Lecture 73 Project Feature

Lecture 74 What Is A Construction Plane

Lecture 75 5 Main Construction Plane Tools

Lecture 76 Patterning Features

Lecture 77 Practice Parts

Section 7: Drawings

Lecture 78 Introduction

Lecture 79 Creating A Drawing

Lecture 80 Creating Base View

Lecture 81 Creating Projected Views

Lecture 82 Creating Section Views

Lecture 83 Creating Detailed Views

Lecture 84 Modify Tools

Lecture 85 Geometry Tools

Lecture 86 General Dimension Tool

Lecture 87 Other Dimension Tools

Lecture 88 Annotation Text

Lecture 89 Drawing Symbols

Lecture 90 Inserting Image

Lecture 91 B.O.M. Bill Of Materials

Lecture 92 Tolerancing

Lecture 93 Saving Drawing

Lecture 94 Practice 1

Lecture 95 Practice 2

Lecture 96 Practice 3

Section 8: Input/Output

Lecture 97 Introduction

Lecture 98 Saving Files In Fusion 360 Cloud

Lecture 99 Version Control (Requires Internet)

Lecture 100 Exporting Parts/File Types (Certain Types Require Internet Con. To Translate)

Lecture 101 Saving A STL(Requires Internet Connection)

Lecture 102 Importing/Uploading Parts Into Fusion 360 (May Requires Internet Connection)

Section 9: Assemblies

Lecture 103 Introduction

Lecture 104 Placing Parts Into Assemblies

Lecture 105 Joint Creating Fusion Update

Lecture 106 Creating Joints

Lecture 107 Rigid Joints

Lecture 108 Revolute Joint

Lecture 109 Slider Joint

Lecture 110 Cylindrical Joint

Lecture 111 Pin-Slot Joint

Lecture 112 Planar Joint

Lecture 113 Ball Joint

Lecture 114 Rigid Group

Lecture 115 As Built Joint

Lecture 116 Capture Position

Section 10: Inspection Tools

Lecture 117 Introduction

Lecture 118 Measure Tool

Lecture 119 Section Analysis

Lecture 120 Coloring Your Parts

Lecture 121 Physical Materials

Lecture 122 Interferance Tool

Lecture 123 Center Of Mass

Section 11: Practice Projects

Lecture 124 Introduction

Lecture 125 Practice Project 1 Introduction Part 1

Lecture 126 Practice Project Part 1 Introduction Part 2: Summary

Lecture 127 Practice Project 1 Analysis

Lecture 128 Practice Project 1 Modeling Main Cup

Lecture 129 Practice Project 1 Modeling Cap and Assembly

Lecture 130 Practice Project 1 Drawings

Lecture 131 Practice Project 1 3D Printed Prototype

Lecture 132 Practice Project 1 Review

Lecture 133 Practice Project 1 Finished Project

Lecture 134 Practice Project 2 Introduction

Lecture 135 Practice Project 2 Assembly First Look

Lecture 136 Practice Project 2 Analysis

Lecture 137 Practice Project 2 Modeling Part 1 OEM Parts

Lecture 138 Practice Project 2 Modeling Part 2 Custom Parts

Lecture 139 Practice Project 2 Assembly

Lecture 140 Practice Project 2 OEM Part Drawings

Lecture 141 Practice Project 2 Custom Part Drawings

Lecture 142 Practice Project 2 Review

Lecture 143 Practice Project 2 Finished Project

Section 12: Extra Content- Sketch Tools

Lecture 144 Line Tool

Lecture 145 Rectangle Tool

Lecture 146 Circle Tool

Lecture 147 Arc Tool

Lecture 148 (Depricated) Polygon Tool

Lecture 149 Polygon Tool

Lecture 150 Eplipse Tool

Lecture 151 Point Tool

Lecture 152 Slot Tool

Lecture 153 Text Tool

Lecture 154 Other Sketching Tools

Lecture 155 Fillet Tool

Lecture 156 Offset Tool

Lecture 157 Trim/Extend/Break Tool

Lecture 158 Mirroring Modifier

Lecture 159 Pattern Modifier

Lecture 160 Dimensioning

Lecture 161 Constraints Introduction

Lecture 162 Vertical/Horizontal Constraint

Lecture 163 Coincide Constraint

Lecture 164 Tangent Constraint

Lecture 165 Equal Constraint

Lecture 166 Parallel Constraint

Lecture 167 Perpendicular Constraint

Lecture 168 Fix Constraint

Lecture 169 Midpoint Constraint

Lecture 170 Concentric Constraint

Lecture 171 Colinear Constraint

Lecture 172 Symmetry Constraint

Lecture 173 Curvature Constraint

Section 13: Conclusion

Lecture 174 Conclusion

Beginners Interested In 3D Design,People That Use Another CAD Package That Wish To Change To Fusion 360

Say Thank You


beginningfusion3602ochn.jpg


3D Model and Texture a High Quality Game Prop Gun Rifle

8iezdsdovpoc3mxcdfjaql4dnh.jpg


3D Model And Texture A High Quality Game Prop Gun Rifle
Last updated 10/2018
MP4 | Video: h264, 1280x720 | Audio: AAC, 44.1 KHz
Language: English | Size: 20.10 GB | Duration: 22h 0m

Learn How to Create an AAA Quality Prop Weapon using 3ds Max, Substance Painter, and Marmoset Toolbag


What you'll learn
Students will gain a better understanding of how game assets are professionally made in AAA game companies
Create clean low poly mesh that is suitable for games
Effectively create organized and properly laid out UVs
Bake maps and resolve any baking errors
Create realistic texture and color details
Polishing and rendering for quality presentation

Requirements
Basic Knowledge of 3ds Max, Substance Painter, and Marmoset Toolbag

Description
Instructor InfoEmiel Sleegers always had love for video games and when he was young, he started using Unity3D for programming but he found himself gravitating more towards the art of making games. Now he is currently working as an environment artist in Ubisoft. He contributed to creating AAA games such as Forza Horizon 3 and The Division 2. His all time favorite game is The Last of Us and that video game is what inspired him to want to work in the game industry. His advice for beginner artists is to focus on one aspect of gaming that they are passionate about, stick to it and get better at it. His hobbies include anything related to games or films, whether it be working on personal projects, freelance work or going out for movies. Course Info In this course, you will be taken to the process of creating an assault rifle from start to finish. The goal of this course is to have a complete game ready AAA weapon. You will begin by gathering references that will help you visualize the weapon and then move on to 3Ds Max to model the high poly asset, the low poly and create UV map. You will be able to prepare the scene for baking and will set all the required maps in Marmoset Toolbag. You will go to Substance Painter where you will be creating the final texture and finally you will be rendering your art piece in Marmoset Toolbag.

Overview

Lecture 1 Introduction

Section 1: Modeling the Rifle

Lecture 2 Reference and Setup

Lecture 3 Creating the Body (Part 1)

Lecture 4 Create the Body (Part 2)

Lecture 5 Turning the Body to High Poly

Lecture 6 Creating the Grip

Lecture 7 Creating the Trigger Ring

Lecture 8 Working on the Back

Lecture 9 Finishing the Back

Lecture 10 Creating the Front

Lecture 11 Finishing the Front

Lecture 12 Creating the Barrel

Lecture 13 Creating the Top Rim and Iron Sights

Lecture 14 Turning Top into High Poly and Adding Small Details

Lecture 15 Creating the Magazine

Lecture 16 Creating the Front Rails and Adding Final Details

Section 2: Low Poly Modeling

Lecture 17 Turning the Gun into Low Poly (Part 1)

Lecture 18 Turning the Gun into Low Poly (Part 2)

Lecture 19 Finish up the Low Poly

Section 3: Unwrapping, Texturing, Baking

Lecture 20 Unwrapping the Gun (Part 1)

Lecture 21 Unwrapping the Gun (Part 2)

Lecture 22 Packing the UVs (Part 1)

Lecture 23 Packing the UVs (Part 2)

Lecture 24 Preparing our Scene for Baking

Lecture 25 Baking Our Gun

Lecture 26 Resolving Baking Errors (Part 1)

Lecture 27 Resolving Baking Errors (Part 2)

Lecture 28 Setting up our Scene in Substance Painter

Lecture 29 Setting up Basic Colors for our Gun

Lecture 30 Adding Normal Map Details (Part 1)

Lecture 31 Adding Normal Map Details (Part 2)

Lecture 32 Adding Normal Map Details (Part 3)

Lecture 33 Adding Dirt and Grunge

Lecture 34 Adding Roughness

Lecture 35 Adding Text and More Color Detail

Lecture 36 Creating more Dirt and creating Edge Damage

Lecture 37 Final Polishing and Rendering

Lecture 38 Outro

Anyone who want to improve their hard surface modeling skills,Those who want to know how to bake and texture in a professional setting,Anyone who want to take their prop creation skills to the next level


3dmodelandtextureahigcuile.jpg


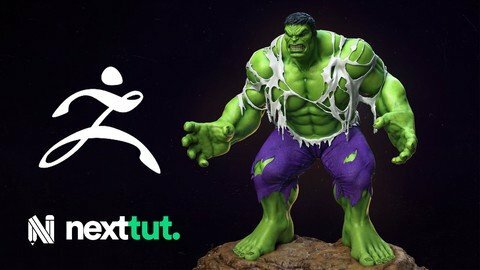
Super Hero Anatomy Course For Artists -The Hulk

0c7yiugplmdym87ccpi37qvcec.jpg


Super Hero Anatomy Course For Artists -The Hulk
Last updated 11/2020
MP4 | Video: h264, 1280x720 | Audio: AAC, 44.1 KHz
Language: English | Size: 21.04 GB | Duration: 26h 29m

Learn to Sculpt Hulk like characters with super human anatomy.


What you'll learn
Super Human Anatomy
Hulk Character Sculpting
Sculpting Muscles

Requirements
This course is for intermediate Zbrush user so you need to have Zbrush basic knowledge.

Description
Is this course right for me : If you want to sculpt Hulk like super hero characters then this covers that. This course is for intermediate level artists interested to learn and comprehend the male anatomy applied to the hypertrophy of superheroes.What you can do after finishing the course : At the end of the course, you will be able to create a complete character from scratch by sculpting all the visible muscles of the human body in their proper location. You'll understand the movement of the human body and the correct process to add dynamism by posing your character. Finally, you'll be able to render a final image and make a presentation of the project.Requirements to enrol : This course is for intermediate Zbrush user so you need to have Zbrush basic knowledge. Software we are gonna use : Zbrush. Keyshot. Zbrush to Keyshot Bridge. Photoshop. PureRef.If it sounds like you then keep reading.What will you learn : Hulk Character SculptingSuper Human AnatomySculpting MusclesRendering in Zbrush and KeyshotWho am I to teach : My name is Gibran Pietro Machaen, I've been working as a 3D sculptor since 2013. I'm specialized in sculpture and modeling for 3D printing, collectibles and statues.Thanks again for watching Nexttut education and as always, enjoy.ENROLL NOW and I will see you in the 1st lecture.

Overview

Section 1: Sketching the Proportions

Lecture 1 Resources Anatomy Base

Lecture 2 Download Project files & Setting the References PureRef

Lecture 3 Playing with clay Dynamesh and Sculptris Pro

Lecture 4 Basic Proportions

Lecture 5 Blocking 1

Lecture 6 Blocking 2

Lecture 7 Blocking the Hand

Lecture 8 Blocking Arms and Legs

Lecture 9 Blocking Foot

Lecture 10 Silhouette and Iterations

Section 2: Arm Anatomy

Lecture 11 The muscles and Structure 1

Lecture 12 The muscles and Structure 2

Lecture 13 Hands 1

Lecture 14 Hands 2

Lecture 15 Hands 3

Lecture 16 Hands Cleaning and pose

Lecture 17 Arms Details 1

Lecture 18 Arms Details 2

Lecture 19 Arms Details 3

Section 3: Leg Anatomy

Lecture 20 The muscles and Structure

Lecture 21 Feet 1

Lecture 22 Feet 2

Lecture 23 Feet 3

Lecture 24 Feet 4

Lecture 25 Leg Details 1

Lecture 26 Leg Details 2

Section 4: Torso Anatomy

Lecture 27 The muscles and Structure

Lecture 28 Torso_Details 1

Lecture 29 Torso_Details 2

Lecture 30 Torso_Details 3

Section 5: Working on the Face

Lecture 31 Face 1

Lecture 32 Face 2

Lecture 33 Face 3

Lecture 34 Face 4

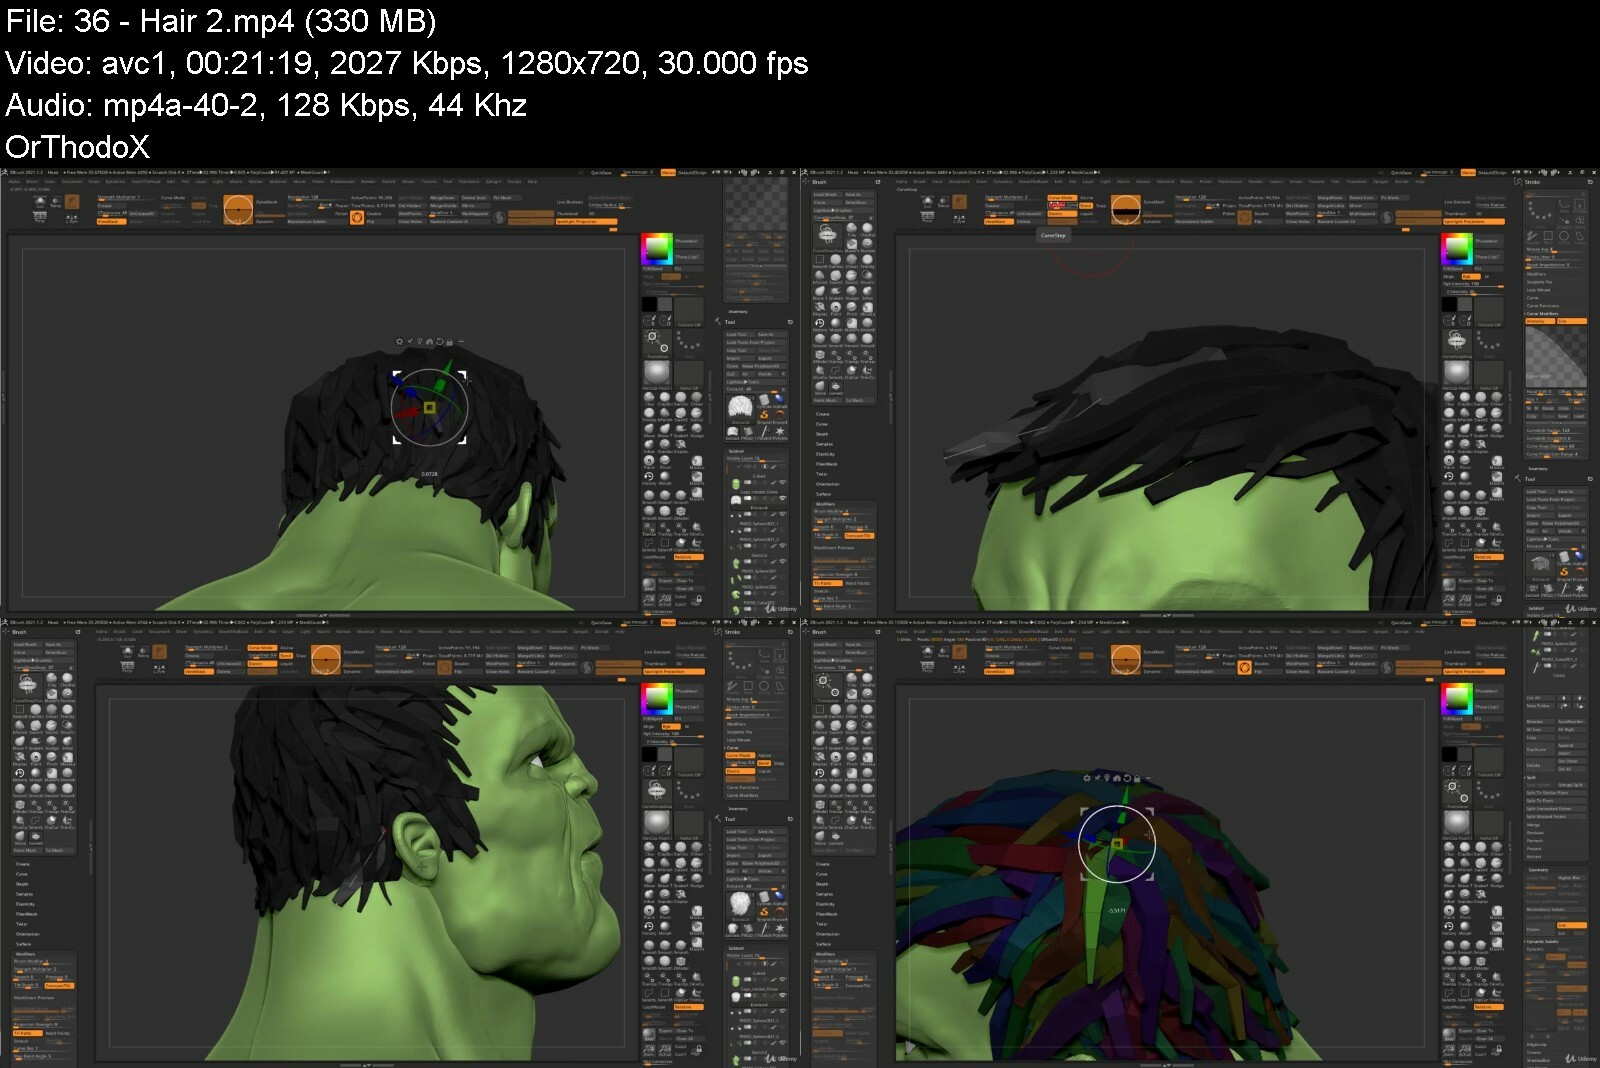
Lecture 35 Hair 1

Lecture 36 Hair 2

Lecture 37 Hair 3

Lecture 38 Hair 4

Lecture 39 Final Details

Lecture 40 Eyebrows 1

Lecture 41 Eyebrows 2

Section 6: Preparing a model for posing

Lecture 42 Cleaning Proportions

Lecture 43 Automatic Retopology

Lecture 44 Cleaning Automatic Retopology

Lecture 45 Face and Hair for Transpose

Lecture 46 Final touches on Muscles

Section 7: Posing with Transpose Master

Lecture 47 Transpose Master basics

Lecture 48 Grasping the general idea of the pose

Lecture 49 Posing the Arms

Section 8: After Pose

Lecture 50 Principal deformation on Muscles

Lecture 51 Cleaning the Legs

Lecture 52 Cleaning the Arms

Lecture 53 Legs Stretching and Femur

Lecture 54 Creating an expression and a mouth cavity

Lecture 55 Teeth

Lecture 56 Gums and Forehead

Lecture 57 Final details

Lecture 58 Retouching the hands 1

Lecture 59 Retouching the hands 2

Section 9: The Base

Lecture 60 Creating a Base with basic brushes

Lecture 61 Adding details and noise

Lecture 62 Nanomesh

Section 10: Cloth

Lecture 63 Create the base for the Pants

Lecture 64 Dynamics Intro

Lecture 65 Creating Strips

Lecture 66 Strips Simulation

Lecture 67 ClothBrush and Basics of Surface

Lecture 68 The Hip Shirt

Lecture 69 The Torn Shirt 1

Lecture 70 The Torn Shirt 2

Lecture 71 UVs Ready Pants

Lecture 72 Seams 1

Lecture 73 Seams 2

Lecture 74 Stitches and Belt Loops

Lecture 75 Hip Folds

Lecture 76 General Folds

Lecture 77 Seams Details

Lecture 78 Details and Lateral Pockets

Lecture 79 Final Folds

Lecture 80 Simulating the Shirt Bits

Section 11: Color and Polypaint

Lecture 81 Getting the model ready

Lecture 82 Polypaint and the Basic Modifiers

Lecture 83 Claybrush Paint

Lecture 84 Shadows and Lights

Lecture 85 Spotlight on the base

Lecture 86 Eyes, nails and Cavities

Lecture 87 Merging the layers

Lecture 88 Dirt and BackPockets

Section 12: Render

Lecture 89 The basics of render inside Zbrush

Lecture 90 Zbrush to Keyshot

Lecture 91 Keyshot Settings

Lecture 92 Final Compo

Section 13: Conclusion

Lecture 93 Thanks

This course is for intermediate level artists interested to learn and comprehend the male anatomy applied to the hypertrophy of superheroes.


superheroanatomycoursnhcik.jpg


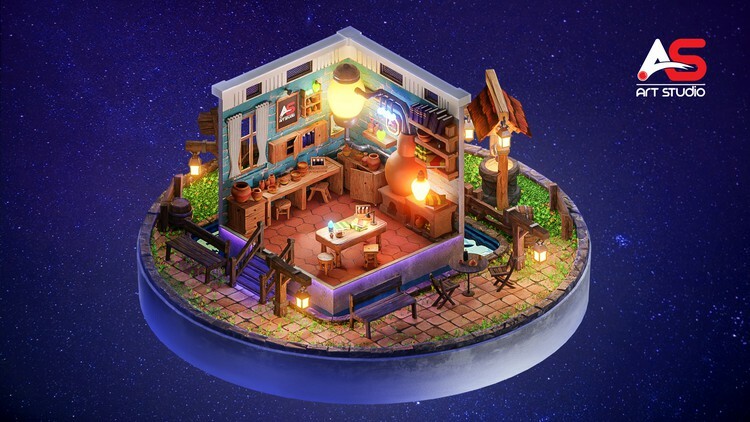
Complete Blender Guide for Beginners & Intermediate

479436059ddt7i6i.jpg


Complete Blender Guide for Beginners & Intermediate
Published 08/2022
MP4 | Video: h264, 1280x720 | Audio: AAC, 44.1 KHz, 2 Ch
Genre: eLearning | Language: English + srt | Duration: 61 lectures (10h 51m) | Size: 10.1 GB


In this course you learn Blender from modeling to rendering


What you'll learn
Use Blender and understand it's interface
Learn PBR texture and mix them to get even more interesting material
Learn all the tools to create anything in 3D
Learn UV map and unwrap
Project file and all assets, inncluding grass, trees, barrel, textures and more
Very cool Lighting technique
How to mix tuxtures and paint them on a model (we use mouse for painting)

Requirements
Mac or PC capable of Running Blender Version 3.1 or above
You will learn all of the tools that will be needed for this course.

Description
Hello friends!

Welcome to our new course from modeling to render an isometric interior.

In this course we will learn together, how to create an isometric interior from modeling to rendering.

First Before starting modeling, we will take you through the fundamentals of blender 3.1. to prepare you for the next level.

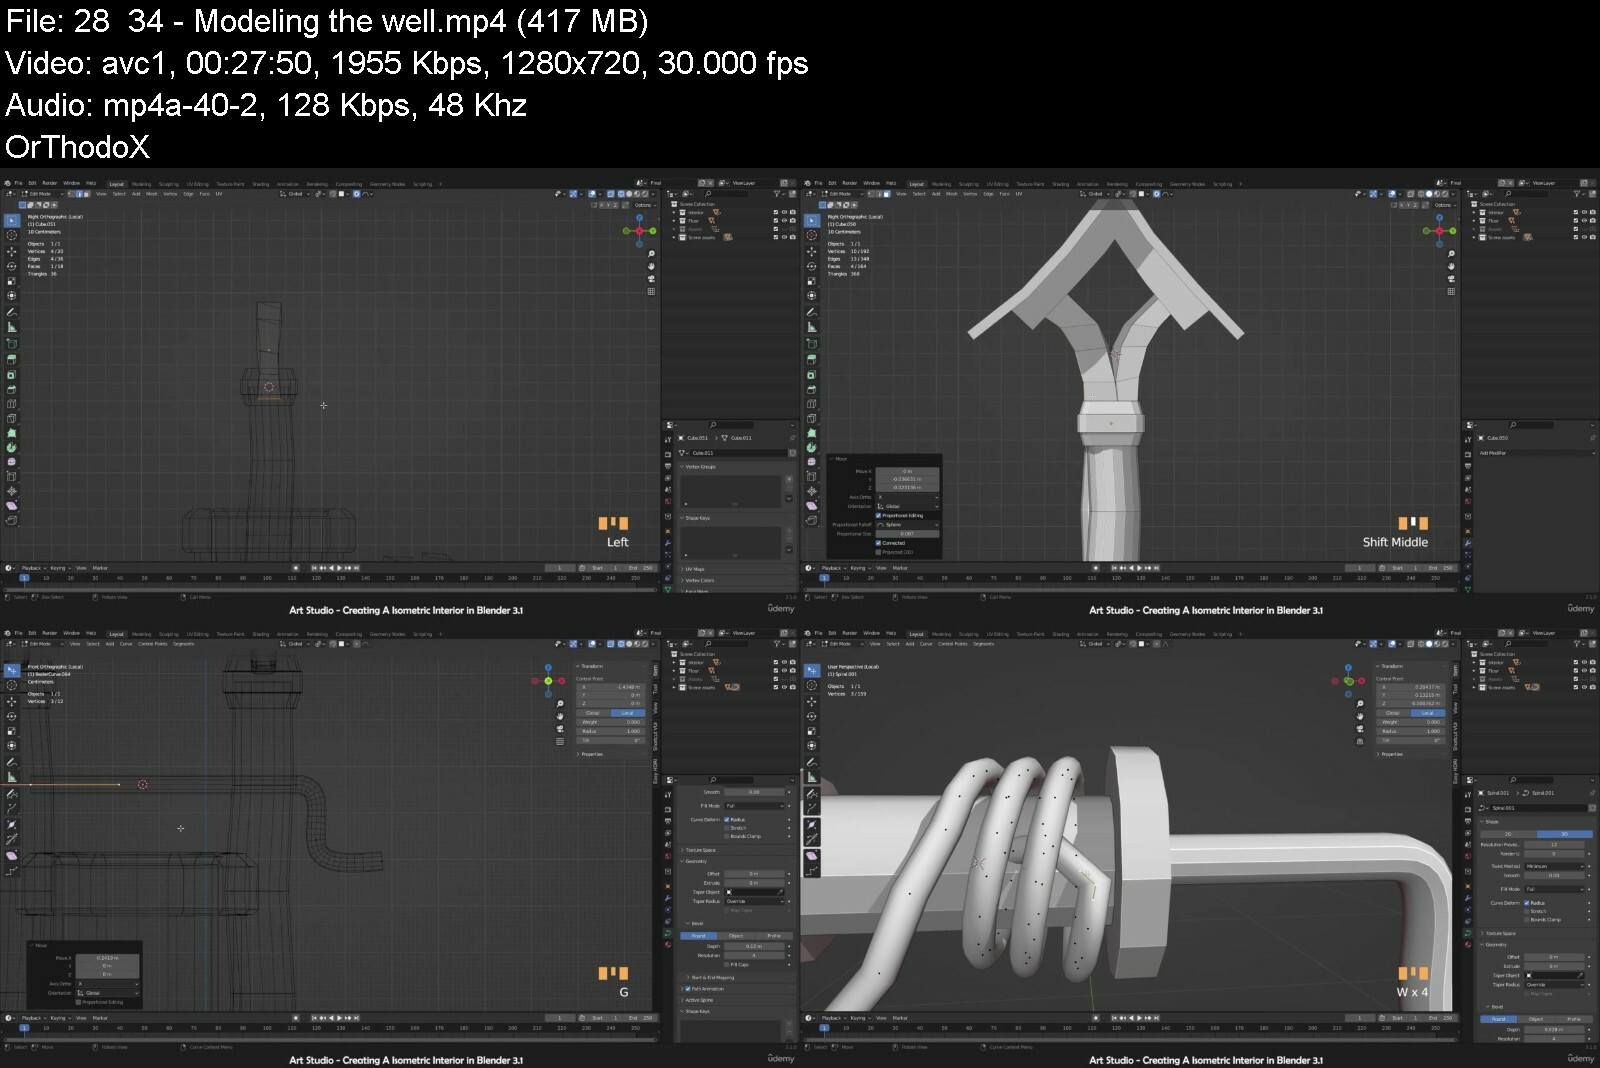
In the second section, we will take you through the modeling. In here you will learn modeling from creating easy models, with different examples to create a bit complex model and step by step we will add details our scene. You will learn all the tools and techniques you need for modeling this final scene.

Ass well you will learn how to use assets library and how to mark assets your premade assets and reuse them in your projects just by drag and drop.

In the third section we will go through the texturing. Here you learn: different ways of unwrapping with multiple examples. Where and how add mark seams and a lot more.

Next, we go through the shading: Here you learn how to create easy and complex material using free pbr textures and how to apply them to different surfaces.

In the next section we will talk about the lighting. We will use easy HDRI and blender lights to lighting our final scene. You learn different kind of light and how to use them to add more interest to our scene. After that you will learn how to create a volumetric light.

In the next part we will go through the particle system and how to paint that grass and flowers over the ground using weight paint.

And finally, we talk about Camera setting and render setting and we take a render animation with a lite bit of compositing and here is the result.

I hope to see you there very soon.

Who this course is for
Game Developers who wish to expand their Skill Set.
People who are curious about the world of 3D modeling and animation.
Artists who want to learn to bring their assets alive.


completeblenderguidefordrm.jpg


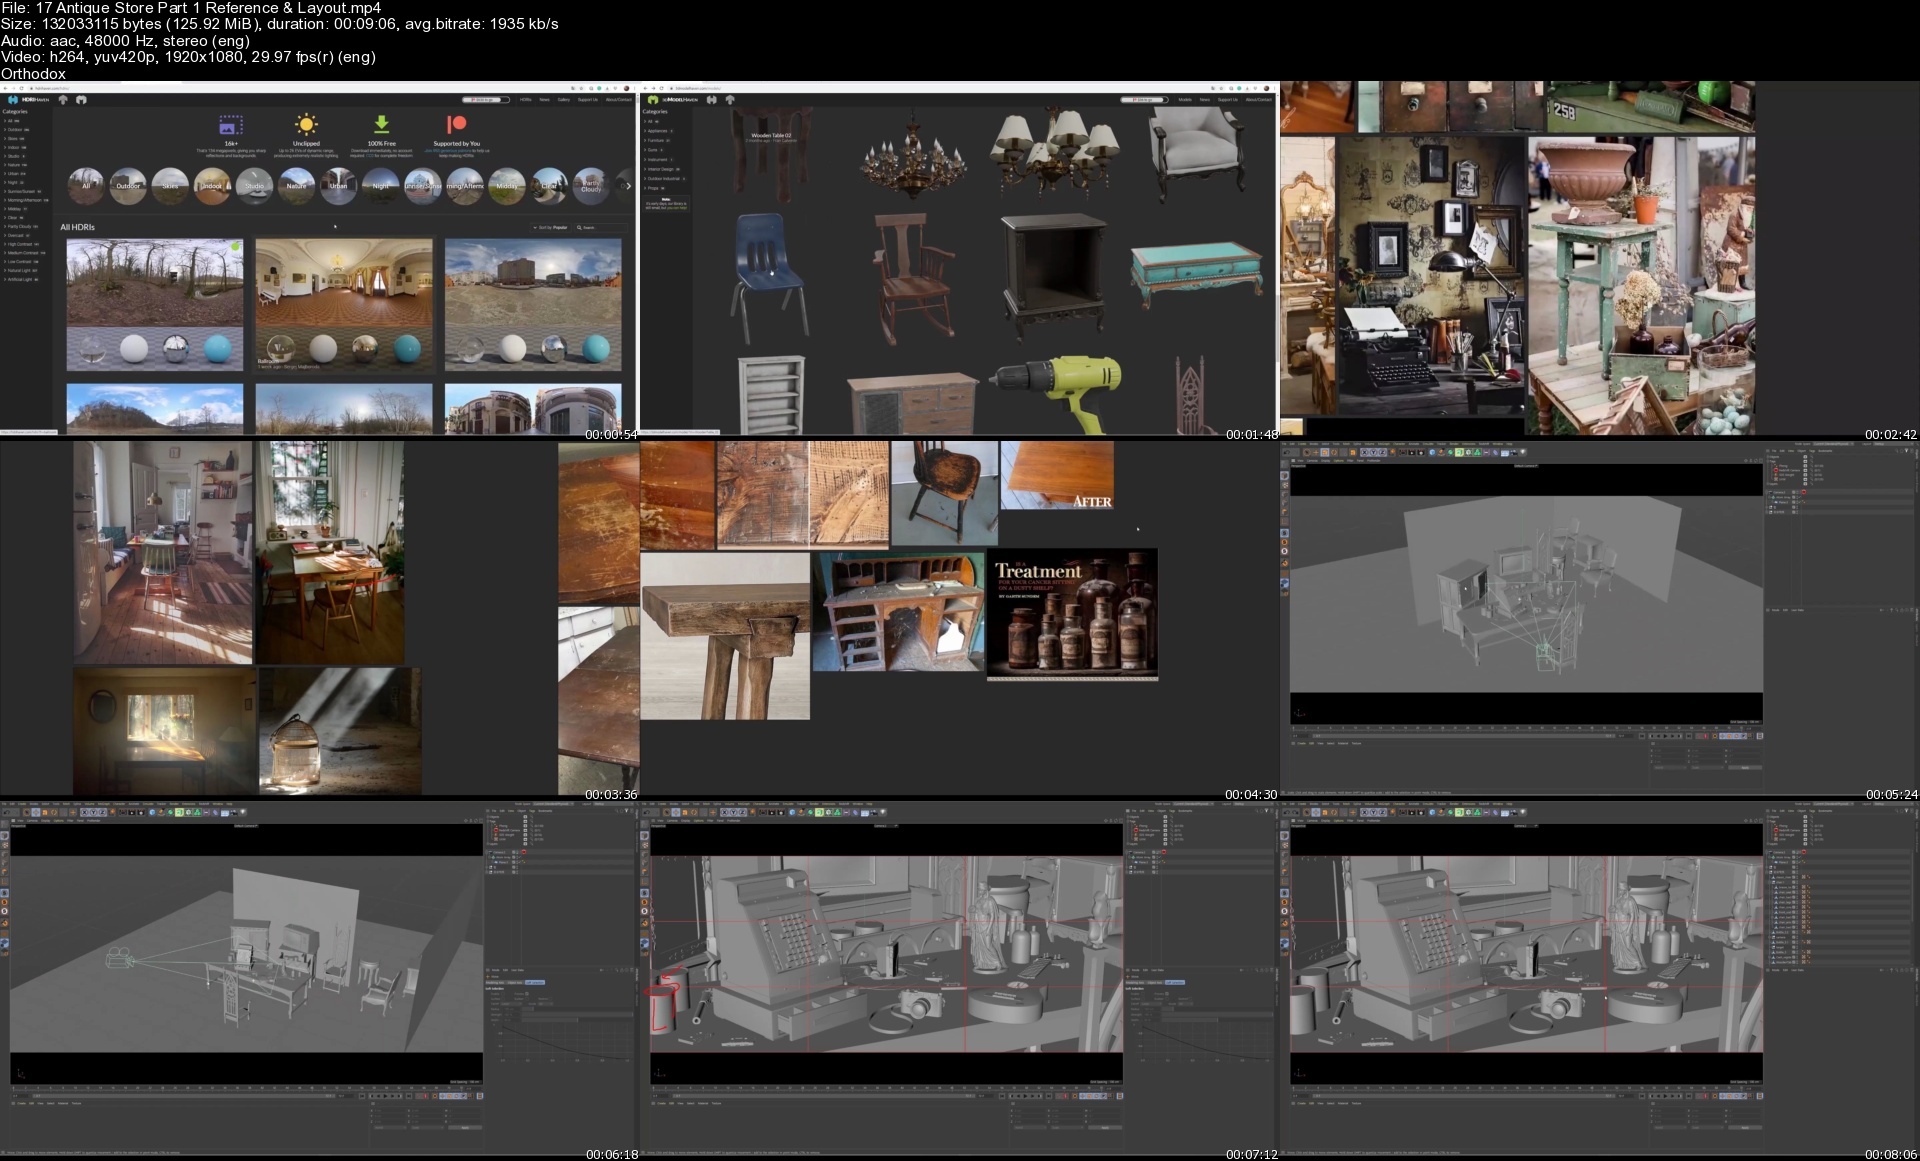
Master Class: Cinema 4D rendering

aajvti9zfxqsss8khgingvjflf.jpg


Master Class: Cinema 4D rendering
MP4 | Video: h264, yuv420p, 1920x1080 | Audio: aac, 48000 Hz | Duration: 9h 18m | 5.95 GB
Genre: eLearning | Language: English

Hi, I'm C4D Artist Taehoon Park.

While working at the Korean creative
studio, GIANTSTEP,
I've gained recognition for my entry
"Dreaveler," at Pause Fest Australia 2018.
Now, I'm working at The Mill,
a global creative studio best known
for its visual effects.

I've worked with numerous global businesses,
such as Google, Facebook, Samsung, Lotte,
Hyundai, LG, and participated in cinematic projects
for games like Marble Future Fight,
Apex Legends, Destiny, and more.


Homepage

17antiquestorepart1rey0dqw.jpg


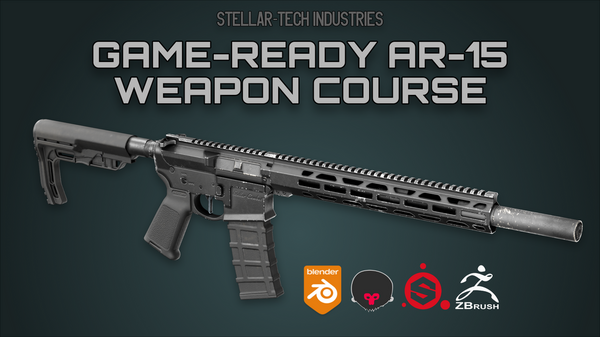
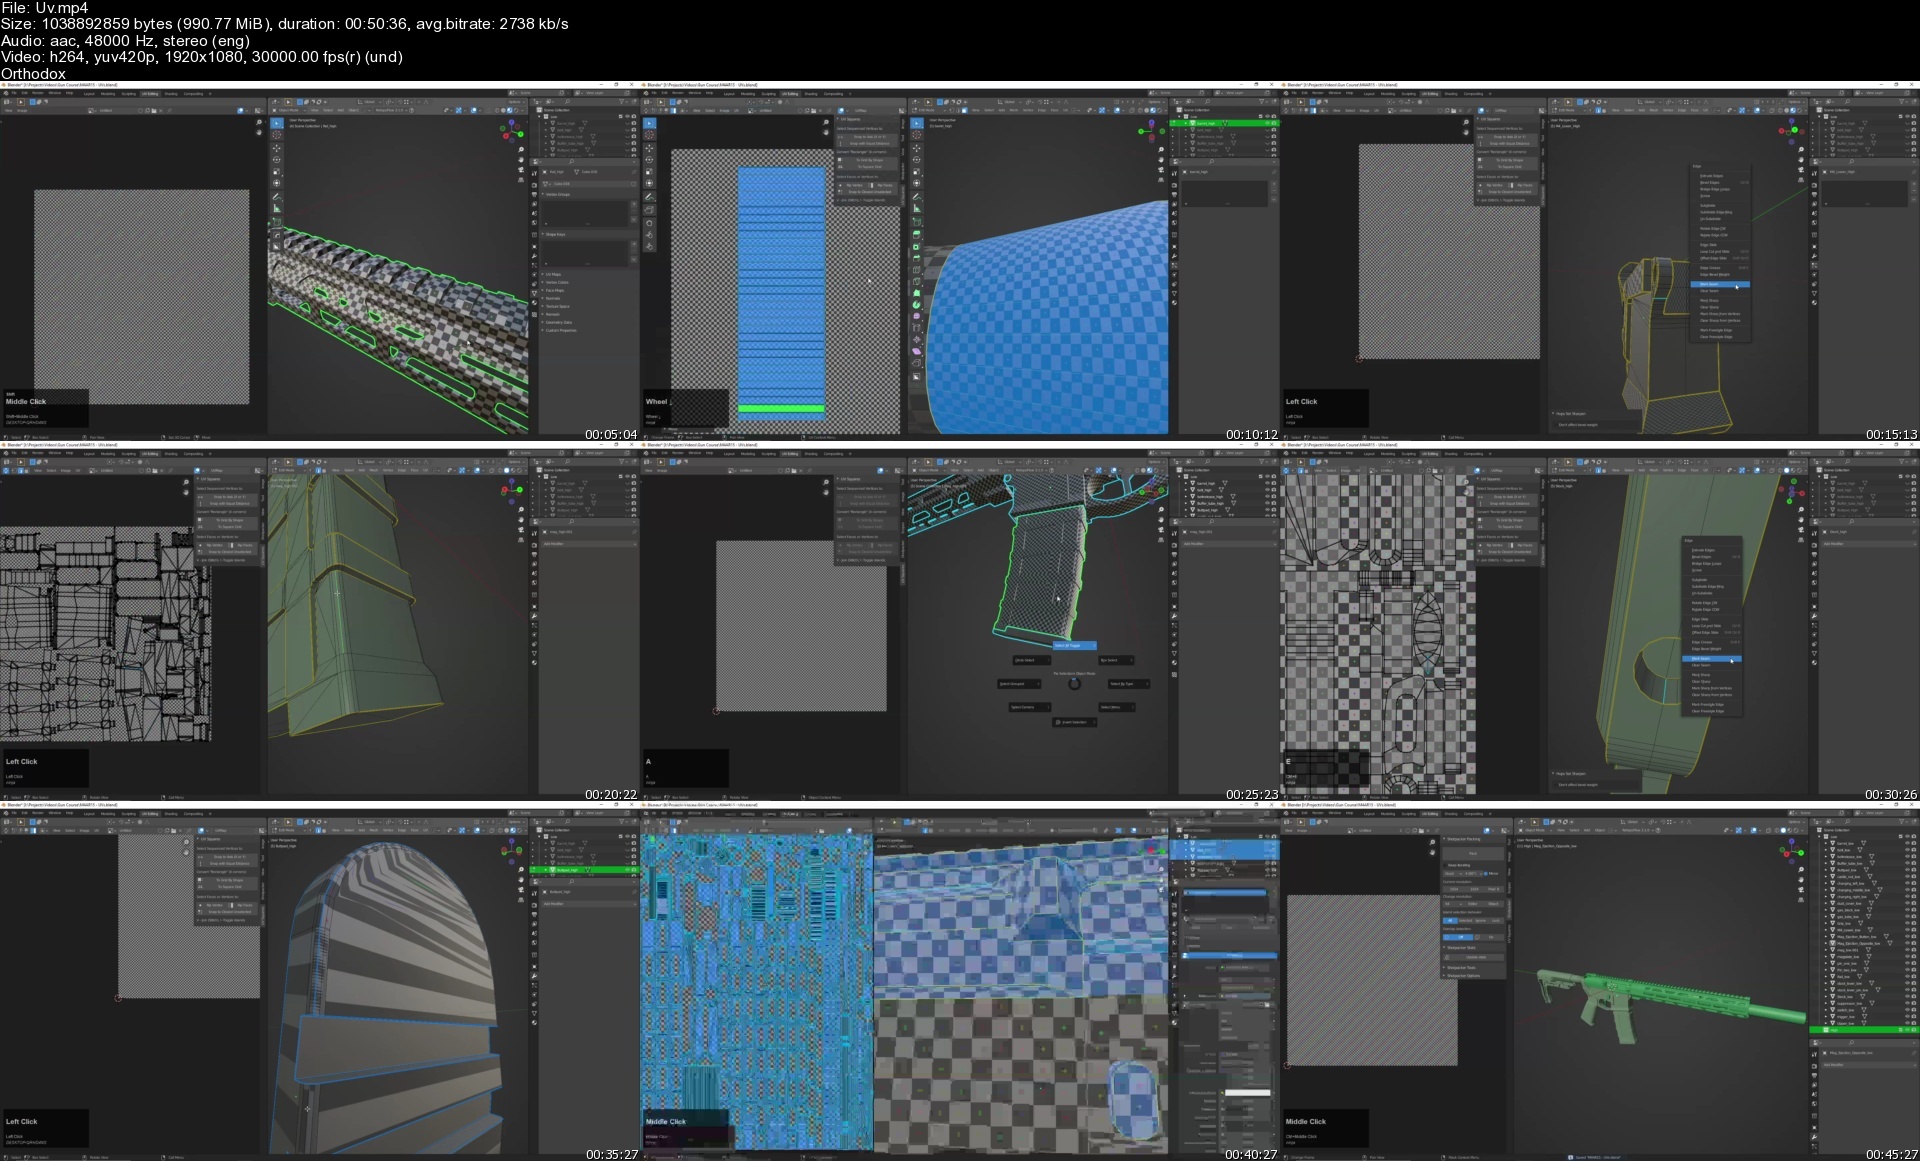
Game Ready AR-15 Weapon Course

4o4ibs99zgfm2dzs1tiqkq5dna.png


Game Ready AR-15 Weapon Course
Instructors: Stellar Works
21 Videos | Duration: 10h
Video: MP4 1920x1080 44 KHz | English
Project Files | Size: 5.4 GB

In this Course, you will be shown the methods in creating an optimized, Game Ready AR-15 in Blender 3D. You will learn how to go though the processes of using reference, making the model, remeshing, baking down details and texturing. In the course, the addons Boxcutter and Hard Ops are used as well as a few other programs and addons but it is 100% not required to have in order to follow along with the course! Other methods of achieving the final result will be shown too!
Who is this course for?

Anyone Experienced with Blender!

This course was created for those who want to create a Game Ready weapon, optimized for most Game engines. The Course will show both the use of Blender methods as well as other programs such as Marmoset Toolbag and Z-brush.

What s in the course?
Using reference to create needed shapes.

Boolean use and clean up.

Topology optimization.

Re-mesh for High Poly bake.

Baking and UV optimization.

Alternative ways to Re-mesh and Bake.

The use of Z-Brush, Marmoset and Substance Painter 2021.

Texturing in Substance Painter.

Export and rendering of final results in Blender.

OVERVIEW.

This course was designed by Stellar, and made possible with the collaboration Josh Johnson AKA NightHawk, and is 8 hours and 58 minutes in total. The modelling phase is broken up into different parts for convenience. The full process and alternatives to achieve the final result are all part of the course and there will be future added content.

Conclusion
In closing, you should achieve making an game ready AR-15 using the addons Boxcutter and Hardops, as well as Substance Painter, Marmoset and Z-Brush, or alternatives.

Addons Used In Blender 2.9x

Boxcutter_718_x
HardOps_987_Francium
SnappingPies
Looptools(native)
ShotPacker

uvsjle1s.jpg


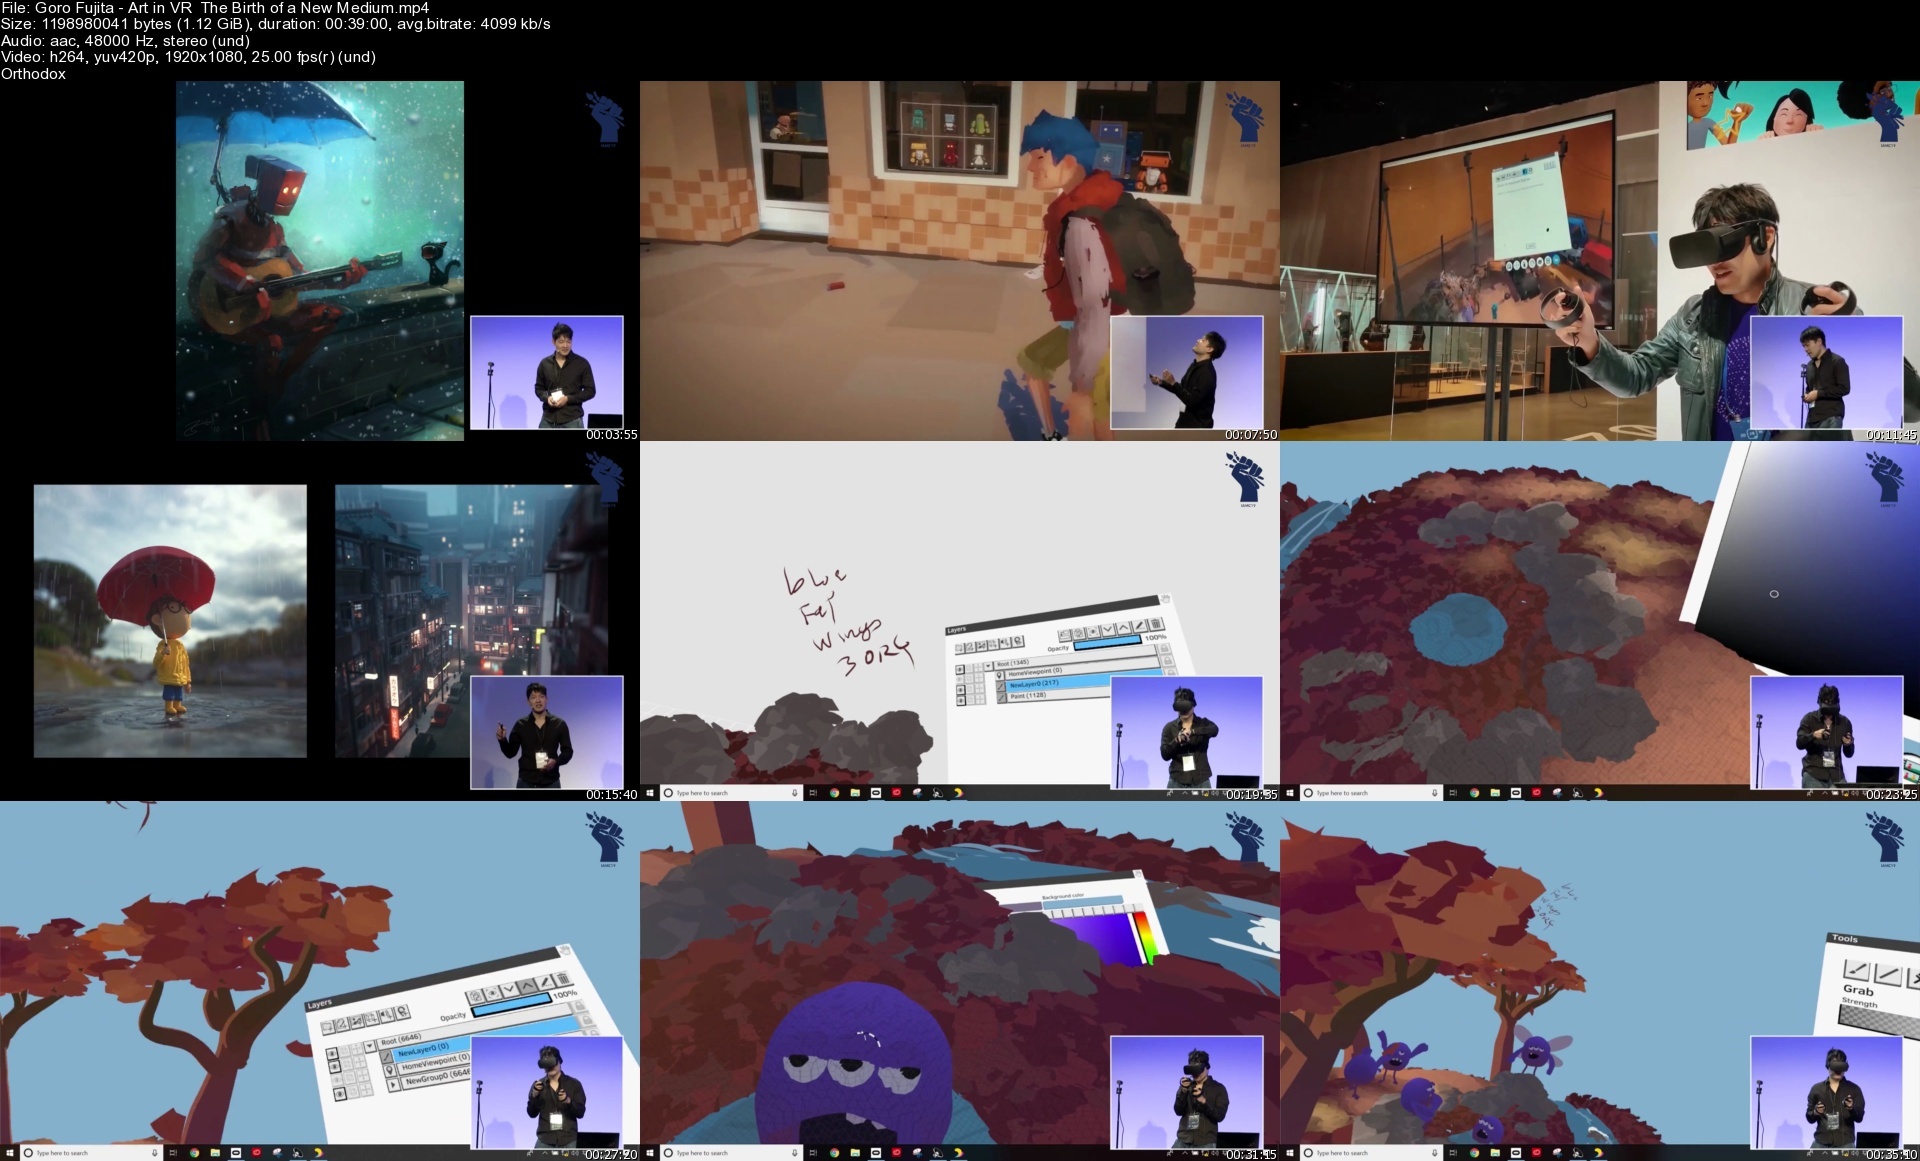
Goro Fujita From Concept Art to Virtual Reality

big67742fcatalogimagetefj5.png


Goro Fujita From Concept Art to Virtual Reality
IAMAG Master Classes
Instructors: Goro Fujita
Video: MP4 1920x1080 48 KHz | English
Duration: 10.5h | Size: 12 GB

A Comprehensive collection of free and premium videos featuring the evolution of the art of Goro Fujita, from Concept Art, Animation to VR and Quill

gorofujitaartinvrtheb15ci6.jpg


Anatomy for Artists with Rey Bustos

gzriuia5gtv6yrxayxont0iine.jpg


Anatomy for Artists with Rey Bustos
MP4 | Video: h264, yuv420p, 1920x1080 | Audio: aac, 44100 Hz | Duration: 6h 53m | 6.41 GB
Genre: eLearning | Language: English

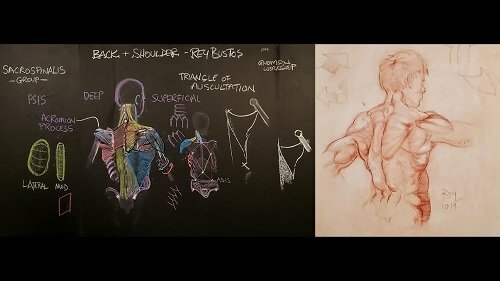
The Gnomon Workshop - Anatomy for Artists Volume 1 - Understanding the Back and Shoulder Muscles with Rey Bustos

Artistic Anatomy refers to the essential muscles that create the visible shapes that we see on a model s physique. Rey Bustos, famed illustrator and anatomist, teaches how to illustrate the complex back and shoulder muscles in a way that is preferred by most artistic anatomists.

When illustrating, it s not necessary for artists to know every single muscle of the body. By editing the key number of muscles that artists need to know down to a minimum, Rey begins the workshop with a focus on the Sacrospinalis (or Erector) spinae group some of the deep muscles in the center of the back that can be found along the spine all the way up to the base of the skull. These complicated, often-stringy muscles are important and keep humans upright but they can be challenging for artists to study individually. Rey reveals the simplest way to understand and interpret this muscle group and teaches easy-to-remember strategies for illustrating the forms.

Moving on, Rey addresses the medial form in the lower back, in between the two posterior superior iliac spines, and works up to the thorax. Thereafter, he layers muscles by placing them in order onto the skeletal frame to complete the study of the back and shoulders. His lectures in this 1-hour, 20-minute workshop are accompanied by stories that will help with remembering the shapes and relationships of the muscles and anatomy and are essential to making things memorable and easy to digest. A traditional drawing demonstration concludes the workshop to put all the theory into practice.

The Gnomon Workshop - Anatomy for Artists Volume 2 - Understanding the Leg and Foot with Rey Bustos

DESCRIPTION

In this workshop, Artistic Anatomist and Professor Rey Bustos delves into the anatomy of the human leg and foot. Rey splits the lecture into two sections: the lower leg and foot, then the upper leg, thigh and gluteals. In the first section, he explains and breaks down the forms and major tendons of the feet that make up the most important aspects necessary for every artist to be aware of. He then leads the lecture up to the essential muscles of the leg and lists each muscle and its placement on the skeleton while referencing a muscle sheet that is provided to you. Once the leg and feet are understood, Rey moves up to the thigh and gluteal section of the body. In this section, he starts not with individual muscles as he did with the lower leg, but with the four major groups of muscles in the thigh. These are the quadriceps, the adductors, the flexors (Hamstrings) and finally the gluteal muscles.

Rey includes some of the tendons, iliotibial band and relates how to better remember some of these areas as form groups. Though Rey explains the important individual muscles, this lecture makes it easier for the viewer to remember the bigger forms rather than the smaller individual muscles. By the end of this workshop, Rey s objective is to teach every student not so much about the details of each muscle but how to see the body in a fuller manner by seeing forms that might not have been seen before, simply because of the lack of awareness of these muscles and forms.

The Gnomon Workshop - Anatomy for Artists Volume 3 - Understanding the Front Torso & Arm

DESCRIPTION

Artistic Anatomist and Professor Rey Bustos returns with Volume 3 in the Anatomy for Artists series. This third instalment is divided into two segments, beginning with the Front Torso and conluding with the Arm. Rey launches the workshop with an in-depth study of the layers of muscles that matter to artists when drawing the upper bodies of human figures and characters. The guide shares how the Rectus Abdominis, Pectoralis Major, External Oblique, Deltoid, and Serratus Anterior, are all essential to an artist s understanding of human anatomy, in an easy-to-learn format.

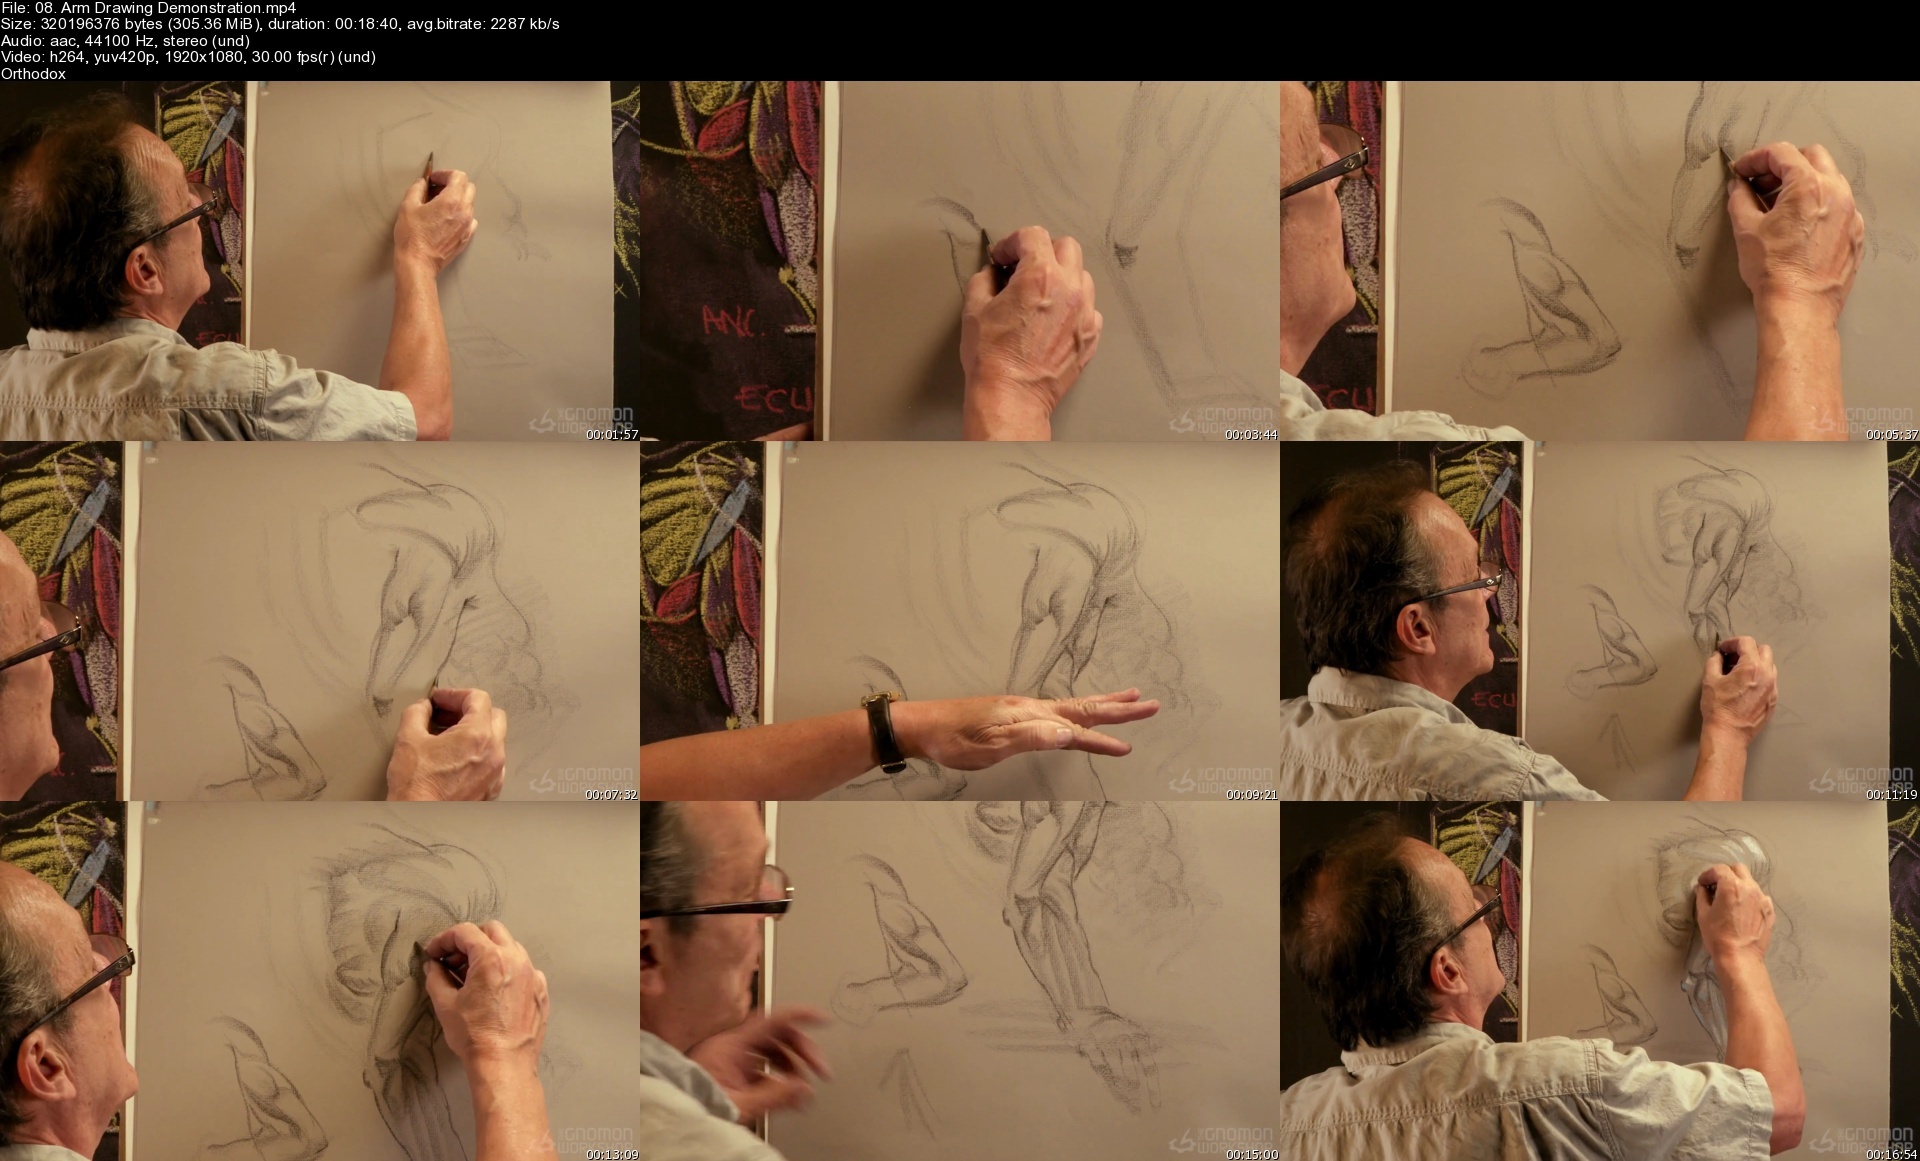
The lecture continues with a focus on the arms, which Rey expertly divides into four main groups of function: the Flexors, the Extensors, the Twins, and the Mini Twins. Using a simplified approach, Rey explains these muscles as teams between groups much like in a sports competition. The workshop explains how teams of muscles work together, and how they compare by size and purpose. The teaching reveals all the important anatomical names along with helpful tips and tricks for remembering and associating them in your artistic practice.

Completing the workshop, you will have a sound knowledge of all the essential muscles that are important to artists when studying and drawing the human torso and arms. Rey s unique lecture and drawing demonstration is designed for artists of all levels to allow easy understanding of the key information that is pertinent to an artist s education.

Homepage

08.armdrawingdemonstrv1c9y.jpg


Zurück
Oben Unten