Ultimate Drawing Course: Master Pencil Drawing & Shading Art
Ultimate Drawing Course: Master Pencil Drawing & Shading Art
Last updated 11/2020
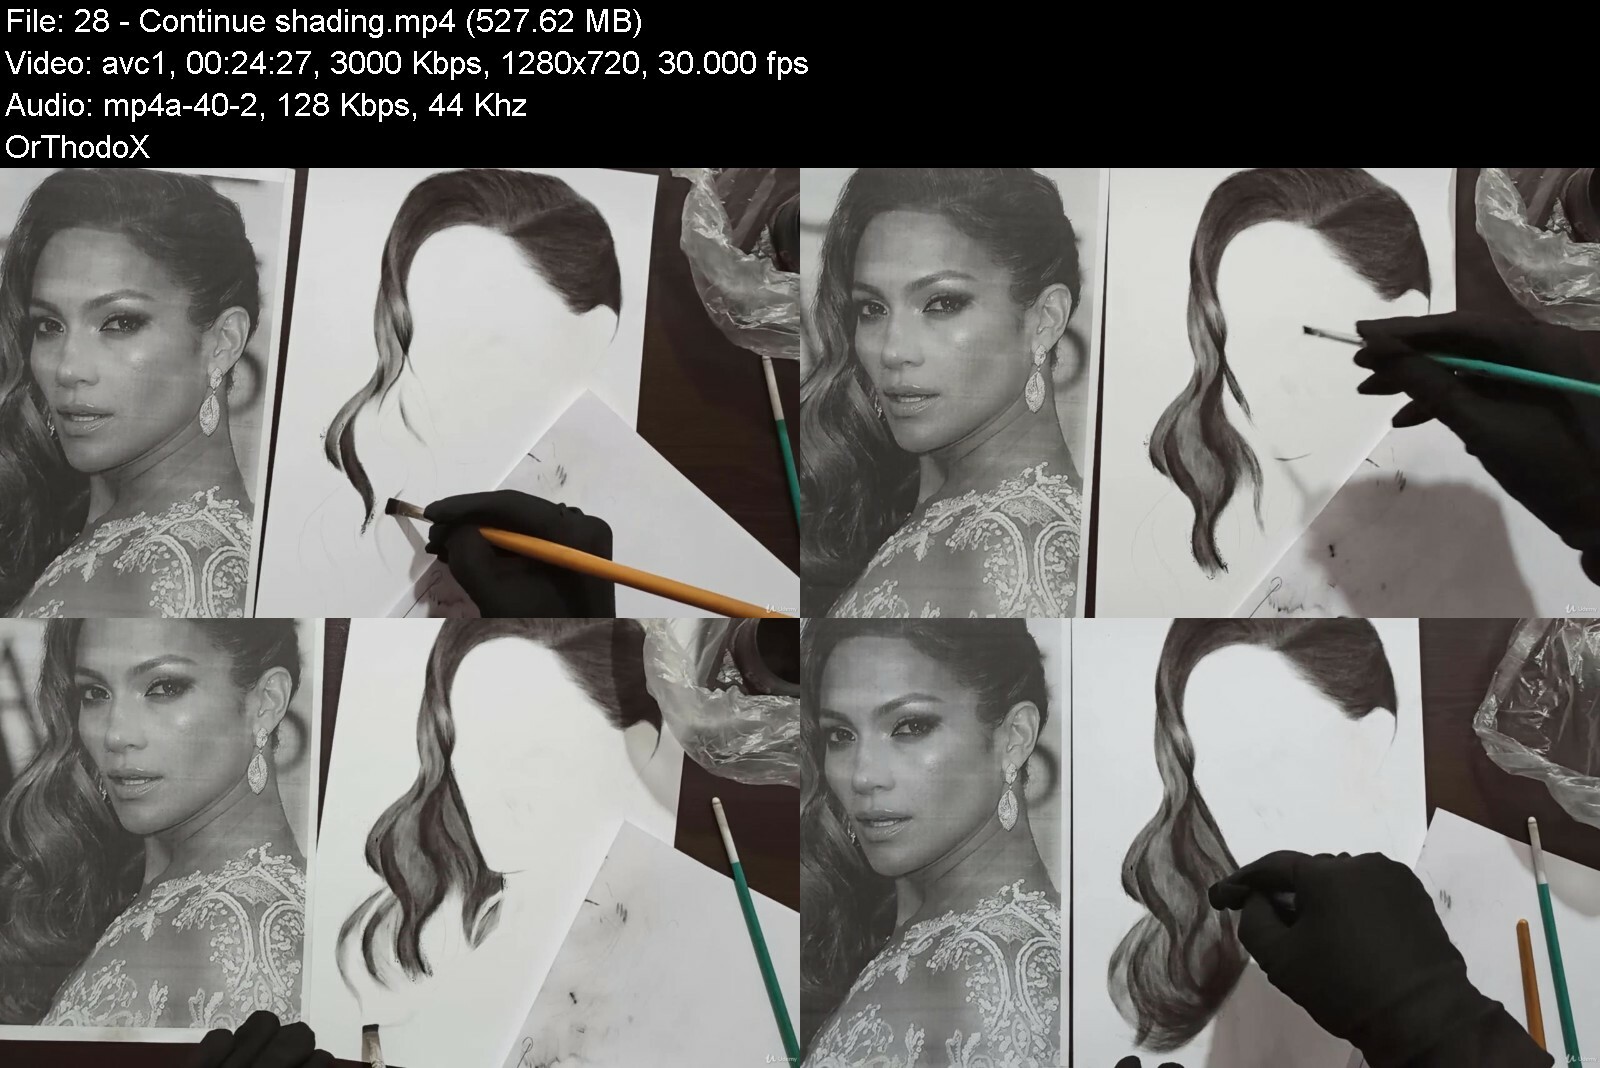
MP4 | Video: h264, 1280x720 | Audio: AAC, 44.1 KHz
Language: English | Size: 13.24 GB | Duration: 10h 22m
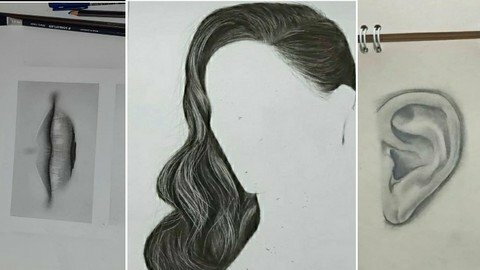
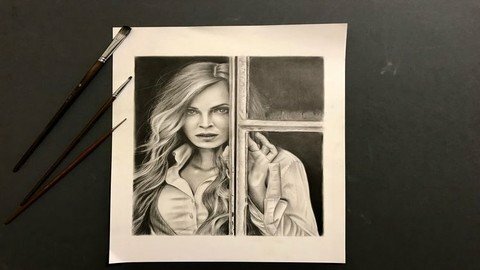
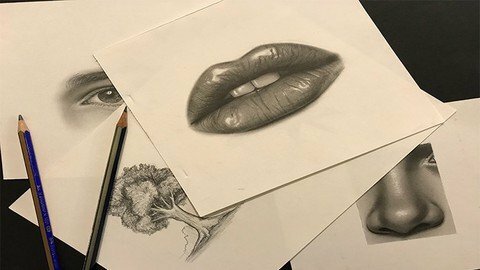
Learn the pencil drawing and shading technique. Complete Hyper-real Drawing & Sketching with Pencil
What you'll learn
Acquaintance with necessary equipments for pencil drawing
Acquaintance with graphite pencils and their degree of hardness , brightness and darkness
Learning shading tonnages
How to make volume with simple geometrical shapes
Simple sketches of animals (horses), landscapes, flowers, trees and shading them in the real way
Acquaintance with precise sketch of facial features from the photo
Learn to use bristle brushes for shading in pencil sketching
The ability to draw an eye in the hyper real way from the photo
Learn how to sketch lips and tooth in the hyper real way from the photo
Learn how to sketch a nose and make volume on it in the hyper real way from the photo
Requirements
Pencils : graphite pencil gold Faber with different hardness degrees , staedtler_ mars Lumograph (B8)
Erasers: Etude eraser, Dough eraser ,Pencil eraser , Electronic eraser
Papers: Normal A4 paper , Eschtenbakh cardboard , 220 grams Fabriano cardboard
Brushes: Bristle flat Brush , Soft small brush
Description
In this course, you'll get access to the 10 sections of the course that will teach you the pencil drawing and shading technique from the ground up. The course is supported with over 11 hours of clear content that I walk you through each step of the way.Here's what you get with the course:- we'll get to know the types of equipment of sketching- learn how to make volumes on the simple geometrical shapes.- we introduce the hyper-real sketches and learn how to do them.- We start the sketching with some simple shapes like a flower, tree, house, horse, etc. And we shade each one of them with graphite pencils.- Learn to do hyper-real sketches and shadings from a real photo. In this phase, the sketch of all parts of the face like eyes and eyebrows and eyelashes, lips and teeth, nose, hand and feet will be taught. And after sketching each one of them the way of shadings and how you should make volume will also be taught completely.At the end of this course and completing the exercises, the students should be able to:- Know the types of equipment for primary and hyper-real sketches.- Know different types of pencils and how to use them.- Shade with different tonnages- Make volumes simple geometrical shapes.- Sketch the simple shapes and also know how to make volume on them with different kinds of pencils and different ways of shadings.- Use the brush in hyper-real sketches in the correct way and be able to sketch all parts of the face and learn how to shade them.- What else will you get?- - Personal contact with me, the course tutor- - Lifetime access to course materials- - Understanding of how professional art is created- This all comes under one convenient easy to use platform. Plus you will get fast, friendly, responsive support on the Udemy Q&A section of the course or direct message.- I will be here for you every step of the way!- So what are you waiting for? Sign up now and change your art world today!
Overview
Section 1: Introduction
Lecture 1 Introduction To The Course
Section 2: Introducing The Equipments
Lecture 2 introducing all of the Equipments that we will use in this course
Lecture 3 introducing the pencils and taking a closer look at them
Section 3: Shadings And Color Tonnage
Lecture 4 How to make shades with different tonnage with pencil part 1
Lecture 5 How to make shades with different tonnage with pencil part 2
Lecture 6 Dark to light spectrum of the shadings
Section 4: Learning how to make volumes with simple geometrical shapes
Lecture 7 How to make a sphere with a circle part 1
Lecture 8 How to make a sphere with a circle part 2
Lecture 9 How to make a pyramid with drawing a triangle and shading it
Lecture 10 How to draw a cube and shade it
Section 5: Learning how to sketch simple shapes and shading them
Lecture 11 Tree sketching part 1
Lecture 12 Tree sketching part 2
Lecture 13 Flower sketching part 1
Lecture 14 Flower sketching part 2
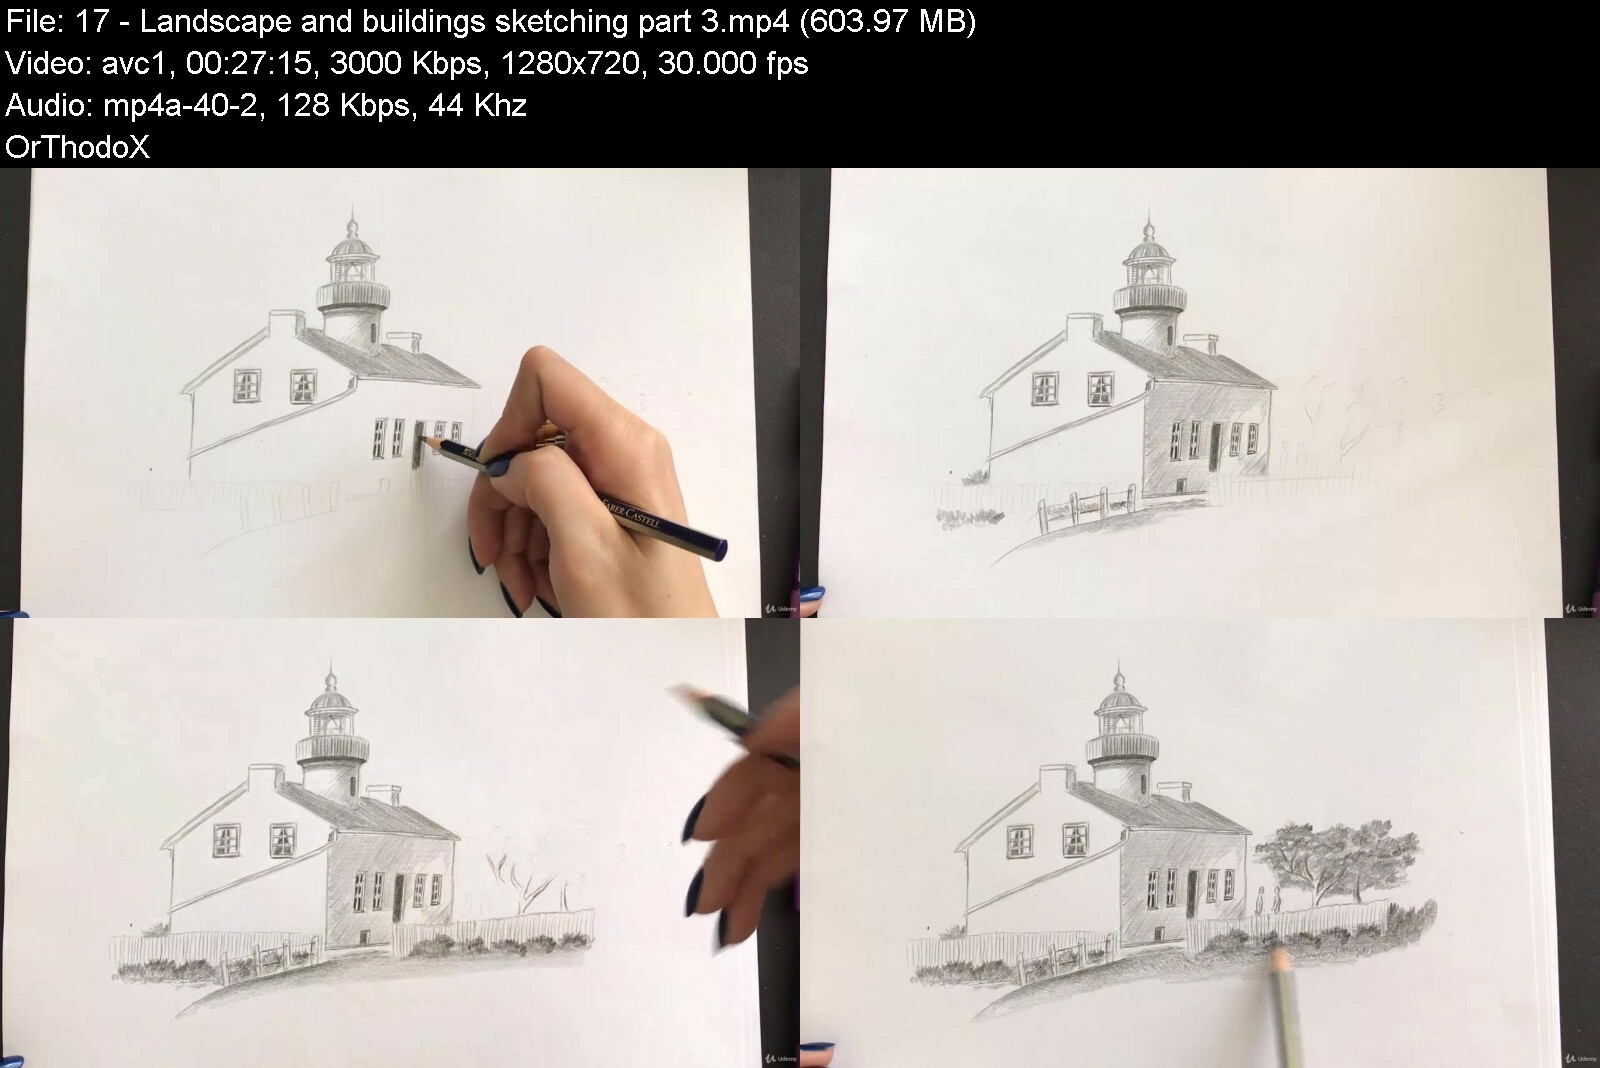
Lecture 15 Landscape and buildings sketching part 1
Lecture 16 Landscape and buildings sketching part 2
Lecture 17 Landscape and buildings sketching part 3
Lecture 18 Horse sketching part 1
Lecture 19 Horse sketching part 2
Lecture 20 Horse sketching part 3
Section 6: How to sketch a real eye from a photo
Lecture 21 The main picture of eye project
Lecture 22 Primary sketch of an eye from the photo
Lecture 23 How to sketch the iris of the eye part 1
Lecture 24 How to sketch the iris of the eye part 2
Lecture 25 Shading and making volume on the white areas of the eye and skin part 1
Lecture 26 Shading and making volume on the white areas of the eye and skin part 2
Lecture 27 Shading and making volume on the white areas of the eye and skin part 3
Lecture 28 Shading and making volume on the white areas of the eye and skin part 4
Lecture 29 How to draw eyelashes part 1
Lecture 30 How to draw eyelashes part 2
Lecture 31 How to draw eyebrows part 1
Lecture 32 How to draw eyebrows part 2
Lecture 33 How to draw eyebrows part 3
Lecture 34 How to draw eyebrows part 4
Section 7: How to draw a real lip from a photo
Lecture 35 The main picture of lip project
Lecture 36 Primary sketch of the lip from the photo
Lecture 37 Learning how to sketch teeth
Lecture 38 Making volume on the lips and Create lips texture part 1
Lecture 39 Making volume on the lips and Create lips texture part 2
Lecture 40 Making volume on the lips and Create lips texture part 3
Lecture 41 Making volume on the lips and Create lips texture part 4
Lecture 42 Making volume on the lips and Create lips texture part 5
Lecture 43 Making volume on the lips and Create lips texture part 6
Lecture 44 Making volume on the lips and Create lips texture part 7
Lecture 45 Making volume on the lips and Create lips texture part 8
Lecture 46 Making volume on the lips and Create lips texture part 9
Lecture 47 Making volume on the lips and Create lips texture part 10
Section 8: How to sketch a real nose from a photo
Lecture 48 The main picture of nose project
Lecture 49 Primary sketch of the nose from the photo
Lecture 50 Make volume on the nose and shading it part 1
Lecture 51 Make volume on the nose and shading it part 2
Lecture 52 Make volume on the nose and shading it part 3
Lecture 53 Make volume on the nose and shading it part 4
Lecture 54 Make volume on the nose and shading it part 5
Section 9: How to sketch a hand from a photo
Lecture 55 The main picture of hand project
Lecture 56 Part 1
Lecture 57 Part 2
Lecture 58 Part 3
Lecture 59 Part 4
Lecture 60 Part 5
Lecture 61 Part 6
Lecture 62 Part 7
Section 10: How to sketch a Feet from a photo
Lecture 63 The main picture of feet project
Lecture 64 Primary sketch of the feet from the photo part 1
Lecture 65 Primary sketch of the feet from the photo part 2
Lecture 66 How to draw feet part 1
Lecture 67 How to draw feet part 2
Lecture 68 How to draw feet part 3
Lecture 69 How to draw feet part 4
Lecture 70 How to draw feet part 5
Anyone wanting to learn to draw,Students looking for shortcut to getting super high levels of details easily,Anyone interested in starting to draw with pencils
Download from RapidGator
Download from DDownload
Ultimate Drawing Course: Master Pencil Drawing & Shading Art
Last updated 11/2020
MP4 | Video: h264, 1280x720 | Audio: AAC, 44.1 KHz
Language: English | Size: 13.24 GB | Duration: 10h 22m
Learn the pencil drawing and shading technique. Complete Hyper-real Drawing & Sketching with Pencil
What you'll learn
Acquaintance with necessary equipments for pencil drawing
Acquaintance with graphite pencils and their degree of hardness , brightness and darkness
Learning shading tonnages
How to make volume with simple geometrical shapes
Simple sketches of animals (horses), landscapes, flowers, trees and shading them in the real way
Acquaintance with precise sketch of facial features from the photo
Learn to use bristle brushes for shading in pencil sketching
The ability to draw an eye in the hyper real way from the photo
Learn how to sketch lips and tooth in the hyper real way from the photo
Learn how to sketch a nose and make volume on it in the hyper real way from the photo
Requirements
Pencils : graphite pencil gold Faber with different hardness degrees , staedtler_ mars Lumograph (B8)
Erasers: Etude eraser, Dough eraser ,Pencil eraser , Electronic eraser
Papers: Normal A4 paper , Eschtenbakh cardboard , 220 grams Fabriano cardboard
Brushes: Bristle flat Brush , Soft small brush
Description
In this course, you'll get access to the 10 sections of the course that will teach you the pencil drawing and shading technique from the ground up. The course is supported with over 11 hours of clear content that I walk you through each step of the way.Here's what you get with the course:- we'll get to know the types of equipment of sketching- learn how to make volumes on the simple geometrical shapes.- we introduce the hyper-real sketches and learn how to do them.- We start the sketching with some simple shapes like a flower, tree, house, horse, etc. And we shade each one of them with graphite pencils.- Learn to do hyper-real sketches and shadings from a real photo. In this phase, the sketch of all parts of the face like eyes and eyebrows and eyelashes, lips and teeth, nose, hand and feet will be taught. And after sketching each one of them the way of shadings and how you should make volume will also be taught completely.At the end of this course and completing the exercises, the students should be able to:- Know the types of equipment for primary and hyper-real sketches.- Know different types of pencils and how to use them.- Shade with different tonnages- Make volumes simple geometrical shapes.- Sketch the simple shapes and also know how to make volume on them with different kinds of pencils and different ways of shadings.- Use the brush in hyper-real sketches in the correct way and be able to sketch all parts of the face and learn how to shade them.- What else will you get?- - Personal contact with me, the course tutor- - Lifetime access to course materials- - Understanding of how professional art is created- This all comes under one convenient easy to use platform. Plus you will get fast, friendly, responsive support on the Udemy Q&A section of the course or direct message.- I will be here for you every step of the way!- So what are you waiting for? Sign up now and change your art world today!
Overview
Section 1: Introduction
Lecture 1 Introduction To The Course
Section 2: Introducing The Equipments
Lecture 2 introducing all of the Equipments that we will use in this course
Lecture 3 introducing the pencils and taking a closer look at them
Section 3: Shadings And Color Tonnage
Lecture 4 How to make shades with different tonnage with pencil part 1
Lecture 5 How to make shades with different tonnage with pencil part 2
Lecture 6 Dark to light spectrum of the shadings
Section 4: Learning how to make volumes with simple geometrical shapes
Lecture 7 How to make a sphere with a circle part 1
Lecture 8 How to make a sphere with a circle part 2
Lecture 9 How to make a pyramid with drawing a triangle and shading it
Lecture 10 How to draw a cube and shade it
Section 5: Learning how to sketch simple shapes and shading them
Lecture 11 Tree sketching part 1
Lecture 12 Tree sketching part 2
Lecture 13 Flower sketching part 1
Lecture 14 Flower sketching part 2
Lecture 15 Landscape and buildings sketching part 1
Lecture 16 Landscape and buildings sketching part 2
Lecture 17 Landscape and buildings sketching part 3
Lecture 18 Horse sketching part 1
Lecture 19 Horse sketching part 2
Lecture 20 Horse sketching part 3
Section 6: How to sketch a real eye from a photo
Lecture 21 The main picture of eye project
Lecture 22 Primary sketch of an eye from the photo
Lecture 23 How to sketch the iris of the eye part 1
Lecture 24 How to sketch the iris of the eye part 2
Lecture 25 Shading and making volume on the white areas of the eye and skin part 1
Lecture 26 Shading and making volume on the white areas of the eye and skin part 2
Lecture 27 Shading and making volume on the white areas of the eye and skin part 3
Lecture 28 Shading and making volume on the white areas of the eye and skin part 4
Lecture 29 How to draw eyelashes part 1
Lecture 30 How to draw eyelashes part 2
Lecture 31 How to draw eyebrows part 1
Lecture 32 How to draw eyebrows part 2
Lecture 33 How to draw eyebrows part 3
Lecture 34 How to draw eyebrows part 4
Section 7: How to draw a real lip from a photo
Lecture 35 The main picture of lip project
Lecture 36 Primary sketch of the lip from the photo
Lecture 37 Learning how to sketch teeth
Lecture 38 Making volume on the lips and Create lips texture part 1
Lecture 39 Making volume on the lips and Create lips texture part 2
Lecture 40 Making volume on the lips and Create lips texture part 3
Lecture 41 Making volume on the lips and Create lips texture part 4
Lecture 42 Making volume on the lips and Create lips texture part 5
Lecture 43 Making volume on the lips and Create lips texture part 6
Lecture 44 Making volume on the lips and Create lips texture part 7
Lecture 45 Making volume on the lips and Create lips texture part 8
Lecture 46 Making volume on the lips and Create lips texture part 9
Lecture 47 Making volume on the lips and Create lips texture part 10
Section 8: How to sketch a real nose from a photo
Lecture 48 The main picture of nose project
Lecture 49 Primary sketch of the nose from the photo
Lecture 50 Make volume on the nose and shading it part 1
Lecture 51 Make volume on the nose and shading it part 2
Lecture 52 Make volume on the nose and shading it part 3
Lecture 53 Make volume on the nose and shading it part 4
Lecture 54 Make volume on the nose and shading it part 5
Section 9: How to sketch a hand from a photo
Lecture 55 The main picture of hand project
Lecture 56 Part 1
Lecture 57 Part 2
Lecture 58 Part 3
Lecture 59 Part 4
Lecture 60 Part 5
Lecture 61 Part 6
Lecture 62 Part 7
Section 10: How to sketch a Feet from a photo
Lecture 63 The main picture of feet project
Lecture 64 Primary sketch of the feet from the photo part 1
Lecture 65 Primary sketch of the feet from the photo part 2
Lecture 66 How to draw feet part 1
Lecture 67 How to draw feet part 2
Lecture 68 How to draw feet part 3
Lecture 69 How to draw feet part 4
Lecture 70 How to draw feet part 5
Anyone wanting to learn to draw,Students looking for shortcut to getting super high levels of details easily,Anyone interested in starting to draw with pencils
Download from RapidGator
Download from DDownload