Genre: eLearning | MP4 | Video: h264, 1280x720 | Audio: AAC, 48.0 KHz
Language: English | Size: 24.8 GB | Duration: 30h 53m
The complete guide on how to model, texture and rig professional 3D characters with Blender!
What you'll learn
How to navigate in Blender and recognize the workspace.
Be able to identify the different 3D modeling techniques.
How to place reference images which will serve as a guide to model 3D characters.
Use the box modeling technique to create a hard surface character with primitive shapes.
Use the polygon modeling technique to create a simple organic character.
How to use modifiers that will affect an object's geometry in a non-destructive way.
How to model a professional looking human character with the polygon modeling technique and the curves modeling method.
Create and assign materials to the model.
Understand how to unwrap a 3D mesh into a UV map.
How to organize and export a UV layout to later use it as a guide for painting textures.
Recognize how to use the shader editor and identify certain nodes.
Apply texture images and PBR maps in order to create different materials.
Generate procedural textures combining nodes to compose new shaders.
Modify the 3D mesh with shape keys in order to give facial expressions to the character.
Develop a rig (add bones) which will allow the character to move.
Use drivers to adjust the values of the shape keys and give some constraints to the bone controllers.
Identify the difference between forward kinematics and inverse kinematics.
Design shapes to make the control bones more appealing and intuitive.
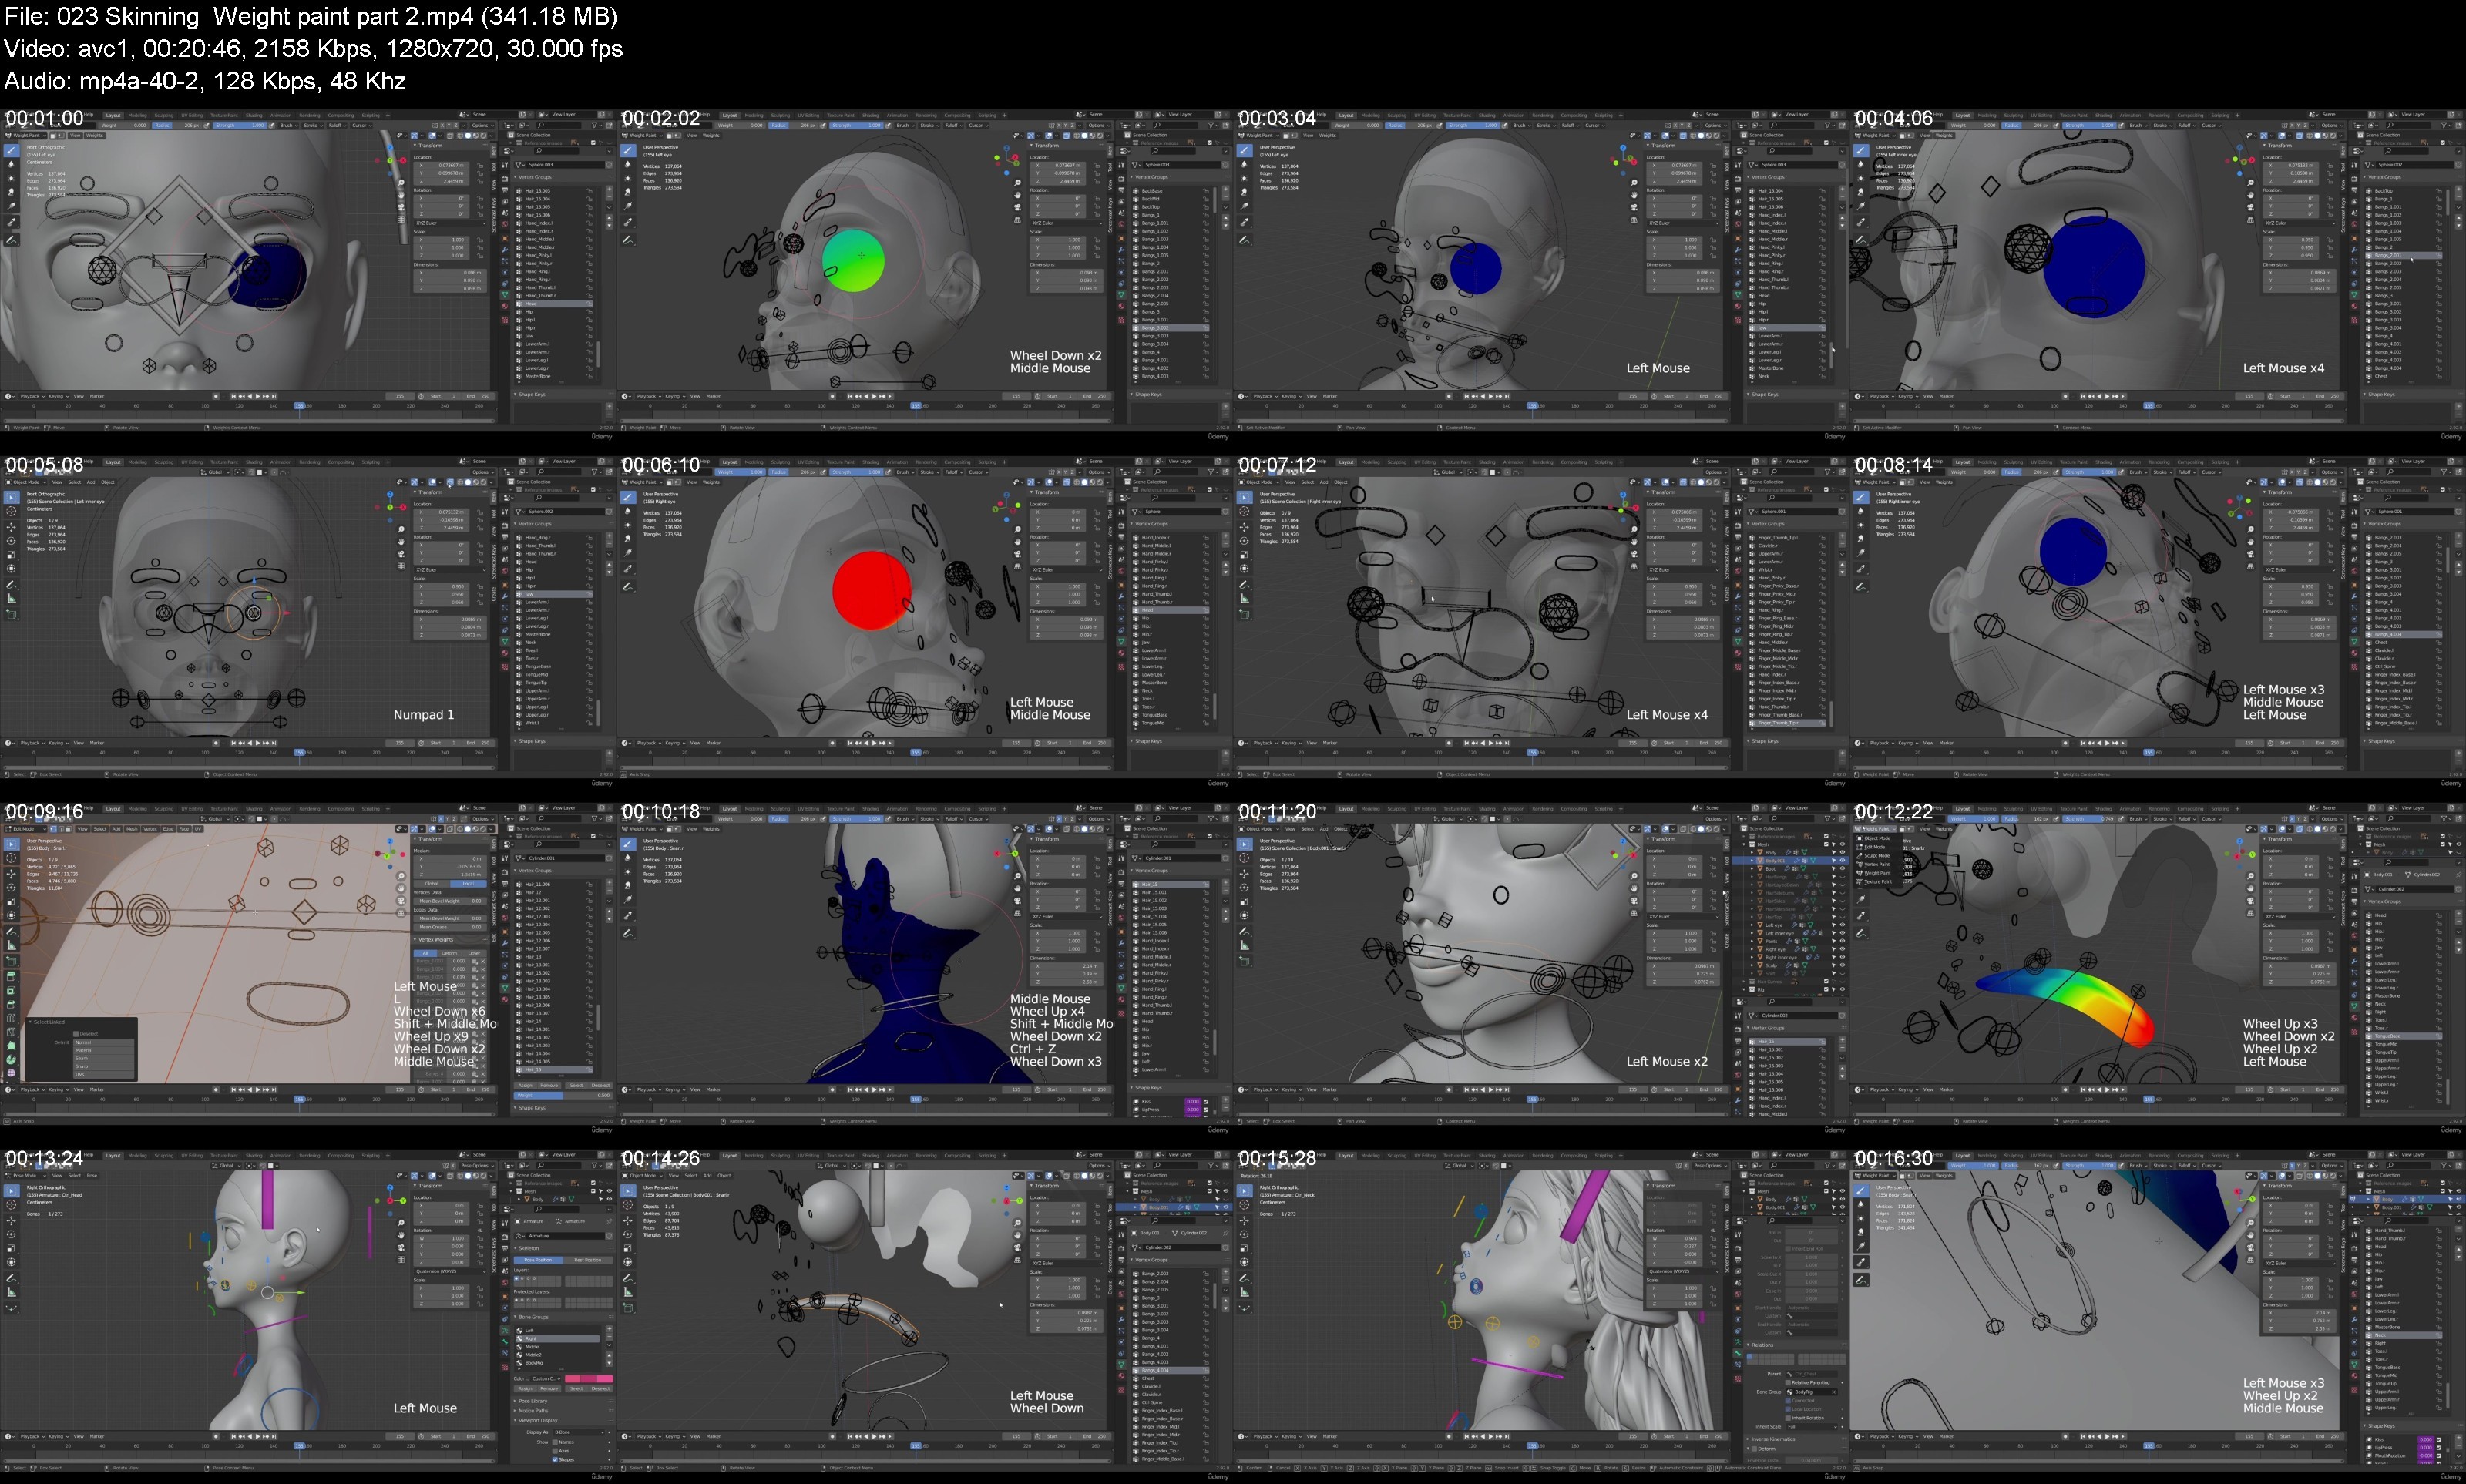
How to assign automatic weights to the mesh and how to manually paint weights.
Be able to pose and animate the character once the rig is finished.
Description
Welcome to the "Ultimate character creation in Blender: From beginner to pro".
In this course we will be using the open-source 3D software, Blender, to learn how to model, texture and rig 3D characters with a professional look.
We will start by getting an overview of the Blender interface, so we can get familiar with it and with all the tools that will be needed for the development of the course. We will get to know all of the very basics, how to navigate around the viewport, manipulate objects on the scene and learn some shortcuts so we can work more efficiently with the software.
When we finish getting the quick run-through of the Blender basics, we will actually start creating some characters. Our first approach to 3D modeling will be by using the box modeling technique which will allow us to model a hard-surface character, we will be using reference images and some primitive 3D shapes to create a Robot.
Then we will create our second character which is a Mouse. Here we will be using the polygon modeling technique which lets us model organic characters.
For our last and biggest project we will be creating a human character. We will use two techniques, the polygon modeling and the curves modeling method. We will make sure to work with the proper edge-flow for animation and we will model the face, body, hands, feet, hair, clothes and shoes, all from scratch.
When we finish modeling the human, we will continue by unwrapping all of the parts of the character creating its UV maps, so we can texture it later. For the shading phase, we will learn different methods that we can use to create materials, such as painting textures in other digital painting softwares, applying textures found in the internet, creating and applying PBR maps, creating procedural textures and using Blender's own Texture Paint tool.
Later on, we will continue with the rigging section. We will be able to create a facial rig using shape keys, bones with drivers and constraints, so our human character can get some facial expressions. Then we will create the body rig by adding bones and following the right method to make them move, we will understand the difference between forward and inverse kinematics and we will be using controllers that will let us pose the character. Afterwards, we will give the bones a nicer look so the rig turns more appealing and intuitive to use.
Lastly, we will assign automatic weights from the rig into the mesh and we will also learn how to paint weights manually with the Weight Paint tool within Blender, so we can change the influence of the bones according to our needs.
In the end, when all of that is done, we will be able to pose our character and we will be ready to use our human character for animation purposes!
So, if you want to be able to create your own 3D characters for animation, this is the right course for you!
By the end of the lessons, you will be completely trained and will have all the necessary skills to build your own characters in Blender.
This course has over 30 hours of content, more than 200 videos and one teacher who just wanted to share her knowledge with fellow 3D artists.
What are you waiting for? Join me as we create professional looking 3D characters with Blender!
Who this course is for:
People who are curious about the world of 3D modeling and animation.
People who are willing to learn how to create professional looking 3D characters.
Homepage
Recommend Download Link Hight Speed | Please Say Thanks Keep Topic Live
Links are Interchangeable - No Password - Single Extraction