


• Regeln für den Video-Bereich:

    In den Börsenbereich gehören nur Angebote die bereits den Allgemeinen Regeln entsprechen.

    Einteilung

    - Folgende Formate gehören in die angegeben Bereiche:
    - Filme: Encodierte Filme von BluRay, DVD, R5, TV, Screener sowie Telesyncs im Format DivX, XviD und x264.
    - DVD: Filme im Format DVD5, DVD9 und HD2DVD.
    - HD: Encodierte Filme mit der Auflösung 720p oder darüber von BluRay, DVD, R5, TV, Screener sowie Telesyncs im Format x264.
    - 3D: Encodierte Filme von BluRay, die in einem 3D Format vorliegen. Dies gilt auch für Dokus, Animation usw.
    - Serien: Cartoon/Zeichentrick, Anime, Tutorials, Dokumentationen, Konzerte/Musik, Sonstiges sind demnach in die entsprechenden Bereiche einzuordnen, auch wenn sie beispielsweise im High Definition-Format oder als DVD5/DVD9/HD2DVD vorliegen. Ausnahme 3D.
    - Bereich Englisch: Englische Releases gehören immer in diesen Bereich.
    - Bereich Talk: Der Bereich, in dem über die Releases diskutiert werden kann, darf, soll und erwünscht ist.


    Angebot/Beitrag erstellen

    - Ein Beitrag darf erst dann erstellt werden, wenn der Upload bei mindestens einem OCH komplett ist. Platzhalter sind untersagt.
    - Bei einem Scenerelease hat der Threadtitel ausschließlich aus dem originalen, unveränderten Releasenamen zu bestehen. Es dürfen keine Veränderungen wie z.B. Sterne, kleine Buchstaben o.ä. vorgenommen werden. Ausnahme Serienbörse:
    - Bei einem Sammelthread für eine Staffel entfällt aus dem Releasename natürlich der Name der Folge. Beispiel: Die Simpsons S21 German DVDRip XviD - ITG
    - Dementsprechend sind also u.a. verboten: Erweiterungen wie "Tipp", "empfehlenswert", "only", "reup", usw. / jegliche andere Zusatzinformation oder Ergänzung, welche nicht in obiger Beschreibung zu finden ist.

    Aufbau des Angebots und Threadtitel

    Der Titel nach folgendem Muster erstellt zu werden. <Name> [3D] [Staffel] [German] <Jahr> <Tonspur> [DL] [Auflösung] <Quelle> <Codec> - <Group>
    Beispiel: The Dark Knight German 2008 AC3 DVDRip XviD - iND
    Beispiel: The Dark Knight 2008 DTS DL BDRip x264 - iND
    Beispiel: The Dark Knight 2008 AC3 DL BDRip XviD - iND
    Beispiel: The Dark Knight German 2008 AC3 720p BluRay x264 iND
    Beispiel: The Dark Knight 2008 DTS DL 1080p BluRay x264 iND
    Beispiel: Die Simpsons S01 German AC3 DVDRip XviD iND
    Beispiel: Die Simpsons S20 German AC3 720p BluRay x264 iND
    Beispiel: Sword Art Online II Ger Sub 2014 AAC 1080p WEBRip x264 - peppermint
    Entsprechend sind also u.a. verboten: Sonderzeichen wie Klammern, Sterne, Ausrufezeichen, Unterstriche, Anführungszeichen / Erweiterungen wie "Tipp", "empfehlenswert", "only", "reup", usw. / jegliche andere Zusatzinformation oder Ergänzung, welche nicht in obiger Beschreibung zu finden ist
    Ausnahmen hiervon können in den Bereichen geregelt sein.

    Die Beiträge sollen wie folgt aufgebaut werden:
    Überschrift entspricht dem Threadtitel
    Cover
    kurze Inhaltsbeschreibung
    Format, Größe, Dauer sind gut lesbar für Downloader außerhalb des Spoilers zu vermerken
    Nfo sind immer Anzugeben und selbige immer im Spoiler in Textform.
    Sind keine Nfo vorhanden z.B. Eigenpublikationen, sind im Spoiler folgende Dateiinformationen zusätzlich anzugeben :
    Quelle
    Video (Auflösung und Bitrate)
    Ton (Sprache, Format und Bitrate der einzelnen Spuren)
    Untertitel (sofern vorhanden)
    Hosterangabe in Textform außerhalb eines Spoiler mit allen enthaltenen Hostern.
    Bei SD kann auf diese zusätzlichen Dateiinformationen verzichtet werden.

    Alle benötigten Passwörter sind, sofern vorhanden, in Textform im Angebot anzugeben.
    Spoiler im Spoiler mit Kommentaren :"Schon Bedankt?" sind unerwünscht.


    Releases

    - Sind Retail-Release verfügbar, sind alle anderen Variationen untersagt. Ausnahmen: Alle deutschen Retail-Release sind CUT, in diesem Fall sind dubbed UNCUT-Release zulässig.
    - Im Serien-Bereich gilt speziell: Wenn ein Retail vor Abschluss einer laufenden Staffel erscheint, darf diese Staffel noch zu Ende gebracht werden.62
    - Gleiche Releases sind unbedingt zusammenzufassen. Das bedeutet, es ist zwingend erforderlich, vor dem Erstellen eines Themas per Suchfunktion zu überprüfen, ob bereits ein Beitrag mit demselben Release besteht. Ist dies der Fall, ist der bereits vorhandene Beitrag zu verwenden.
    - P2P und Scene Releases dürfen nicht verändert oder gar unter einem iND Tag eingestellt werden.


    Support, Diskussionen und Suche

    - Supportanfragen sind entweder per PN oder im Bereich Talk zu stellen.
    - Diskussionen und Bewertungen sind im Talk Bereich zu führen. Fragen an die Uploader haben ausschließlich via PN zu erfolgen, und sind in den Angeboten untersagt.
    - Anfragen zu Upload-Wünschen sind nur im Bereich Suche Video erlaubt. Antworten dürfen nur auf Angebote von MyBoerse.bz verlinkt werden.


    Verbote

    - Untersagt sind mehrere Formate in einem einzigen Angebotsthread, wie beispielsweise das gleichzeitige Anbieten von DivX/XviD, 720p und 1080p in einem Thread. Pro Format, Release und Auflösung ist ein eigener Thread zu eröffnen.
    - Grundsätzlich ebenso verboten sind Dupes. Uploader haben sich an geeigneter Stelle darüber zu informieren, ob es sich bei einem Release um ein Dupe handelt.
    - Gefakte, nur teilweise lauffähige oder unvollständige Angebote sind untersagt. Dies gilt auch für eigene Publikationen, die augenscheinlich nicht selbst von z.B. einer DVD gerippt wurden. Laufende Serien, bei denen noch nicht alle Folgen verfügbar sind, dürfen erstellt und regelmäßig geupdatet werden.
    - Untersagt sind Angebote, welche nur und ausschließlich in einer anderen Sprache als deutsch oder englisch vorliegen. Ausnahmen sind VORHER mit den Moderatoren zu klären.


    Verstoß gegen die Regeln

    - Angebote oder Beiträge, die gegen die Forenregeln verstoßen, sind über den "Melden"-Button im Beitrag zu melden.
  • Bitte registriere dich zunächst um Beiträge zu verfassen und externe Links aufzurufen.

++ Premium IPTV ++ 7000 Live Sender ++ UHD Qualität ++ Mediathek mit 18.000 Inhalten ++


VenneTV


Englische Tutorials

The Powerhouse Accelerator by Josh Elizetxe

3716ba3ffde91a5e7ca810c8ffb29c4f.jpg

Josh Elizetxe - The Powerhouse Accelerator | 5.41 GB​
The PowerHouse Accelerator is designed specifically for you: The hard-working, driven, entrepreneur who's unsatisfied with the current state of their business and has such big goals for their business that others doubt them.

IMAGINE THE DIFFERENCE:
From Uncertainty And Stagnation To A Thriving Business That Pays Massive Dividends
There has never been a better time to start and build an E-Commerce business than today. E-Commerce is almost a $4 Trillion dollar industry and growing rapidly.
With the rise of technology, social media, advanced shipping, and high-speed internet around the globe more people are going online to buy than any other time in history.
But you already know this, that's why you started an E-Commerce business or are interested in starting one.
What you need help with is why we're here.
This $4 Trillion dollar industry didn't grow by random chance or luck. There have been PROVEN formulas created from experience that drive people to make their purchasing decisions online.
And that's what you will find in the PowerHouse Accelerator. This accelerator leads you step-by-step through every facet of your business making it extremely easy to diagnose problems and solve them with near copy 'n paste solutions.
Our proven framework simplifies what we call building hyper-profitable "PowerHouse Brand" designed for REAL E-Commerce businesses.
This proven framework can be used to build and scale online stores (in any niche) regardless of experience and without risking a fortune in startup costs.

HERE'S WHAT THE ACCELERATOR WILL HELP YOU ACHIEVE:
- Massive ROI - First and foremost, if you implement even just a few things we teach you you will more than 10x your investment.
- Clarity - You'll discover how to diagnose and solve problems that are causing you to bleed out revenue.
- Profitability - Everything you'll learn in the accelerator is designed to maximize profits, because that's what REALLY matters.

MODULE 1:WELCOME & EXPECTATIONS
Before we jump into the tactics and strategies, we'll start off off by setting expectations/guidelines to ensure you get the MOST out of this accelerator.

MODULE 2:pRODUCTS
Whether you need help researching and sourcing new products or determining which products to sell on the front end this module is step 1 to scaling your E-Commerce business. Your product line is EXTREMELY important to the livelihood of your business. It's what get's customers into your door, keeps them loyal, and has them referring business to you. If your products aren't aligned with your brand, your business cannot succeed!

MODULE 3:INFLUENCER MARKETING
Influencer Marketing is an integral part of my E-Commerce businesses and is one of my major keys to breaking through to the 9-figure mark. I've worked with big celebrities such as: Floyd Mayweather, Chuck Liddell, Rob Gronkowski, the Kardashians, and so many more.
However, I also leverage the power of Micro-Influencers that can be found in your own customer base! This can sound overwhelming, but don't stress. We'll show you how to leverage influencer marketing to generate massive returns for your business

MODULE 4:STORE SET-UP & CRO
This is the foundation of your business and small yet strategic tweaks to your online store can make big changes in overall performance. We'll walk you through every step of the "store set-up" process:

MODULE 5:EMAIL MARKETING
Email marketing is a topic most business owners think is dead but most marketers understand the extreme value of. Most of our brands generate 25-30% of our stores total revenue from email and balance out our advertising efforts. With rising advertising costs, it's becoming increasingly difficult to acquire customers for a profit.
In this module, we provided step-by-step instructions to implementing advanced email marketing strategies that increase LTV (Lifetime value of customers) and MRR (Monthly Recurring Revenue) by converting leads into buyers and first time buyers into repeat customers for life.

Screenshots
9096dab33bcdefc997c1efa97b0b9cd1.jpg


Link Download
​
Extract files with WinRar 5 or Latest !
 
The Gnomon Workshop - Introduction to ZBrush 2021 With Madeleine Scott-Spencer

1b7f37b1de47fac5a3f746523747bd12.jpg

The Gnomon Workshop - Introduction to ZBrush 2021 With Madeleine Scott-Spencer | 12.34 GB​
Description
Introduction to ZBrush 2021 is the most comprehensive video training series available for Pixologic's industry-leading digital-sculpting software. Taught by Madeleine Scott-Spencer, this 65-chapter workshop - with 51 hours of lessons - begins with a quickstart tutorial to get you up to speed, fast. It's the perfect introduction for everyone from complete beginners to those simply looking to see what's new in the latest version of the software.

The first follow-along tutorial in this workshop tackles how to sculpt a character bust from a sphere while teaching the core ZBrush concepts, such as DynaMesh and how to effectively use subdivision levels, as well as demystifying the ZBrush interface and navigation. Subsequent chapters delve further into a more in-depth look at the ZBrush interface, including how to customize the interface and hotkeys, what are the important sculpting tools and techniques, plus explanations of 3D alphas, custom brushes, the InsertMultiMesh brush, Array Mesh functionality, the NanoMesh system, Vector Displacement brushes - plus much, much more.
All the exciting new features in ZBrush 2021 are, of course, covered including cloth, dynamic thickness, ZModeler updates such as Edge Extrude, and the new MicroPoly tools. Madeleine also discusses how to approach hard-surface sculpting in ZBrush plus how to use the polygon modeling tools such as ZModeler, the Topology brush, and ZRemesher. 3D Printing enthusiasts will also be pleased to discover a chapter devoted to the process of preparing a model for 3D printing using the Decimation Master plugin.
In addition to exploring all of ZBrush's impressive sculpting tools, this workshop also covers its robust 3D painting program. Madeleine walks through PolyPaint, UV Master, and Spotlight, through detailed demonstrations of paint techniques drawing from more than 20 years of experience working in the film industry. Lighting and rendering chapters also take you through the process of generating final images using LightCaps and HDR images, as well as how to render through the ZBrush to KeyShot Bridge. Plus, Madeleine details the ZBrush Material menu and how to extract maps such as Displacement, Normal, and Color, as used in many film, TV, and videogame art pipelines.
To help with your understanding of this workshop, Madeleine provides helpful project files for you to download and follow along with most chapters. By completing this workshop, you should have the confidence to tackle your own projects as an intermediate-level ZBrush artist.

Duration: 3060 Minutes
Format: HD 1920x1080

Chapter List
00. Preview
01. Introduction
02. Quickstart - Part 1
03. Quickstart - Part 2
04. Quickstart - Part 3
05. Interface
06. Custom Interface
07. Undo History
08. Polygroups
09. DynaMesh - Part 1
10. DynaMesh - Part 2
11. Import Mesh
12. Sculptris
13. Cameras
14. ZSpheres
15. Scale Master
16. HD Subdivisions
17. Hotkeys
18. Folders
19. Gizmo Primitives
20. Transpose Posing and Transpose Master
21. Lost Symmetry
22. Alphas
23. Noise Maker
24. Stroke Lazy Mouse Backtrack
25. Custom Brushes
26. VDM
27. 3D Alpha
28. InsertMultiMesh (IMM)
29. Frame Mesh Curves
30. History
31. XTractor Brush
32. ZModeler
33. Edge Extrusion
34. 3D Text Vector Shapes
35. ZRemesher
36. Mouth Bag
37. Topology Brush
38. ZSphere Retopology
39. NanoMesh
40. NanoMesh Clones
41. Array Mesh
42. Cloth
43. Polypaint
44. ZColor
45. Spotlight
46. Layers and Polypaint
47. Polypaint From Thickness
48. Adjust Polypaint
49. UV Master
50. Morph 3D
51. Generating Maps
52. GoZ
53. Photo Reference
54. Intersection Masker
55. Hard-Surface Sculpting - Part 1
56. Hard-Surface Sculpting - Part 2
57. ShadowBox Mesh Extract
58. ZAppLink
59. ZBrush To Photoshop
60. Snapshot 3D
61. Booleans
62. FiberMesh
63. Materials
64. Movies and Turntables
65. ZBrush To KeyShot
66. Decimation Master

Homepage:

Screenshots
965c707719cfce98403c33fe7e4c76cc.jpg


Link Download
​
Extract files with WinRar 5 or Latest !
 
Traffic Badassery - The Brand New FB & Clickbank Formula

bc87be2194c41ca013d769c7da0756d0.png

Traffic Badassery - The Brand New FB/Clickbank Formula That Brings in $900 to $1,100 Profit Per Day On Autopilot | 1.83 GB​
the brand new FB/Clickbank formula that brings in $900 to $1,100 profit per day on autopilot:
this is working like crazy right now and no one else knows how it's done...

HOmepage:

Screenshots
6ecfbdb774fd6b93bcea11ce9b5f1777.jpg


Link Download
​
Extract files with WinRar 5 or Latest !
 
Unreal Engine 4: Make a Multiplayer First Person Shooter!

mjhvbhypdxdwidfcpnw5obxjew.jpg


Unreal Engine 4: Make a Multiplayer First Person Shooter!
MP4 | ENG | Video: h264, yuv420p, 1280x720 | Audio: aac, 48000 Hz | Duration: 16h:33m | Size File: 13.3 GB
Genre: eLearning

My third course on Udemy is a much requested one: how to make a multiplayer FPS game in Unreal Engine 4 inspired by Counter-Strike!

Here are some important notes before you purchase this course:

First of all, this is a course. What that means is I'm teaching you how to make different systems that are found in FPS games so you can expand on them in your own games and make them better.

Do not go into this course expecting me to make a game for you. It's important that you take what you learn and run off with it so you can build the game of your dreams.

Much of what you learn can be applied to all sort of game genres, not just FPS games. That's the beauty of learning this stuff.

You'll be a Blueprint pro by the time you get through this course. We're making a lot of fun systems that aren't taught anywhere else!

The course is designed for beginner to intermediate users of Unreal Engine 4. I do NOT recommend taking this course if you're completely new. Spend a few months going through the free Epic tutorials on Youtube so you can get familiar with the engine. You will have a much easier time when you understand the fundamentals.

Because this game is designed with multiplayer from the very beginning, expect it to be somewhat difficult if you're new. You will always have the video lectures to study, but you may have trouble understanding certain things if you're new to multiplayer programming in UE4.

The absolute BEST part of this course, in my opinion, is the advanced, predictable recoil system that isn't taught anywhere else. I made this on my own just for this course. There's no weapon bloom. It's predictable like the gunplay in CS:GO.

This allows your players to learn the recoil of different guns over time. This makes the gunplay much more skill-based than Fortnite where it uses random recoil that isn't predictable (weapon bloom).

If this all sounds interesting to you, then join now and let's get started!

Homepage

14.attachingrifletothixj5v.jpg


Complete Russian Academic Drawing Approach, Level 3

raaqd5qeh6nmdnobprmctbek6z.jpg


Complete Russian Academic Drawing Approach, Level 3
Iliya Mirochnik | Duration: 20h 01m | Video: H264 1920x1080 | Audio: AAC 48 kHz 2ch | 29,2 GB | Language: English + .vtt

Join Ukrainian-born artist Iliya Mirochnik as he passes on a 250-year-old academic method preserved at the Repin Academy in Saint Petersburg, Russia and seldom taught outside of the Academy and never before on camera. This course represents our most comprehensive drawing program, with many lectures, examples, and step-by-step assignments to teach you this constructive and observational hybrid approach.
Level 3
21. How to Draw The Skull With Iliya Mirochnik
The skull was a critical part of the learning process at the Repin academy. In this lesson, Iliya will break down the construction and anatomical features of the skull.

22. How to Draw the Muscles of the Face With Iliya Mirochnik
In this lesson we will be using reference from one-of-a-kind castings of a real human cadaver by famed art anatomist Eliot Goldfinger to do a study of the form creating muscles of the face.

23. How to Draw the Skeletal Neck & Shoulder Girdle With Iliya Mirochnik
In this lesson, you will learn the skeletal structure of the neck, clavicles and scapulae, and how they articulate to create the shoulder girdle.

24. How to Draw the Muscles of the Neck With Iliya Mirochnik
In this lesson you will do a study of the form creating muscles of the neck using reference from one-of-a-kind castings of a real human cadaver by famed art anatomist Eliot Goldfinger.

25. Russian Portrait Q&A Demo With Iliya Mirochnik
In this video demonstration, Iliya Mirochnik draws a portrait in sanguine from a live model and answers live questions from an online audience about his education, his art, and technique.

26. How to Draw the Portrait in the Russian Style With Iliya Mirochnik
In this lesson, we are going to bring together all of the structure and anatomy of the head and neck we've been studying in order to create a fully rendered portrait drawing from a live model.

27. Portrait with Hands Project With Iliya Mirochnik
In this famous assignment from the Repin Academy you will be drawing a portrait from life (or from provided reference) at a large scale over stretched paper. You will be introducing the hands and the upper body into your work, requiring more planning and development of the composition in this challenging project.

Homepage

5zsyful6g3fo9fo36hep4nxj6n.jpg


Red Hat System Administration I (RH124, SA1, RHEL8)

tukti1kvnargho4mf9qo5mqj4m.jpg


Red Hat System Administration I (RH124, SA1, RHEL8)
MP4 | Video: h264, 1280x720 | Audio: AAC, 44.1 KHz, 2 Ch
Genre: eLearning | Language: English + srt | Duration: 112 lectures (19h 3m) | Size: 10.9 GB

Red Hat System Administration I (RH124, SA1, RHEL8)

What you'll learn:
Chapter 01. Geting Started With Red Hat Enterprise Linux
Chapter 02. Accessing Command-line
Chapter 03. Managing Files from commandline
Chapter 04. Getting Help in Red Hat Enterprise Linux
Chapter 05. Creating, viewing and editing text files
Chapter 06. Managing Local Users & Groups
Chapter 07. Controlling access to files
Chapter 08. Monitoring and Managing Linux Processes
Chapter 09. Controlling Services and Daemon
Chapter 10. Configuring and Securing SSH
Chapter 11. Analyzing and Storing Logs
Chapter 12. Managing Networking
Chapter 13. Archiving & Transferring Files
Chapter 14. Installing & Updating Software Packages
Chapter 15. Accessing Linux File System
Chapter 16. Analyzing Servers and Getting Support

Requirements
Desktop or Laptop with internet Connection
Virtualization Software Like VMware Workstation or Oracle Virtual Box
Basic Computer Knowledge


Description
This Course is designed for IT professionals without previous Linux system administration experience. This course is intended to provide you Linux Administration SURVIVAL SKILLs by guiding you on core administration tasks and to equip you with all the required command knowledge to start your journey on the linux platform.

This course will build your foundational skills for the most demanding certification in the industry and covers the first module in RHCSA and RHCE.

Course is structured as per RHCE certification to help you pass the exam.

Who this course is for
College Students or Freshers
Working professionals who want to upgrade to RHEL8
People opting to shift to Linux project inside their organization

Homepage

1.introductiontobashsx0j8k.jpg


Art, Art Therapy and PTSD

4piv7h7wwhxwmxve6pfzkosk02.jpg


Art, Art Therapy and PTSD
MP4 | Video: h264, 1280x720 | Audio: AAC, 48000 Hz
Language: English | Size: 10.6 GB | Duration: 9h 8m


What you'll learn
Therapeutic exercises
Impact of art therapy on PTSD
How a rubber duck can unlock emotions
Establishing whether a duck is your totem animal spirit
How painting reduces stress and anxiety
Details of a 'felt sense'
Requirements
No

Description
This course goes through some very straightforward Art Therapy exercises in a way that students are encouraged to follow along. The thoughts behind the exercises are explained, studies are referenced and examples are given.

The common 'tool' is the duck. Either rubber or painted.

We also look at the duck as a totem spirit - and other alternatives.

Do not worry if you cannot paint or have no experience!

This course is very carefully explained and the emphasis throughout is on process.

You will be shown plenty of poor art as well as art abstracts that go through the stages of mental health. The artist concerned has been co-opted to help answer questions on this course.

A heavy encouragement to participate; a huge encouragement to do the exercises - and a great willingness by me to encourage all to...listen...to ourselves.


Who this course is for:
Those interested in using art to enhance wellbeing
Anyone with a specific interest in PTSD
Those suffering from anxiety and stress
Those who like original, entertaining approaches to Art Therapy!


Homepage

12.afeltsenseis...sojjsg.jpg


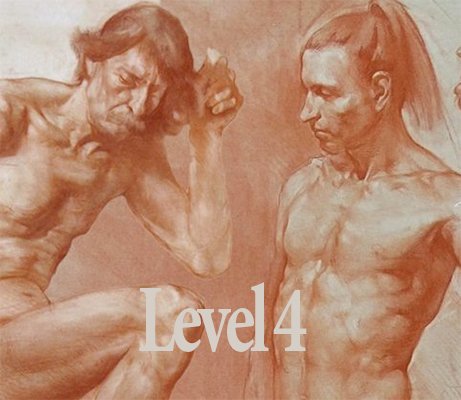
Complete Russian Academic Drawing Approach, Level 4

rmywg7hcfkrrtp4lqogigdek5l.jpg


Complete Russian Academic Drawing Approach, Level 4
Iliya Mirochnik | Duration: 36h 30m | Video: H264 1920x1080 | Audio: AAC 48 kHz 2ch | 58,1 GB | Language: English + .vtt

Join Ukrainian-born artist Iliya Mirochnik as he passes on a 250-year-old academic method preserved at the Repin Academy in Saint Petersburg, Russia and seldom taught outside of the Academy and never before on camera. This course represents our most comprehensive drawing program, with many lectures, examples, and step-by-step assignments to teach you this constructive and observational hybrid approach.
Level 4
28. How to Draw the Pelvis & Ribcage With Iliya Mirochnik
In this lesson, we're going to begin with two components of the torso: The pelvis and ribcage.

29. How to Draw the Muscles of the Torso With Iliya Mirochnik
Now that we've studied the skeletal pelvis and ribcage, it's time to see how they come together with the musculature of the torso. In this lesson, we will identify and draw the superficial and deep muscles of the front and rear torso.

30. How to Draw the Anatomy of the Leg With Iliya Mirochnik
In this lesson, we will identify and draw the skeleton and muscles of the leg.

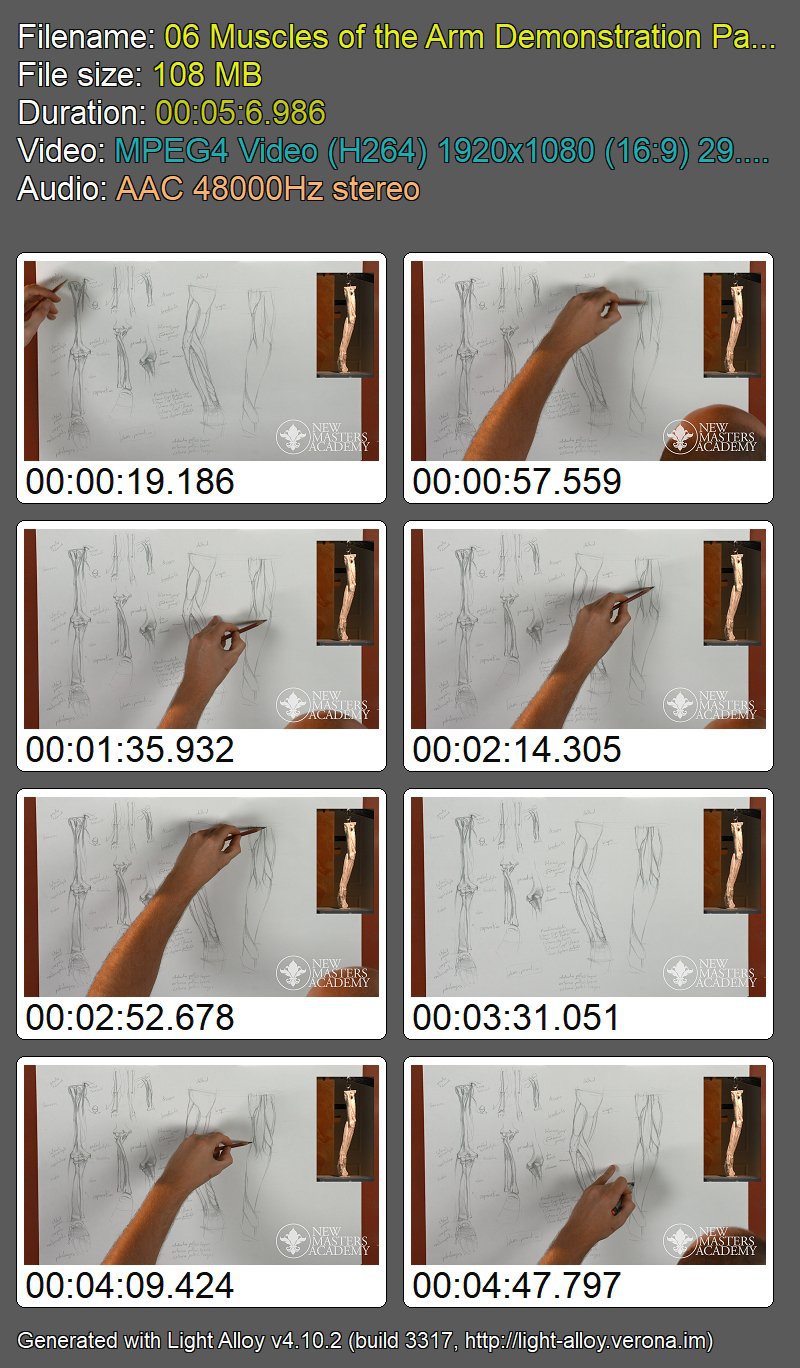
31. How to Draw the Anatomy of the Arm With Iliya Mirochnik
In this lesson, we will identify and draw the skeleton and muscles of the arm.

32. Short-Pose Figure Drawings in the Russian Style With Iliya Mirochnik
It's time to address a vital element of preparation for the final project: quick-pose drawings. Iliya works with his model to draw 13 short poses from various angles. First, he works with simplified construction, then contour, line, and direct tone. Drawing shorter poses from your live model or from reference will train your mind and hand, giving you the strongest possible understanding of your subject.

33. Medium Long-Pose Figure Drawing in the Russian Style With Iliya Mirochnik
The next step in preparation for the long-pose figure drawing project is to draw a medium long-pose. Iliya considers this to be any pose that's worked on for 2-4 hours-- enough time to introduce some anatomical elements and to bring the drawing to relative completion. This slow build toward your long pose figure project is vital to the success of your drawing.

34. Long-Pose Figure Drawing on Stretched Paper With Iliya Mirochnik
This project is the culmination of everything you've learned in Parts 1-3, as well as the shorter pose projects you completed in Part 4. Approach it with a confident and newfound understanding of anatomy, a keen eye for form, and mark-making proficiency.

35. The Large Format Multi-Figure Composition With Iliya Mirochnik
You've arrived at a pivotal moment in your curriculum. This project is the culmination of everything you've learned in the previous portions of this course. Approach it with a confident and newfound understanding of anatomy, a keen eye for form, and mark-making proficiency. Join Iliya in this execution of a long multi-figure composition from life. With the addition of another figure, elements of composition, and narrative come into play.

Homepage

sgaxjx6aw6qqzoegljumhlkjdi.jpg


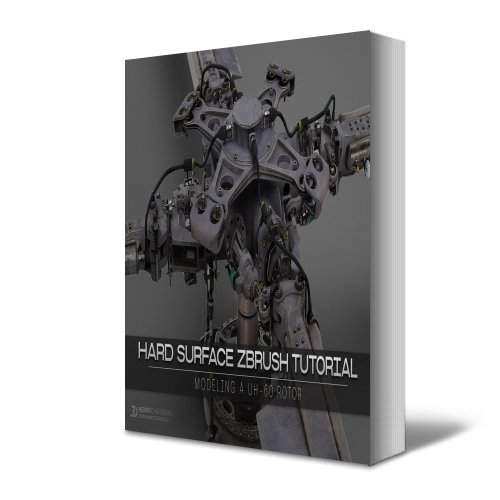
Hard Surface ZBrush Tutorial // Modeling A UH-60 Rotor

arfnlsblrra8whaihbtifwqk9y.jpg


Hard Surface ZBrush Tutorial // Modeling A UH-60 Rotor
MP4 | ENG | Video: h264, yuv420p, 2560x1440 | Audio: aac, 48000 Hz | Duration: 9h:33m | Size File: 22.9 GB
Genre: eLearning

Over the years, I've done a lot of hard surface modeling in Zbrush and found myself learning many different techniques and workflows. I thought it might be useful to someone out there if I recorded it all on video and talked through the process with you. If you're interested in learning more about that, this tutorial will include:

70+ Videos with 9+ hours of footage covering ZBrush Hard Surface Techniques such as:
Zmodeler
Zremesher (for hard surface)
Sculptris Pro
Booleans
Gizmo Deformers
Array Mesh
Clip and Slice Brushes
Retopology Techniques
and more . . .
No time-lapse demo, modeling a UH-60 Main Rotor for a practical example of the above techniques
Audio commentary in English to accompany the videos
Orthographic screenshots of individual parts from the UH-60 Rotor if you're interested in modeling this piece together with me

Homepage

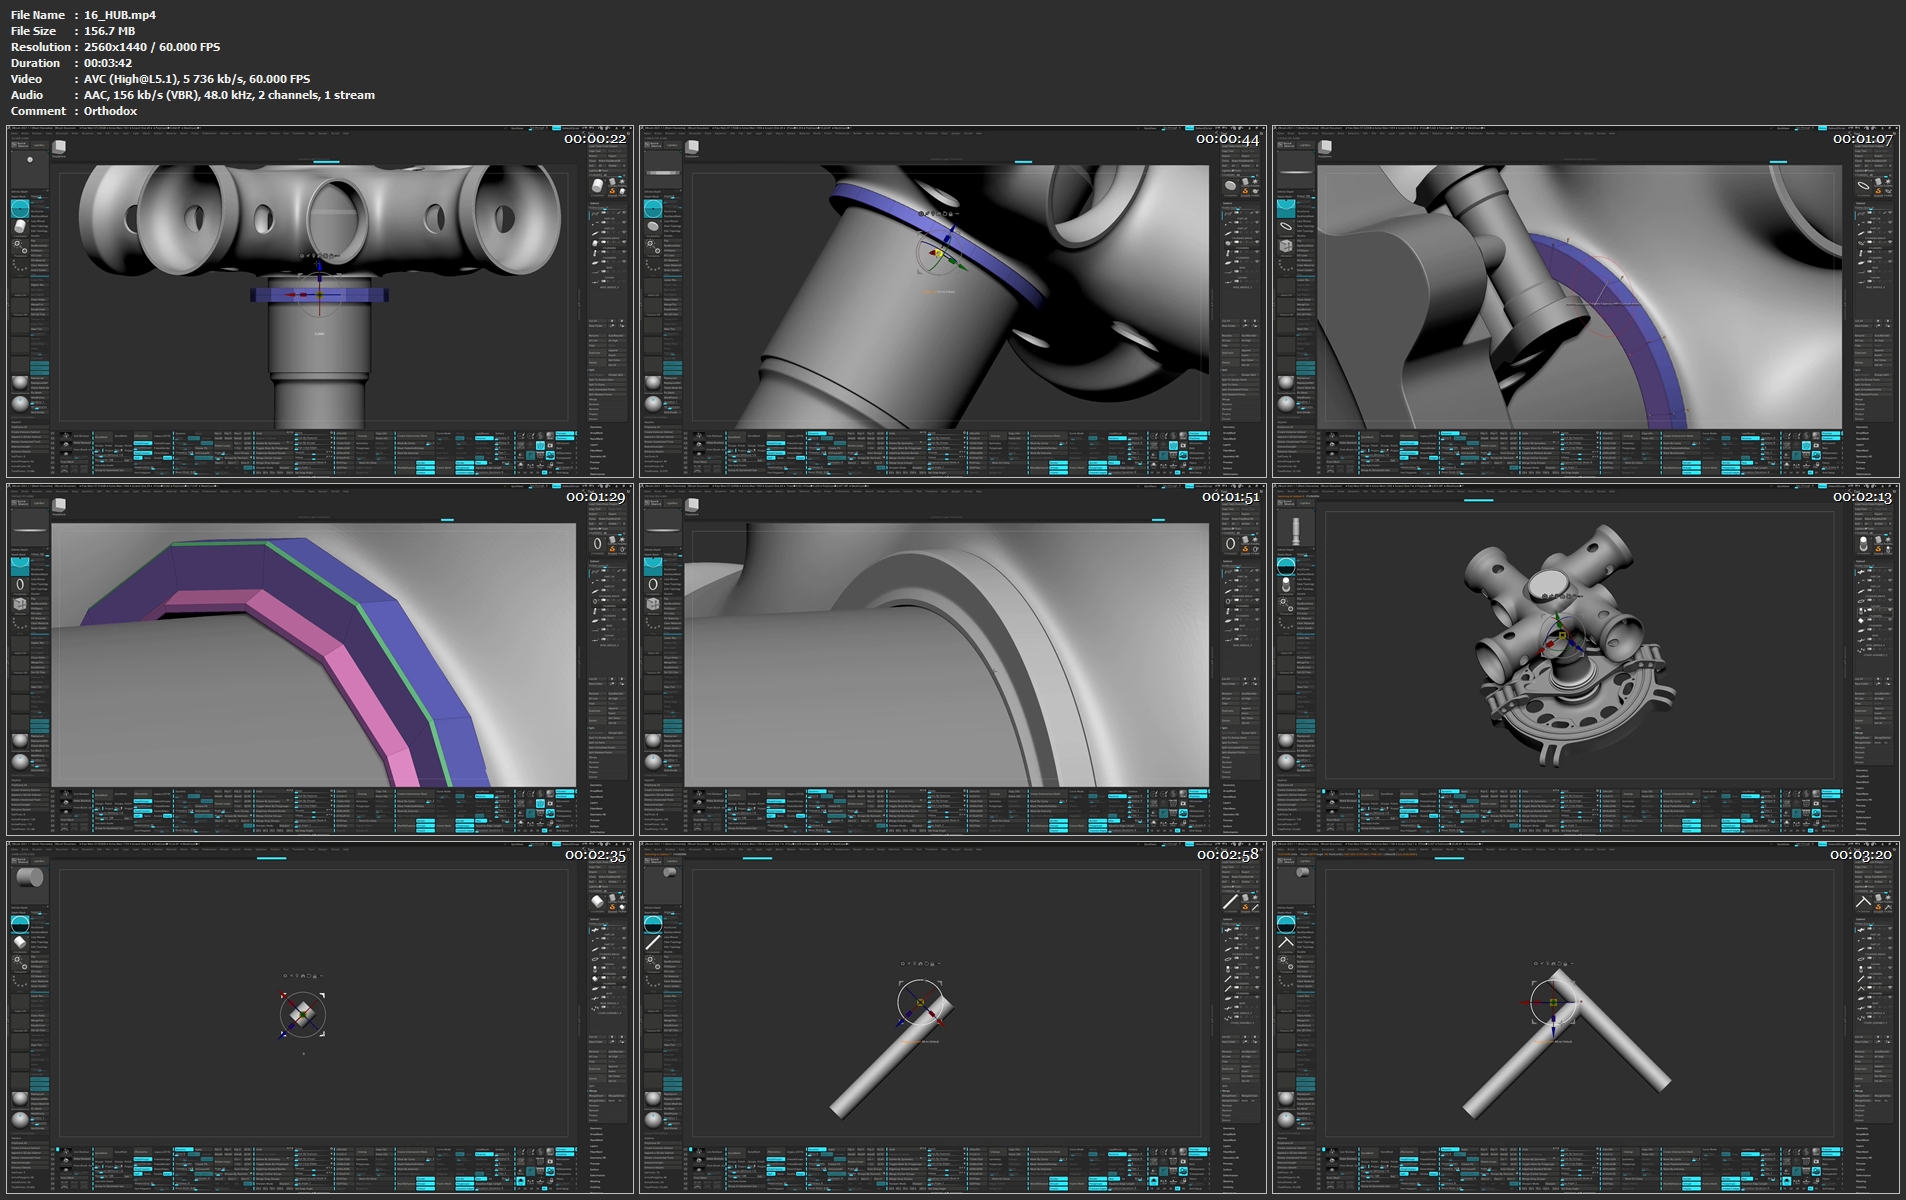
16hub.mp4sojk6.jpg


YouTube Clip Master 2.0 (Make Money without Making Videos)

1565060335e3750x405c0kwe.jpg


YouTube Clip Master 2.0 (Make Money without Making Videos)
Duration: 10h 56m | Video: .MP4, 1280x720 30 fps | Audio: AAC, 48kHz, 2ch | Size: 9.61 GB
Genre: eLearning | Language: English

Learn How to Succeed on YouTube and Monetize a Channel without Ever Creating your own Content

What you'll learn
How to create, grow, and monetize a YouTube Channel without ever recording a single video yourself
How to edit videos with shotcut
How to edit videos with Adobe Premiere Pro
How to alter YouTube videos in a number of ways
How to "clip" YouTube Videos for the purpose of re-uploading them to your own Channel
How to grow a YouTube Channel around a niche/subject you're interested in and then monetize it
How to create Professional looking YouTube thumbnails quickly
And a number of other things...check out the LOADED Course curriculum.

Requirements
A desire to start a YouTube Channel
Access to the Internet


Description
Have you ever wanted to start a YouTube Channel and make money with it...but you don't want to get in front of the camera or record your own videos?

YouTube Clip Master 2.0 is your solution. With this Course, you'll learn how to make money on YouTube (in a number of ways) without ever creating your own video.

You can leverage videos others have already created and simply re-upload them to make money via ad revenue, affiliate commission, cpa commission, and a number of other ways.

Want to Learn How to Succeed on YouTube and Monetize a Channel without Ever Creating your own Content? Enroll today.

Major updates to 2.0

Content Marketing and Affiliate Marketing and how you can make money uploading other people's videos

YouTube SEO & ranking videos on YouTube so you get organic traffic

How to edit videos (both free & paid editing software taught) so you can put out really engaging & high quality videos that will bring more traffic to your affiliate links

How to create professional thumbnails in 4 simple steps (a full tutorial)

How to use creative commons videos that are copyright free

How to use other people's videos (big YouTubers) and alter them slightly so you can also use their audience, attention, and traction to grow even faster and make money too.

How to Upload a YouTube Video Properly for More Views

Many different ways to monetize a YouTube Channel (not just ad revenue)

And many many more things


Who this course is for:
Anyone that wants to start a YouTube Channel
Anyone looking for a different way to grow on YouTube
Anyone that wants their own YouTube Channel, but doesn't want to create content
Anyone that wants to learn how to create great YouTube thumbnails
Anyone that wants to learn how to edit videos with shotcut
Anyone that wants to learn how to edit videos with Adobe Premiere Pro

Homepage

5.syncinganaudiofilewehjyo.jpg


Improve efficiency at work - wherever you are (Updated 3/2021)

0082973c2cj3y.jpg


Improve efficiency at work - wherever you are (Updated 3/2021)
Duration: 4h 51m | Video: .MP4, 1280x720 30 fps | Audio: AAC, 48kHz, 2ch | Size: 5.91 GB
Genre: eLearning | Language: English

Self-care at home; fund at work

What you'll learn
Art therapy exercises for self-care at home - ideal for homeworkers
Games that can be played at the office to reduce stress

Requirements
no


Description
This course is in two sections:

Working from home

Working at work

In the first section we go through various ways - using Art Therapy - self-care can be practised at home to reduce stress, help focus and improve overall wellbeing. This includes visualisations as well as Art Therapy exercises.

In the second section we go through a series of games that can be played at work. These will remove tension but BEWARE...if you get caught you may lose your job! (But the games are fun though!)

So, a short course aimed at those in work and need a little light relief!


Who this course is for:
Those who are now working from home
Those who are going to the office to work - and need to lighten up a little!
Those interested in art therapy
Those interested in fun

Homepage

5.setandintentionsdljhy.jpg


The Complete Sketchup & Vray Course for Interior Design (Updated 3/2021)

0082b0af29kx5.jpg


The Complete Sketchup & Vray Course for Interior Design (Updated 3/2021)
Duration: 11h 10m | Video: .MP4, 1280x720 30 fps | Audio: AAC, 44.1 kHz, 2ch | Size: 10.2 GB
Genre: eLearning | Language: English

Become an Expert in Modelling, Rendering and Post-Production with Sketchup, Vray Next and Photoshop in under 7 hours

What you'll learn
Learn the core Sketchup skills required to model faster & more efficiently.
Learn how to use certain Sketchup Plugins to take your modeling skills to the next level.
Understand Vray lighting, materials, settings, render elements & more to create amazing Photorealistic Renders
Learn from a Real-Life Apartment Project as we model & render a Contemporary Bedroom, Contemporary Furniture, Modular Kitchen & more Interior spaces, STEP-BY-STEP.
Understand certain Interior Design standards and styles required to design a space functionally and efficiently.
Learn to Leverage Sketchup Plugins to create blankets, pillows, curtains & more.

Requirements
A computer with either Windows or Mac to install all the software & sketchup plugins to model & render your favorite Interior Design space.
A strong work ethic, willingness to learn, and plenty of excitement about the awesome new Sketchup modeling & Vray rendering skills you will acquire in this Interior Design course.
Nothing else! It's just you, your computer and your hunger to get started today.

Description
You've just stumbled upon the most complete, in-depth Sketchup & Vray course for Interior Design. With over 10,000+ students enrolled and hundreds of 5 star reviews to date, these comprehensive Sketchup & Vray tutorials cover everything you'll ever need.

>>> Updated at the end of February 2021 (BRAND NEW VRAY 5 + SKETCHUP 2021 SECTION on how to create a Photorealistic Chic Bedroom) <<<

Shruti says, "Yes, I absolutely love this course and have gained so much knowledge ever since I started these lessons. Would definitely recommend this to my friends who would like to brush up on their basics as well as learn the fine details in designing on a software like Sketch up."

Aparna says, "Just Wonderful! Before this course, I only know how to click interactive render without even adding any lights or settings. Now I know, whats Interactive and Main rendering is, lights, materials, plugins, settings etc. Loved learning this course and also instant clarification of doubts."

Jhoe says, "Excellent SketchUp course! The instructor utilizes the power of SketchUp and Vray with Post-Production...and very easy to follow. Highly recommended!"

This course is designed to jumpstart your Sketchup,Vray & Interior Design Journey, wherein we take you Step by Step with a Real-Life Apartment Project and get you up & running to design your favorite Interior Design space efficiently, quickly and in the right way.

Why this Course?

Comprehensive coverage of the essentials tools to design a bedroom, modular kitchen & more - Learn not only how every tool works but also how to apply it in the right way in your Sketchup workflow.

Downloadable Resources - Exercise files like Sketchup Models for every lecture & section so you can follow along step by step.

Learn from an Expert - I've been using Sketchup for over 10 years and I will be sharing all my skills and secrets which has helped me model faster, efficiently and most importantly, amaze my clients.

Monthly Updates - This course will be updated on a monthly basis with new high quality tutorials and resources and you will get an in-depth understanding of how to design a modern contemporary bedroom, modular kitchen & more.

Taught by an Architect & Interior Designer - We not only learn about modelling & rendering in Sketchup, but you will also learn useful interior design tips, standards, and secrets along the way from the instructor who has over 6+ years experience in the Industry.

Access to Exclusive Sketchup & Vray Library - All our students will get exclusive access to our Sketchup Library for every Interior Design space worth over 150$. These models can be imported directly into your scene and rendered since it comes preloaded with Vray materials.

Who is this Course For?

Interior Designers

Architects

Students of Architecture & Interior Design

Hobbyists

Construction Professionals

Anyone with an interest in 3D Modelling in Sketchup

Anyone with an interest in 3D Rendering with Vray Next for Sketchup

(note that this course will be taught on the windows version but the same techniques can be applied in Mac as well)

What you will Learn?

It is crucial that when you learn Sketchup, you start with the right fundamentals (which is also easy to pickup). Once you've picked up on the fundamentals of 3D Modelling, we jump into more advanced topics using specific Sketchup plugins, to take your modelling to the Next Level.

This course is divided into Six Sections

Prior to Section 01, we will have the introduction and how to install Sketchup, Vray & all the essential plugins

Section 01 - Introduction to Sketchup

In Section 01, we will start with the fundamentals

Introduction to Sketchup Interface

Introduction to Sketchup Tools.

Introduction to Sketchup Default Tray

Section 02 - Sketchup (Modeling a Contemporary Bedroom)

In Section 02, we will start with the fundamentals

We will learn to import images & CAD into Sketchup

How to model our walls, floors, ceilings, doors & windows.

How to model our Bedroom Placeholders

How to model our Wardrobes, Study Tables, & TV Units.

We then learn some Advanced Sketchup Modelling Taught in this Course

Learn to model Beds using the Artisan Tools & SubD

Learn to model Curtains using Clothworks

Learn to model Blankets & Pillows using the Clothworks tool.

Create a Studio and import from 3D Warehouse the Right Way!

Create a Bean Bag in the Studio

Section 03 - Introduction to Vray Next for Sketchup

In Section 03, we jump into the world of photorealistic rendering with Vray Next for Sketchup.

We will be introduced to the Vray Interface & the Vray Asset Editor

We will learn how to set-up Vray Lights in our Bedroom and use an important lighting system. (Photographic Approach with the Archgyan Lighting System)

We will learn to create Vray materials like metal, cloth, wood, glass, glossy, matte laminate sheets.

We will also learn to use Vray-Fur to create rugs & carpets, Vray-Infinite plane, Render elements, ands loads more.

Finally we learn how to render our final image using vray settings and also learn post production techniques using Photoshop.

Section 04 - Model & Render a Swing Wardrobe with Sketchup & Vray Next (Added in March 2020)

In this bonus section, we will learn how to create a Swing Wardrobe in Sketchup as per interior design standards. We will learn the importance of composition and how to render the swing wardrobe in a Studio setting using Vray Next.

Section 05 - Design & Render a Modular Kitchen with Sketchup 2020 & Vray Next (Added in April 2020)

In this section, we will learn to model and render a Modular Kitchen. We will learn about the various standards, vray materials, lights and more to create an amazing looking Night Render of our Kitchen. We will also learn how to change material colours on Photoshop instead of re-rendering them on Sketchup.

Section 06 - Design & Render a Contemporary Bathroom (Added in May 2020)

Here's what you will learn in this section

Create a Vray Library in the Vray Asset Editor
This will help you create your best Vray Library which you can reuse for all future work, modeling & rendering. Plus, I will be sharing the Exclusive Archgyan Vray Library with you.

Creating Multiple Options in the Same View
You will learn to create multiple options for the same views by leveraging Tags (Layers) & Scenes. This is going to be super useful for all those Interior Designers out there.

Create New Materials
We will learn about various new maps like the falloff maps, edges maps and more. We will learn to create bathroom wall tiles using in-built Vray Maps and much more.

Add Vray Lights in a New Way
We will learn how to add lights in a new way and help you easily change the direction, cone angles & the penumbra angle of spotlights.

Leveraging VFB History

We will learn to render a photorealistic bathroom plus we will learn to leverage VFB History to check out before & after of Renders.

Section 07 - Advanced Modeling in Sketchup

In this section will learn to use plugins to create beanbags, tufted headboards, parametric shapes and a whole lot more.

Section 08 - Student Q/A Videos

We help enhance your renders and point out areas of improvement which benefits other students as well.

Section 10 - Model & Render a Photorealistic Chic Bedroom (BRAND NEW SECTION - UPDATED ON FEB 2021)

In this section, we will learn to use the latest versions of both Vray and Sketchup, namely Vray 5 and Sketchup 2021 respectively, to model, render and post produce a Contemporary Chic Bedroom. We will also showcase some additional plugins which come in really handy while designing interiors such as profile builder, floor generator and sketchuv. Towards the end of the section, we create an additional sectional perspective render which would definitely "wow" your clients.

This is not a create and forget course. We will keep updating this course with new course content and add it to future section on a monthly basis. We will be updating our course description here as and when we release new tutorials and downloadable resources.

Special Features Provided

Downloadable Scenes, complete with all V-Ray Settings

Exclusive Student Group on Facebook

Exclusive Sketchup & Vray Library for Interior Design

By the end of the course, you will have a solid understanding of Sketchup & Vray Next, and you will be well on your way to creating amazing renders for your clients.


Who this course is for:
Interior Designers
Architects
Construction Professionals
Contractors
Furniture Designers
All those related to design & those who have an interest for 3D Modeling
Beginner to Advanced Sketchup Users
Beginner to Advanced Vray Users

Homepage

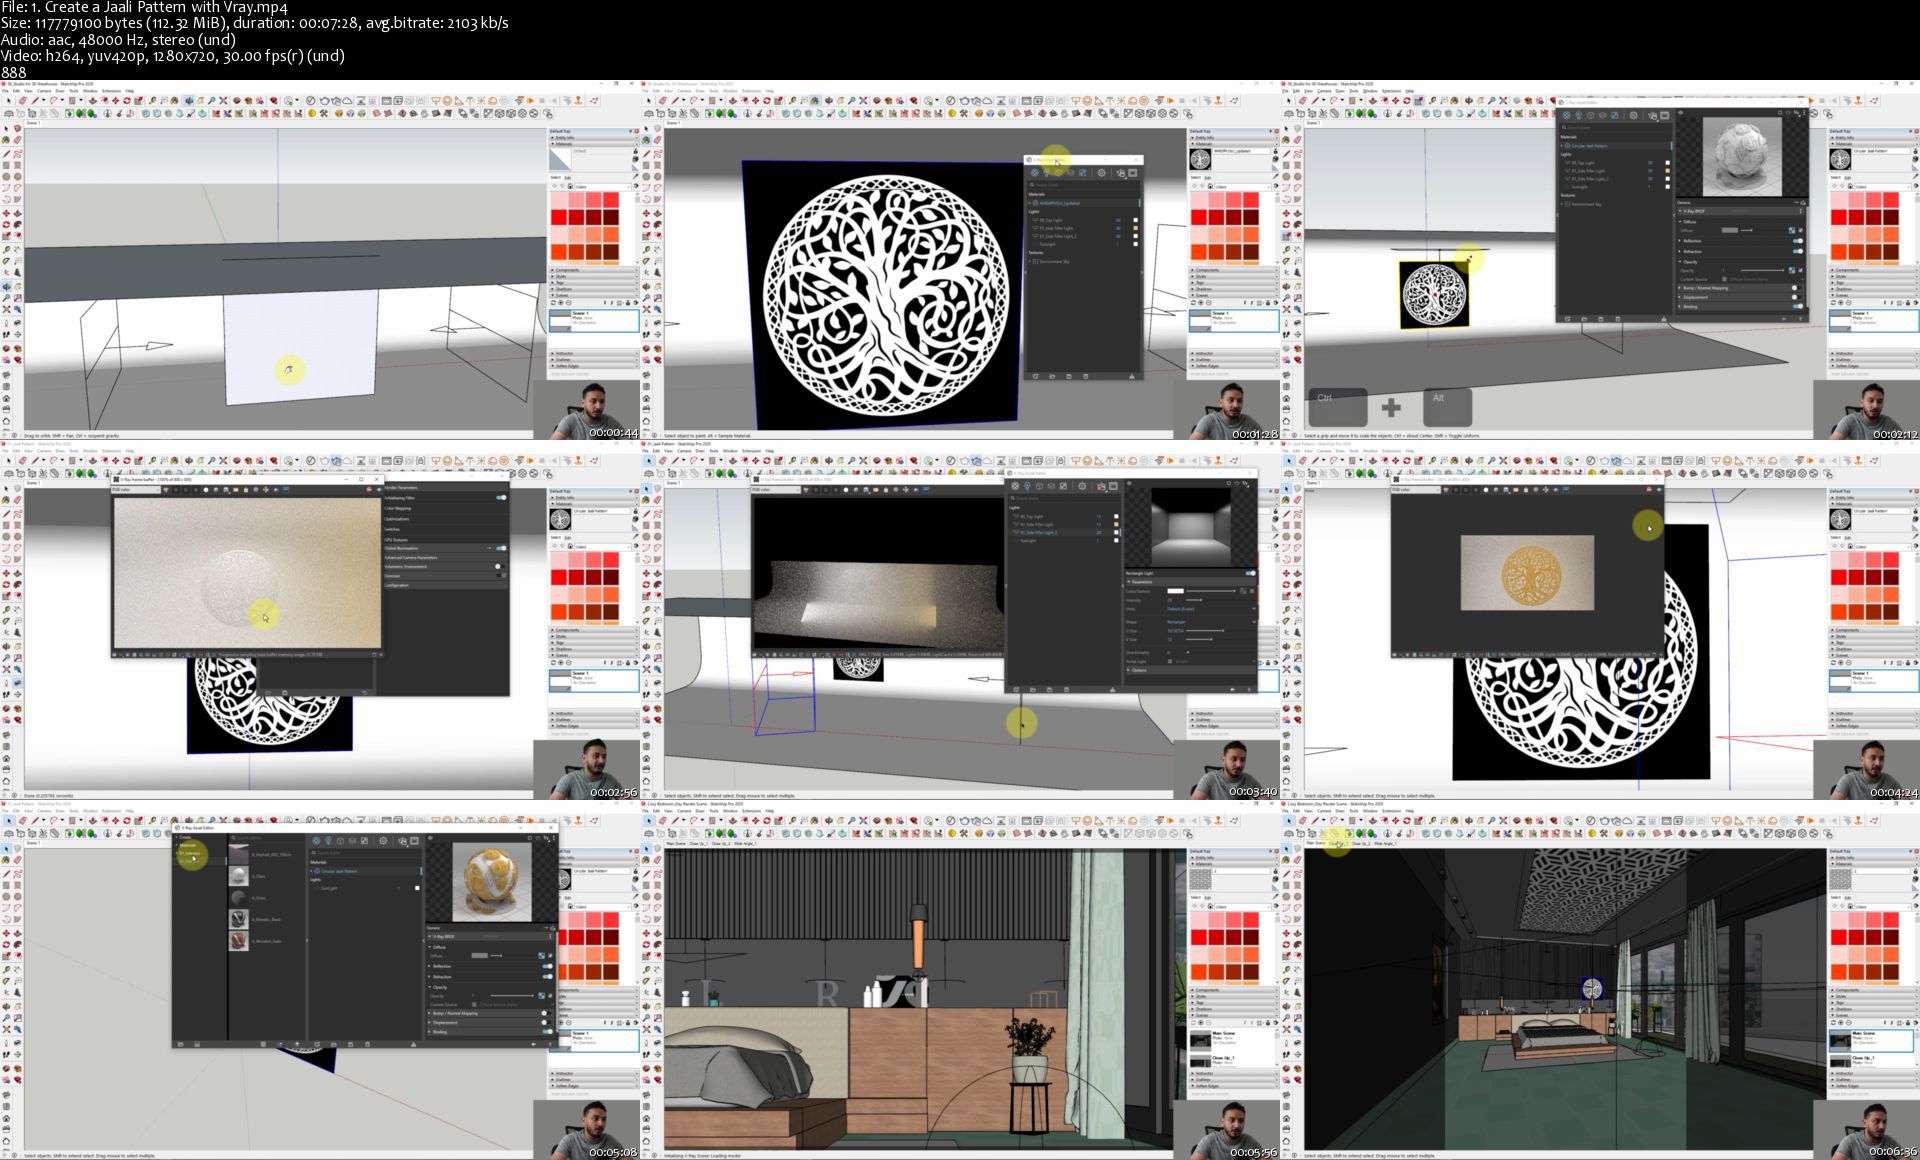
1.createajaalipatternnrkzs.jpg


Zurück
Oben Unten