• Regeln für den Video-Bereich:

    In den Börsenbereich gehören nur Angebote die bereits den Allgemeinen Regeln entsprechen.

    Einteilung

    - Folgende Formate gehören in die angegeben Bereiche:
    - Filme: Encodierte Filme von BluRay, DVD, R5, TV, Screener sowie Telesyncs im Format DivX, XviD und x264.
    - DVD: Filme im Format DVD5, DVD9 und HD2DVD.
    - HD: Encodierte Filme mit der Auflösung 720p oder darüber von BluRay, DVD, R5, TV, Screener sowie Telesyncs im Format x264.
    - 3D: Encodierte Filme von BluRay, die in einem 3D Format vorliegen. Dies gilt auch für Dokus, Animation usw.
    - Serien: Cartoon/Zeichentrick, Anime, Tutorials, Dokumentationen, Konzerte/Musik, Sonstiges sind demnach in die entsprechenden Bereiche einzuordnen, auch wenn sie beispielsweise im High Definition-Format oder als DVD5/DVD9/HD2DVD vorliegen. Ausnahme 3D.
    - Bereich Englisch: Englische Releases gehören immer in diesen Bereich.
    - Bereich Talk: Der Bereich, in dem über die Releases diskutiert werden kann, darf, soll und erwünscht ist.


    Angebot/Beitrag erstellen

    - Ein Beitrag darf erst dann erstellt werden, wenn der Upload bei mindestens einem OCH komplett ist. Platzhalter sind untersagt.
    - Bei einem Scenerelease hat der Threadtitel ausschließlich aus dem originalen, unveränderten Releasenamen zu bestehen. Es dürfen keine Veränderungen wie z.B. Sterne, kleine Buchstaben o.ä. vorgenommen werden. Ausnahme Serienbörse:
    - Bei einem Sammelthread für eine Staffel entfällt aus dem Releasename natürlich der Name der Folge. Beispiel: Die Simpsons S21 German DVDRip XviD - ITG
    - Dementsprechend sind also u.a. verboten: Erweiterungen wie "Tipp", "empfehlenswert", "only", "reup", usw. / jegliche andere Zusatzinformation oder Ergänzung, welche nicht in obiger Beschreibung zu finden ist.

    Aufbau des Angebots und Threadtitel

    Der Titel nach folgendem Muster erstellt zu werden. <Name> [3D] [Staffel] [German] <Jahr> <Tonspur> [DL] [Auflösung] <Quelle> <Codec> - <Group>
    Beispiel: The Dark Knight German 2008 AC3 DVDRip XviD - iND
    Beispiel: The Dark Knight 2008 DTS DL BDRip x264 - iND
    Beispiel: The Dark Knight 2008 AC3 DL BDRip XviD - iND
    Beispiel: The Dark Knight German 2008 AC3 720p BluRay x264 iND
    Beispiel: The Dark Knight 2008 DTS DL 1080p BluRay x264 iND
    Beispiel: Die Simpsons S01 German AC3 DVDRip XviD iND
    Beispiel: Die Simpsons S20 German AC3 720p BluRay x264 iND
    Beispiel: Sword Art Online II Ger Sub 2014 AAC 1080p WEBRip x264 - peppermint
    Entsprechend sind also u.a. verboten: Sonderzeichen wie Klammern, Sterne, Ausrufezeichen, Unterstriche, Anführungszeichen / Erweiterungen wie "Tipp", "empfehlenswert", "only", "reup", usw. / jegliche andere Zusatzinformation oder Ergänzung, welche nicht in obiger Beschreibung zu finden ist
    Ausnahmen hiervon können in den Bereichen geregelt sein.

    Die Beiträge sollen wie folgt aufgebaut werden:
    Überschrift entspricht dem Threadtitel
    Cover
    kurze Inhaltsbeschreibung
    Format, Größe, Dauer sind gut lesbar für Downloader außerhalb des Spoilers zu vermerken
    Nfo sind immer Anzugeben und selbige immer im Spoiler in Textform.
    Sind keine Nfo vorhanden z.B. Eigenpublikationen, sind im Spoiler folgende Dateiinformationen zusätzlich anzugeben :
    Quelle
    Video (Auflösung und Bitrate)
    Ton (Sprache, Format und Bitrate der einzelnen Spuren)
    Untertitel (sofern vorhanden)
    Hosterangabe in Textform außerhalb eines Spoiler mit allen enthaltenen Hostern.
    Bei SD kann auf diese zusätzlichen Dateiinformationen verzichtet werden.

    Alle benötigten Passwörter sind, sofern vorhanden, in Textform im Angebot anzugeben.
    Spoiler im Spoiler mit Kommentaren :"Schon Bedankt?" sind unerwünscht.


    Releases

    - Sind Retail-Release verfügbar, sind alle anderen Variationen untersagt. Ausnahmen: Alle deutschen Retail-Release sind CUT, in diesem Fall sind dubbed UNCUT-Release zulässig.
    - Im Serien-Bereich gilt speziell: Wenn ein Retail vor Abschluss einer laufenden Staffel erscheint, darf diese Staffel noch zu Ende gebracht werden.62
    - Gleiche Releases sind unbedingt zusammenzufassen. Das bedeutet, es ist zwingend erforderlich, vor dem Erstellen eines Themas per Suchfunktion zu überprüfen, ob bereits ein Beitrag mit demselben Release besteht. Ist dies der Fall, ist der bereits vorhandene Beitrag zu verwenden.
    - P2P und Scene Releases dürfen nicht verändert oder gar unter einem iND Tag eingestellt werden.


    Support, Diskussionen und Suche

    - Supportanfragen sind entweder per PN oder im Bereich Talk zu stellen.
    - Diskussionen und Bewertungen sind im Talk Bereich zu führen. Fragen an die Uploader haben ausschließlich via PN zu erfolgen, und sind in den Angeboten untersagt.
    - Anfragen zu Upload-Wünschen sind nur im Bereich Suche Video erlaubt. Antworten dürfen nur auf Angebote von MyBoerse.bz verlinkt werden.


    Verbote

    - Untersagt sind mehrere Formate in einem einzigen Angebotsthread, wie beispielsweise das gleichzeitige Anbieten von DivX/XviD, 720p und 1080p in einem Thread. Pro Format, Release und Auflösung ist ein eigener Thread zu eröffnen.
    - Grundsätzlich ebenso verboten sind Dupes. Uploader haben sich an geeigneter Stelle darüber zu informieren, ob es sich bei einem Release um ein Dupe handelt.
    - Gefakte, nur teilweise lauffähige oder unvollständige Angebote sind untersagt. Dies gilt auch für eigene Publikationen, die augenscheinlich nicht selbst von z.B. einer DVD gerippt wurden. Laufende Serien, bei denen noch nicht alle Folgen verfügbar sind, dürfen erstellt und regelmäßig geupdatet werden.
    - Untersagt sind Angebote, welche nur und ausschließlich in einer anderen Sprache als deutsch oder englisch vorliegen. Ausnahmen sind VORHER mit den Moderatoren zu klären.


    Verstoß gegen die Regeln

    - Angebote oder Beiträge, die gegen die Forenregeln verstoßen, sind über den "Melden"-Button im Beitrag zu melden.
  • Bitte registriere dich zunächst um Beiträge zu verfassen und externe Links aufzurufen.


Englische Tutorials

CompTIA A+ (220-1002): Cert Prep 1 Getting Started

0064f23a.jpg


CompTIA A+ (220-1002): Cert Prep 1 Getting Started
MP4 | Video: AVC 1280x720 | Audio: AAC 44KHz 2ch | Duration: 2 Hours | 2.06 GB
Genre: eLearning | Language: English

The CompTIA A+ (220-1002): Cert Prep series is a comprehensive eight-part series designed to help IT professionals prepare for the CompTIA A+ Core 2 (220-1002) exam, which focuses on operating systems, security, software troubleshooting, and operational procedures. If you're looking to pass the exam for the first time or refresh your skills, this is the series for you. In this course-the first installment in the series-CompTIA expert Mike Meyers covers fundamental operating system types, as well as microprocessing and RAM. Plus, he goes over the communication skills that IT pros need to have to help their users, as well as a specific process that can help you troubleshoot any problem on a system.

0064f24c.jpg


...
 
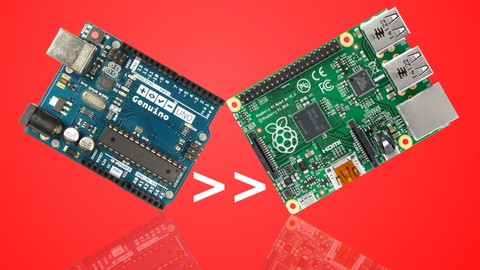
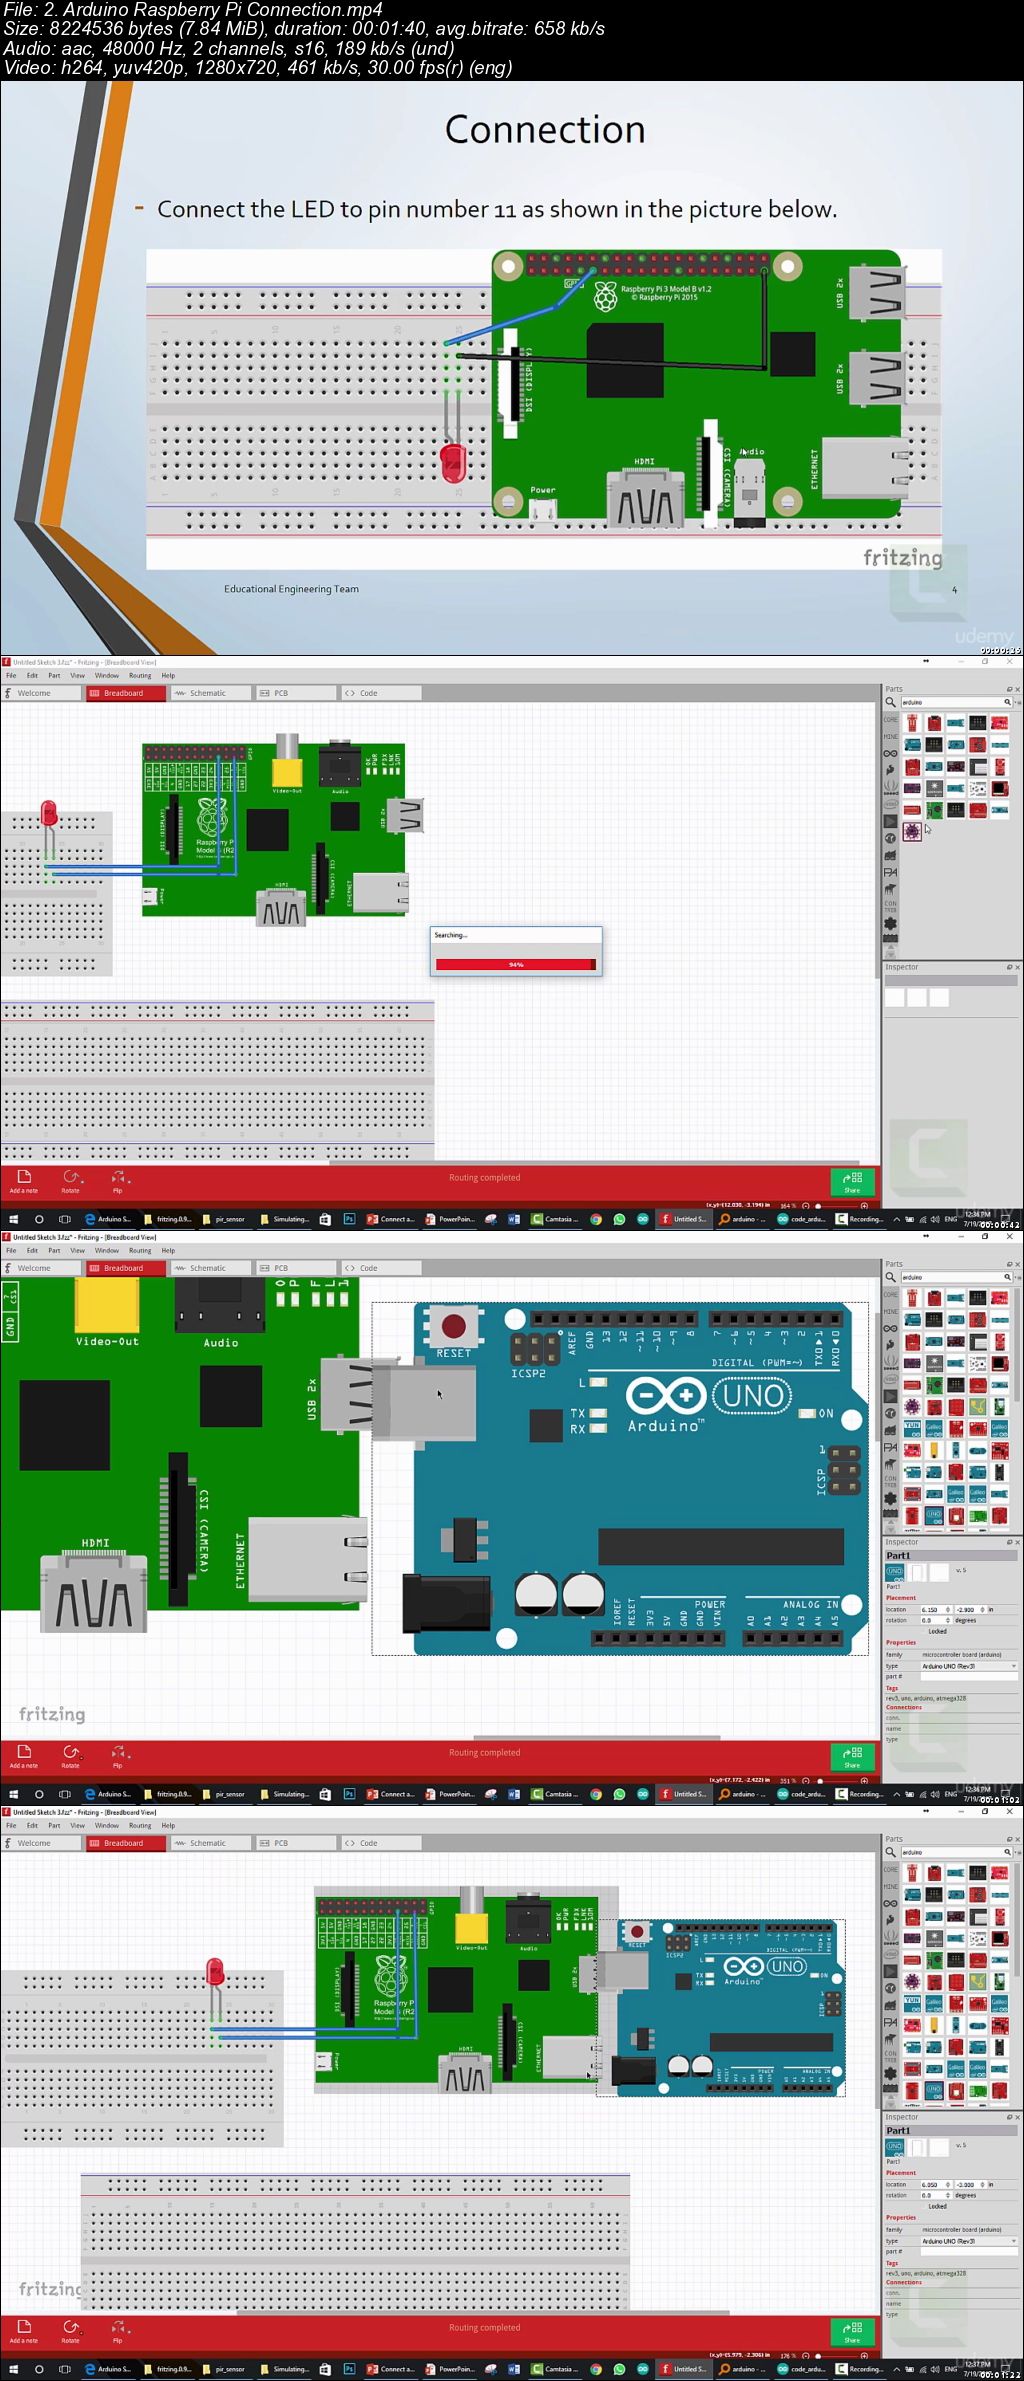
Connect and Interface Raspberry Pi with Arduino

0064eddd.jpg


Connect and Interface Raspberry Pi with Arduino
.MP4 | Video: 1280x720, 30 fps(r) | Audio: AAC, 48000 Hz, 2ch | 110 MB
Duration: 33 mins | Genre: eLearning Video | Language: English

In this Course you will learn how to connect Raspberry Pi and Arduino the software and hardware part and why it's useful.

What you'll learn

Link Arduino with Raspberry Pi
Protect Your Raspberry Pi using Arduino as Interface between Raspberry and heavy devices

Requirements

Basic experience in Electronics
A Well to apply, not just watch
Basic experience in Arduino
Basic experience in Raspberry Pi

Description

In this Course you will learn how to connect Raspberry Pi and Arduino the software and hardware part and why it's useful

Welcome to this course.

This tutorial shows you how to connect Arduino Board with Raspberry Pi, it will take you in a step by step manner to know why this is helpful and how it can make your life a way much easier and saves you lots of Money.

You will know what is the actual hardware and software configurations needs to be done to make this interfacing work smoothly, you will no longer see your raspberry Pi damaged or burned by excessive voltage or power source failure, your raspberry Pi will work like a mini computer a way from the hardware connection that could damage it.

After this course you will be able to make your own interfacing and the choice is yours to use it in any application that comes in mind since all connections and configurations are explained in details.

Who this course is for:

Electronics Geeks
Arduino Geeks
Raspberry Pi Geeks
Anyone Interested in Learning New Things about Arduino
Anyone Interested in Learning New Things about Raspberry Pi
Anyone Interested in Learning How to protect Raspberry Pi using Arduino

0064edde.jpg


...
 
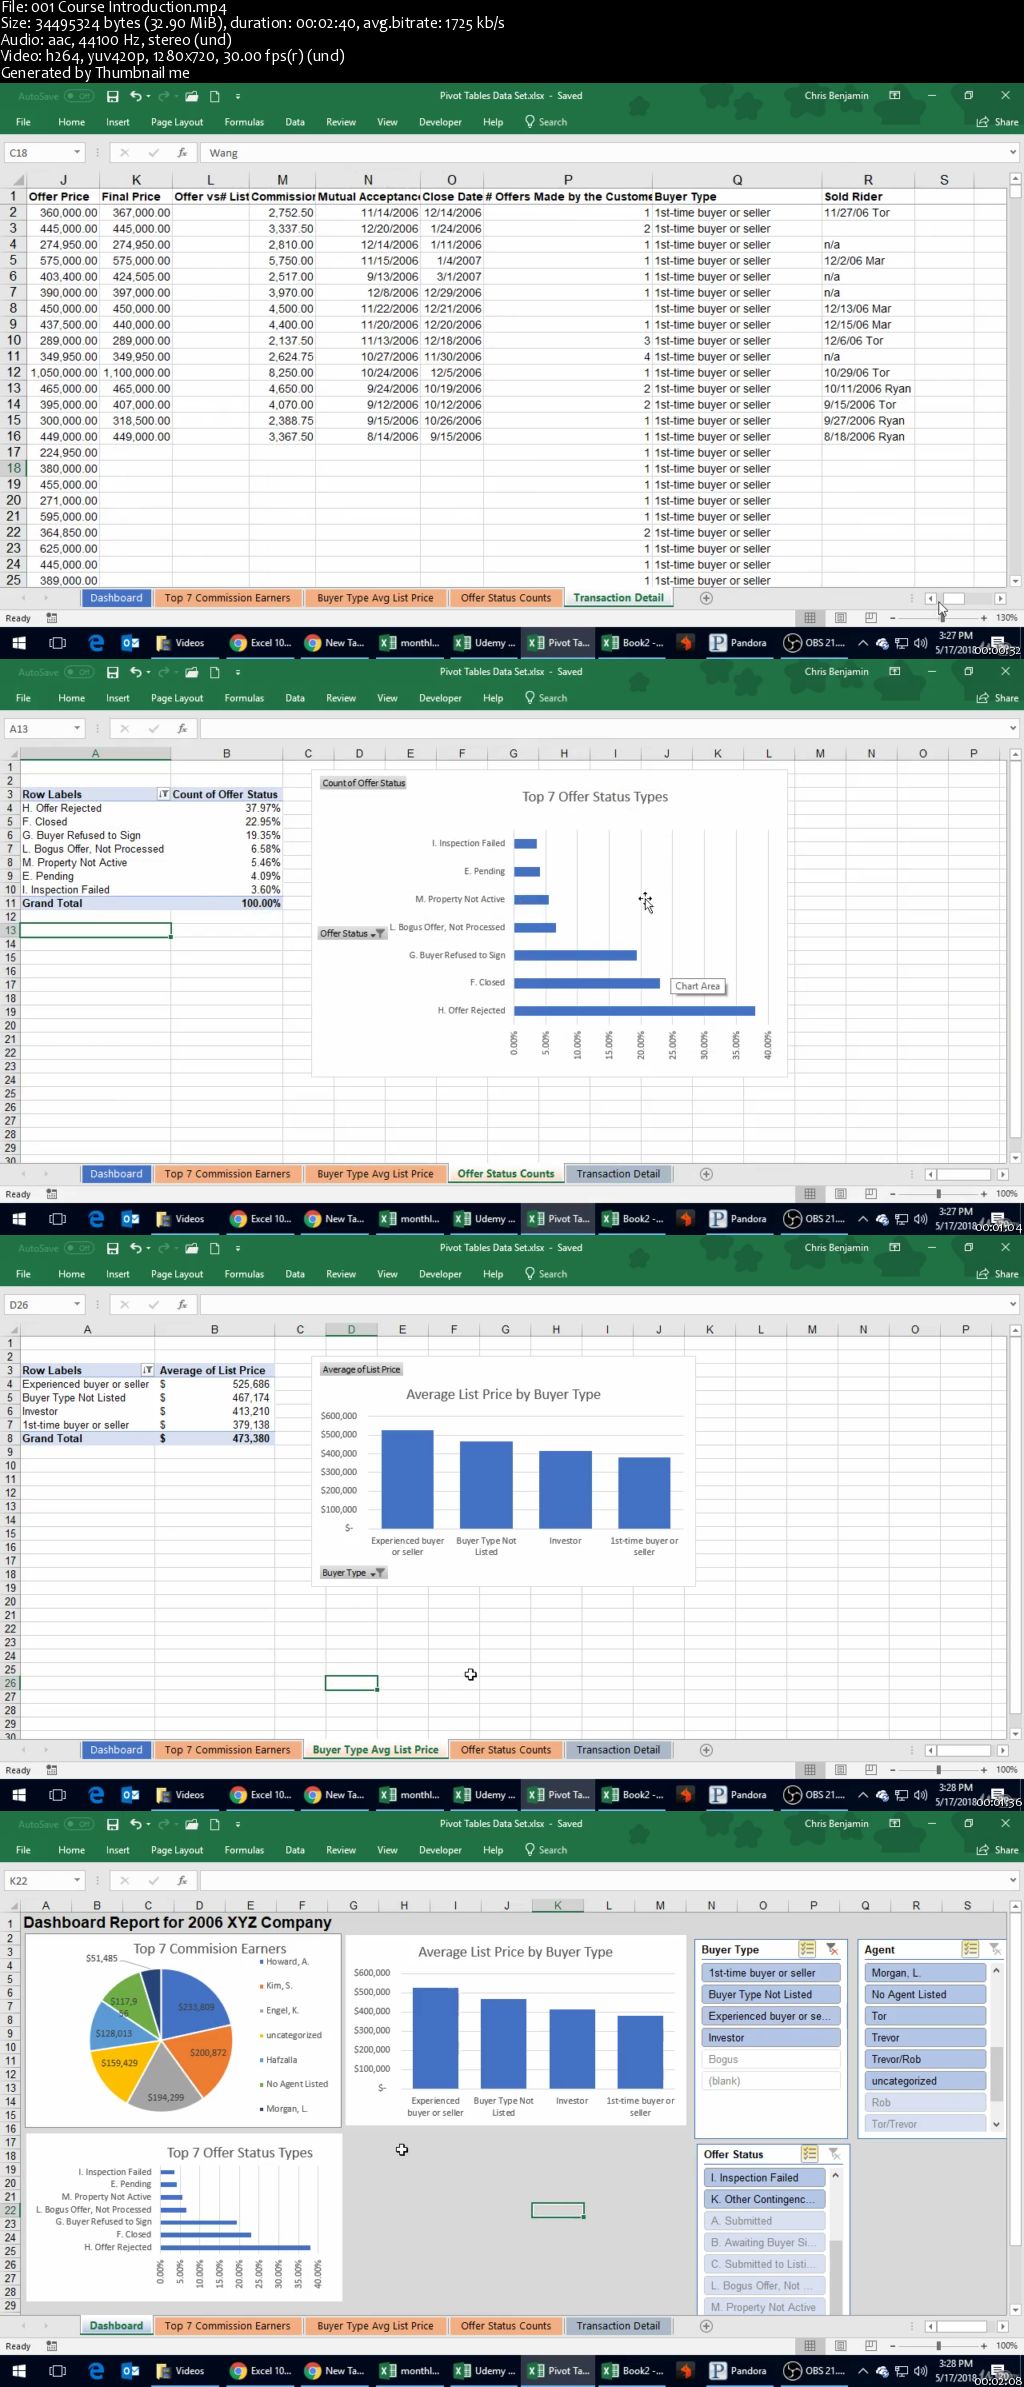
Complete Excel Course On Pivot Tables, Charts & Dashboards

0064e966.jpg


Complete Excel Course On Pivot Tables, Charts & Dashboards
MP4 | Video: AVC 1280x720 | Audio: AAC 44KHz 2ch | Duration: 1.5 Hours | Lec: 15 | 947 MB
Genre: eLearning | Language: English

Learn how to create pivot tables, charts, amazing dashboards, and make sense of large data sets in Microsoft Excel

Three reasons to TAKE THIS COURSE right now:

You get lifetime access to lectures, including all new lectures, assignments, quizzes and downloads

You can ask me questions and see me respond to every single one of them thoroughly!

You will are being taught by a professional with a proven track record of success!

Bonus reason: Udemy has a 30 day 100% money back guarantee if for some reason you don't enjoy the course!

Microsoft Excel is a very powerful tool when used to its fullest extent. Pivot tables are one tool that is not one of the first things you learn in Excel, but should be in your backpack of tools you have available. They are an amazing tool to quickly make sense of big data sets and analyze information from multiple different views, all very quickly. While they may seem confusing at first, once you learn the in's and out's of pivot tables, you'll be a pivot table wizard.

In this course we will start with a blank Excel workbook, open a sample large data set, and then demonstrate how to create multiple pivot tables as well as pivot charts. From there we will explore all of the options you have with pivot tables by adding to them. After that, we then create a dashboard that any manager would love!

0064e974.jpg


...
 
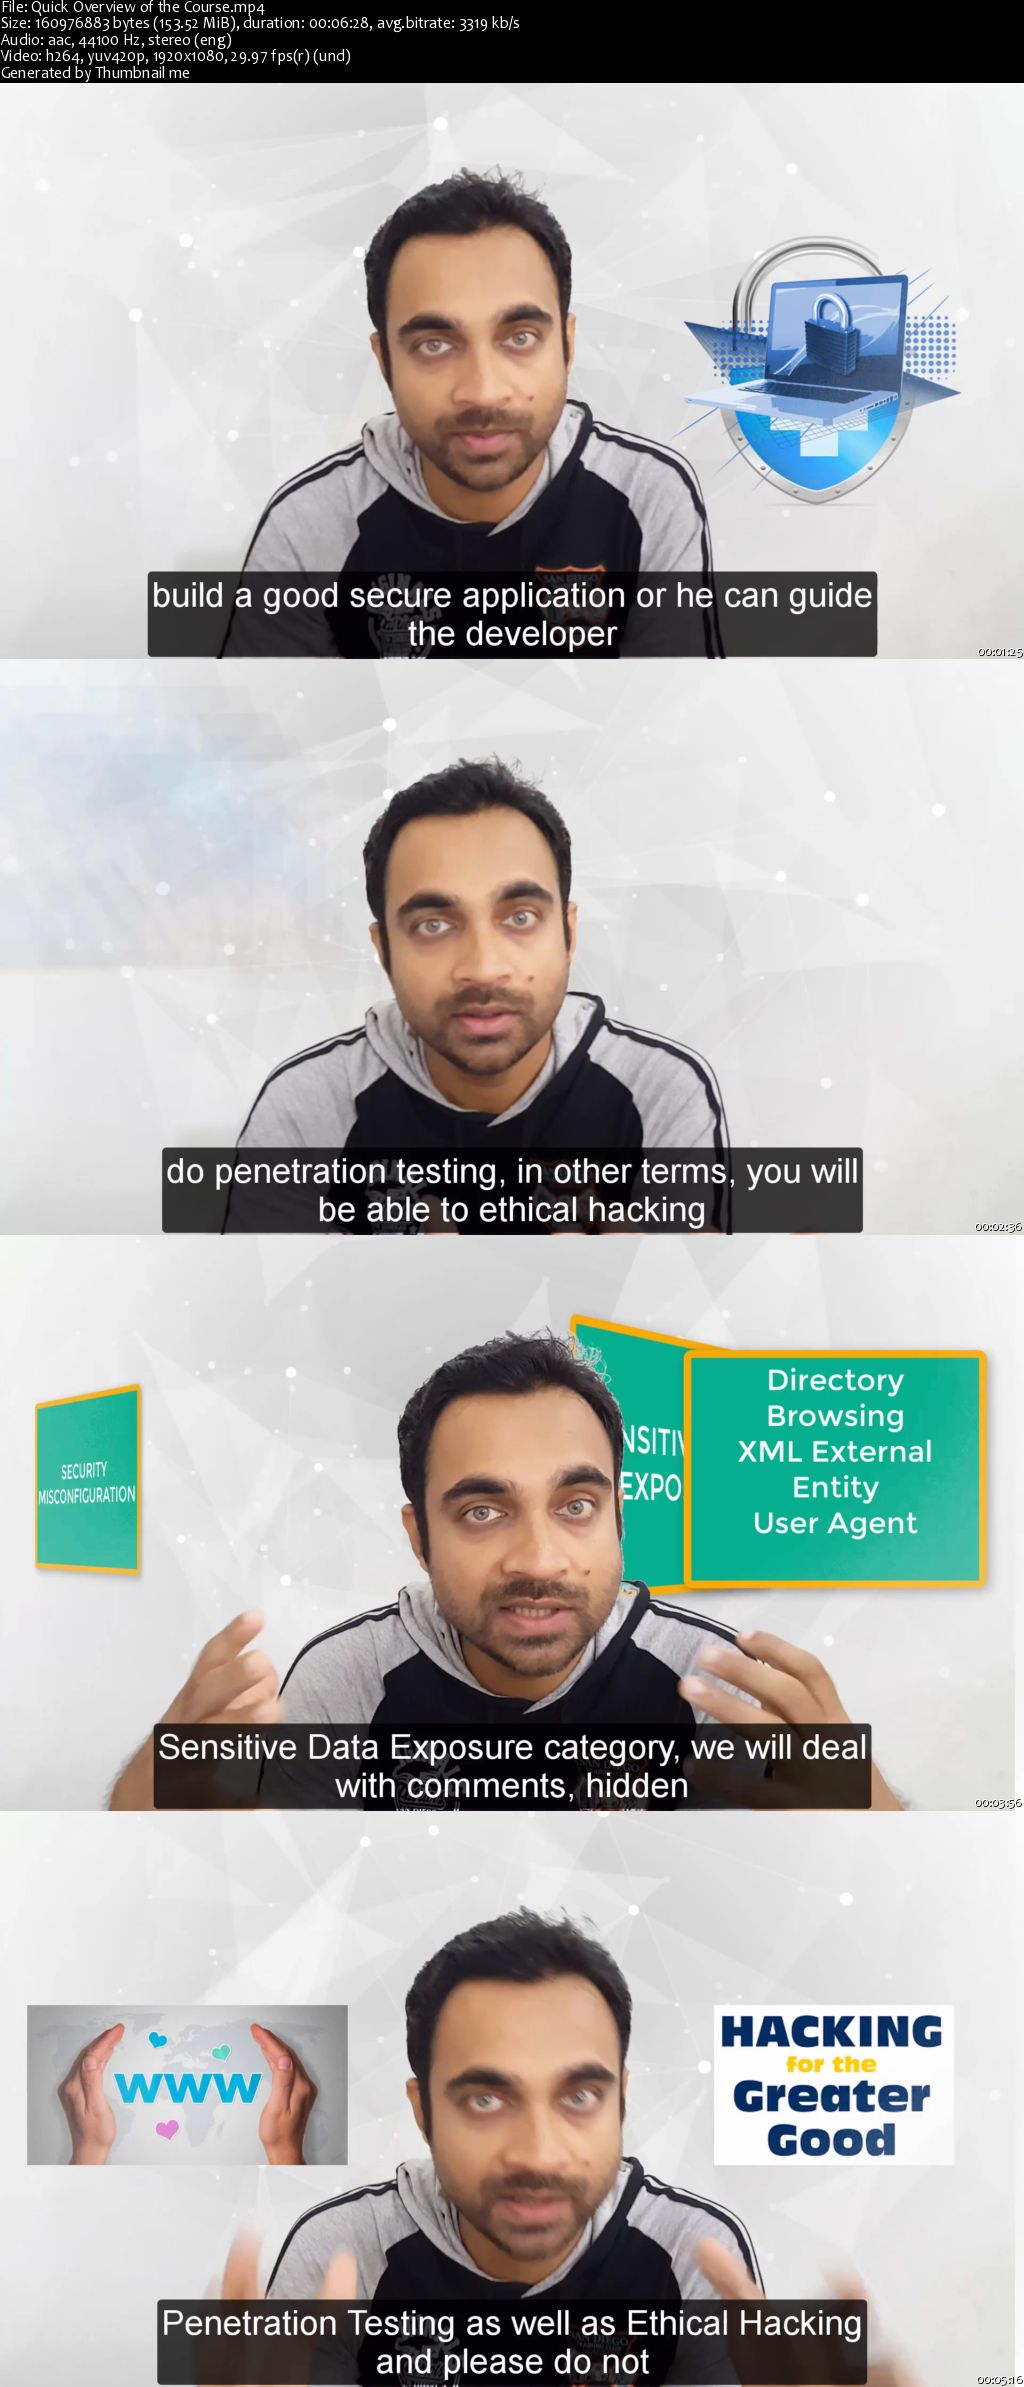
Complete Ethical Hacking and Penetration Testing for Web Apps

0064ee47.png


Complete Ethical Hacking and Penetration Testing for Web Apps
MP4 | Video: AVC 1280x720 | Audio: AAC 44KHz 2ch | Duration: 3 Hours 41M | 958 MB
Genre: eLearning | Language: English

In this course, we will be concentrating mainly on how Penetration Testing can be done on web-based applications. And it can also be used for mobile-based applications because most of the mobile-based applications communicate with a cloud-based API. The security of this API is actually the security of the mobile application which is using this API.
By the end of this course, you will have complete knowledge about Ethical hacking and penetration testing and you are going to have a really thrilling experience doing it. So, see you soon in the classroom.

0064ee4c.jpg


...
 
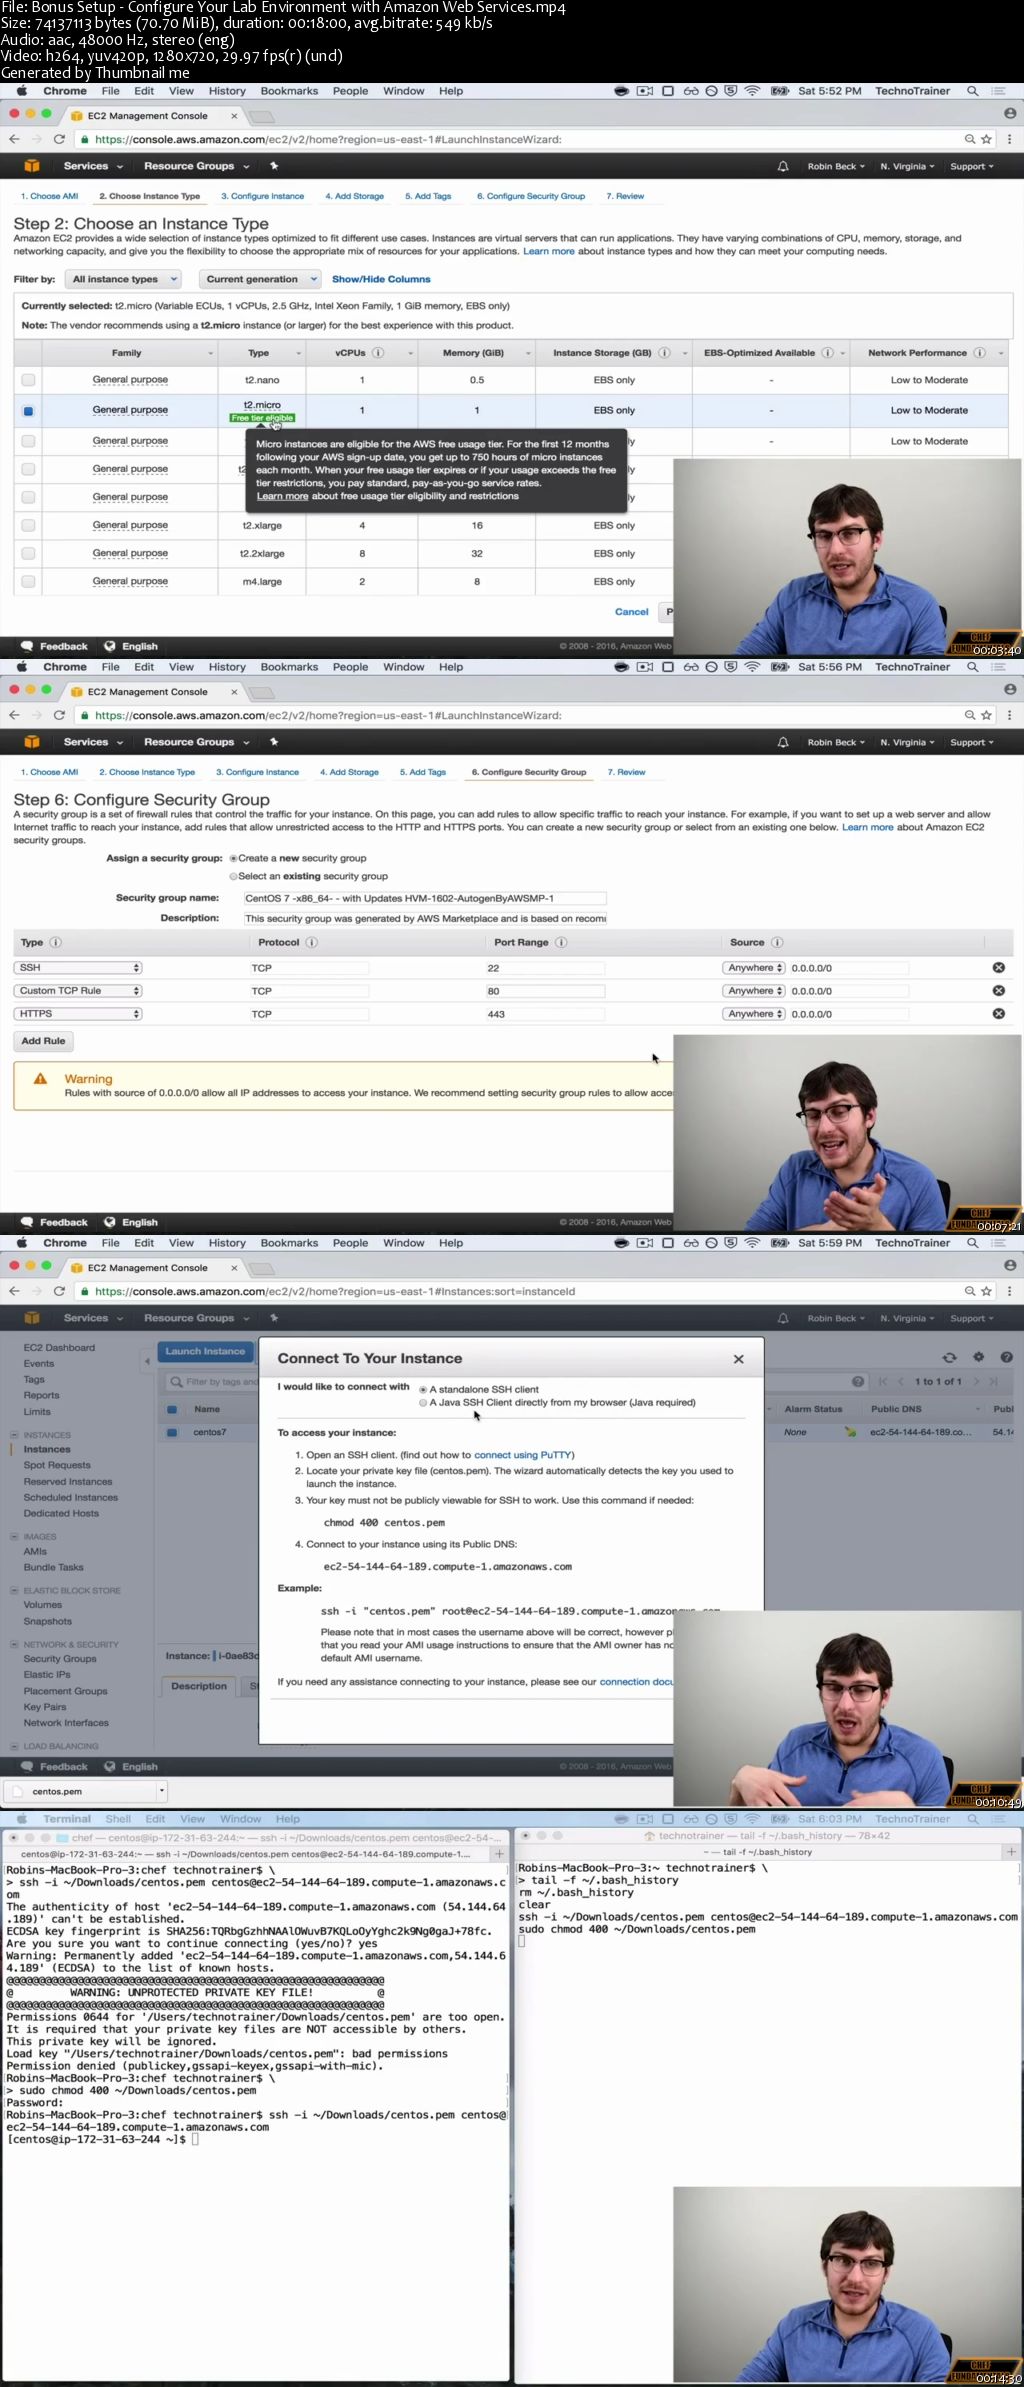
Chef Fundamentals: A Recipe for Automating Infrastructure

0064ecf0.png


Chef Fundamentals: A Recipe for Automating Infrastructure
MP4 | Video: AVC 1280x720 | Audio: AAC 44KHz 2ch | Duration: 9.5 Hours | 2.20 GB
Genre: eLearning | Language: English

Are you the only Chef in the kitchen? Is your infrastructure suffering from snowflake servers? Are you sick and tired of provisioning machines by hand every time you need to put out a fire? Configuring infrastructure shouldn't be painful, it should be a joy. Chef Fundamentals has been reviewed and approved by the Chef Training team. The Chef team looks forward to the development of additional Chef Courses. Chef is a platform for the DevOps workflow, and is used to automate and manage it all-infrastructure, run-time environments and applications. The most enduring and transformative companies use Chef to become fast, efficient, and innovative software-driven organizations. Join Robin Beck as he automates everything in the only Chef-Certified class. Learn to combine resources into recipes, recipes into cookbooks, and transform your infrastructure into code. With Chef we'll learn to use the power of the Ruby language to eloquently describe the state of a system, whether you're new to automation or have been administering systems since 1992. We'll learn how to locally configure a server with the Chef Development Kit, then use the power of a Chef Server to distribute your cookbook to one, or a hundred systems.

All the code and supporting files for this course are available at:
0064ecf9.jpg


...
 
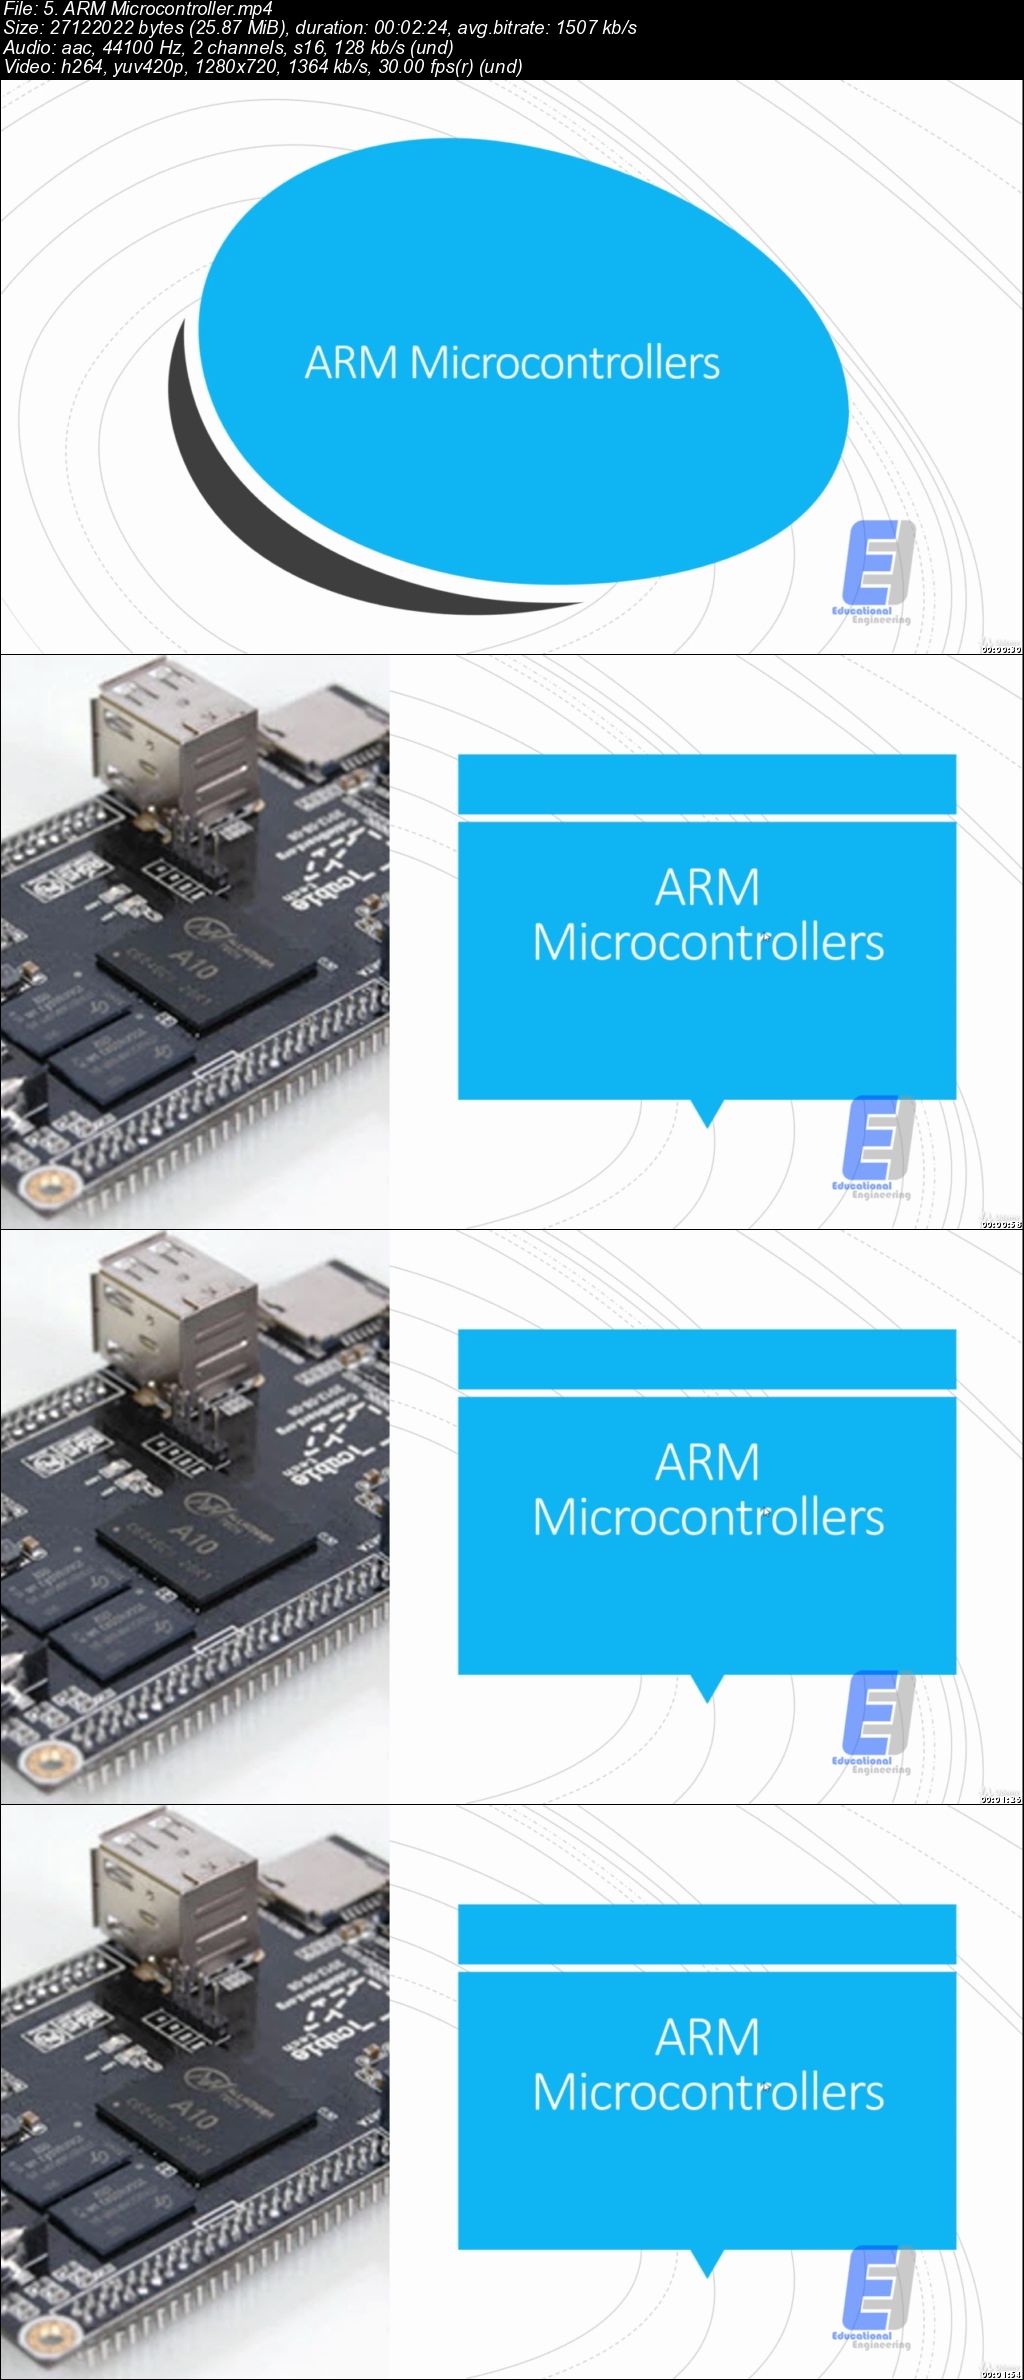
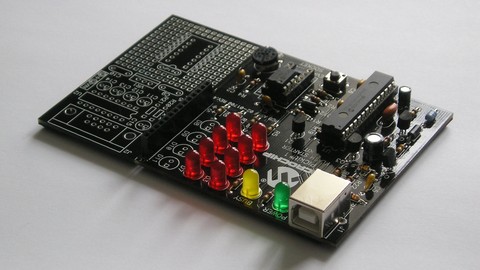
Choose the Right Microcontroller

0064ede1.jpg


Choose the Right Microcontroller
.MP4 | Video: 1280x720, 30 fps(r) | Audio: AAC, 44100 Hz, 2ch | 548 MB
Duration: 1 hours | Genre: eLearning Video | Language: English

Step by step Guide to Choose the Right Microcontroller to Save Time, Money and Effort in current and future Projects.

What you'll learn

choose a Microcontroller that really fits your project needs and Never lose Money by
Waste no time Using the Wrong Microcontroller
choose your next Microcontroller by Learn things you need to take into consideration
Understand the principles of Microcontrollers
Save you Money, Time and effort while programming Microcontrollers

Requirements

Download The course Material in PDF and Print them if possible
Students must have the knowledge of basic electronics
Students must have basic knowledge in Microcontroller

Description

Step by step Guide to Choose the Right Microcontroller to Save Time, Money and Effort in current and future Projects

Welcome to this course.

When you run a 'microcontroller' search you will get tons of result in the search page. But Which one should you choose?

At the start of a project there is a great temptation to jump in and start selecting a microcontroller before the details of the system has been hashed out. This is of course a bad idea.

I used to use any microcontroller, whatever available at hand, but that cost me time, money and effort without even knowing it, so after experimenting and looking deep on what to consider when choosing a Microcontroller, I can up with few steps that will help you master the art of choosing the right Microcontroller for your project.

The number of different microcontroller chips available was pretty limited. You got to use whatever you could manage to buy, and that narrowed down the choice to a small number of chips, so you didn't have many choices, But with more companies in the Microcontroller market, more types and more choices came up, which left the end user in a bit of confusion.

Which one should you learn?

Which one should you use for your project?

Is the one at hand is the best one for your project?

Selecting the right microcontroller for a product can be a daunting task. Not only are there a number of technical features to consider, there are also business case issues such as cost and lead-times . At the start of a project there is a great temptation to jump in and start selecting a microcontroller before the details of the system has been hashed out. This is of course a bad idea. Before any thought is given to the microcontroller, the hardware and software engineers should work out the high levels of the system, block diagram and flowchart them and only then is there enough information to start making a rational decision on microcontroller selection.


To help you pick a microcontroller to use, In this course we will look at what do you need the Microcontroller to a complish, how it can accomplish it, and which is the right Microcontroller that will accomplish it for you, I'm sure that you will enjoy this course, it will open your mind to new possibilities, and help you save money, time and effort.

Who this course is for:

Anyone with a curiosity for making electronics
Microcontroller Geeks
Engineering students and Anyone looking to save Money, Time and Effort by using the same Microcontroller

0064ede2.jpg


...
 
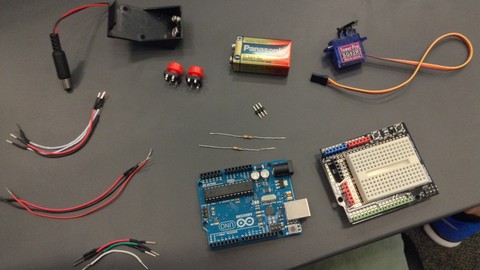
Build 11 Arduino Practical Projects today!

0064efab.jpg


Build 11 Arduino Practical Projects today!
.MP4 | Video: 1280x720, 30 fps(r) | Audio: AAC, 44100 Hz, 2ch | 4.56 GB
Duration: 7 hours | Genre: eLearning Video | Language: English

Learn by Practicing real world Projects to apply everything you have learned


What you'll learn

Connect different type of sensors and actuators to Arduino
Interface different type of electronic elements with Arduino
Use sensors and actuators to make useful projects
Program, burn a code and wire Arduino
Learn What are the right tools that you need to start making amazing projects
Learn What makes a great Arduino Project

Requirements

Basic Knowledge in Electronics Circuits
Basic Knowledge in Circuit Design
Basic Knowledge in C Language
Basic Knowledge in Arduino

Description

Learning by theory and Simulation is only half the answer, but connecting, wiring and burning a code to an actual Arduino, not a simulated one is the other more important half, and this is what we will cover in this course, you will learn by making Arduino Practical Projects.

In this course you will get the chance to see Arduino in Action, starting from simulation and moving forward to connecting the hardware and testing the code in real life.

This will help you make sure your circuit works as expected and you can witness yourself building your first Arduino fully functional.

The most important thing to note here is that when a circuit work with you in simulation, that doesn't mean that it will work in real life, in more than 85% of the cases the simulated circuit doesn't work when you connect it.

What is the best way to Learn, you ask?

Learning by doing Arduino Practical Projects is the learn by practice approach that I prefer

This approach allows you to not only master new Arduino skills but also gain practical knowledge along the way.

Only a few people are satisfied with simulation, but if you want good results you must move on and hook up your circuit and test it out using real-life hardware parts.

I'm trying to help you gain real world practical experience in Arduino, so let's start.

Arduino Motion Detector: Step By Step Guide


Make your own Arduino Motion Detector and start Catching Intruders, Control devices and lots more Cool Application

This Course will show you how to build an Arduino Motion Detector Device that will Fire an Alarm once an Intruder is detected in a range of 6 to 7 meters, it will take you in a step by step manner to know what each component inside the device circuit is, and what it does and how to wire it up

You will know what is the actual working principle of Motion detectors that you see in banks and in door opining and closing mechanisms and what you can do with it and how to interface it with your own Arduino and make it execute and action using simple codes freely, you will no longer needs to buy a motion detector or customize it since you can make the device yourself.

After this course you will be able to make your own Motion detector and the choice is yours to use it in any application that comes in your mind and can make your life easier, since all connections are explained in details.

Goal From This Course:

- Connect a Motion Detector Sensor to Arduino Board with all necessary Components and make it work.

Required Materials

Hardware:

Arduino or an Arduino clone board (freeduino), or you can make your own custom Arduino board.

PIR Motion Sensor.

A piezo buzzer or an 8-ohm speaker.

9V Battery and connector.

Connecting wires.

Software:

Arduino IDE

Arduino Radar: Step By Step Guide

Create your Own Radar using Arduino and get a Green Map Showing Objects at your own Screen in no time

This course will take you in a step by step guide on how to make your own Radar using Arduino Board.

Welcome to this course.

You will get to know how to wire each of these elements, how it works, and why we are using it inside this Project, in no time you will find yourself making your own Radar that shows different object and the distance between you and each object.

A Radar station is a device that collects data related to objects in the surronding environment using Ultrasonic sensors and a Servo motor to cover wider area.

The aim is to make a portable Radar Device

Features it should have

Distance

Angle

Map that show different objects

You will wire sensors and motor to Arduino UNO board and start testing the code yourself, every piece of code is well explained so that you can easily know what each segment does.

A lot of information is waiting for you inside this course, join now and start making your own.

Arduino Web Control: Step By Step Guide

Make your own Arduino Web Control and start Controlling any device that you imagine using A Simple Webpage and Arduino


This Course will teach you how to use a Web Page to Control anything using Arduino, This Guide will take you in a step by step manner to know what each component inside this circuit is, and what it does and how to wire it up, starting with the Ethernet shield and ending with resistors.

Welcome to this course.

You will know what is the actual working principle of Ethernet shield and how to interface and configure it correctly so that you can access your Arduino Powered device from anywhere with an internet connection, and control any device with simple clicks in a webpage.

After this course, you will be able to make your own web controlled device and the choice is yours to use it in any application that comes in your mind and can make your life easier since all connections are explained in details.

We are going to control LEDs from a web page using an Arduino Ethernet module. The Ethernet module will create a server using the router and we will set a web page for this server.

We will use the HTML commands to print the data and to make the buttons on the web page.

When the button on the web page is pressed, we will get some data on the serial monitor. We will save this data in the string and will use this data to turn the LED's ON or OFF.

Goal From Arduino Web Control Course:

- Connect Arduino Ethernet Shield to Arduino Board with all necessary Components and make it Internet Based.

What you will learn in this Course

- How to Connect an Ethernet Module to Arduino.

- The Right way to Detect Online Actions Using Arduino.

- The Working principle of Internet Control.

- How to interface different type of electronic elements with Arduino.

- How Arduino Can make your life easier.

- Program, burn a code and wire Arduino and Ethernet Module.

- Choose the right tools to start making amazing projects

- Why using Online control with Arduino is better than traditional Control Methods.

Automatic Weight Measuring Machine using Arduino

This guide will help you make Arduino Coin Operated Automatic Weight Measuring Machine in a Step by Step Manner


Automatic Coin operated Weight Measuring Machine using Arduino

Welcome to this course.

(Load Cell Interfacing with Arduino)

This guide will help you make Arduino Coin Operated Automatic Weight Measuring Machine in a Step by Step Manner

This Course will teach you how to Make your own Arduino Coin Operated Automatic Weight Measuring Machine and interface Load Cells with Arduino, This Guide will take you in a step by step manner to know what each component inside this circuit is, and what it does and how to wire it up, starting with the Load Cell Module and ending with resistors and Leds.

You will know what is the actual working principle of Load Cells and how to interface and configure it correctly so that you can read data from it and convert this data to weight in Grams, Ounces or Kilograms and display the output data on LCD, 7 Segment display or any other type of display of your choice

After this course you will be able to make your own Fully Functional Coin operated Automatic Weight Measuring Machine that you can place in any public place, to make passive income, or to use it to measure your own weight from time to time instead of buying a weight measuring machine

What you will learn in this Course

- How to make Arduino Coin Operated Automatic Weight Measuring Machine

- How to Deal with Load Cells Using Arduino.

- How to read data from Load Cell and display it on LCD or 7 Segment Display.

- How to interface different type of electronic elements with Arduino.

- How Arduino Can make your life easier.

- How to Program, burn a code and wire Arduino and Load Cell.

- What are the right tools that you need to start making amazing projects.

-This Course will cover how to use the circuits and codes to make passive income by creating a state of the art device that you can place in public places to gain money by offering automatic weight measuring service with this coin operated device.

Automatic Irrigation System with Arduino

Make your own Automatic Irrigation System and stop wasting time on checking your Soil manually and Start Automating Life


This Course will teach you how to Make an Automatic Irrigation System with Arduino, This Guide will take you in a step by step manner to know what each component inside the system is, and what it does and how to wire it up, starting with the Soil Moisture Sensor, Nokia 5110 LCD Screen and ending with resistors.

Welcome to this course.

You will know what is the actual working principle of Soil Moisture Sensor and how to interface and configure it correctly so that you can get accurate data with this Arduino Powered device and automate the Irrigation system.

After this course you will be able to make your own Automatic Irrigation System device and the choice is yours to use it or sell it or start a business, or do anything that comes in your mind, this will make your life easier, since all connections are explained in details.

Goal From This Course:

Connect Arduino Ethernet Shield to Arduino Board with all necessary Components and make it Internet Based.

What you will learn in this Course

How to connect Nokia 5110 LCD to Arduino.

How to connect FC-28 Soil Moisture Sensor to Arduino.

How to Detect Land condition Using Arduino.

How Irrigation Process Actually Works.

How to interface different type of electronic elements with Arduino.

How Arduino Can make your life easier.

How Program, burn a code and wire Arduino and Soil Moisture Sensor.

What are the right tools that you need to start making amazing projects.

Why control with Arduino is better than traditional Control Methods.

Arduino Weather Station: Step By Step Guide

Create your Own weather station using Arduino and get Temperature, Humidity and Time at your own home in no time


This course will take you in a step by step guide on how to make your own Arduino Weather Station that can get Temperature, Humidity, Time and Date using LCD Crystal display and Arduino Board.

Welcome to Arduino Weather Station course.

You will get to know how to wire each of these elements, how it works, and why we are using it inside this weather station, in no time you will find your self-making your own station.

Arduino is a Microcontroller that enables a lot of geeks, students, and engineers to make great projects, turn any idea that comes in their mind to a real life fully functional device, and in this course, we are using it to make something useful and informative.

A weather station is a device that collects data related to the weather and environment using many different sensors, like humidity and temperature sensors, to get accurate results and display the outcome of these sensors on a display.

You will get to know and connect Sensors like

Wind

Humidity

Rain

Temperature

Pressure

Altitude

The aim is to make a portable weather station that you can take anywhere and use whenever you want to get accurate results on time, date and weather conditions

Features it will have

Temperature

Humidity

Time and Date

You will wire sensors and LCD display to Arduino UNO board and start testing the code yourself, every piece of code is well explained so that you can easily know what each does, code and schematics will be explained in details.

A lot of information is waiting for you inside this course, join now and start making your own.

Arduino Multicolor RGB LED Lamp Controlled Using Bluetooth

In this Course You will learn How to Interface Arduino With a Mobile App via Bluetooth and Control RGB Multicolor Leds

Welcome to this course.

In this Course you will be introduced to Mobile Apps, Bluetooth Control, RGB Leds and how to interface all of these Items to get an amazing output that you can show to your friends and brag about it, this will really help you add something cool to your collection of projects that you already made, or even to your office.

Arduino Programming Courses online contains lots of unnecessary information that will surely distract beginners and make them feel odd when they first come to the Arduino World.

The instructor is a very high experienced hardware developer who has strong background in Arduino development, and made this course to help new comers to the Arduino world.

At first glance, RGB (Red, Green, Blue) LEDs look just like regular LEDs, however, inside the usual LED package, there are actually three LEDs, one red, one green and yes, one blue. By controlling the brightness of each of the individual LEDs you can mix pretty much any color you want.

We mix colors just like you would mix audio with a 'mixing board' or paint on a palette - by adjusting the brightness of each of the three LEDs.

Get ready to see Colors that you have never seen below.

No experience is required, and all you need is an Arduino and few simple electronic components

This course is designed for anyone interested in Arduino with zero background knowledge.

Arduino Bluetooth: Step BY Step Guide

Control Your World and Surrounding using Your Own smartphone in this Step by Step Guide that Will Make Your Life Easier

This course will help you Control Your World using Tools that you already have which is Your Own smartphone to Make Your Life Easier, You can make any electronics device easily controlled by bringing it alive using Bluetooth Technology that you have in your phone and start playing with Arduino Bluetooth module interfacing in No Time.

Welcome to Arduino Bluetooth course.

You will get a step by step tutorial on what you need to do to get full control. In the end, you will be able to control any home appliance, project, car or any device using Bluetooth.

This is a course on interfacing Bluetooth module with Arduino. Eventually, It will give you the ability to make higher level Projects like Home automation using a smartphone, Smartphone controlled robot and much more.

You will know how to use the technology embedded in your phone. As a result, making your everyday life away much easier.

What is Bluetooth?

Bluetooth is a wireless technology standard for exchanging data over short distances (using short-wavelength UHF radio waves in the ISM band from 2.400 to 2.485 GHz) from fixed and mobile devices, and building personal area networks (PANs). Invented by Dutch electrical engineer Jaap Haartsen, working for telecom vendor Ericsson in 1994, it was originally conceived as a wireless alternative to RS-232 data cables.

Bluetooth is a standard wire-replacement communications protocol primarily designed for low power consumption. It has a short range based on low-cost transceiver microchips in each device. Because the devices use a radio (broadcast) communications system, they do not have to be in visual line of sight of each other. Range is power-class-dependent, but effective ranges vary in practice.

This course will help you:

Start using Bluetooth Module with Arduino Board

Kick-start communication using this amazing wireless technology.

Join this course now and start learning this awesome, must-know topic in the Arduino Field.

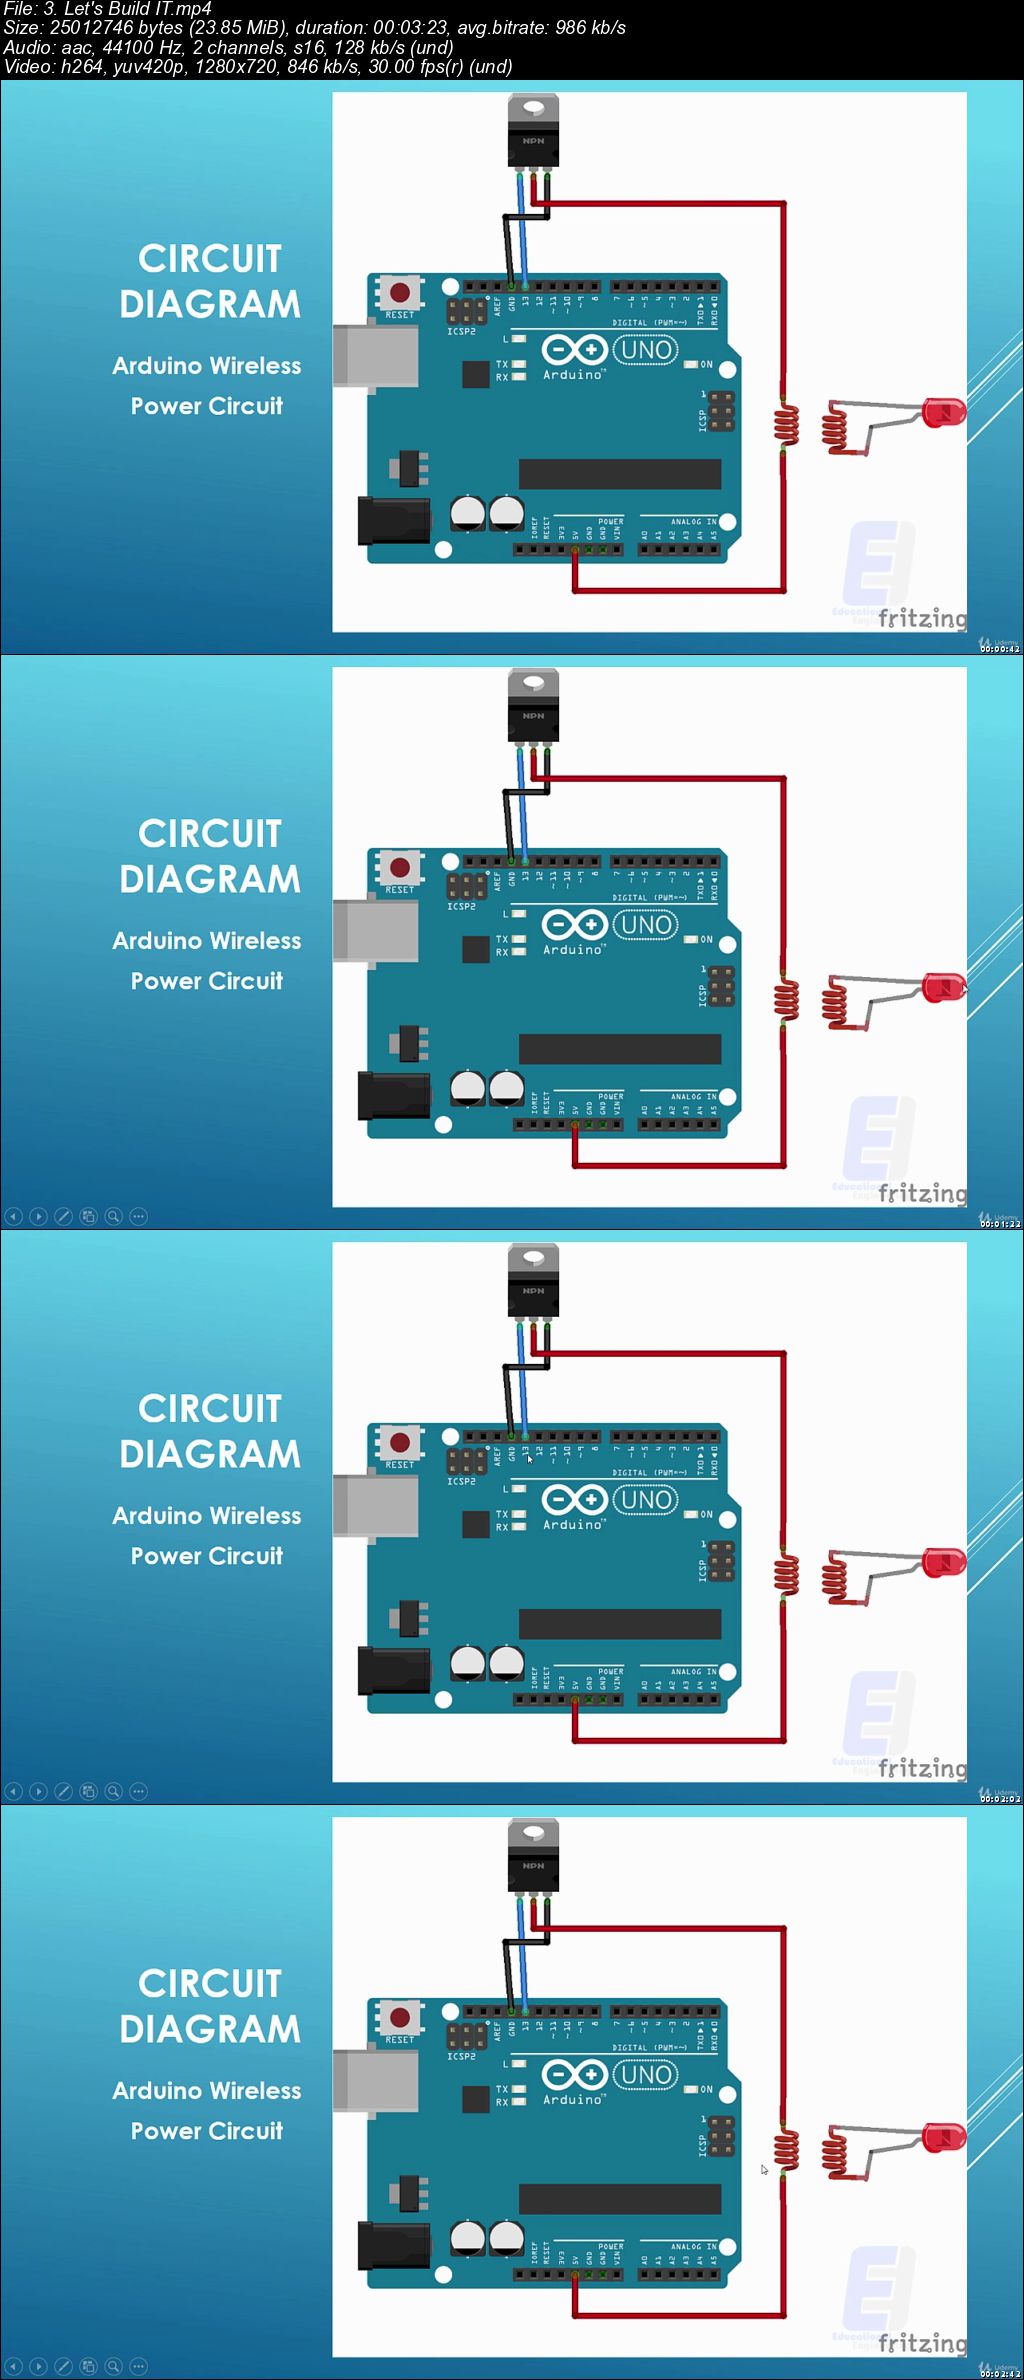
Arduino Wireless Power Transmission

Make your own Arduino Wireless Power Transmission Project and Learn the Principles behind Wireless Power

Welcome to this course.

This Course will teach you how to Make your own Arduino Wireless Power Transmission Project and light electronic components and devices with wireless power efficiently and effectively, This Guide will take you in a step by step manner to know what each component inside the wireless power transmission circuit is, and what it does and how to wire it up, starting with the winding coils and ending with things as simple as a resistor.

You will know what is the actual working principle of Wireless Power Transmission and how to use, interface and configure Arduino correctly so that you can make your own Arduino Wireless Power Transmission device.

After this course you will be able to make your own wireless power transmission device and the choice is yours to use it and apply it with any application that comes in your mind and I assure you that this can make your life easier, since all connections are explained in details.

Goal From This Course:

- Make your own Arduino Wireless Power Transmission Project and Learn the Principles behind Wireless Power

What you will learn in this Course

- How to Connect Arduino with other electronic components to turn it to a wireless power transmitter.

- How to interface different type of electronic elements with Arduino.

- How Arduino Can make your life easier.

- How to Program, burn a code and wire Arduino and Coils.

- What are the right tools that you need to start making amazing projects.

Arduino Alarm Clock Using a Real Time Clock and LCD Screen

Make your own Arduino Alarm Clock and set the Alarming time and interact with Time and Date efficiently and effectively

Welcome to this course.

This Course will teach you how to Make your own Arduino Alarm Clock and set the Alarming time and interact with Time and Date Variables efficiently and effectively, This Guide will take you in a step by step manner to know what each component inside this circuit is, and what it does and how to wire it up, starting with the RTC DS3231 Time and Date Module and ending with resistors.

You will know what is the actual working principle of RTC Module and how to interface and configure it correctly so that you can make your Arduino Powered alarm system, and view time and date in addition to initiate alarm action.

After this course you will be able to make your own Arduino Alarm Clock Using a Real Time Clock and LCD Screen and the choice is yours to use it and apply it with any application that comes in your mind and can make your life easier, since all connections are explained in details.

We are going to set the desired alarm time inside the code using an Arduino. The RTC Module will take care of the time and date values.

Goal From This Course:

- Make your own Arduino Alarm Clock and set the Alarming time and interact with Time and Date efficiently and effectively.

What you will learn in this Course

- How to Real Time Clock and LCD Screen to Arduino.

- How to Deal with Time and Date variables Using Arduino.

- How to set an AlAarm Action depending on the data that you take from RTC.

- How to interface different type of electronic elements with Arduino.

- How Arduino Can make your life easier.

- How Program, burn a code and wire Arduino and RTC Module.

- What are the right tools that you need to start making amazing projects.

Who this course is for:

Anyone with a curiosity for making electronics
Anyone wants to move from Simulation to Practical Work
Anyone intersted in building real things
People with no experience in electronics
People with an intermediate knowledge of electronics
Children over 14 years old

0064efac.jpg


...
 
Building REST-Based Microservices with Lumen

0064f28d.png


Building REST-Based Microservices with Lumen
MP4 | Video: AVC 1280x720 | Audio: AAC 44KHz 2ch | Duration: 1 Hour | 243 MB
Genre: eLearning | Language: English

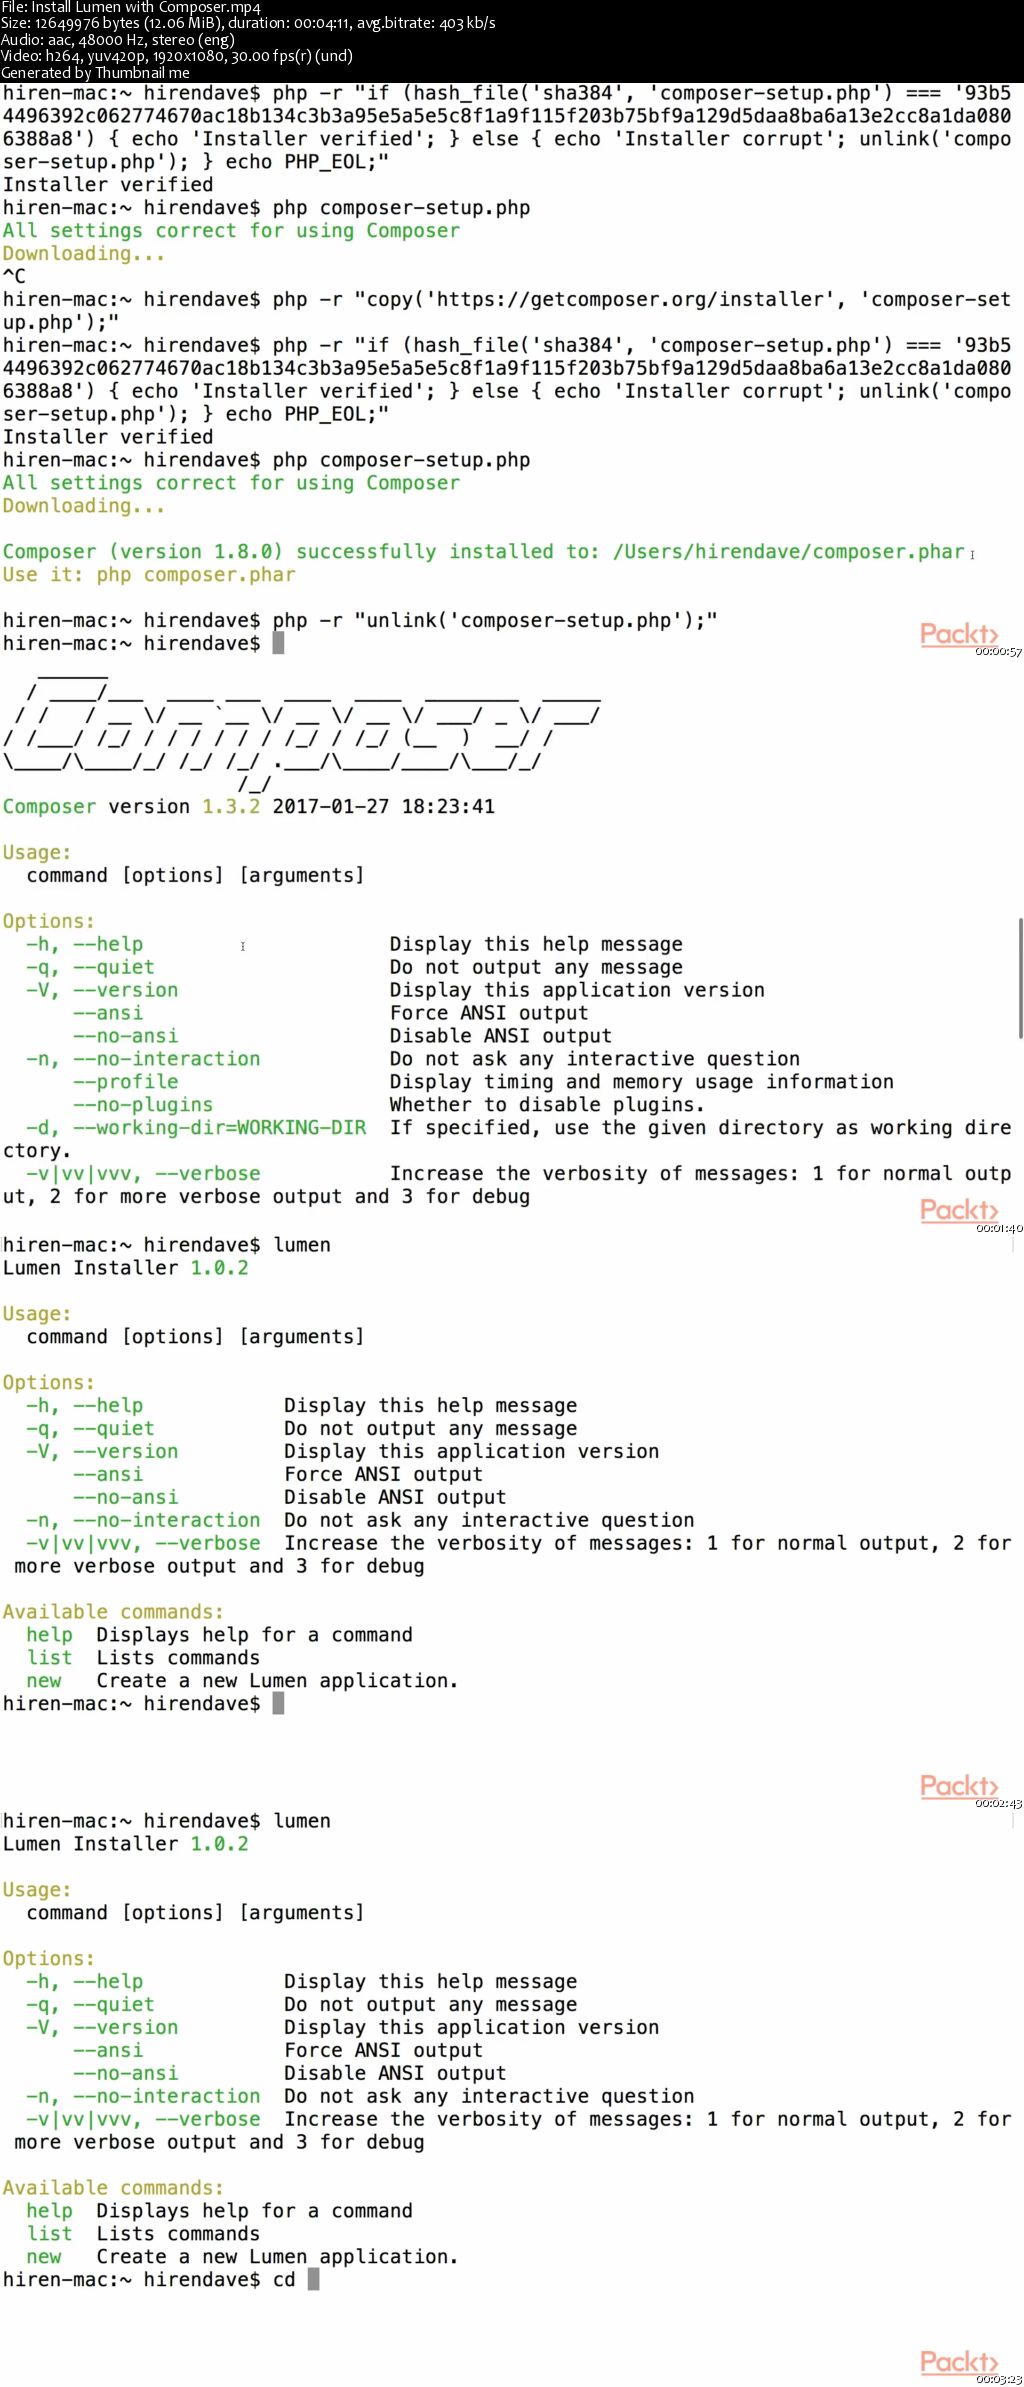
Do you want to create blazingly fast RESTful APIs that are easy to integrate with various applications? Lumen, one the best micro-frameworks available for creating APIs is here for your rescue!

In this course you will learn to build fully functional RESTful API from scratch which helps you create, read, update, and delete (CRUD) data. You will also learn Lumen advanced concepts such as authentication, authorization and securing APIs with encryption and Auth token. Along the way you will learn to test your code and integrate your API into an application thereby extending the capabilities of the micro-framework.

By the end of this course, you will be able to efficiently develop and implement services using RESTful APIs. You will be able to create applications that can communicate with the world around them and can be used as a RESTful backend.

0064f28e.jpg


...
 
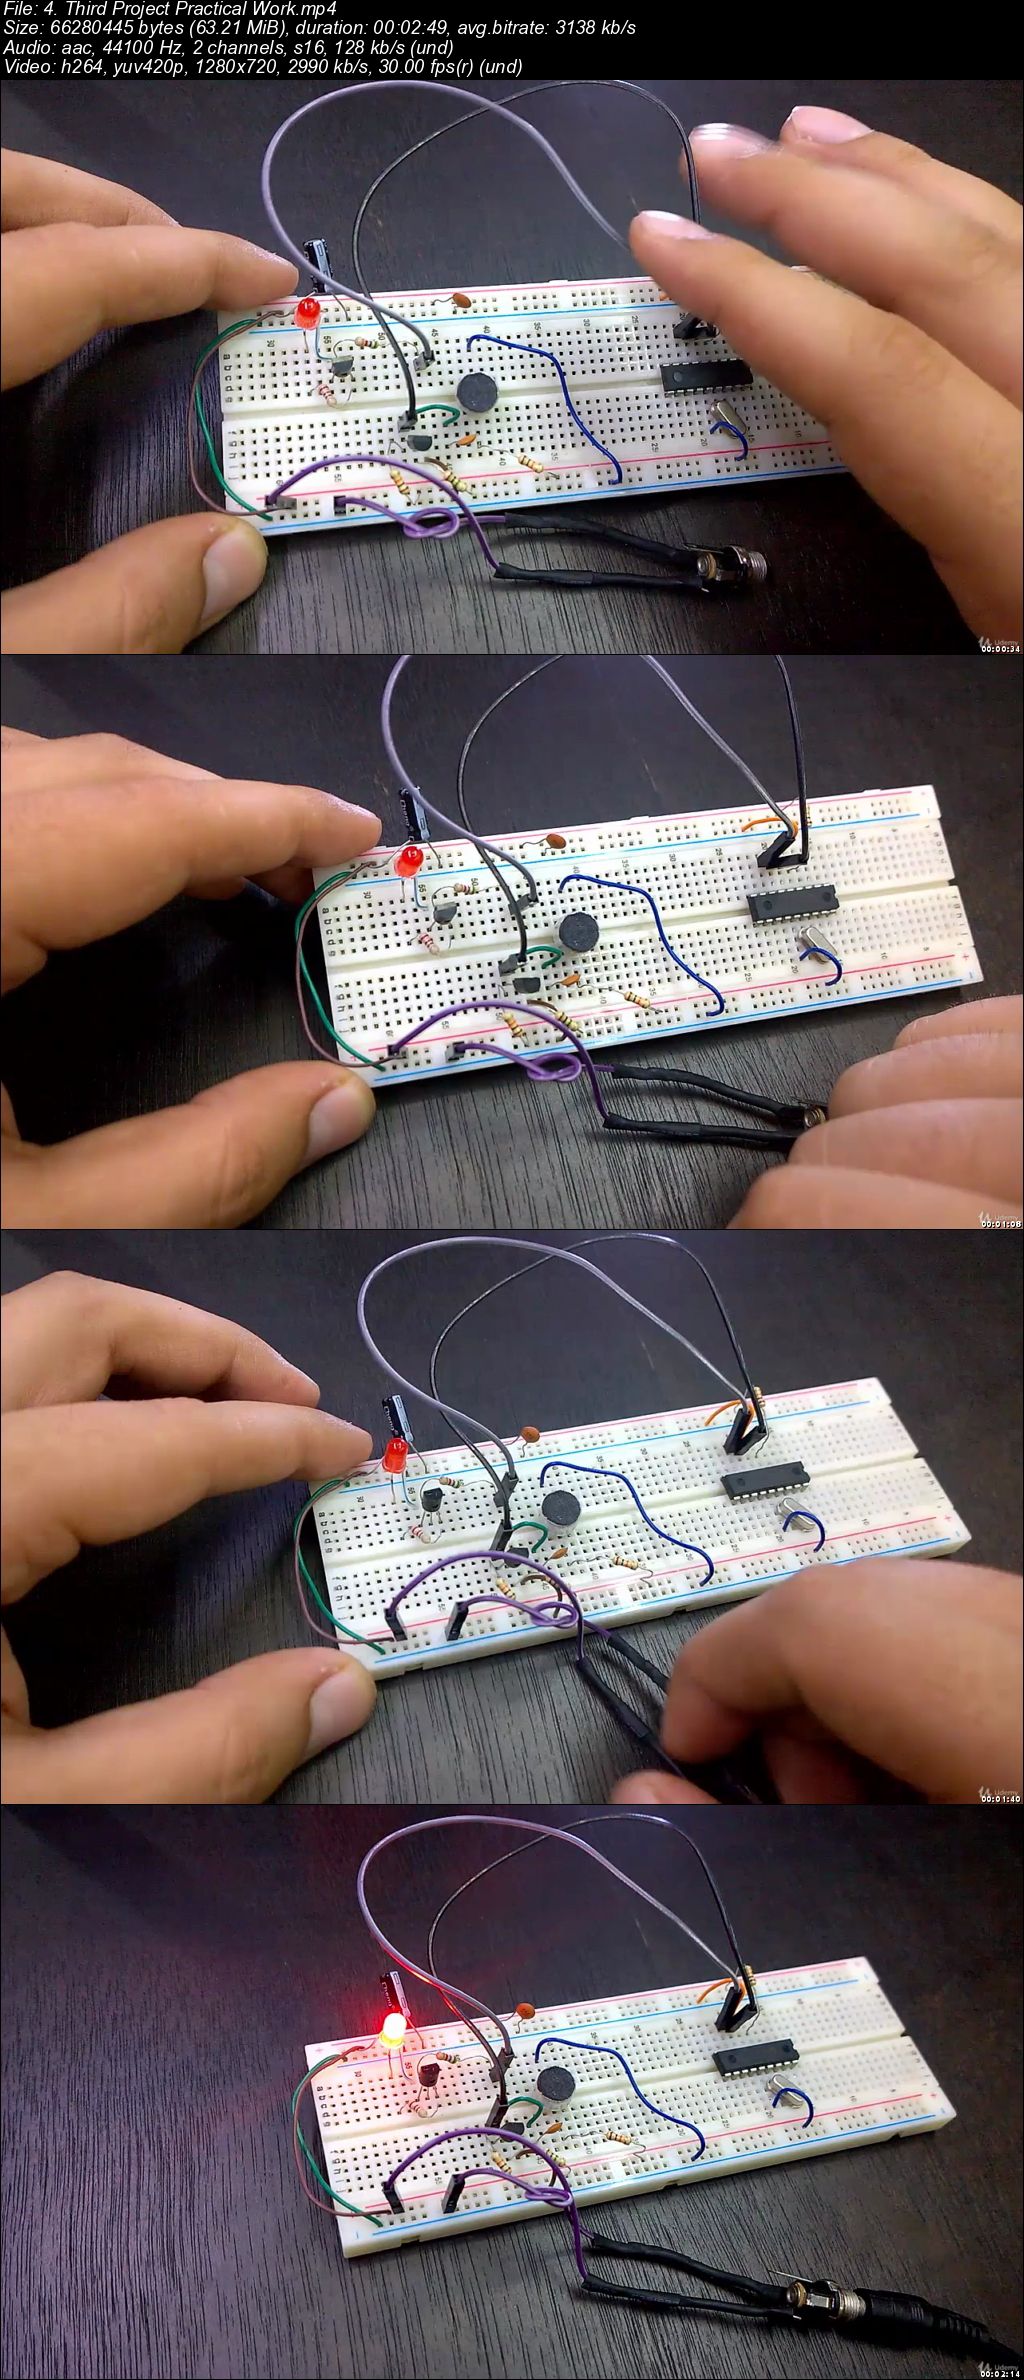
Build 9 PIC Microcontroller Engineering projects today!

0064ef8a.jpg


Build 9 PIC Microcontroller Engineering projects today!
.MP4 | Video: 1280x720, 30 fps(r) | Audio: AAC, 44100 Hz, 2ch | 3.78 GB
Duration: 7 hours | Genre: eLearning Video | Language: English

Learn by Practicing real world Projects to apply everything you have learned


What you'll learn

Connect different type of sensors and actuators to PIC Microcontroller
Interface different type of electronic elements with PIC Microcontroller.
Use sensors and actuators to make useful projects
Program, burn a code and wire PIC Microcontroller
Learn What are the right tools that you need to start making amazing projects
Learn What makes a great Microcontroller Project

Requirements

Basic Knowledge in Electronics Circuits
Basic Knowledge in Circuit Design
Basic Knowledge in C Language

Description

>>> Learning by theory and Simulation is only half the answer, but connecting, wiring and burning a code to an actual Microcontroller, not a simulated one is the other more important half, and this is what we will cover in this course, you will learn by making PIC Microcontroller Practical Projects. <<<

>>> Continues Updates <<<

More Than 55k STUDENTS on All of our Courses!!! THANK YOU!!!

Welcome to this course.

Learning By doing is what makes the difference between someone who learn and someone who applies what he learned

In this course you will get the chance to see PIC Microcontroller in Action, starting from simulation and moving forward to connecting the hardware and testing the code in real life.

This will help you make sure your circuit works as expected and you can witness yourself building your first PIC Microcontroller fully functional.

The most important thing to note here is that when a circuit work with you in simulation, that doesn't mean that it will work in real life, in more than 85% of the cases the simulated circuit doesn't work when you connect it.

What is the best way to Learn, you ask?

Learning by doing PIC Microcontroller Practical Projects is the learn by practice approach that I prefer

This approach allows you to not only master new PIC Microcontroller skills but also gain practical knowledge along the way.

Only a few people are satisfied with simulation, but if you want good results you must move on and hook up your circuit and test it out using real-life hardware parts.

I'm trying to help you gain real world practical experience in PIC Microcontroller, so let's start.

PIC Microcontroller: Garage Door System Ultrasonic Sensor

This guide will help you make a Garage Door System using Ultrasonic Sensor in a Step by Step Manner at home in no time.

This course will help you Make a Garage Door System System using Tools that you already dealt with to Make Your Life Easier and more secure, You can make that Garage Door System using Ultrasonic Sensor

Welcome to this course.

You will get a step by step tutorial on what needs to be done to get full control over any door that you want to add more security to and to make your life easier.

This is a course on interfacing Garage Door lock, LCD, Ultrasonic Sensor and other device with PIC Microcontroller to achieve the ultimate goal of creating that Garage Door System. It will give you the ability to make more higher level Projects.

You will know how to use the technology embedded in your Microcontroller to make your everyday life away much safer.


Motion Detector Interfacing with PIC Microcontroller

You will Be Able to detect motion and protect your home, work or any area using this PIC Microcontroller step by step

You will Be Able to detect motion and protect your home, work or any area using this PIC Microcontroller step by step

Who didn't face a situation in which You cam a cross a door and it opens by itself once it detect your presence, or installed a security system and wondered how it functions and how it detect a thief.

We all know that there is something called Motion detectors, but very few know the science behind it, so today in this course I will teach you the very basics of Motion Detectors and how to interface them with a Microcontroller and Program the system to fire alarm, turn a light or even display (A Thief is Detected), sky is your limit once you know how it works and how to interface it.

Do you want to Interface Motion Detector with PIC Microcontroller and have full control on how your system functions?

We are announcing our brand-new course Motion Detector Interfacing with PIC Microcontroller

HD Content that will take you in an informative journey to not only master the coding of Motion Detector but also the details of how motion detector work and the method we use, how it works, it's wiring diagram and how your code can handle the motion once it's detected.

What You will get in this course?

To know how to Interface Motion Detector with PIC Microcontroller and have full control on how your system functions?

To get familiar with Motion Detectors.

To Get Familiar with Coding and Interfacing Motion Detectors.

To Get Familiar with New Programming Techniques that will help you get the Most out of Your System.

Learn By Practicing, Practical Work?

Interface and Connect Motion Detector to PIC.

Send Output Signal to alarm, buzzer and LCD once the Motion is Detected .

Write a C program to Interface Motion Detector with PIC Microcontroller.

Understand the Working Principle behind the Method Used in this Course

If you take this course now, you can count on these three results in just a few hours!

PIC Microcontroller: Make an Electronic Door Lock System

This guide will help you make an Electronic Door Lock system in a Step by Step Manner at home in no time.

This guide will help you Make Electronic Door Lock using PIC Microcontroller in no Time

Welcome to Make Electronic Door Lock using PIC Microcontroller course.

This course will help you Make an Electronic Door Lock System using Tools that you already dealt with to Make Your Life Easier and more secure, You can make that Electronic Door lock using a keypad or a Computer via serial terminal and serial communication protocol.

You will get a step by step tutorial on what you need to do to get full control over any home, car door or any other door that you want to add more security too.

This is a course on interfacing Door lock, Computer, LCD, Keypad and other devices with PIC Microcontroller to achieve the ultimate goal of creating that electronic lock. It will give you the ability to make higher level Projects.

You will know how to use the technology embedded in your Microcontroller to make your everyday life away much safer.

Things You Will be introduced to in this Course:

Door lock an electronic one

LCD (Liquid crystal display)

Keypad 4*3 or 4*4

PIC Microcontroller

Wires, Resistors and other basic electronic stuff

Breadboard

Software that will be used in this Course:

MikroC Pro for writing the C code that will be used by PIC Microcontroller

Proteus For Simulation Purposes, we will use it to draw the schematic and test out the code before doing the practical part

At the end of this course, you will be able to Program PIC Microcontroller to control an electronic door lock and make it open or close using a number that you will enter via keypad, you will also display the entered data using LCD Display.

PIC Microcontroller Wireless Power Transmission

Make your own PIC Microcontroller Wireless Power Transmission Project and Learn the Principles behind Wireless Power

Make your own PIC Microcontroller Wireless Power Transmission Project and Learn the Principles behind Wireless Power

This Course will teach you how to Make your own PIC Microcontroller Wireless Power Transmission Project and light electronic components and devices with wireless power efficiently and effectively, This Guide will take you in a step by step manner to know what each component inside the wireless power transmission circuit is, and what it does and how to wire it up, starting with the winding coils and ending with things as simple as a resistor.

You will know what is the actual working principle of Wireless Power Transmission and how to use, interface and configure PIC Microcontroller correctly so that you can make your own PIC Microcontroller Wireless Power Transmission device.

After this course you will be able to make your own wireless power transmission device and the choice is yours to use it and apply it with any application that comes in your mind and I assure you that this can make your life easier, since all connections are explained in details.

Goal From This Course:

- Make your own PIC Microcontroller Wireless Power Transmission Project and Learn the Principles behind Wireless Power

What you will learn in this Course

- How to Connect PIC Microcontroller with other electronic components to turn it to a wireless power transmitter.

- How to interface different type of electronic elements with PIC Microcontroller.

- How PIC Microcontroller Can make your life easier.

- How to Program, burn a code and wire PIC Microcontroller and Coils.

- What are the right tools that you need to start making amazing projects.

Dot Matrix LED Display Interface with PIC Microcontroller

You will enter Dot Matrix LED Display world of wonders, Write Anything and Make it shine using A Matrix of LEDs

You will enter Dot Matrix LED Display world of wonders, Write Anything and Make it shine using A Matrix of LEDs

A dot-matrix display is a display device used to display information on machines, clocks, railway departure indicators and in this course you will learn it's internal structure and how it functions, as well as how to interface it to a Microcontroller and Write codes to display letters, numbers and even sentences

Do you want to Go to the next level in Displaying Data using Dot Matrix LED Display?

We are announcing our brand-new course Dot Matrix LED Display Interface with PIC Microcontroller

HD Content that will take you in an informative journey to not only master the coding of Dot Matrix with PIC Microcontroller, but also learn the very basics of Dot Matrix LED Display internal structure, how it really works, it's parts and how your code is handled by it.

What You will get in this course?

To know how Dot Matrix function and learn about it's internal structure.

To get familiar with interfacing Dot Matrix display to PIC Microcontroller.

To know how to display numbers and letters.

To know how to move numbers, letters and words on Dot Matrix.

Learn By Practicing, Practical Work?

Interface and Connect Dot Matrix to PIC and Turn on a Column

Display a Letter on 5*7 Matrix Display

Write a C program to display the letters from A-Z on 5*7 Matrix Display

Write a C program to display a Moving Word "Your Name" on 5*7 Matrix Display

If you take this course now, you can count on these three results in just a few hours!

LCD Interfacing with PIC Microcontroller

You will enter LCD Display world of wonders, Write Anything and Make it shine using LCD (Liquid Crystal Display)

You will enter LCD Display world of wonders, Write Anything and Make it shine using LCD (Liquid Crystal Display)

LCD Display is a display device used to display information on clocks, calculators, watches and other devices and in this course you will learn it's internal structure and how it functions, as well as how to interface it to a Microcontroller and Write codes to display letters, numbers and sentences.

Do you want to Go to the next level in Displaying Data using LCD Display?

We are announcing our brand-new course LCD Interfacing with PIC Microcontroller

HD Content that will take you in an informative journey to not only master the coding of LCD Display with PIC Microcontroller, but also learn the very basics of LCD Display internal structure, how it works, it's parts, it's wiring diagram and how your code is handled by it.

What You will get in this course?

To know how LCD Display function and learn about it's internal structure.

To get familiar with interfacing LCD Display to PIC Microcontroller.

To know how to display numbers and letters.

To know how to move numbers, letters and words on LCD Display.

Learn By Practicing, Practical Work?

Interface and Connect LCD Display to PIC.

Display a Letter on LCD Display.

Write a C program to display Words and Sentences on LCD Display.

Write a C program to move Words and Sentences on LCD Display.

If you take this course now, you can count on these three results in just a few hours!


PIC Microcontroller: Learn By Building Practical Projects

Learn PIC Microcontroller By Creating Real Life Practical Projects with your own Hands in this Step By Step Guide

Learning by theory and Simulation is only half the answer, but connecting, wiring and burning a code to an actual Microcontroller, not a simulated one is the other more important half, and this is what we will cover in this course, you will learn by making PIC Microcontroller Practical Projects.

Learning By doing is what makes the difference between someone who learn and someone who applies what he learned

In this course you will get the chance to see PIC Microcontroller in Action, starting from simulation and moving forward to connecting the hardware and testing the code in real life.

This will help you make sure your circuit works as expected and you can witness yourself building your first PIC Microcontroller fully functional.

The most important thing to note here is that when a circuit work with you in simulation, that doesn't mean that it will work in real life, in more than 85% of the cases the simulated circuit doesn't work when you connect it.

What is the best way to Learn, you ask?

Learning by doing PIC Microcontroller Practical Projects is the learn by practice approach that I prefer

This approach allows you to not only master new PIC Microcontroller skills but also gain practical knowledge along the way.

Only a few people are satisfied with simulation, but if you want good results you must move on and hook up your circuit and test it out using real-life hardware parts.

I'm trying to help you gain real world practical experience in PIC Microcontroller, so let's start.

Who this course is for:

Anyone with a curiosity for making electronics
Anyone wants to move from Simulation to Practical Work
Anyone intersted in building real things
People with no experience in electronics
People with an intermediate knowledge of electronics
Children over 14 years old

0064ef8c.jpg


...
 
Artificial Intelligence in 3 Hours

0064f272.png


Artificial Intelligence in 3 Hours
MP4 | Video: AVC 1280x720 | Audio: AAC 44KHz 2ch | Duration: 3 Hours | 814 MB
Genre: eLearning | Language: English

What do self-driving cars, face recognition, web search, industrial robots, missile guidance, and tumor detection have in common? They are all complex real-world problems being solved with applications of intelligence (AI). This course provides you with a broad understanding of the basic techniques for building intelligent computer systems and an understanding of how AI is applied to problems.

In this course, you will progress to advanced AI techniques and concepts, and work on real-life datasets on how training works, model evaluation and how to process their first dataset in Supervised and Unsupervised Learning. You will be introduced to neural networks, machine Learning, and Deep Learning. You will understand the concept of Artificial Intelligence and how it is applicable in the enterprise context. You will then cover the basics of machine learning relate how Deep Learning and AI fits with them.

Finally, you will see understand, Deep Reinforcement Learning and will be able to implement AI in your applications.

0064f274.jpg


...
 
AWS Firecracker First Look

0064f25a.jpg


AWS Firecracker First Look
MP4 | Video: AVC 1280x720 | Audio: AAC 44KHz 2ch | Duration: 32M | 81 MB
Genre: eLearning | Language: English

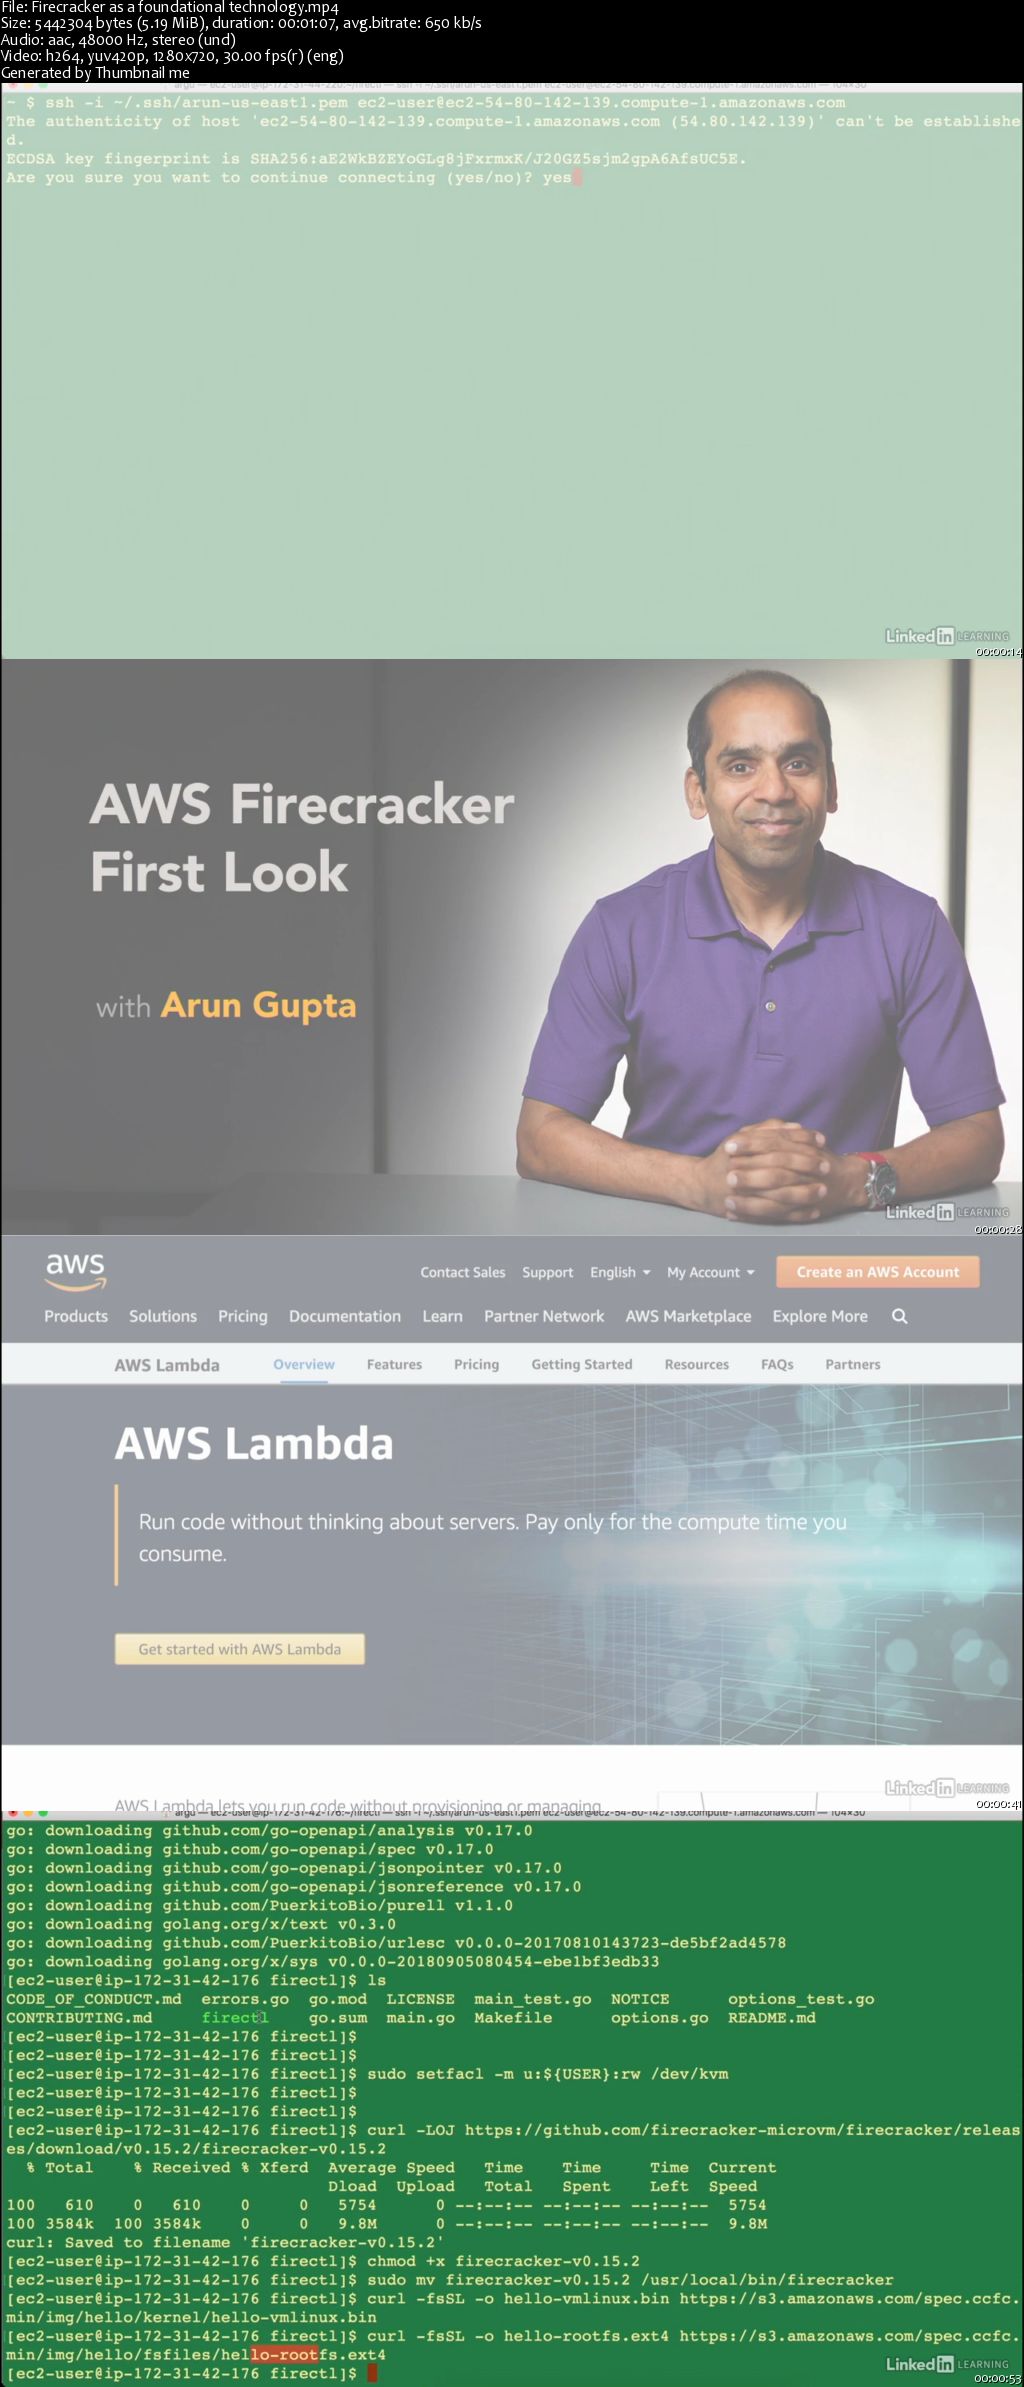
AWS Firecracker is an exciting new tool for managing virtual machines for serverless applications. It introduces a new approach-microVMs-that can solve a lot of problems for those tasked with optimizing serverless architectures. In this course, learn what this open-source virtual machine manager (VMM) is all about. Discover how Firecracker can work together with both Lambda and Fargate, how to get up and running with a basic Firecracker deployment, and how to create your own microVM and query it using a REST API. Plus, learn how containerd works with Firecracker to create a lightweight container deployment service.

0064f25d.jpg


...
 
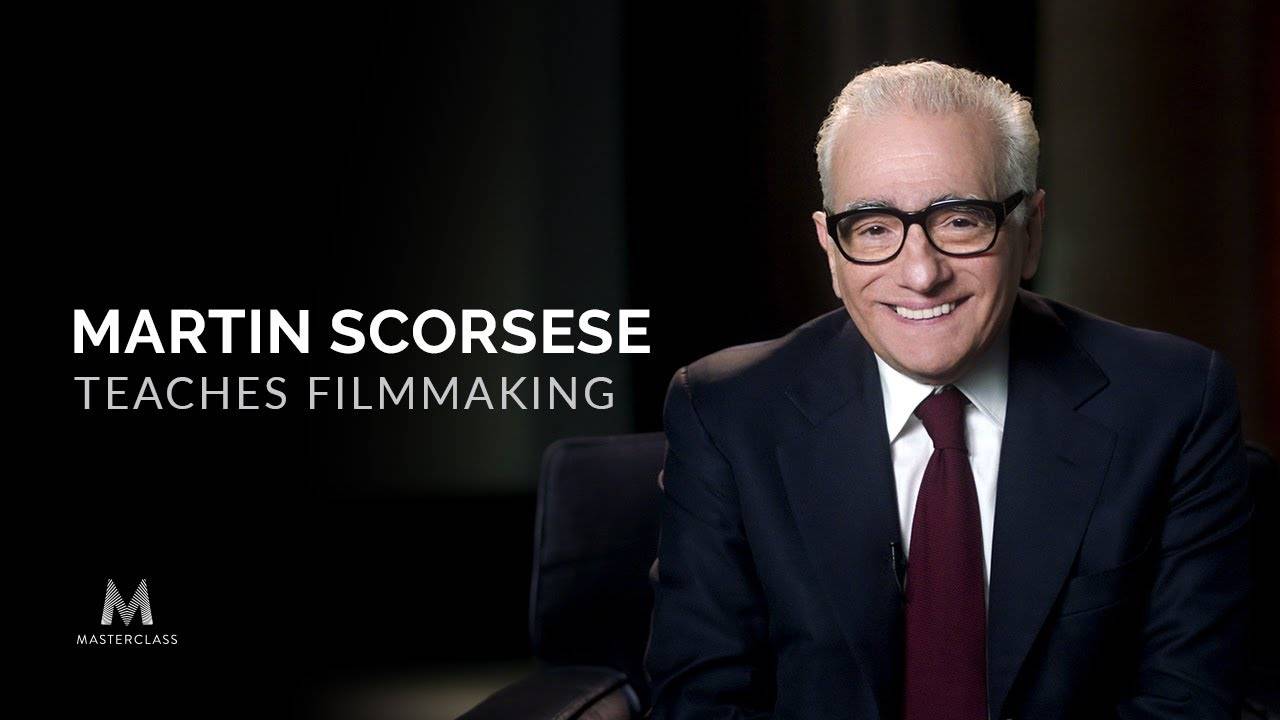
MasterClass - Martin Scorsese Teaches Filmmaking

0054d7a1.jpg


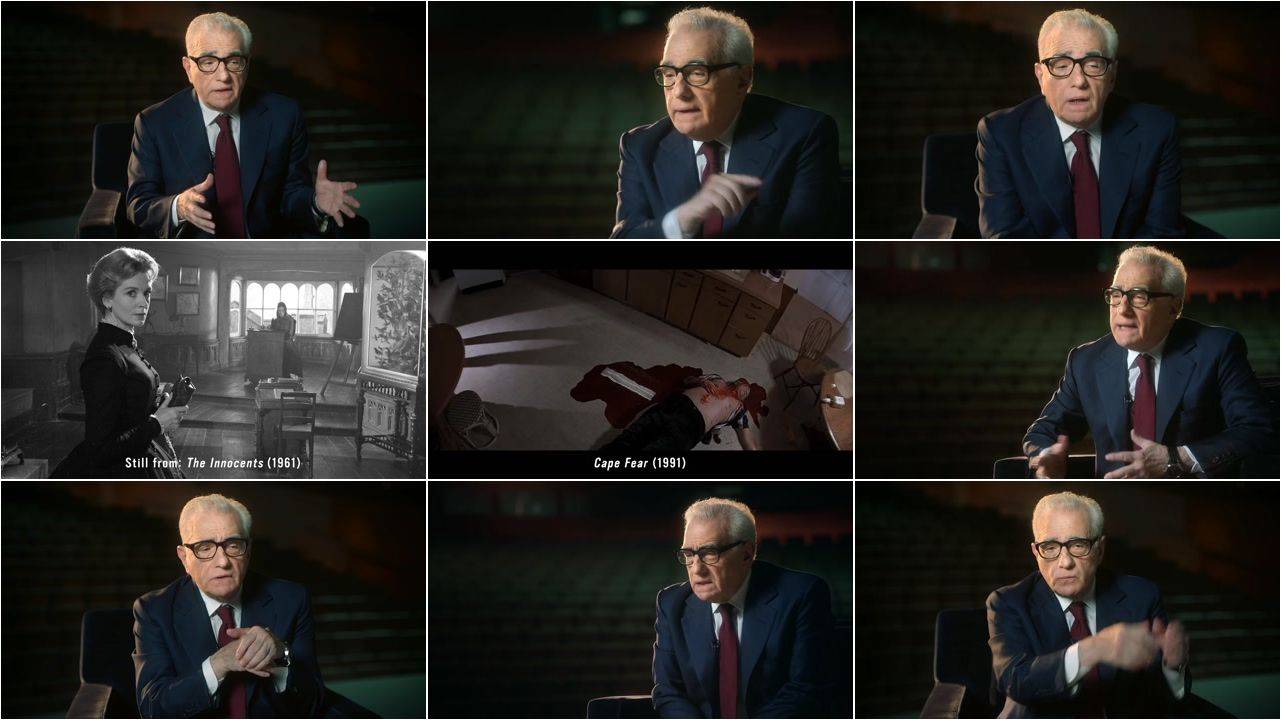
MasterClass - Martin Scorsese Teaches Filmmaking
.MKV, AVC, 1000 kbps, 1280x720 | English, AAC, 128 kbps, 2 Ch | 4.5 hours | + PDF Workbook | 2 GB

Study with Scorsese

Martin Scorsese drew his first storyboard when he was eight. Today he's a legendary director whose films-from Mean Streets to The Wolf of Wall Street-have shaped movie history. In his first-ever online class, the Oscar winner teaches his approach to filmmaking, from storytelling to editing to working with actors. He deconstructs films and breaks down his craft, changing how you make-and watch-movies.

Lesson Plan
01. Introduction
Meet your new instructor: Oscar-winning director Martin Scorsese. Martin explains the goals of his MasterClass and talks about the importance of staying true to yourself on your filmmaking journey.

02. Beginnings
Martin explains how he realized that filmmaking was his true calling in life. He also talks about the importance of watching the old masters of cinema, from Orson Welles to Max Ophüls.

03. Martin's Education
Martin teaches you to appreciate the value of every shot using the lessons he learned from his tough-but inspirational-professor at NYU.

04. Discovering Your Process
There is no set process for filmmaking, but in this lesson Martin offers you a glimpse of what his own process looks like. Learn to let your film take on its own life and always remain open to unexpected changes that could add value to a scene.

05. Channeling Your Influences
Martin encourages you to take inspiration from the work of other directors and discusses the significance of referencing other films in your own work.

06. Developing Your Style
Martin teaches the tenets of visual literacy and elaborates on the hallmarks of his style, including previsualization with storyboards, the use of voice-over, and the influence of documentary on his feature films.

07. Directing & Technology
Martin connects the atmosphere in which he first started making movies to the current climate of filmmaking, teaching you how technological advances can both help and hinder your creative process as a director.

08. Finding the Story
Martin teaches you how to see the inherently cinematic elements of your daily life and how to identify the themes and stories you are most drawn to.

09. Working With The Script
Martin shows you his process for reading scripts and how he goes about forming ideas. He also teaches you important lessons regarding research and explains how to further develop your script in rehearsal.

10. Casting Actors
Martin explains the significance of casting and offers his wisdom on how to interact with your potential actors, both individually and as part of a group. He also shares which performances he uses as models and what he looks for in an actor.

11. Directing Actors
Martin teaches you the importance of getting in front of the camera as a director. You'll also learn how to build a trusting relationship with your actors, how to make time for them to experiment, and when to stop talking and start to shooting.

12. Locations
Martin shows you what you should look for when scouting locations and how to turn your location limitations into advantages.

13. Production Design
Martin teaches you how to reflect the themes of a story through production design. Learn how to bring the world of your film to life and when to take artistic license when depicting historical periods.

14. Costume Design
Learn how to let character dictate costume and how to collaborate with actors to find the perfect clothing for roles.

15. Understanding Cinematography
Martin teaches you how to work with your cinematographer and tells you the best way to learn-by asking your DP questions.

16. Shooting Low-Budget Films
Discover Martin's experience with low-budget filmmaking collaborating with cinematographer Michael Ballhaus. Learn how to creatively get the shots you need, even under tight budget and schedule constraints.

17. Working With Crew
Learn the differences between working with a small, core crew and a big one, and how to empower individual members of your crew.

18. Editing: Part 1
Martin reveals the magic of the edit room, and shares the qualities you should look for in an editor. He also prepares you for the continuous evolution that is intrinsic to the editing process.

19. Editing: Part 2
Martin teaches the importance being in sync with your editor and expounds on a valuable lesson: You may have to cut the scenes you love.

20. Color
Martin gives you a lesson on the historic use of color in cinema and explains his use of color in his own films.

21. Choosing Black and White
Martin discusses the evolution of black and white film and how he arrived at the decision to make Raging Bull in black and white.

22. The Importance of Sound Design
Martin teaches you his approach to sound design: enter the editing room with the intention of cutting away sound instead of adding it. Learn how to create atmosphere with sound design, as well as how to use sound to solve editing problems.

23. The Power of Music
Martin shows how music serves as part of the spiritual lives of his characters and talks about the films whose music influenced him, from director Kenneth Anger's independents to the traditional scores of Hollywood films.

24. Promoting Your Film
Martin recommends promotional strategies and teaches you how to identify and target your film's potential audience.

25. Scene Discussion: Barry Lyndon
Martin analyzes the first scene of Stanley Kubrick's Barry Lyndon. Watch and learn as Martin breaks down the use of natural lighting and voice-over. Discover how every image in the scene embodies the structure of an entire historical moment.

26. Scene Discussion: Out of the Past
Martin analyzes the visual language of this scene from Jacques Tourneur's Out of the Past, explaining the director's use of light and shadow. Martin discusses camera tilts and Robert Mitchum's performance in this scene.

27. Scene Discussion: Jules and Jim
Martin dissects the voice-over in François Truffaut's film, explaining how it pushes the story forward and gives the audience copious information about the characters. Martin also analyzes the composition of frames and the effect of the music.

28. Scene Discussion: Vertigo
Martin discusses color and background action in this scene from Alfred Hitchcock's Vertigo. Learn how point-of-view shots and specific angles contribute to the emotional power of the scene.

29. Scene Discussion: 8 1/2
Martin analyzes Federico Fellini's choices in composition and lighting in this scene from 8 1/2, and shows how these impact our understanding of the protoganist. Watch and learn as Martin breaks down camera movement and the blocking of actors.

30. Finding Your Way
In his parting words of wisdom, Martin encourages you to find your own way and never lose sight of the creative spark that inspires you on each film.

More Info

0054d7a2.jpg

0054d7a3.jpg


...
 
Zurück
Oben Unten