Published 07/2022
MP4 | Video: h264, 1280x720 | Audio: AAC, 44.1 KHz, 2 Ch
Genre: eLearning | Language: English + srt | Duration: 162 lectures (49h 20m) | Size: 46 GB
Step by step we will learn how to create the Ornithopter from the Dune movie using Blender and substance painter
What you'll learn
Learn How to model the Ornithopter from start to finish with all steps covered
Learn how to unwrap inside Blender, we will unwrap all the parts.
Learn how to use UDIMs to create multiple UVs for one object to get high resolution result
Learn how to use Substance Painter to texture the Ornithopter
Requirements
A basic information about how to use Blender
Description
Hello everyone, my name is Marwan Hussein, and I welcome you to my new fantastic course.
How to create The Dune Ornithopter with Blender and Substance Painter from start to finish.
A lot of Blender users watch movies on TVs or on their computes, and most of them love to create something they liked on that screen, even me when I watch something on the screen I tell myself, I like to create that thing, it's nice challenging feeling the artist feels when he sees something interesting on the screen.
When I saw The Dune movie I loved a lot of stuff there, the thing I loved the most is the 2 set Ornithopter for the Fremen, at that time I decided to create this amazing artwork, it was very challenging, and not so quite easy to create but I did it in the end.
It was really nice journey of modeling and texturing ext...
When I completed the design I immediately started recording this course it was so challenging course I admitted, but the result was very nice and beautiful.
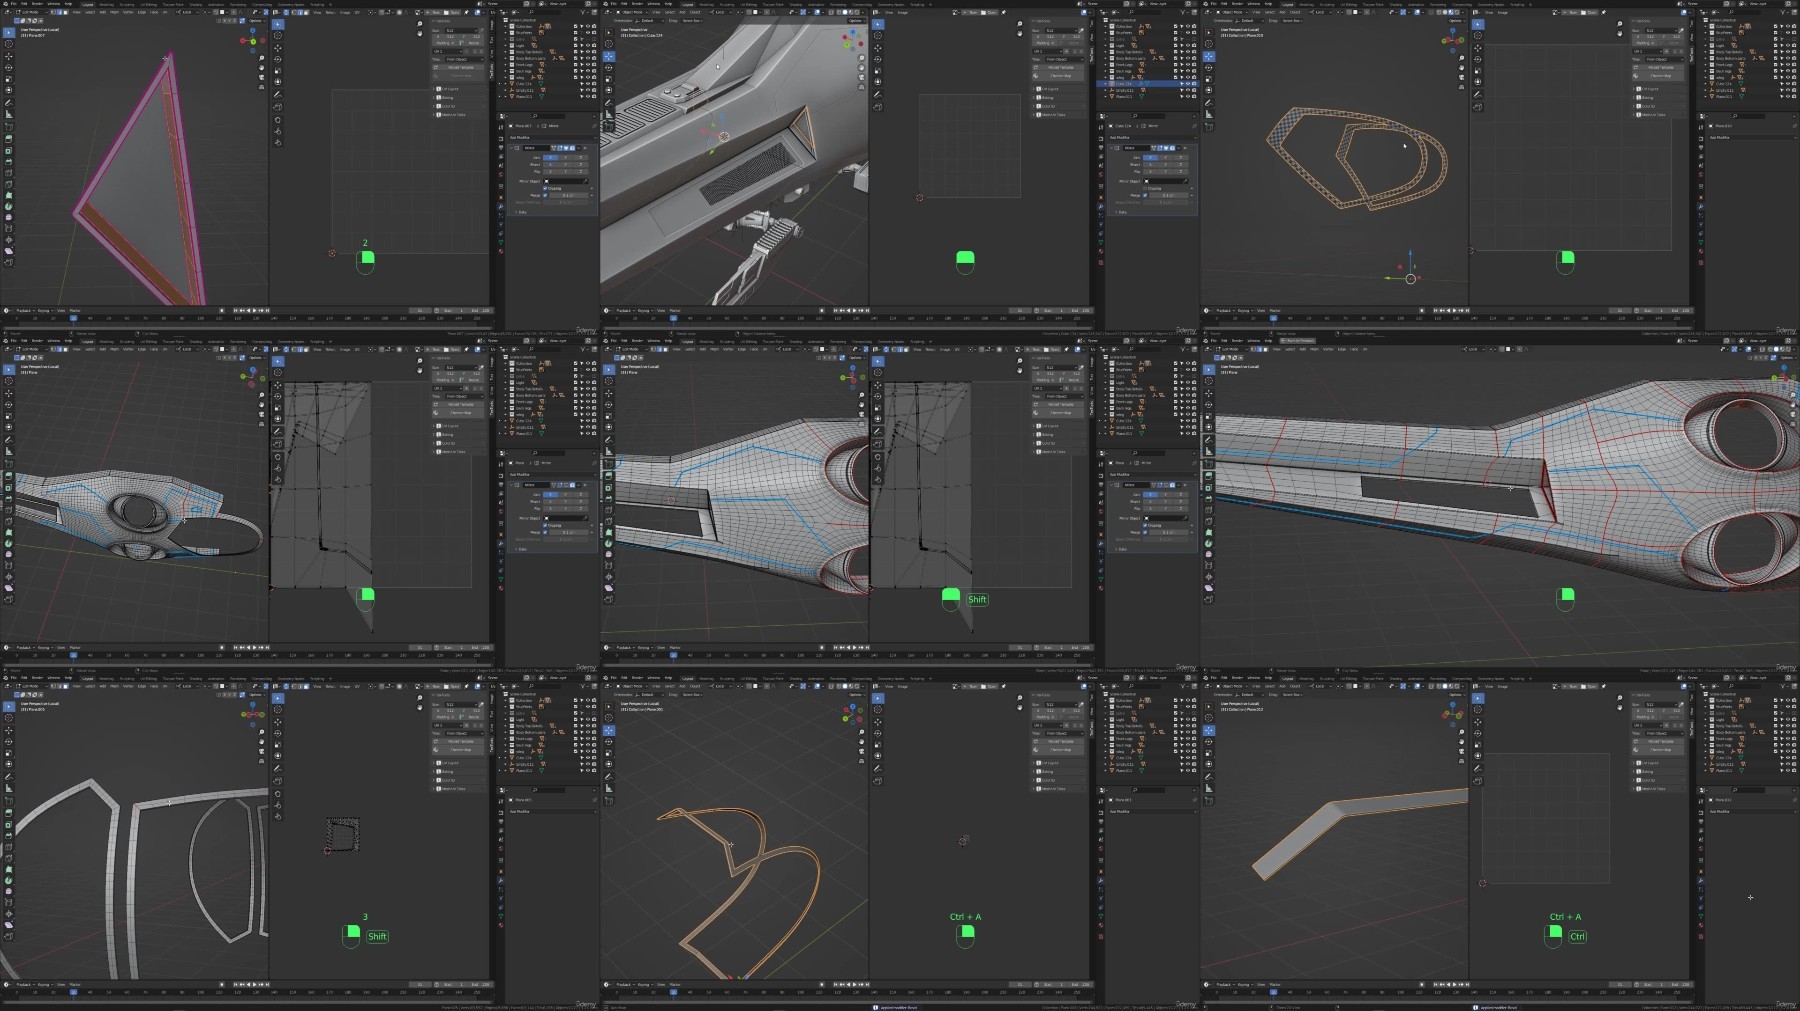
In this course we will cover modeling, we will model the Ornithopter from start to finish, I got all the Blueprint images ready in the Project folder section, download them from there to start the modeling journey.
In the modeling section, we will learn a lot of stuff, at the end of the day we want a clean and fast way to create all the Ornithopter parts so we need a good technique to achieve that, so that is what I'm about to teach you in that section.
After the modeling section, we will learn step by step how to unwrap all the parts, this section is a very good section for the student who has some problems understanding how the UV is created, we will create a lot of parts step by step until you master the unwrapping side.
When we complete unwrapping all the parts, we will learn how to use UDIMs to create multiple UVs for one object to get very high-resolution results, and that's very helpful for the close camera shots and for the artist who cares about the details.
Now the Dune Ornithopter is ready to take out of Blender to Substance Painter, and there we will learn step by step how to texture the 3D model there and how to take the advantage of the UDIMs to create highly details UV textures.
We are not finished there, after all of that we will send the model back to Blender and we will learn how to import all the UV textures in the correct way.
After the textured side is finished we will use the Armature ( the Bone system ) to rig the Ornithopter, we will create bones for the wings and for the legs, and for the body, we will add all the necessary bones to make the Ornithopter ready to fly or to bose it to take a nice shot, all of that we will do it step by step.
After the rigging section now we are ready to render the scene, but we need an environment to put the Ornithopter in, so we will learn how to create a nice environment to achieve that, we will use a nice technique to tile the texture without you notice the image repetition.
After we take the shots we will send the render result to photoshop to make some post-processing, and we will use the compositor as well to add the final touch for the next rendered images, which means we will learn how to post-processing the image in Blender and out of Blender.
In the end, I hope you find this course useful and entertaining, my name is Marwan Hussein and I hope you get the benefit from this course and all my courses.
Who this course is for
This course for intermediate Blender users who loves to create challenging projects
Homepage
Recommend Download Link Hight Speed | Please Say Thanks Keep Topic Live
Links are Interchangeable - No Password - Single Extraction