Solidworks Beginners Course - Learn From An Expert!
Published 12/2022
MP4 | Video: h264, 1280x720 | Audio: AAC, 44.1 KHz
Language: English
| Size: 5.15 GB[/center]
| Duration: 5h 31m
Learn from Certified SolidWorks Expert (CSWE), Award Winning Teacher and a Professional UK Engineer
What you'll learn
A Simplified SolidWorks Modelling Process To Help You Build Any Part No Matter How Complex Its Geometry
How To Build A Range Of Realistic Virtual Models Within SolidWorks
Create A Working Steam Engine Assembly With Realistic Motion
Develop A Technical Drawing Pack From Your Models and Assemblies
Edit and Create Parts In The Assembly Mode
Requirements
No experience needed, you will learn everything you need in this course.
Access to SolidWorks 2018 or higher.
Description
SOLIDWORKS expert teaches you how to save time and money on your path to becoming a SOLIDWORKS Professional.Learn the skills of professional SOLIDWORKS users.We will show you a tried and tested process to make parts in SOLIDWORKS that will empower you to quickly make your own designs easily and effortlessly.LEARN BY MODELLING REAL-WORLD EXAMPLES, NOT USELESS WIDGETS.Our previous SolidWorks clients include professionals from:Rolls RoyceAirbusGE AviationRenishawJaguar Land-RoverGKN AerospaceSaint GobainMoogYou Will Build A Working Steam Engine!The little Steam Engine allows you to start modelling very basic parts, to allow you to get to grips with the fundamental skills you need without overload, before building up into more complexity one model at a time. Each part adds a little more complexity than the previous one, finally resulting in the creation of the Flywheel. You will then mate the parts together, and create edits, in the assembly mode before making a new contextual part from the assembly. Finally, you will be introduced to creating technical drawings.This is really the perfect starting point to nail the basics of SOLIDWORKS.Why you need this course:15 years ago I decided to apply for a Design Engineer job for a small rural company in the heart of England, UK. The job advert stated that "experience in designing with SOLIDWORKS was essential".I had never used SOLIDWORKS..so I did what most would do - I got a free 30-day trial and went to YouTube to learn. I slowly and painfully followed a sped-up tutorial that had no commentary, built an alloy wheel, took a screenshot and sent it in with my application form stating that I had some experience using SOLIDWORKS.It worked and I was offered the job (I also had lots of experience working as a production engineer so didn't completely wing it!).Day 1 of being a SOLIDWORKS Design Engineer. "Hi, can you quickly model this block and put an M10 through hole in the middle" came the request from my supervisor. I couldn't do it. I was found out.REASON #1Following sped-up videos on YouTube may get you some results, but they do not teach you how to use the SOLIDWORKS software for YOURSELF.Although disappointed, the company paired me with another designer for a few weeks to get me trained quickly (and cheaply). He built the block with a hole in less than 2 minutes.I was trained to use SOLIDWORKS the same way as the other 4 designers in the team. This was okay but common issues kept coming up: editing parts was troublesome, persistent issues with part relationships and mates in assemblies and creating technical drawings often took longer than designing the parts. I assumed this was just how SOLIDWORKS was.REASON #2Too many SOLIDWORKS users learn poor techniques from people who can't use the software properly themselves!12 months later, I landed a new job as a college lecturer in engineering (I also had previous experience working as a lecturer). Part of my new job was to teach 16-18-year-olds how to use SOLIDWORKS. No problem.A colleague then introduced me to the SOLIDWORKS certification program. "I will smash this" I confidently said and sat the CSWA (Certified SOLIDWORKS Associate) exam. I failed it. Oops.REASON #3Poor SOLIDWORKS techniques will cause persistent problems. I can teach you an effective and efficient technique that minimises errors and simplifies the modelling process.I realised the troubles I had with SOLIDWORKS weren't due to the software but because I had been taught some very poor techniques. How could I teach anyone if I couldn't pass the basic exam? From this moment, I decided that I would relearn SOLIDWORKS from the ground up. Now I have:15 years of teaching experience2500 students successfully taught100s of professional engineers taught8 SOLIDWORKS exams passed, including the CSWE (Certified Expert)Along this path, I have realised that there are some key ingredients that are essential to building an understanding of how to be effective in SOLIDWORKS:Application: Understanding how the software and its functions work enables you to select and use the most appropriate tools.Process: Having a clear process to follow enables you to effectively break down the modelling task into a set of micro-tasks, no matter how complex or simplistic your model's geometry is.Intent: Building in design intent to gain maximum control and flexibility with your geometry will level up your modelling abilities to make you a more efficient and effective SOLIDWORKS user.REASON #4My vast experience in delivering SOLIDWORKS courses to thousands of people has enabled me to develop a process that anyone can follow to create complex geometry.This is the course I wish I had when I started to learn SOLIDWORKS.Sign Up NOW
Overview
Section 1: Introduction
Lecture 1 Introduction - Welcome To My Course
Lecture 2 About This Course
Lecture 3 About The Tutor
Lecture 4 What Is In This Course
Lecture 5 Learning Objectives
Lecture 6 Course Scope
Lecture 7 Who Is This Course For?
Lecture 8 Software Access
Lecture 9 Using This Course
Section 2: SolidWorks Theory - Optional (but very useful)
Lecture 10 Introduction To SolidWorks Software
Lecture 11 Introduction To SolidWorks Part Models
Lecture 12 Introduction To SolidWorks Assembly Models
Lecture 13 Introduction To SolidWorks Technical Drawings
Lecture 14 Interaction Between Parts, Assemblies and Drawings
Section 3: SolidWorks Models and Drawings
Lecture 15 Technical Drawings of Steam Engine
Lecture 16 Complete Steam Engine Models and Assembly
Section 4: Modelling Process
Lecture 17 Modelling Process
Section 5: Part 1: Big End Journal Part Modelling
Lecture 18 Introduction - Big End Journal - SOLIDWORKS Training L1
Lecture 19 Reading the Drawing - Big End Journal - SOLIDWORKS Training L1
Lecture 20 Creating a Modelling Plan - Big End Journal - SOLIDWORKS Training L1
Lecture 21 Setting the Measurement System - Big End Journal - SOLIDWORKS Training L1
Lecture 22 Starting a New Planar Sketch - Big End Journal - SOLIDWORKS Training L1
Lecture 23 Using the Origin - Big End Journal - SOLIDWORKS Training L1
Lecture 24 Drawing a Circle - Big End Journal - SOLIDWORKS Training L1
Lecture 25 Adding Smart Dimensions - Big End Journal - SOLIDWORKS Training L1
Lecture 26 Extrude Boss Base Feature - Big End Journal - SOLIDWORKS Training L1
Lecture 27 Chamfer Feature - Big End Journal - SOLIDWORKS Training L1
Lecture 28 Apply a Material to the Part - Big End Journal - SOLIDWORKS Training L1
Lecture 29 Evaluate the Mass - Big End Journal - SOLIDWORKS Training L1
Lecture 30 Save the Part - Big End Journal - SOLIDWORKS Training L1
Lecture 31 Outro - Big End Journal - SOLIDWORKS Training L1
Section 6: Part 2: Crank Shaft Part Modelling
Lecture 32 Introduction - Crank Shaft - SOLIDWORKS Training L1
Lecture 33 Reading the Drawing - Crank Shaft - SOLIDWORKS Training L1
Lecture 34 Creating a Modelling Plan - Crank Shaft - SOLIDWORKS Training L1
Lecture 35 Creating the Sketch and Extrude - Crank Shaft - SOLIDWORKS Training L1
Lecture 36 Material, Mass and Save - Crank Shaft - SOLIDWORKS Training L1
Lecture 37 Outro - Crank Shaft - SOLIDWORKS Training L1
Section 7: Additional SolidWorks Key Skills
Lecture 38 Edit Sketch - Dimensions - SOLIDWORKS Training L1
Lecture 39 Edit Sketch - Change Shape - SOLIDWORKS Training L1
Lecture 40 Edit Sketch - Delete Profile - SOLIDWORKS Training L1
Lecture 41 Edit Sketch - Trim Entities - SOLIDWORKS Training L1
Lecture 42 Edit Feature - SOLIDWORKS Training L1
Lecture 43 Adding and Deleting Sketch Relations - SOLIDWORKS Training L1
Lecture 44 Rotate Model - SOLIDWORKS Training L1
Lecture 45 Zoom in and Out - SOLIDWORKS Training L1
Lecture 46 Moving the part around - SOLIDWORKS Training L1
Section 8: Part 3: Crank Shaft Bush Part Modelling
Lecture 47 Introduction - Crank Shaft Bush - SOLIDWORKS Training L1
Lecture 48 Reading the Drawing - Crank Shaft Bush - SOLIDWORKS Training L1
Lecture 49 Creating a Modelling Plan - Crank Shaft Bush - SOLIDWORKS Training L1
Lecture 50 First Sketch and Extrude - Crank Shaft Bush - SOLIDWORKS Training L1
Lecture 51 Starting a New Face Sketch - Crank Shaft Bush - SOLIDWORKS Training L1
Lecture 52 Second Sketch and Extrude - Crank Shaft Bush - SOLIDWORKS Training L1
Lecture 53 Hidden Detail Line on a Drawing - Crank Shaft Bush - SOLIDWORKS Training L1
Lecture 54 Third Sketch and Cut Feature - Crank Shaft Bush - SOLIDWORKS Training L1
Lecture 55 Adding Chamfers - Crank Shaft Bush - SOLIDWORKS Training L1
Lecture 56 Apply a Material, Evaluate Mass - Crank Shaft Bush - SOLIDWORKS Training L1
Lecture 57 Save the Part - Crank Shaft Bush - SOLIDWORKS Training L1
Lecture 58 Outro - Crank Shaft Bush - SOLIDWORKS Training L1
Section 9: Part 4: Piston Part Modelling
Lecture 59 Introduction - Piston - SOLIDWORKS Training L1
Lecture 60 Reading the Drawing - Piston - SOLIDWORKS Training L1
Lecture 61 Creating a Modelling Plan - Piston - SOLIDWORKS Training L1
Lecture 62 Creating and Saving the Model - Piston - SOLIDWORKS Training L1
Lecture 63 Outro - Piston - SOLIDWORKS Training L1
Section 10: Part 5: Connecting Rod Part Modelling
Lecture 64 Introduction - ConRod - SOLIDWORKS Training L1
Lecture 65 Reading the Drawing - ConRod - SOLIDWORKS Training L1
Lecture 66 Creating a Modelling Plan - ConRod - SOLIDWORKS Training L1
Lecture 67 Body Dual Extrusion - ConRod - SOLIDWORKS Training L1
Lecture 68 The Measure Tool - ConRod - SOLIDWORKS Training L1
Lecture 69 Cut a Flat onto a Round Face - ConRod - SOLIDWORKS Training L1.
Lecture 70 Dimensioning a Circular Sketch - ConRod - SOLIDWORKS Training L1
Lecture 71 Adding Manual Sketch Relations - ConRod - SOLIDWORKS Training L1
Lecture 72 Cutting the Hole - ConRod - SOLIDWORKS Training L1
Lecture 73 Adding Chamfers - ConRod - SOLIDWORKS Training L1
Lecture 74 Material, Mass and Save - ConRod - SOLIDWORKS Training L1
Lecture 75 Outro - ConRod - SOLIDWORKS Training L1
Section 11: Part 6: Crank Part Modelling
Lecture 76 Introduction - Crank - SOLIDWORKS Training L1
Lecture 77 Reading the Drawing - Crank - SOLIDWORKS Training L1
Lecture 78 Creating a Modelling Plan - Crank - SOLIDWORKS Training L1
Lecture 79 Creating the Material Blank - Crank - SOLIDWORKS Training L1
Lecture 80 Positioning and Cutting Centre Hole - Crank - SOLIDWORKS Training L1
Lecture 81 Positioning and Cutting Top Hole - Crank - SOLIDWORKS Training L1
Lecture 82 Side Cut-outs with Relationships - Crank - SOLIDWORKS Training L1
Lecture 83 Adding Radius - Crank - SOLIDWORKS Training L1
Lecture 84 Adding Chamfers - Crank - SOLIDWORKS Training L1
Lecture 85 Sketching on a Plane - Crank - SOLIDWORKS Training L1
Lecture 86 Edit Sketch Size - Crank - SOLIDWORKS Training L1
Lecture 87 Search Material and Check Mass - Crank - SOLIDWORKS Training L1
Lecture 88 Change the Appearance - Crank - SOLIDWORKS Training L1
Lecture 89 Flexible Modelling Approach - Crank - SOLIDWORKS Training L1
Lecture 90 Outro - Crank - SOLIDWORKS Training L1
Section 12: Part 7: Base Part Modelling
Lecture 91 Introduction - Base - SOLIDWORKS Training L1
Lecture 92 Reading the Drawing - Base - SOLIDWORKS Training L1
Lecture 93 Creating a Modelling Plan - Base - SOLIDWORKS Training L1
Lecture 94 Creating the Material Blank - Base - SOLIDWORKS Training L1
Lecture 95 Adding Chamfers - Base - SOLIDWORKS Training L1
Lecture 96 Side Scoop Cut-out - Base - SOLIDWORKS Training L1
Lecture 97 Through Holes with Relationships - Base - SOLIDWORKS Training L1
Lecture 98 Blind Holes with Relationships - Base - SOLIDWORKS Training L1
Lecture 99 Material, Mass, Save - Base - SOLIDWORKS Training L1
Lecture 100 Changing the Sketch Plane - Base - SOLIDWORKS Training L1
Lecture 101 Outro - Base - SOLIDWORKS Training L1
Section 13: Part 8: Frame Part Modelling
Lecture 102 Introduction - Frame - SOLIDWORKS Training L1
Lecture 103 Reading the Drawing - Frame - SOLIDWORKS Training L1
Lecture 104 Creating a Modelling Plan - Frame - SOLIDWORKS Training L1
Lecture 105 Datum Dimensions - Frame - SOLIDWORKS Training L1
Lecture 106 Creating the Material Blank - Frame - SOLIDWORKS Training L1
Lecture 107 Subtracting Shape Cut-outs - Frame - SOLIDWORKS Training L1
Lecture 108 Cutting Holes - Frame - SOLIDWORKS Training L1
Lecture 109 Adding Radii - Frame - SOLIDWORKS Training L1
Lecture 110 Hole Wizard Thread Through - Frame - SOLIDWORKS Training L1
Lecture 111 Hole Wizard Thread Blind - Frame - SOLIDWORKS Training L1
Lecture 112 Material, Mass & Save - Frame - SOLIDWORKS Training L1
Lecture 113 Outro - Frame - SOLIDWORKS Training L1
Section 14: Part 9: Piston Housing Part Modelling
Lecture 114 Introduction - Piston Housing - SOLIDWORKS Training L1
Lecture 115 Reading the Drawing - Piston Housing - SOLIDWORKS Training L1
Lecture 116 Creating a Modelling Plan - Piston Housing - SOLIDWORKS Training L1
Lecture 117 Creating the Bulk Material - Piston Housing - SOLIDWORKS Training L1
Lecture 118 Adding to the Geometry - Piston Housing - SOLIDWORKS Training L1
Lecture 119 Convert Entities and Offset Cut - Piston Housing - SOLIDWORKS Training L1
Lecture 120 Cutting Threaded Hole - Piston Housing - SOLIDWORKS Training L1
Lecture 121 Cutting Recessed Hole - Piston Housing - SOLIDWORKS Training L1
Lecture 122 Cutting Final Hole - Piston Housing - SOLIDWORKS Training L1
Lecture 123 Adding Chamfers - Piston Housing - SOLIDWORKS Training L1
Lecture 124 Material, Mass & Save - Piston Housing - SOLIDWORKS Training L1
Lecture 125 Outro - Piston Housing - SOLIDWORKS Training L1
Section 15: Part 10: Flywheel Part Modelling
Lecture 126 Introduction - Flywheel - SOLIDWORKS Training L1
Lecture 127 Reading the Drawing - Flywheel - SOLIDWORKS Training L1
Lecture 128 Creating a Plan - Flywheel - SOLIDWORKS Training L1
Lecture 129 First Extrude - Flywheel - SOLIDWORKS Training L1
Lecture 130 Offset Extrude - Flywheel - SOLIDWORKS Training L1
Lecture 131 Large Diameter Extrude - Flywheel - SOLIDWORKS Training L1
Lecture 132 Planning the Pattern Feature - Flywheel - SOLIDWORKS Training L1
Lecture 133 Using Construction Lines - Flywheel - SOLIDWORKS Training L1
Lecture 134 Offset Sketch for Spokes - Flywheel - SOLIDWORKS Training L1
Lecture 135 Cutting an Open Sketch Profile - Flywheel - SOLIDWORKS Training L1
Lecture 136 Adding Radii - Flywheel - SOLIDWORKS Training L1
Lecture 137 Circular Feature Pattern - Flywheel - SOLIDWORKS Training L1
Lecture 138 Cut Hole from a Plane - Flywheel - SOLIDWORKS Training L1
Lecture 139 Adding and Editing Chamfers - Flywheel - SOLIDWORKS Training L1
Lecture 140 Material, Mass & Save - Flywheel - SOLIDWORKS Training L1
Lecture 141 Outro - Flywheel - SOLIDWORKS Training L1
Section 16: Revolve Extrude Tool
Lecture 142 Introduction - Revolve Extrude Feature - SOLIDWORKS Training L1
Lecture 143 Revolve the Big End Journal - Revolve Extrude Feature - SOLIDWORKS Training L1
Lecture 144 Revolve the Piston - Revolve Extrude Feature - SOLIDWORKS Training L1
Lecture 145 Revolve the Flywheel Blank - Revolve Extrude Feature - SOLIDWORKS Training L1
Lecture 146 Revolve a Doughnut - Revolve Extrude Feature - SOLIDWORKS Training L1
Lecture 147 Revolve a Sphere - Revolve Extrude Feature - SOLIDWORKS Training L1
Lecture 148 Outro - Revolve Extrude Feature - SOLIDWORKS Training L1
Section 17: Building The Assembly
Lecture 149 Introduction - Building the Assembly - SOLIDWORKS Training L1
Lecture 150 Steam Engine Assembly Overview - Building the Assembly - SOLIDWORKS Training L1
Lecture 151 Sectional View in Assembly - Building the Assembly - SOLIDWORKS Training L1
Lecture 152 Assembly Tree - Building the Assembly - SOLIDWORKS Training L1
Lecture 153 Editing Parts in the Assembly - Building the Assembly - SOLIDWORKS Training L1
Lecture 154 Introduction to Mates - Building the Assembly - SOLIDWORKS Training L1
Lecture 155 Setting Assembly Planes - Building the Assembly - SOLIDWORKS Training L1
Lecture 156 Opening the Reference Assembly - Building the Assembly - SOLIDWORKS Training L1
Lecture 157 Opening your First Part in the Assembly - Building the Assembly - SOLIDWORKS
Lecture 158 Moving and Rotating in the Assembly - Building the Assembly - SOLIDWORKS
Lecture 159 Applying a Planar Mate - Building the Assembly - SOLIDWORKS Training L1
Lecture 160 Fully Mating the First Part - Building the Assembly - SOLIDWORKS Training L1
Lecture 161 Real Time Mating of your First Part - Building the Assembly - SOLIDWORKS
Lecture 162 Adding a Second Part and Mating - Building the Assembly - SOLIDWORKS Training L1
Lecture 163 Identifying Mate Errors - Building the Assembly - SOLIDWORKS Training L1
Lecture 164 Mate the Crank Shaft Bush - Building the Assembly - SOLIDWORKS Training L1
Lecture 165 Mate Crank, Shaft and Flywheel - Building the Assembly - SOLIDWORKS Training L1
Lecture 166 Mate Big End Journal and ConRod - Building the Assembly - SOLIDWORKS Training L1
Lecture 167 Mate Piston and Housing - Building the Assembly - SOLIDWORKS Training L1
Lecture 168 Final Mates and Lock Mate - Building the Assembly - SOLIDWORKS Training L1
Lecture 169 Edit Mates in the Assembly - Building the Assembly - SOLIDWORKS Training L1
Lecture 170 Assembly Save and Rebuild - Building the Assembly - SOLIDWORKS Training L1
Lecture 171 Outro - Building the Assembly - SOLIDWORKS Training L1
Section 18: Editing and Creating Parts in the Assembly Mode
Lecture 172 Introduction - Editing and Creating Parts in the Assembly - SOLIDWORKS Training
Lecture 173 Identifying Assembly Issues - Editing and Creating Parts in the Assembly
Lecture 174 Fixing the Scoop Gap - Editing and Creating Parts in the Assembly - SOLIDWORKS
Lecture 175 Fix Crank Shaft Length - Editing and Creating Parts in the Assembly - SOLIDWORK
Lecture 176 Fix Flywheel Centre Hole - Editing and Creating Parts in the Assembly SOLIDWORKS
Lecture 177 Reapplying Deleted Mates - Editing and Creating Parts in the Assembly
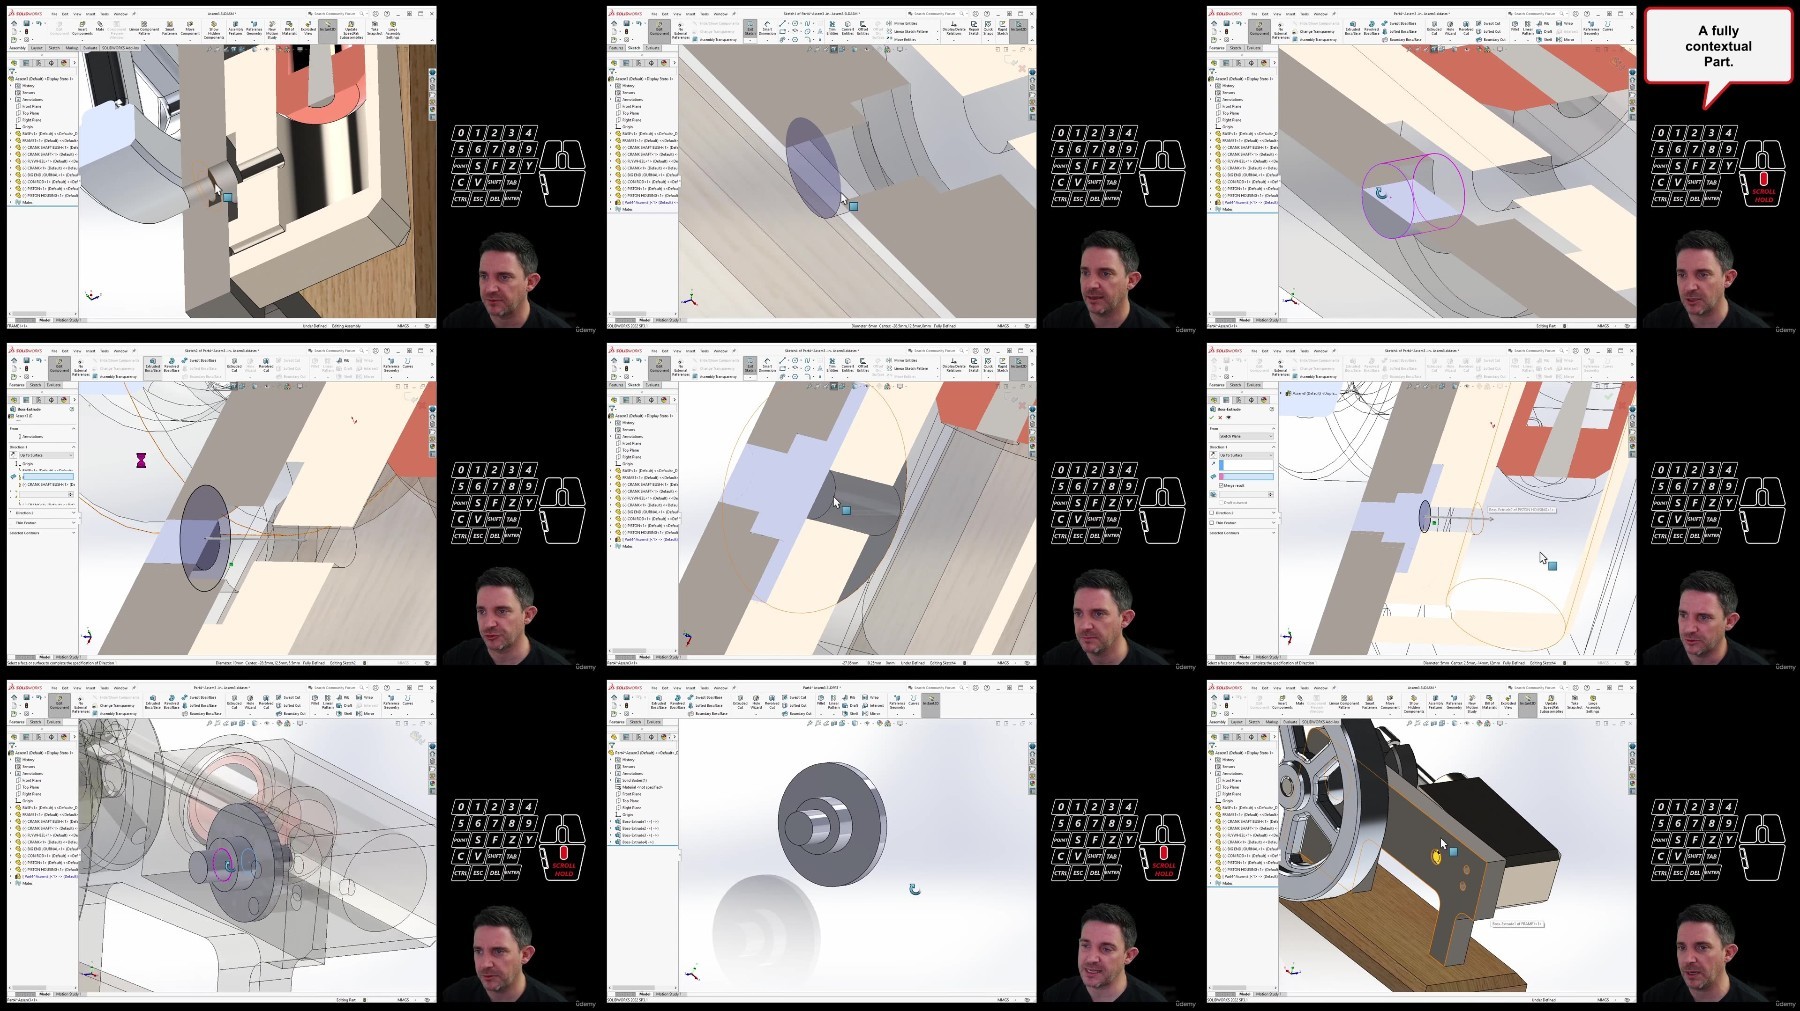
Lecture 178 Creating a New Contextual Part - Editing and Creating Parts in the Assembly
Lecture 179 Assembly Evaluation Tools - Editing and Creating Parts in the Assembly
Lecture 180 Edited Assembly Overview - Editing and Creating Parts in the Assembly
Lecture 181 Outro - Editing and Creating Parts in the Assembly - SOLIDWORKS Training L1
Section 19: Creating Technical Drawings In SOLIDWORKS
Lecture 182 Introduction - Creating Technical Drawings Making Technical Drawings SOLIDWORK
Lecture 183 Start a New Technical Drawing - Making Technical Drawings - SOLIDWORKS Training
Lecture 184 Select Sheet Format and Size - Making Technical Drawings - SOLIDWORKS Training
Lecture 185 Adding the First Part to the Drawing - Making Technical Drawings - SOLIDWORKS
Lecture 186 Rotating the Drawing View - Making Technical Drawings - SOLIDWORKS Training L1
Lecture 187 Drawing Display Style - Making Technical Drawings - SOLIDWORKS Training L1
Lecture 188 Scale the Drawing View - Making Technical Drawings - SOLIDWORKS Training L1
Lecture 189 Adding Projected Views - Making Technical Drawings - SOLIDWORKS Training L1
Lecture 190 Adding Centre Lines - Making Technical Drawings - SOLIDWORKS Training L1
Lecture 191 View Pallet - Making Technical Drawings - SOLIDWORKS Training L1
Lecture 192 Adding a 3D View - Making Technical Drawings - SOLIDWORKS Training L1
Lecture 193 Rotating a 3D View - Making Technical Drawings - SOLIDWORKS Training L1
Lecture 194 Adding Dimensions - Making Technical Drawings - SOLIDWORKS Training L1
Lecture 195 Sizing and Positioning Dimensions - Making Technical Drawings - SOLIDWORKS
Lecture 196 Centring a Dimension - Making Technical Drawings - SOLIDWORKS Training L1
Lecture 197 Chamfer Dimension - Making Technical Drawings - SOLIDWORKS Training L1
Lecture 198 TYP and Adding Text to a Dimension - Making Technical Drawings - SOLIDWORKS L1
Lecture 199 Introduction to the Title Block - Making Technical Drawings - SOLIDWORKS L1
Lecture 200 Edit Sheet Format - Making Technical Drawings - SOLIDWORKS Training L1
Lecture 201 Annotations - Making Technical Drawings - SOLIDWORKS Training L1
Lecture 202 Save the Drawing - Making Technical Drawings - SOLIDWORKS Training L1
Lecture 203 Opening a Model from the Drawing - Making Technical Drawings - SOLIDWORKS
Lecture 204 Model and Drawing Links - Making Technical Drawings - SOLIDWORKS Training L1
Lecture 205 Save as a PDF File - Making Technical Drawings - SOLIDWORKS Training L1
Lecture 206 Sectional View Tool - Making Technical Drawings - SOLIDWORKS Training L1
Lecture 207 Creating an Assembly Drawing - Making Technical Drawings - SOLIDWORKS L1
Lecture 208 Creating Multiple Drawing Sheets - Making Technical Drawings - SOLIDWORKS L1
Lecture 209 Bill of Materials - Making Technical Drawings - SOLIDWORKS Training L1
Lecture 210 Balloon Numbering - Making Technical Drawings - SOLIDWORKS Training L1
Lecture 211 Adding Additional Views - Making Technical Drawings - SOLIDWORKS Training L1
Lecture 212 Broken Out Section - Making Technical Drawings - SOLIDWORKS Training L1
Lecture 213 Outro - Making Technical Drawings - SOLIDWORKS Training L1
Beginner SolidWorks users; students or professionals
Free search engine download: Udemy SolidWorks Beginners Course - Learn from an expert!