• Regeln für den Video-Bereich:

    In den Börsenbereich gehören nur Angebote die bereits den Allgemeinen Regeln entsprechen.

    Einteilung

    - Folgende Formate gehören in die angegeben Bereiche:
    - Filme: Encodierte Filme von BluRay, DVD, R5, TV, Screener sowie Telesyncs im Format DivX, XviD und x264.
    - DVD: Filme im Format DVD5, DVD9 und HD2DVD.
    - HD: Encodierte Filme mit der Auflösung 720p oder darüber von BluRay, DVD, R5, TV, Screener sowie Telesyncs im Format x264.
    - 3D: Encodierte Filme von BluRay, die in einem 3D Format vorliegen. Dies gilt auch für Dokus, Animation usw.
    - Serien: Cartoon/Zeichentrick, Anime, Tutorials, Dokumentationen, Konzerte/Musik, Sonstiges sind demnach in die entsprechenden Bereiche einzuordnen, auch wenn sie beispielsweise im High Definition-Format oder als DVD5/DVD9/HD2DVD vorliegen. Ausnahme 3D.
    - Bereich Englisch: Englische Releases gehören immer in diesen Bereich.
    - Bereich Talk: Der Bereich, in dem über die Releases diskutiert werden kann, darf, soll und erwünscht ist.


    Angebot/Beitrag erstellen

    - Ein Beitrag darf erst dann erstellt werden, wenn der Upload bei mindestens einem OCH komplett ist. Platzhalter sind untersagt.
    - Bei einem Scenerelease hat der Threadtitel ausschließlich aus dem originalen, unveränderten Releasenamen zu bestehen. Es dürfen keine Veränderungen wie z.B. Sterne, kleine Buchstaben o.ä. vorgenommen werden. Ausnahme Serienbörse:
    - Bei einem Sammelthread für eine Staffel entfällt aus dem Releasename natürlich der Name der Folge. Beispiel: Die Simpsons S21 German DVDRip XviD - ITG
    - Dementsprechend sind also u.a. verboten: Erweiterungen wie "Tipp", "empfehlenswert", "only", "reup", usw. / jegliche andere Zusatzinformation oder Ergänzung, welche nicht in obiger Beschreibung zu finden ist.

    Aufbau des Angebots und Threadtitel

    Der Titel nach folgendem Muster erstellt zu werden. <Name> [3D] [Staffel] [German] <Jahr> <Tonspur> [DL] [Auflösung] <Quelle> <Codec> - <Group>
    Beispiel: The Dark Knight German 2008 AC3 DVDRip XviD - iND
    Beispiel: The Dark Knight 2008 DTS DL BDRip x264 - iND
    Beispiel: The Dark Knight 2008 AC3 DL BDRip XviD - iND
    Beispiel: The Dark Knight German 2008 AC3 720p BluRay x264 iND
    Beispiel: The Dark Knight 2008 DTS DL 1080p BluRay x264 iND
    Beispiel: Die Simpsons S01 German AC3 DVDRip XviD iND
    Beispiel: Die Simpsons S20 German AC3 720p BluRay x264 iND
    Beispiel: Sword Art Online II Ger Sub 2014 AAC 1080p WEBRip x264 - peppermint
    Entsprechend sind also u.a. verboten: Sonderzeichen wie Klammern, Sterne, Ausrufezeichen, Unterstriche, Anführungszeichen / Erweiterungen wie "Tipp", "empfehlenswert", "only", "reup", usw. / jegliche andere Zusatzinformation oder Ergänzung, welche nicht in obiger Beschreibung zu finden ist
    Ausnahmen hiervon können in den Bereichen geregelt sein.

    Die Beiträge sollen wie folgt aufgebaut werden:
    Überschrift entspricht dem Threadtitel
    Cover
    kurze Inhaltsbeschreibung
    Format, Größe, Dauer sind gut lesbar für Downloader außerhalb des Spoilers zu vermerken
    Nfo sind immer Anzugeben und selbige immer im Spoiler in Textform.
    Sind keine Nfo vorhanden z.B. Eigenpublikationen, sind im Spoiler folgende Dateiinformationen zusätzlich anzugeben :
    Quelle
    Video (Auflösung und Bitrate)
    Ton (Sprache, Format und Bitrate der einzelnen Spuren)
    Untertitel (sofern vorhanden)
    Hosterangabe in Textform außerhalb eines Spoiler mit allen enthaltenen Hostern.
    Bei SD kann auf diese zusätzlichen Dateiinformationen verzichtet werden.

    Alle benötigten Passwörter sind, sofern vorhanden, in Textform im Angebot anzugeben.
    Spoiler im Spoiler mit Kommentaren :"Schon Bedankt?" sind unerwünscht.


    Releases

    - Sind Retail-Release verfügbar, sind alle anderen Variationen untersagt. Ausnahmen: Alle deutschen Retail-Release sind CUT, in diesem Fall sind dubbed UNCUT-Release zulässig.
    - Im Serien-Bereich gilt speziell: Wenn ein Retail vor Abschluss einer laufenden Staffel erscheint, darf diese Staffel noch zu Ende gebracht werden.62
    - Gleiche Releases sind unbedingt zusammenzufassen. Das bedeutet, es ist zwingend erforderlich, vor dem Erstellen eines Themas per Suchfunktion zu überprüfen, ob bereits ein Beitrag mit demselben Release besteht. Ist dies der Fall, ist der bereits vorhandene Beitrag zu verwenden.
    - P2P und Scene Releases dürfen nicht verändert oder gar unter einem iND Tag eingestellt werden.


    Support, Diskussionen und Suche

    - Supportanfragen sind entweder per PN oder im Bereich Talk zu stellen.
    - Diskussionen und Bewertungen sind im Talk Bereich zu führen. Fragen an die Uploader haben ausschließlich via PN zu erfolgen, und sind in den Angeboten untersagt.
    - Anfragen zu Upload-Wünschen sind nur im Bereich Suche Video erlaubt. Antworten dürfen nur auf Angebote von MyBoerse.bz verlinkt werden.


    Verbote

    - Untersagt sind mehrere Formate in einem einzigen Angebotsthread, wie beispielsweise das gleichzeitige Anbieten von DivX/XviD, 720p und 1080p in einem Thread. Pro Format, Release und Auflösung ist ein eigener Thread zu eröffnen.
    - Grundsätzlich ebenso verboten sind Dupes. Uploader haben sich an geeigneter Stelle darüber zu informieren, ob es sich bei einem Release um ein Dupe handelt.
    - Gefakte, nur teilweise lauffähige oder unvollständige Angebote sind untersagt. Dies gilt auch für eigene Publikationen, die augenscheinlich nicht selbst von z.B. einer DVD gerippt wurden. Laufende Serien, bei denen noch nicht alle Folgen verfügbar sind, dürfen erstellt und regelmäßig geupdatet werden.
    - Untersagt sind Angebote, welche nur und ausschließlich in einer anderen Sprache als deutsch oder englisch vorliegen. Ausnahmen sind VORHER mit den Moderatoren zu klären.


    Verstoß gegen die Regeln

    - Angebote oder Beiträge, die gegen die Forenregeln verstoßen, sind über den "Melden"-Button im Beitrag zu melden.
  • Bitte registriere dich zunächst um Beiträge zu verfassen und externe Links aufzurufen.


Englische Tutorials

Excel VBA Programming A-Z. Learn To Program With Excel VBA
8tqre8p2no91crkbnzzxh7pj08.jpg


Excel VBA Programming A-Z. Learn To Program With Excel VBA
Genre: eLearning | MP4 | Video: h264, 1280x720 | Audio: aac, 48000 Hz
Language: English | VTT | Size: 12.5 GB | Duration: 21 hours


What you'll learn
VBA Programming A-Z
Learn VBA programming from the oldest course in the country.
Learn variables, variable concatenation, variable substitution. Learn loops and decision control structures
Learn object variables and object oriented programming
The only course with 4+ hours of UserForms. The only course with 4+ hours communicate with other programs
The only course with instructor interaction and homework

Requirements
Ability to type 10+ wpm

Description
Visual Basic Applications (VBA) is a Microsoft Office feature that allows users to automate repetitive tasks beyond simply recording macros. VBA does more than just automate tasks, it can also provide new functionality to extend an Office program's capabilities. VBA is programming for beginners, there are no programming prerequisites to learning.

Learn VBA programming from the oldest course in the country. Learn Excel VBA programming with a Microsoft Certified Trainer and Office Master Instructor with over 20 years experience teaching and 30 years experience programming.

The course includes a 510 page manual with a 30 page appendix with answers to homework assignments. The only course to teach UserForms over 4 hours. The only course to teach communicate with other programs for over 4 hours. Over 3 hours of PivotTables and over 1 hour of Chart automation.

Hundreds of megabytes of workbooks.

Homework assignments to practice.

Our online VBA training teaches you all the Excel and VBA skills you'll need to write your own programs and read other people's code. Our exclusive course covers the following material:

Introduction to Macros and the VB Editor

Variables

Navigate Cells, Ranges, Sheets

Navigate with Variables

Read and Write to Cells

Locate Key Columns

Name Ranges

Add, Name, Hide, and Count Sheets

Work with Worksheets with Variables

Loop with For Next

Control Flow with If Then Logic

Dialogs, Message Boxes, and InputBoxes

Work With Formulas and Functions

Create User Defined Functions

Use Workbook Events

Call Subroutines and Pass Variables

Global Variables

Create Customer User Forms

Object Variables

For Each Loops

Do While and Do Until Loops

Array Variables

Charts

Pivot Tables

Open Database Connectivity

Communicate with Other Office Programs

Run SQL Queries

Set Programs To Run On Specific Days/Times


Who this course is for:
Business Analysts


Homepage

1.lesson1sj8jwg.jpg


Excel Bootcamp. Learn To Pass Excel Tests

ldxbdogdwgmbztuwsprftkhkmh.jpg


Excel Bootcamp. Learn To Pass Excel Tests
Genre: eLearning | MP4 | Video: h264, 1280x720 | Audio: aac, 48000 Hz
Language: English | VTT | Size: 9.61 GB | Duration: 14.5 hours


What you'll learn
Excel Bootcamp. Learn To Use Excel And Pass Microsoft Exams
The ONLY course to offer hands on practice tests. The ONLY course to provide actual Microsoft test questions.
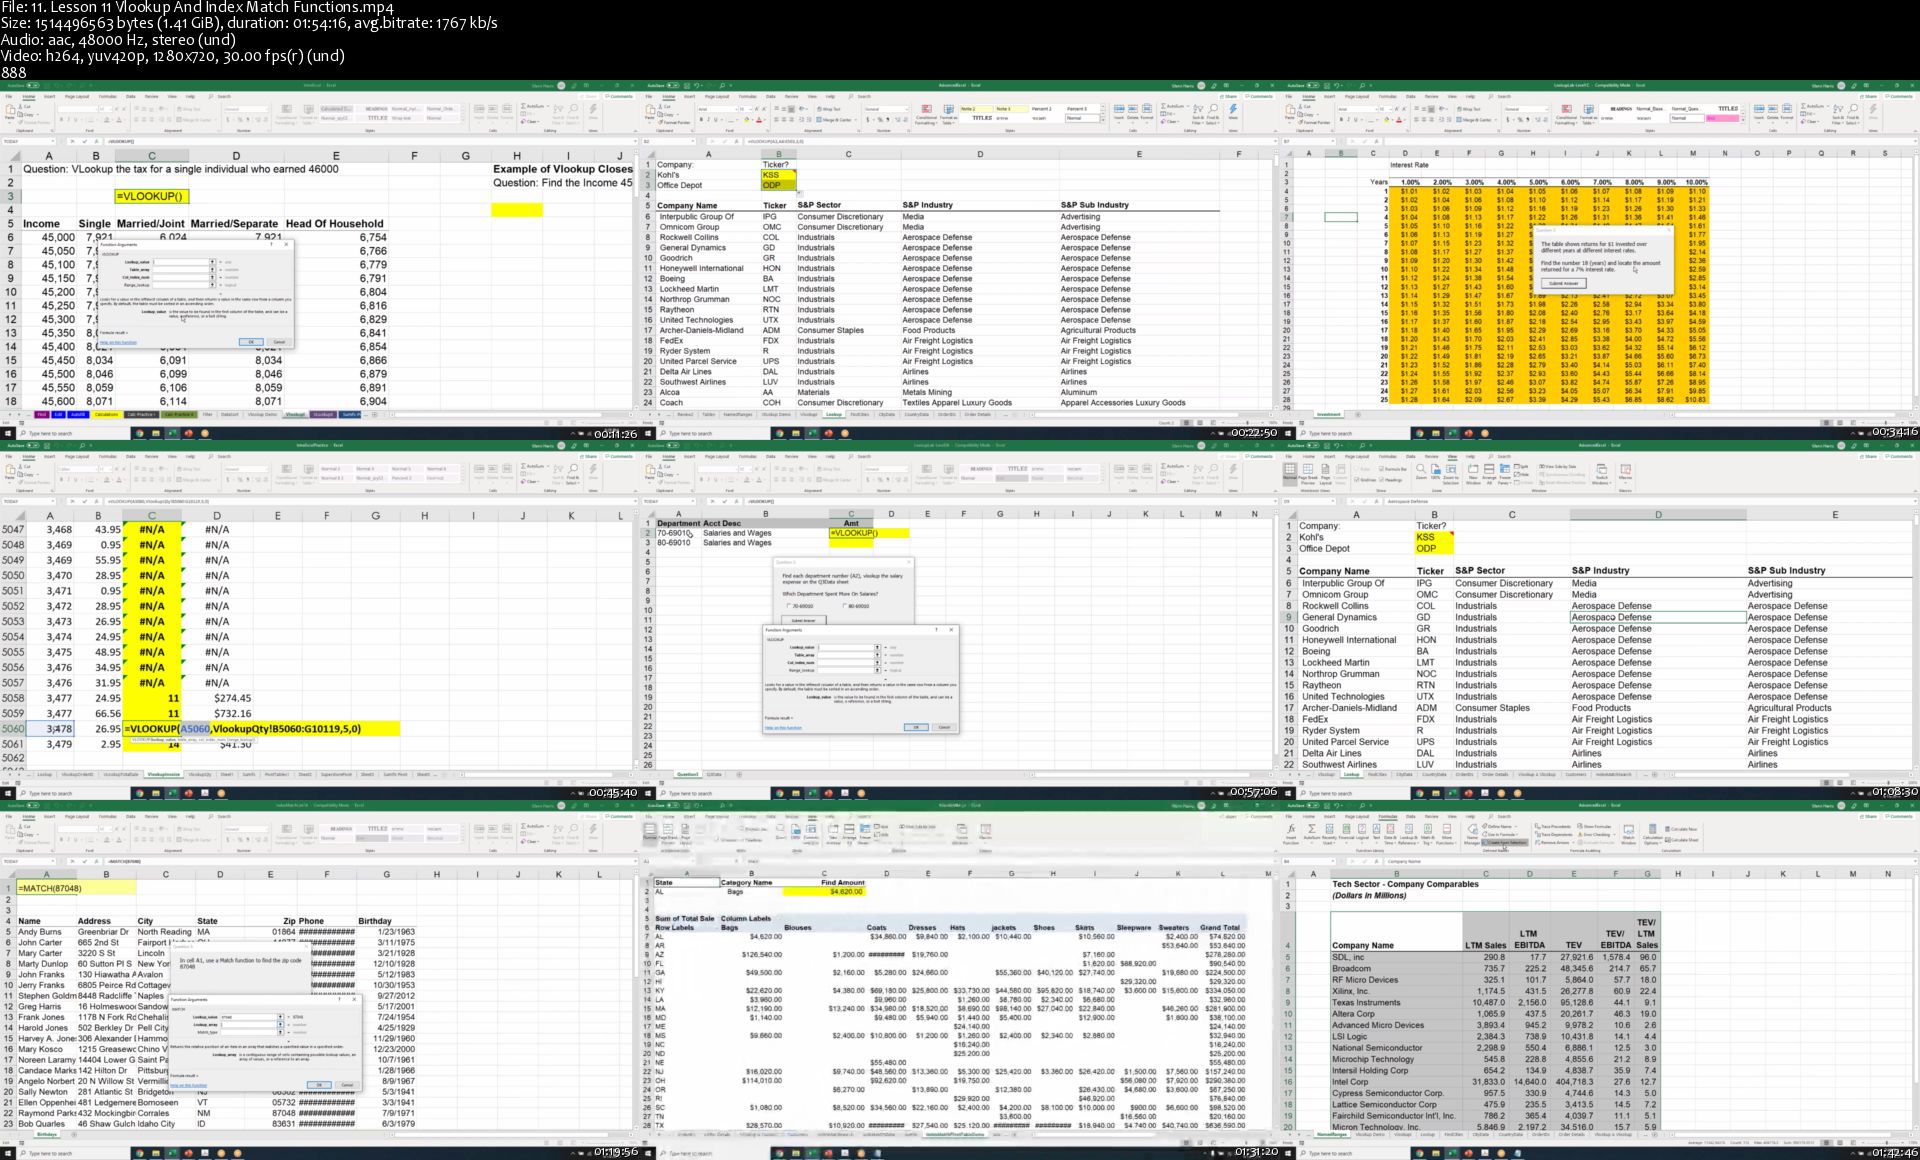
Includes 90+ minutes of PivotTables, 60+ minutes of Vlookup and Index Match, 60 + minutes of If, SumIfs

Requirements
Ability to use a mouse, ability to type

Description
Learn Excel from A-Z. Over 180 pages of notes with over 150 step by step illustrations. Learn to pass the Microsoft certification exams. This course teaches beginner to intermediate Excel topics. The only course to offer dozens of hands on practice tests! Includes many Microsoft certification test questions. Over 60 minutes of Vlookup and over 90 minutes of PivotTables. Taught by a Microsoft Certified Trainer and Office Master Instructor with 20 years experience.


Who this course is for:
Beginner to Intermediate Excel


Homepage

11.lesson11vlookupandqyj0l.jpg


Econometrics#2: Econometrics Modeling and Analysis in EViews

uv9sbunyw43kqxjkiqqpbvgj0v.jpg


Econometrics#2: Econometrics Modeling and Analysis in EViews
Genre: eLearning | MP4 | Video: h264, 1280x720 | Audio: aac, 44100 Hz
Language: English | VTT | Size: 8.89 GB | Duration: 17 hours


What you'll learn
The course works across multiple software packages such as Eviews, MS Office, PDF writers, and Paint.
This course aims to provide basic to intermediate skills on implementing Econometrics/Predictive modelling concepts using Eviews software.
Learn Univariate and Multivariate Modeling
Learn Autocorrelation Techniques
Master VAR Modeling
Learn Stationarity and Unit Root Testing. Also, master CoIntegration Testing
Master Volatility & ARCH Modeling

Requirements
Prior knowledge of Quantitative Methods AND Econometric techniques, MS Office and Paint is desired.
Understanding of Data Analysis and VBA toolpack in MS Excel will be useful
A Computer with Internet

Description
Please note that, We have divided the "Econometrics" course in to TWO parts as follows:

Econometrics#1: Regression Modeling, Statistics with EViews

Econometrics#2: Econometrics Modeling and Analysis in EViews

This is the Second part and will cover Multivariate Modeling, Autocorrelation Techniques, VAR Modeling, Stationarity and Unit Root Testing, CoIntegration Testing and Volatility & ARCH Modeling.

This course aims to provide basic to intermediate skills on implementing Econometrics/Predictive modelling concepts using Eviews software. Whilst its important to develop understanding of econometrics/quantitative modelling concepts, its equally important to be able to implement it using suitable software packages. This course fills the gap between understanding the concepts and implementing them practically. The course works across multiple software packages such as Eviews, MS Office, PDF writers, and Paint. Econometric modeling course aims to provide quantitative/econometric modelling skills typically/specifically in Finance sector. Quantitative methods and predictive modelling concepts could be extensively used in understanding the financial markets movements, and studying tests and effects. The course picks theoretical and practical datasets for econometrics/quantitative/predictive analysis. Implementations are done using Eviews software. Observations, interpretations, predictions and conclusions are explained then and there on the examples as we proceed through the training. The course also emphasizes on the regression models, and AIMS to also cover Auto-Correlation, Co-Integration and ARCH (Auto Regressive Conditional Heteroscedasticity) models.

 Essential skillsets - Prior knowledge of Quantitative methods and MS Office, Paint

 Desired skillsets - Understanding of Data Analysis and VBA toolpack in MS Excel will be useful

The course works across multiple software packages such as Eviews, MS Office, PDF writers, and Paint.


Who this course is for:
Students
Quantitative and Econometrics Modellers, Financial markets professionals


Homepage
7.generatingandinterp1akc5.jpg


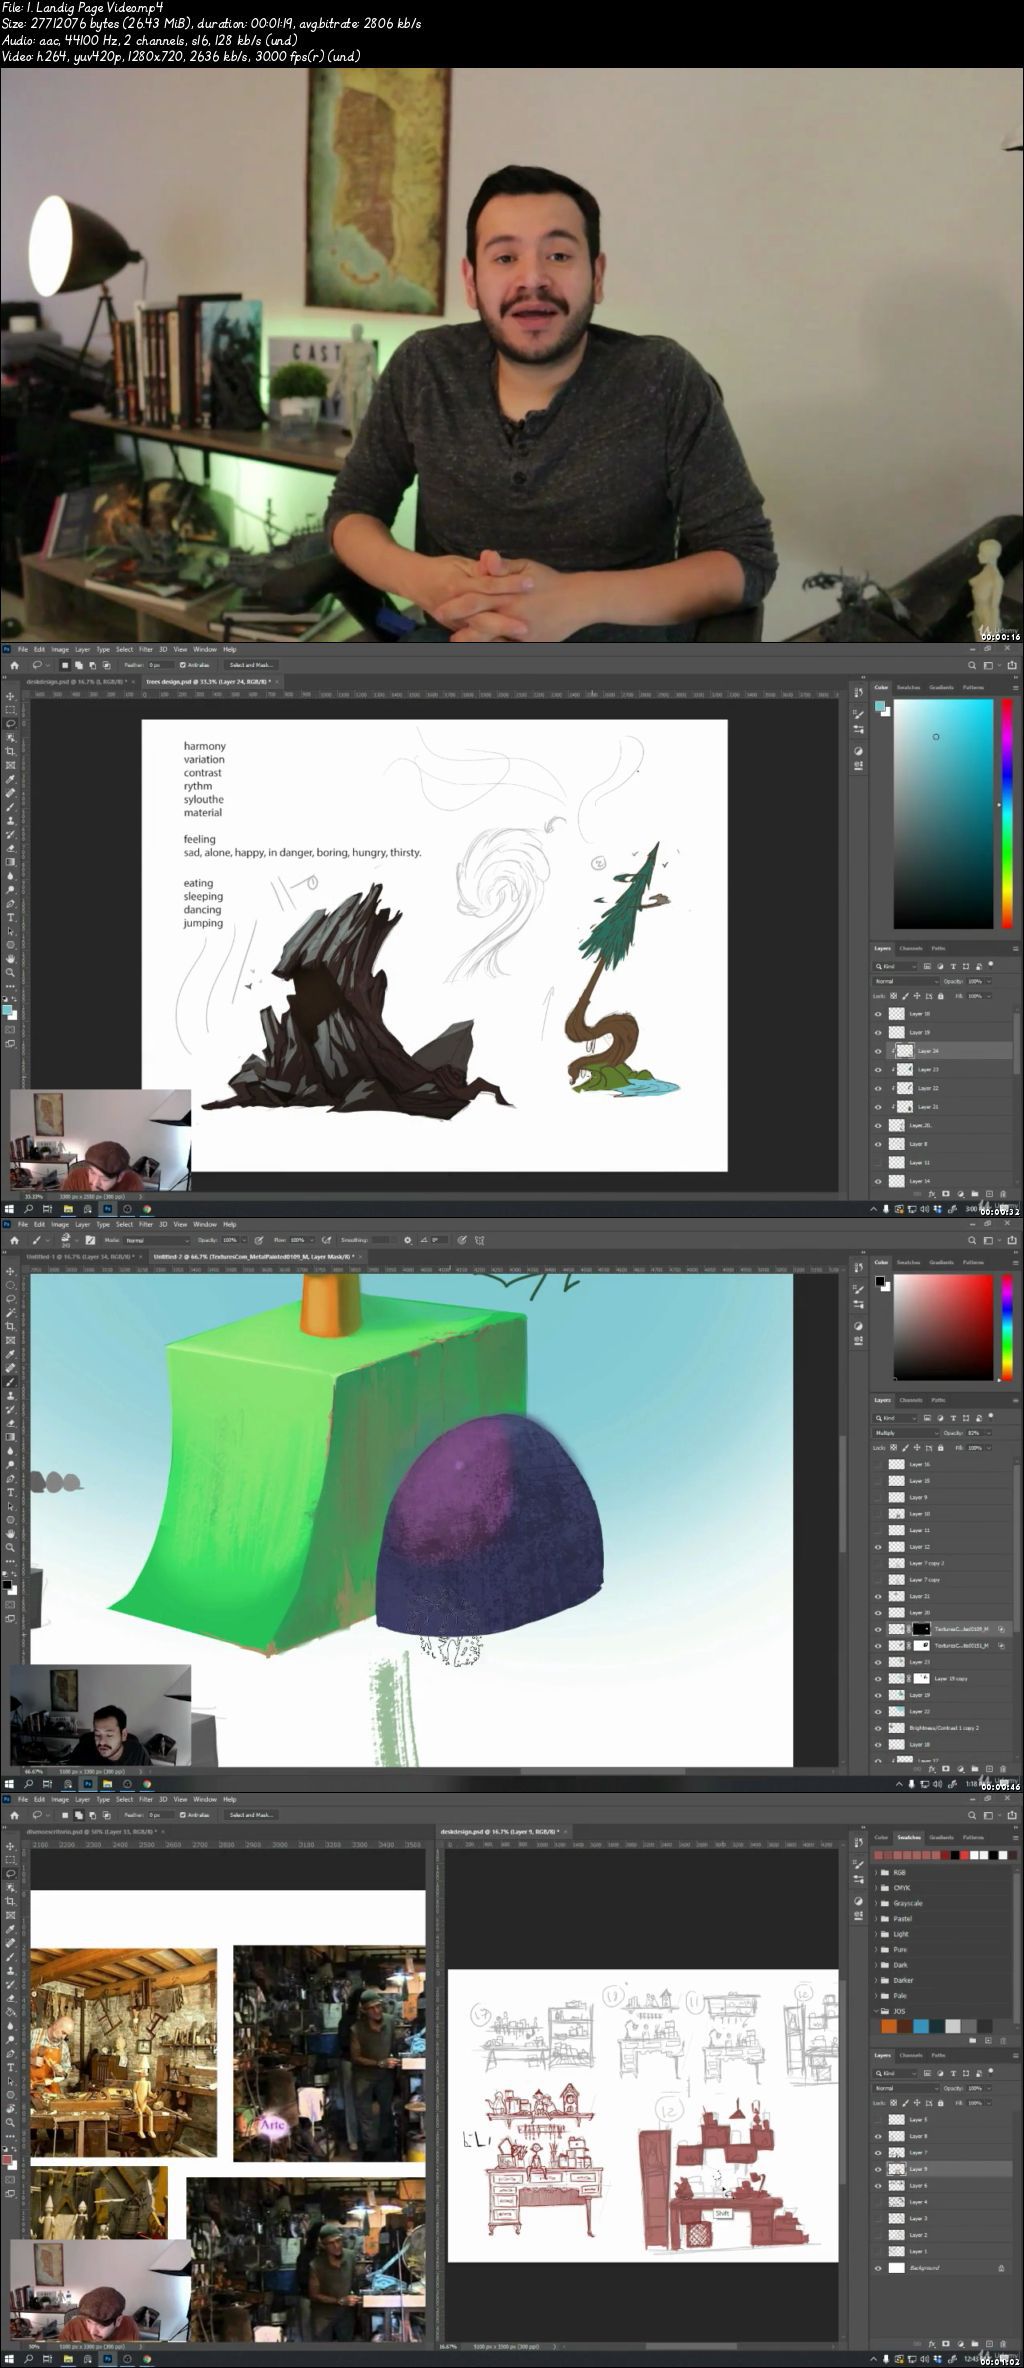
Sculpting Props for 3D Printing Using zBrush 2020 & Blender

007bc0ae6gkpt.jpg


Sculpting Props for 3D Printing Using zBrush 2020 & Blender
Video: .mp4 (1280x720, 30 fps(r)) | Audio: aac, 44100 Hz, 2ch | Size: 9.61 GB
Genre: eLearning Video | Duration: 42 lectures (11 hour, 17 mins) | Language: English

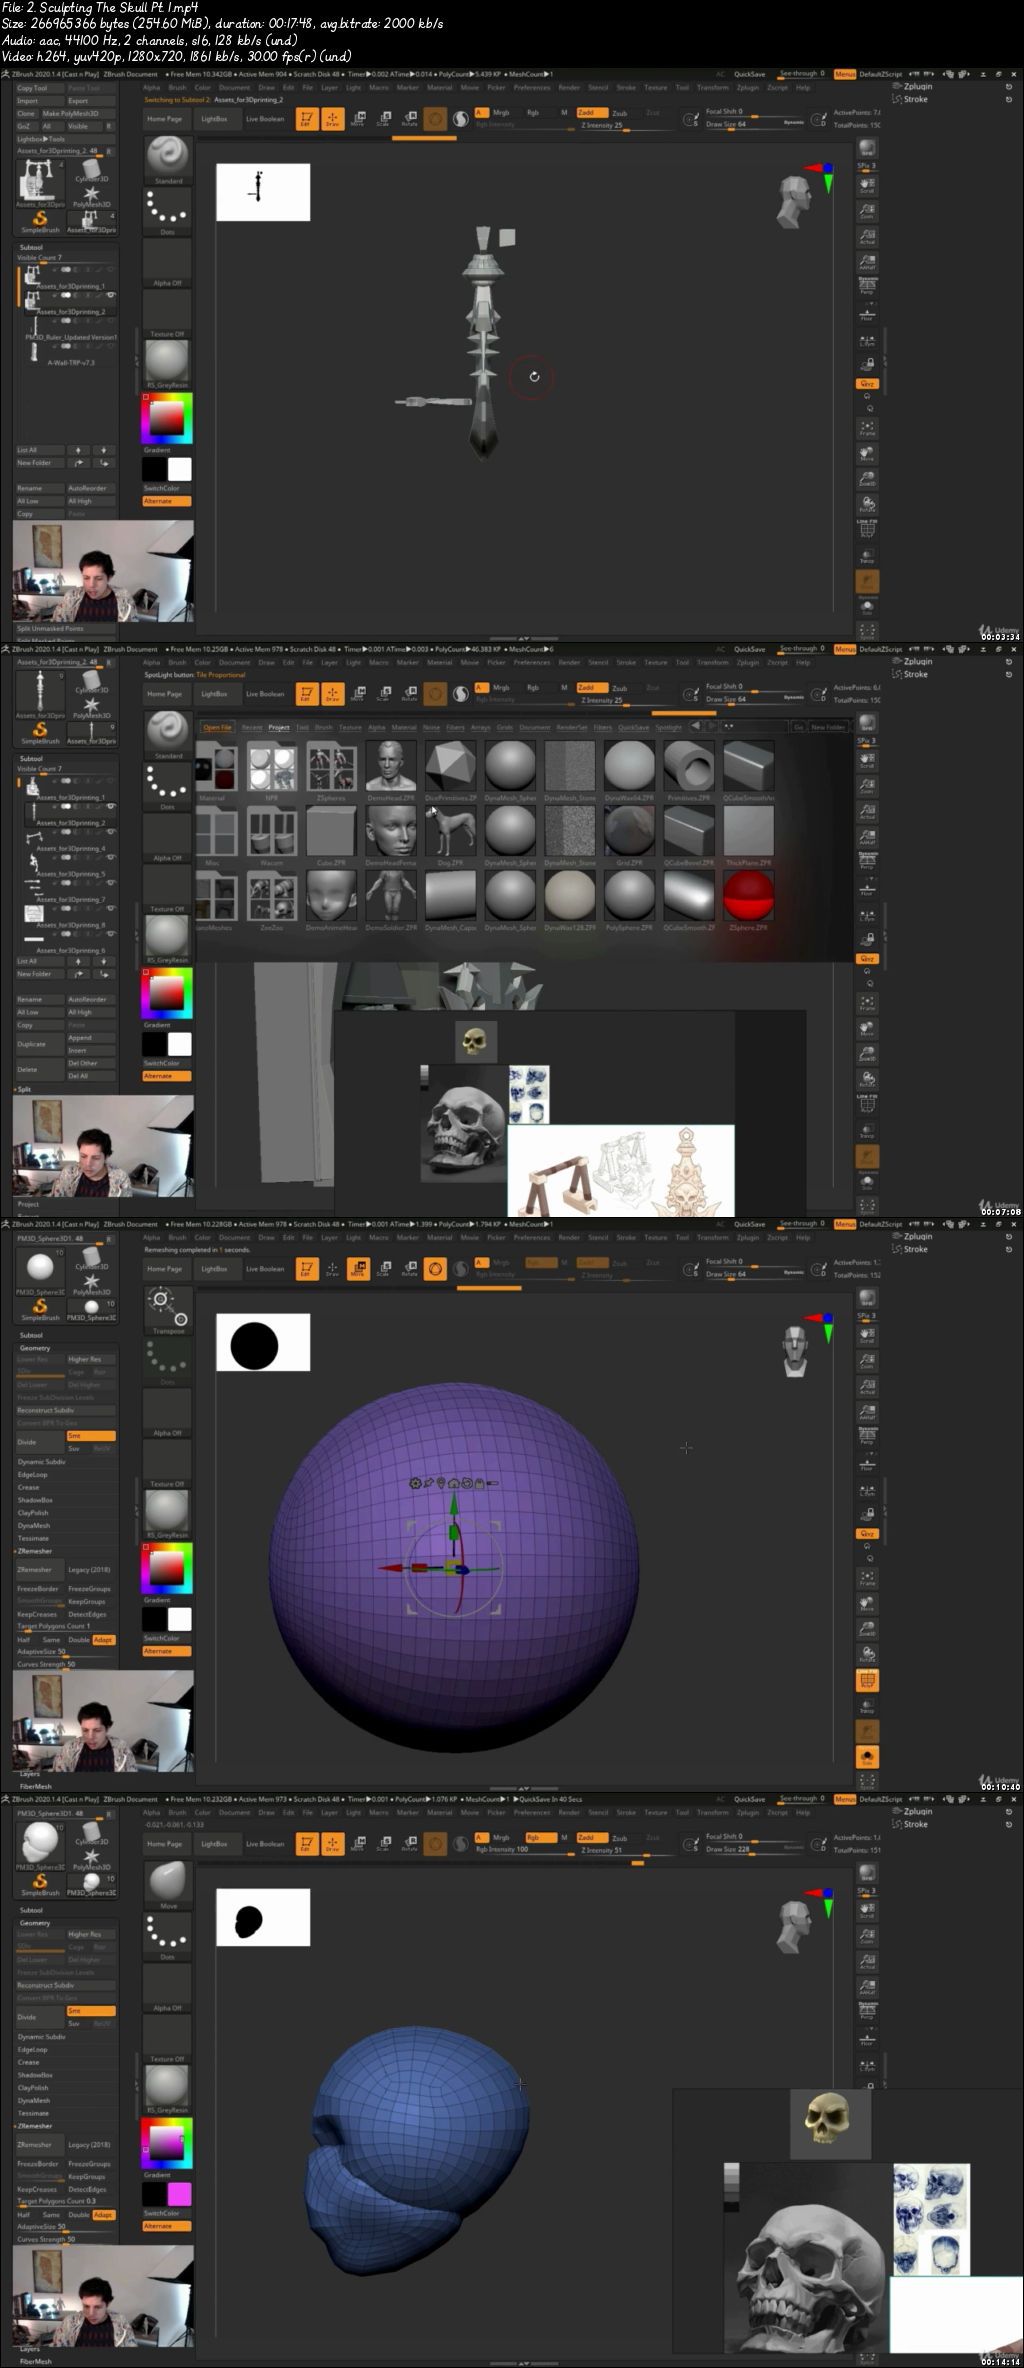
Learn the tools and concepts to create models for 3D Printing using Blender & zBrush 2020


What you'll learn

zBrush Sculpting
Blender Modeling
Design for 3D Printing

Requirements

Mac or PC capable of running zBrush and Blender
A passion and willingness to learn how to design for 3D Printing
Basic Blender and zBrush knowledge is helpful but not required if you're willing to work hard


Description

Learning to design models for 3D Printing can be very and time-consuming when doing it by yourself. I want to make the learning process easy for you, going through all the tools and concepts of creating a model suitable for 3D Printing in very detailed videos.

In this course, we will create rigs from A to Z, starting with a concept art image and some references and finishing with prepared models that can be sliced and 3D printed.

We will do a series of models, for a modular dungeon that can be 3D Printer in Resin and Filament (FDM, SLA, DLP Printers)

You'll learn tips and shortcuts that will accelerate your workflow and make you understand the fundamentals of 3D modeling and sculpting

I will be available for you through the whole course, feel free to send me a message if you encounter any issue. I will help you solve it and understand why it presented itself.

So please, take this course now.

Who this course is for:

Anyone who is passionate about 3D Printing and wants to learn 3D Modeling
Beginner artists looking to enhance knowledge and skills.
Students that have already some 3D knowledge and want to expand their knowledge.

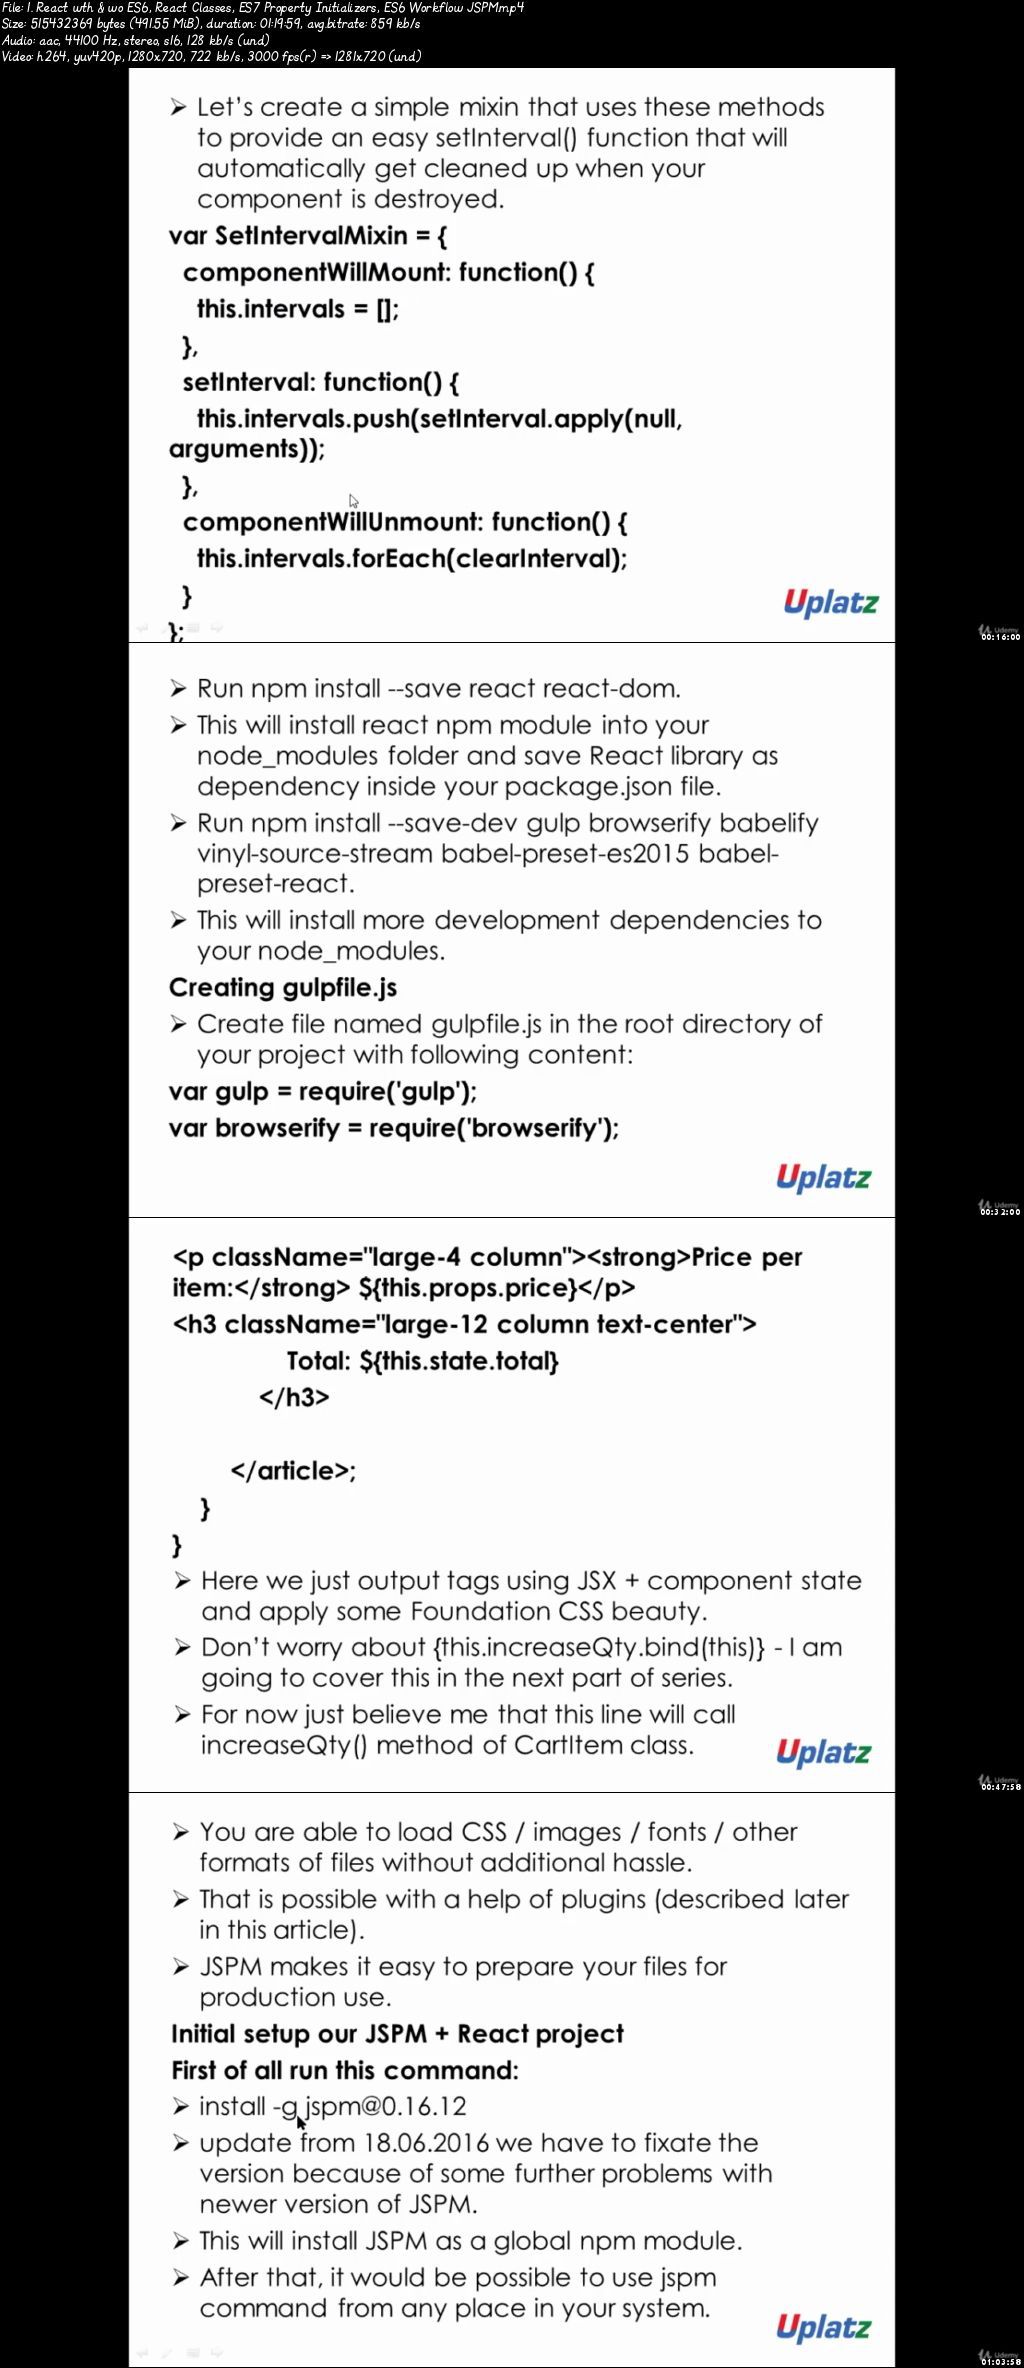
007bc0afick4e.jpeg


ReactJS Training

007bcbfefjjd9.jpg


ReactJS Training
Video: .mp4 (1280x720, 30 fps(r)) | Audio: aac, 44100 Hz, 2ch | Size: 5.45 GB
Genre: eLearning Video | Duration: 18 lectures (15 hour, 37 mins) | Language: English

Become a Web Developer with mastery over React. Learn latest ReactJS concepts - Redux, React Router, JSX, Webpack, more.


What you'll learn

Become a Full Stack Web Developer or a Front End Web Engineer
Core concepts of ReactJS and their practical implementation
Build large-scale applications with React JS and Redux
What is ReactJS, Installation and Setup
Basics of Creating Reusable Components
Using ReactJS with TypeScript
State and Props in React
React with Redux
React Component Lifecycle
Forms and User Input
React AJAX call
Communication Between Components and Stateless Functional Components
Performance measurement with ReactJS, React's diffs algorithm
The Basics - HTML DOM vs Virtual DOM
Server-Side Rendering
Setting Up React Environment, Webpack, Configure babe, Transpile and bundle your component
Using React with Flow
JSX - Props in JSX, Children in JSX
Keys in React
Higher Order Components


Requirements

Enthusiasm and determination to make your mark on the world!


Description

React is a Javascript library, developed in 2013 by Jordan Walke of Facebook. You'll find React is both very popular (it's the 5th most starred JS library on GitHub) and used on major sites including on Facebook and Netflix.


What is React JS?

ReactJS is an open-source, component based front end library responsible only for the view layer of the application. It is maintained by Facebook. ReactJS uses virtual DOM based mechanism to fill in data (views) in HTML DOM. The virtual DOM works fast owning to the fact that it only changes individual DOM elements instead of reloading complete DOM every time.

In other words, React JS is a JavaScript library used in web development to build interactive elements on websites.

A React application is made up of multiple components, each responsible for outputting a small, reusable piece of HTML. Components can be nested within other components to allow complex applications to be built out of simple building blocks. A component may also maintain internal state - for example, a TabList component may store a variable corresponding to the currently open tab.

React allows us to write components using a domain-specific language called JSX. JSX allows us to write our components using HTML, whilst mixing in JavaScript events. React will internally convert this into a virtual DOM, and will ultimately output our HTML for us.

React "reacts" to state changes in your components quickly and automatically to rerender the components in the HTML DOM by utilizing the virtual DOM. The virtual DOM is an in-memory representation of an actual DOM. By doing most of the processing inside the virtual DOM rather than directly in the browser's DOM, React can act quickly and only add, update, and remove components which have changed since the last render cycle occurred.


Relationship between JavaScript and ReactJS

To understand the relationship between JavaScript and ReactJS first we need to understand what is JavaScript. JavaScript (or JS) is a scripting language used to create and control dynamic web content. Dynamic web content includes things like animated graphics, photo slideshows, and interactive forms. Anytime you visit a website where things move, refresh, or otherwise change on your screen without requiring you to manually reload a web page, there's a very good chance JS is the language making it happen. Hence, JavaScript is a super important coding language used to add animated and interactive features to websites or web applications (on top of the basic, static structures created by languages like HTML and CSS). From the definition above, we can see how JavaScript plays a critical role in website and web application development. But there are times when you need JavaScript to perform repetitive functions-things like stock animation effects or autocomplete search bar features. Re-coding these functions every time they occur becomes a "reinventing the wheel" situation. This is where JavaScript libraries come in.

JavaScript libraries are collections of pre-written JavaScript code that can be used for common JS tasks, allowing you to bypass the time intensive (and unnecessary) process of coding by hand. If there's a run-of-the-mill JavaScript function that you keep needing to code (and that other developers before you have needed for their own projects) there's probably a JS library to ease your pain.

In simple words, there are a lot of different JS libraries out there and React JS is one of them. React is a JavaScript library that specializes in helping developers build user interfaces, or UIs. In terms of websites and web applications, UIs are the collection of on-screen menus, search bars, buttons, and anything else someone interacts with to USE a website or app. In addition to providing reusable React library code (saving development time and cutting down on the chance for coding errors), React comes with two key features that add to its appeal for JavaScript developers:

JSX - JSX (short for JavaScript eXtension) is a React extension that makes it easy for web developers to modify their DOM by using simple, HTML-style code.

Virtual DOM - DOM is the process that makes things "change" on screen without a user having to manually refresh a page. If a developer uses JSX to manipulate and update its DOM, React JS creates something called a Virtual DOM. The Virtual DOM (like the name implies) is a copy of the site's DOM, and React JS uses this copy to see what parts of the actual DOM need to change when an event happens (like a user clicking a button).


Course Objectives

React is a declarative, efficient, and flexible JavaScript library for building Web Applications.

It follows component-based approach.

Easy to create smaller components and build large-scale applications.

The main goal is to build large-scale high-performance applications with smaller and reusable stateful components.

The main objective of React Training is to create smaller components to build Interactive User interfaces.


Why Learn ReactJS?

ReactJS presents streamlined solutions to some of front-end programming's most persistent issues. ReactJS is fast, scalable, flexible, powerful, and has a robust developer community that's rapidly growing. There's never been a better time to learn React.


React.js Course Curriculum

Introduction

What is ReactJS?

Installation or Setup

Hello World with Stateless Functions

Absolute Basics of Creating Reusable Components

Create React App

Hello World

Hello World Component

Components

Creating Components

Basic Components

Nesting Components

Props

Component states - Dynamic user-interface

Variations of Stateless Functional Components

setState pitfalls

Using ReactJS with TypeScript

ReactJS component written in TypeScript

Installation and Setup

Stateless React Components in TypeScript

Stateless and property-less Components

State in React

Basic State

Common Antipattern

setState()

State, Events and Managed Controls

Props in React

Introduction

Default props

PropTypes

Passing down props using spread operator

Props.children and component composition

Detecting the type of Children components

React Component Lifecycle

Component Creation

Component Removal

Component Update

Lifecycle method call in different states

React Component Container

Forms and User Input

Controlled Components

Uncontrolled Components

React AJAX call

HTTP GET request

HTTP GET request and looping through data

Ajax in React without a third party library - a.k.a with Vanilla

Communication Between Components

Child to Parent Components

Not-related Components

Parent to Child Components

Stateless Functional Components

Stateless Functional Component

Performance

Performance measurement with ReactJS

React's diffs algorithm

The Basics - HTML DOM vs Virtual DOM

Introduction to Server-Side Rendering

Rendering components

Setting Up React Environment

Simple React Component

Install all dependencies

Configure webpack

Configure babe

HTML file to use react component

Transpile and bundle your component

Using React with Flow

Using Flow to check prop types of stateless functional components

Using Flow to check prop types

JSX

Props in JSX

Children in JSX

Keys in react

Using the id of an element

Using the array index

Higher Order Components

Higher Order Component that checks for authentication

Simple Higher Order Component

React with Redux

Using Connect

React.js Interview Questions & Answers


What you will learn in ReactJS course?

You'll develop a strong understanding of React's most essential concepts: JSX, components, and storing information via props and state. You'll be able to combine these ideas in React's modular programming style.

By the end of the ReactJS course, you'll be able to learn:

How the React command-line development tools work

How to build components using both classes and Hooks

How to create views using the JSX syntax.

How to structure code using the Container Presentation pattern

How to add Typescript support to a React project

How to fetch Json data from a remote API

How the component lifecycle works

How to build a project with the React Router

How to isolate application state with Redux

How to write unit tests for your React code


Who this course is for:

Web Designers & Developers
Full Stack / Front End Web Developers
ReactJS Developers
Beginners who are aspiring for a career in Programming & Web Development
JavaScript Developers - Front End, ReactJS, React Native
Developers - SWIFT, C#, React JS
Javascript React nodejs Developers
Engineers who want to learn React
Java/ReactJS Developers
Programmers looking to learn React
Engineers who want to develop Web & Mobile Apps and APIs using React

007bcbff66k8z.jpeg


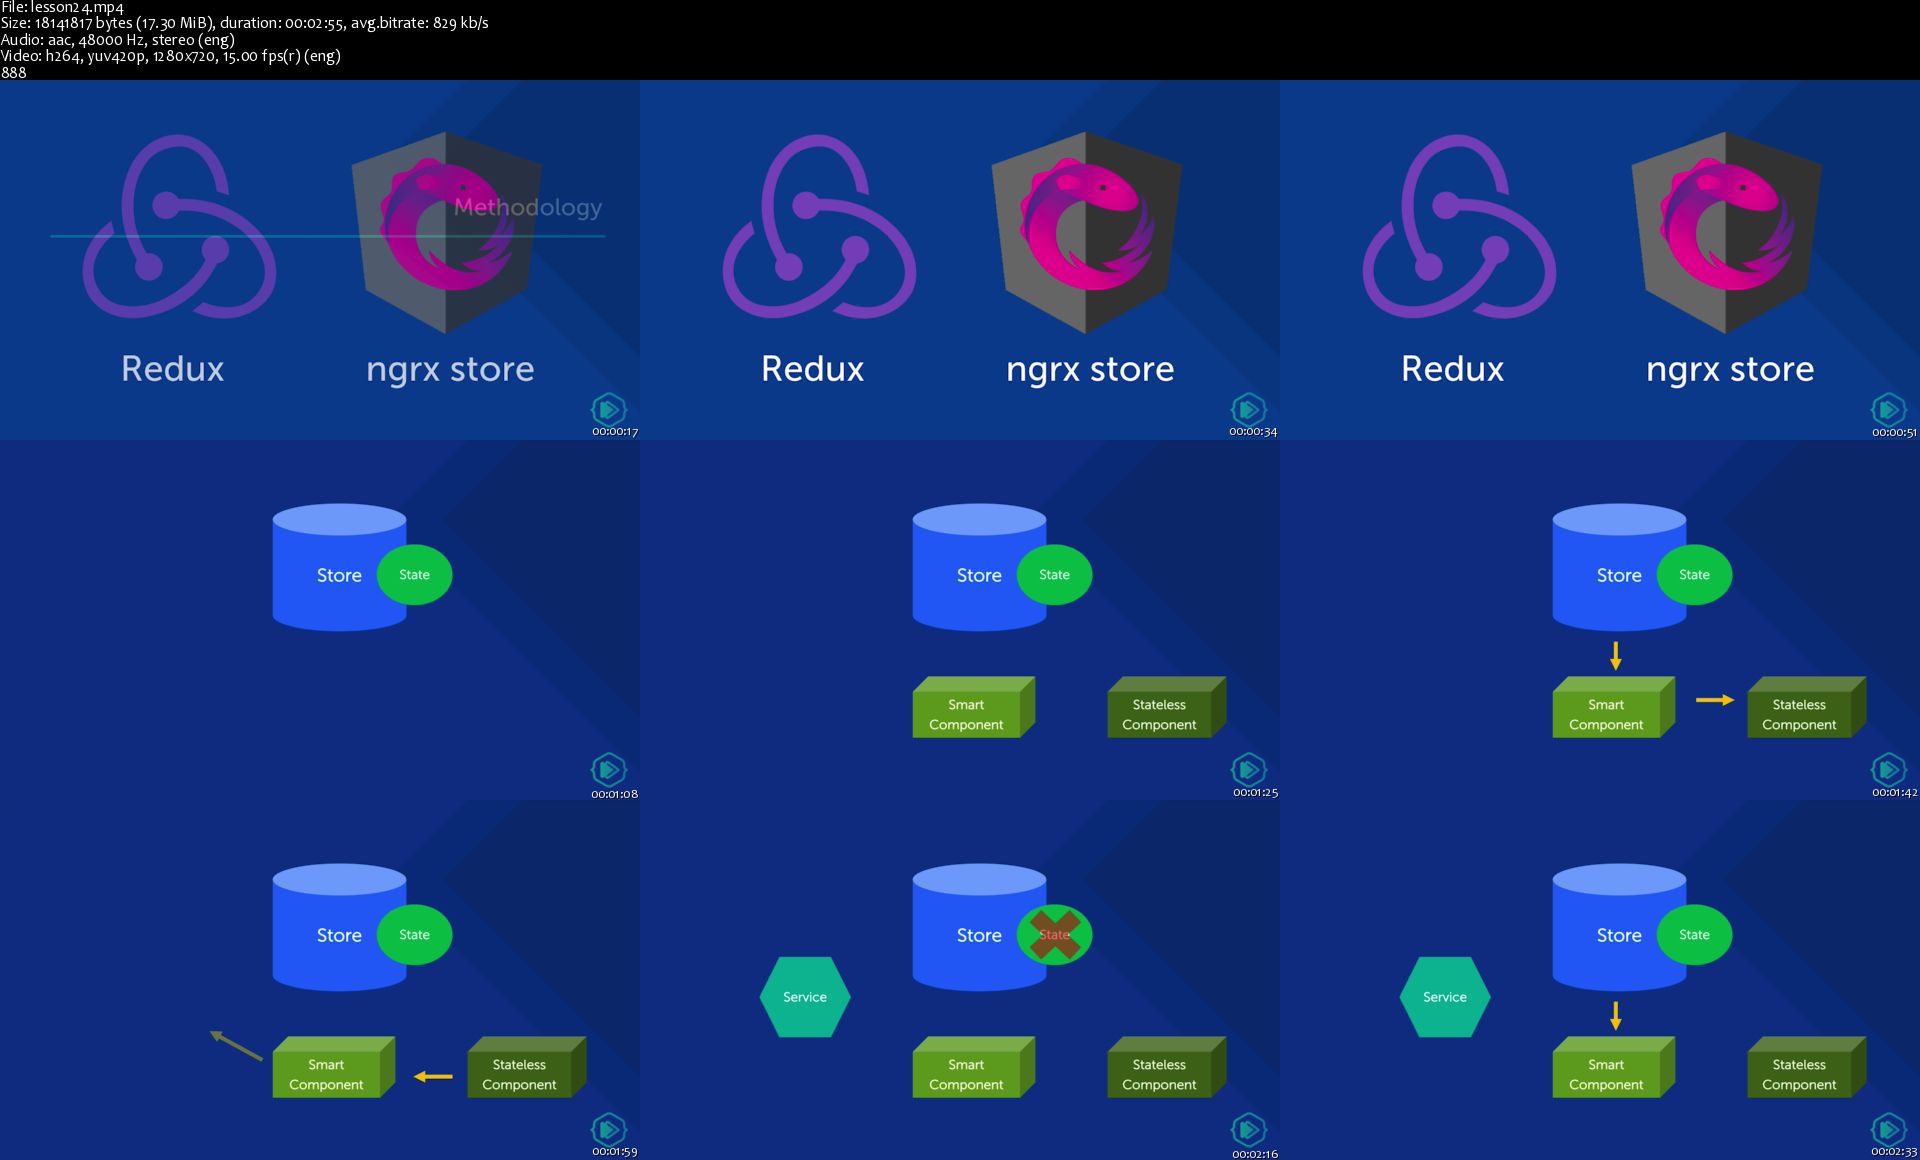
NativeScript with Angular Pro

nyy0w6j6py0hsputt9wzlfrjki.png


NativeScript with Angular Pro
MP4 | Video: h264, 1280x720 | Audio: AAC, 44.1 KHz, 2 Ch
Genre: eLearning | Language: English | Duration: 99 Lessons (8h 58m) | Size: 5.53 GB

The complete course for developing NativeScript with Angular mobile applications for iOS and Android. Summary
This course is an advanced course that covers everything from iOS and Android application lifecycle control to testing, transpiling, and deploying your applications, using the NativeScript framework with Angular.


What you'll learn
This course will help you become and expert in cross-platform mobile app development by mastering the advanced topics in NativeScript and Angular. You will use a practical approach to the advanced topics by building an end-to-end mobile application, solving a real-world problem at an enterprise level.

You will begin with covering the important features of NativeScript that you might not be aware of, which can make your work easier. Then we'll cover advanced topics like the core concepts, user interface, plugins, templates, performance optimisations, framework modules, etc. You will also cover unit testing, debugging along with advanced CLI workings. And of course, we'll cover deployment to app stores.

We'll go into some best practices as well as troubleshooting techniques that will be useful. By the end of the course, you will have upgraded your skills by mastering the advanced topics in NativeScript and will have a skilled advantage to grow in your career.

Homepage

lesson24si8jch.jpg


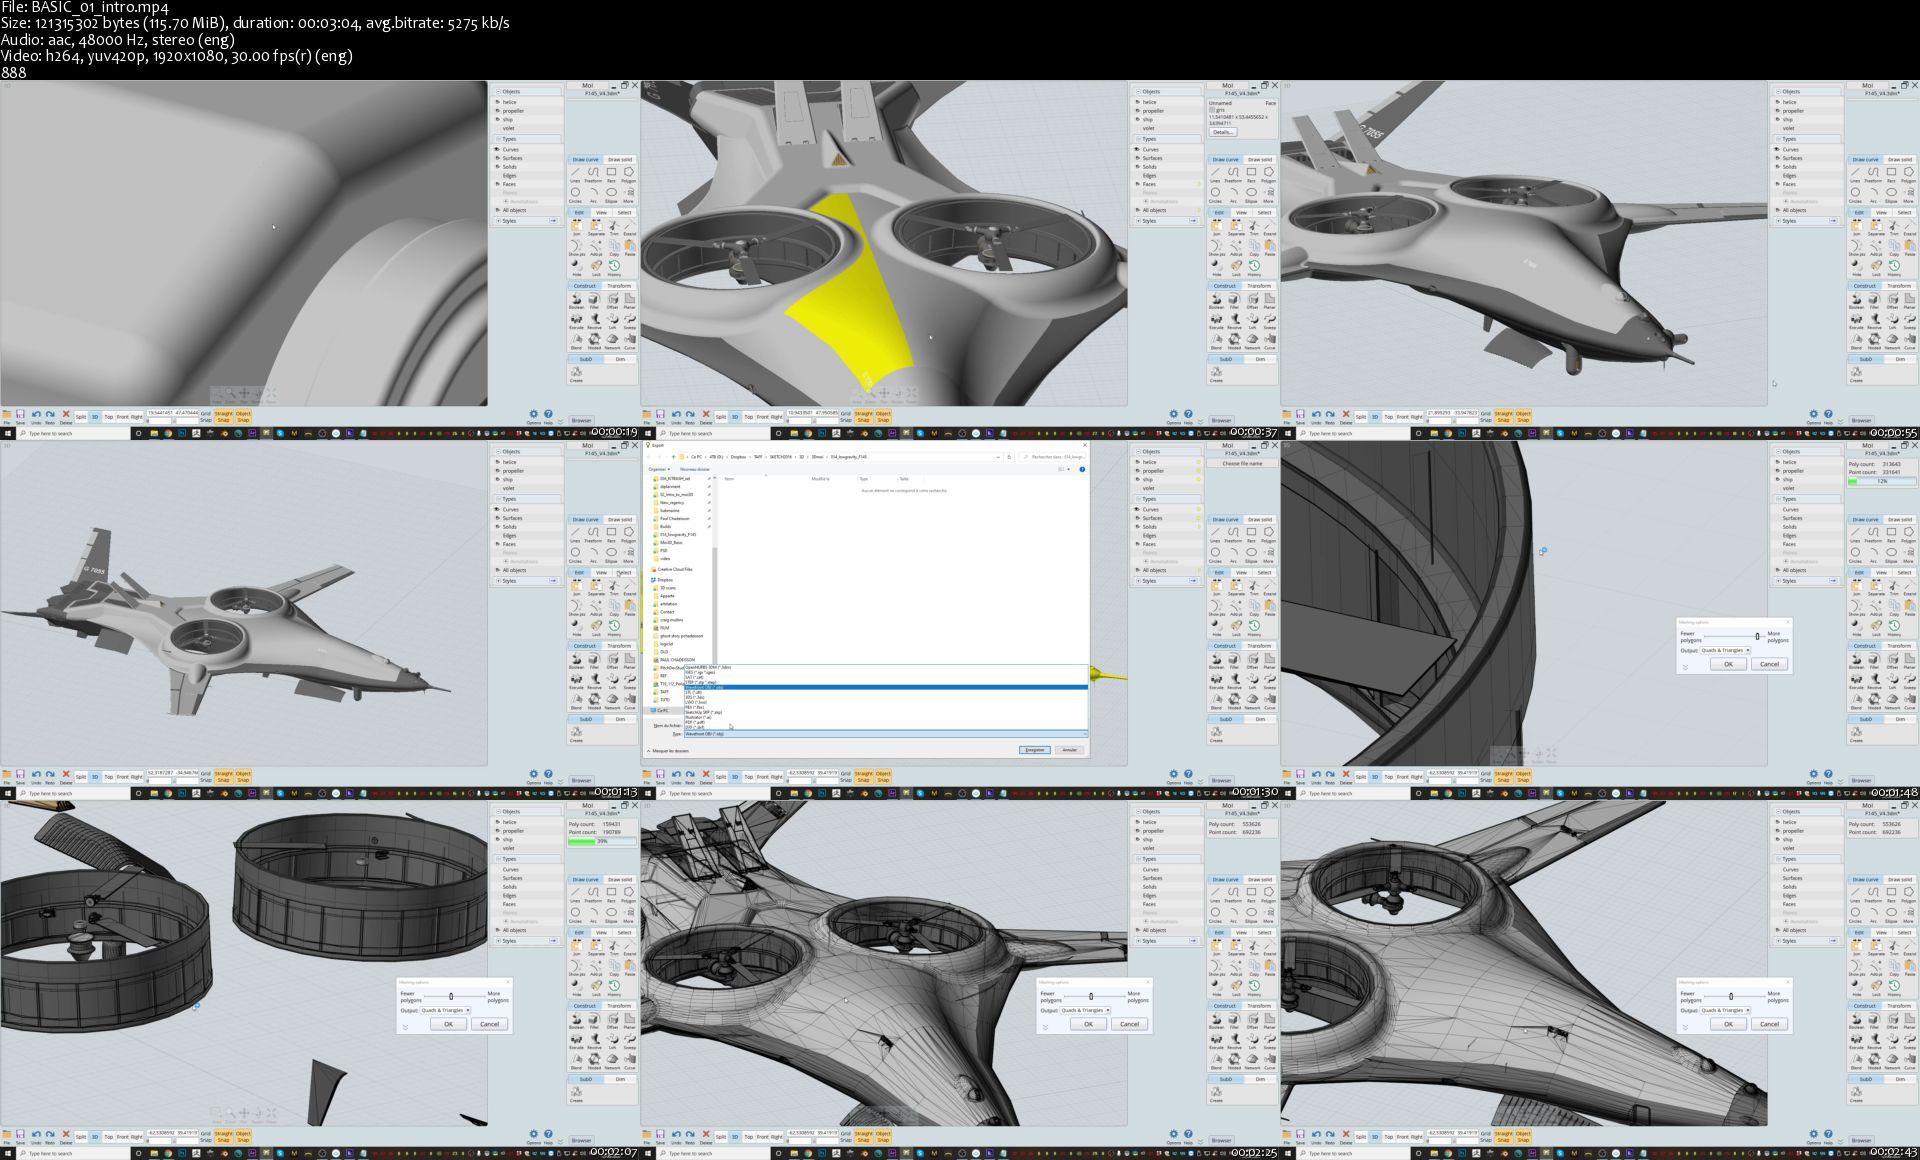
Gumroad - Intro to ship design + Moi3D basics

mfhom52c6ukemy1hxn1l6hmko8.jpg


Gumroad - Intro to ship design + Moi3D basics
Duration: 5h | Video: .MP4 1920x1080, 30 fps | Audio: AAC, 48 KHz, 2 channels | Size: 12.4 GB
Genre: eLearning | Language: English

In this tutorial I will show you the basics of Moi3D and how to create a ship from start to finish, using Moi3D, Blender, Octane render and Photoshop. The tutorial is accessible to everyone. I will guide you through the process of designing your spaceship going from very simple shapes to a more complex and finished design, all in a matter of just a few hours.

If you are a Blender user like me, you will see that it shares many similar shortcuts with Moi3D, which I found to be very convenient.

If you don't have Octane, no problem! You can get the same result with any other good rendering engine.

What you get:
• 5 hours of narrated videos (normal speed)
• PART I: Covers Moi3D basics and all my tips & shortcuts: 1 hour
• PART II: Ship demo, covers all the steps to designing a ship in Moi3D: 3h20
• PART III: Kitbashing in blender, setting-up the scene in Octane Render, Final touch-ups in Photoshop: 1 hour.
• My shortcuts (allow you to be faster, Blender friendly)
• Textures used, Renders, JPGs, PSDs, Blender scenes, OBJs, Octane scene.
• Kitbash set: 1x jet engine, 1x space engine, 1x cockpit, 1x small prop, .OBJ, .BLEND

Why use Moi3D?
It is a CAD modeling tool, meaning there is no limit to detail.

It is very fast and efficient, and you can create shortcuts for almost every action.

The export system (.OBJ, .FBX etc.) is very powerful, and allows you to control the density of the geometry from very low to very high poly, and oh, it exports very cool UV automatically as well !

One of my favorite tools by far, I hope you find it as useful as I do!

Instructor: By. Timofey Stepanov

Homepage

basic01intros0mka5.jpg


FXPHD: Introduction to Flame - Part 1 & 2

opzsdckfhecwccnohhabgfyjs7.jpg


FXPHD: Introduction to Flame - Part 1 & 2
Duration: 9h 50min | Video: .MP4 1920x1080, 24 fps | Audio: AAC, 44.1 KHz, 2 channels | Size: 8.45 GB
Genre: eLearning | Language: English

Flame has the reputation of a mystery box. While widely used in the realm of commercials and advertising for everything from editing, vfx, grading to finishing, it has the perception to have a steep learning curve. This course aims to demystify Flame and provide a solid foundation in all the different areas in which Flame can be used. Starting with media management and editing, you'll quickly dive into the rabbit hole of node-based compositing, utilizing many tools unique to Flame.

With a balance between technical background and hands-on work, this course will introduce you to tools inside of flame that can seem overwhelming at first, but by taking it step by step you will soon be able to master this great tool. Flame for Mac OS is available on the fxphd VPN so you can follow along with the course.

Christoph Zapletal is a Freelance Flame and Nuke Artist and has been working in the industry for a little over twenty years. One of his specialities is beauty work and retouching. Beyond that, he is an Instructor at SAE Institute and a frequent contributor to Digital Production Magazine.

Introduction to Flame - Part 1 Content
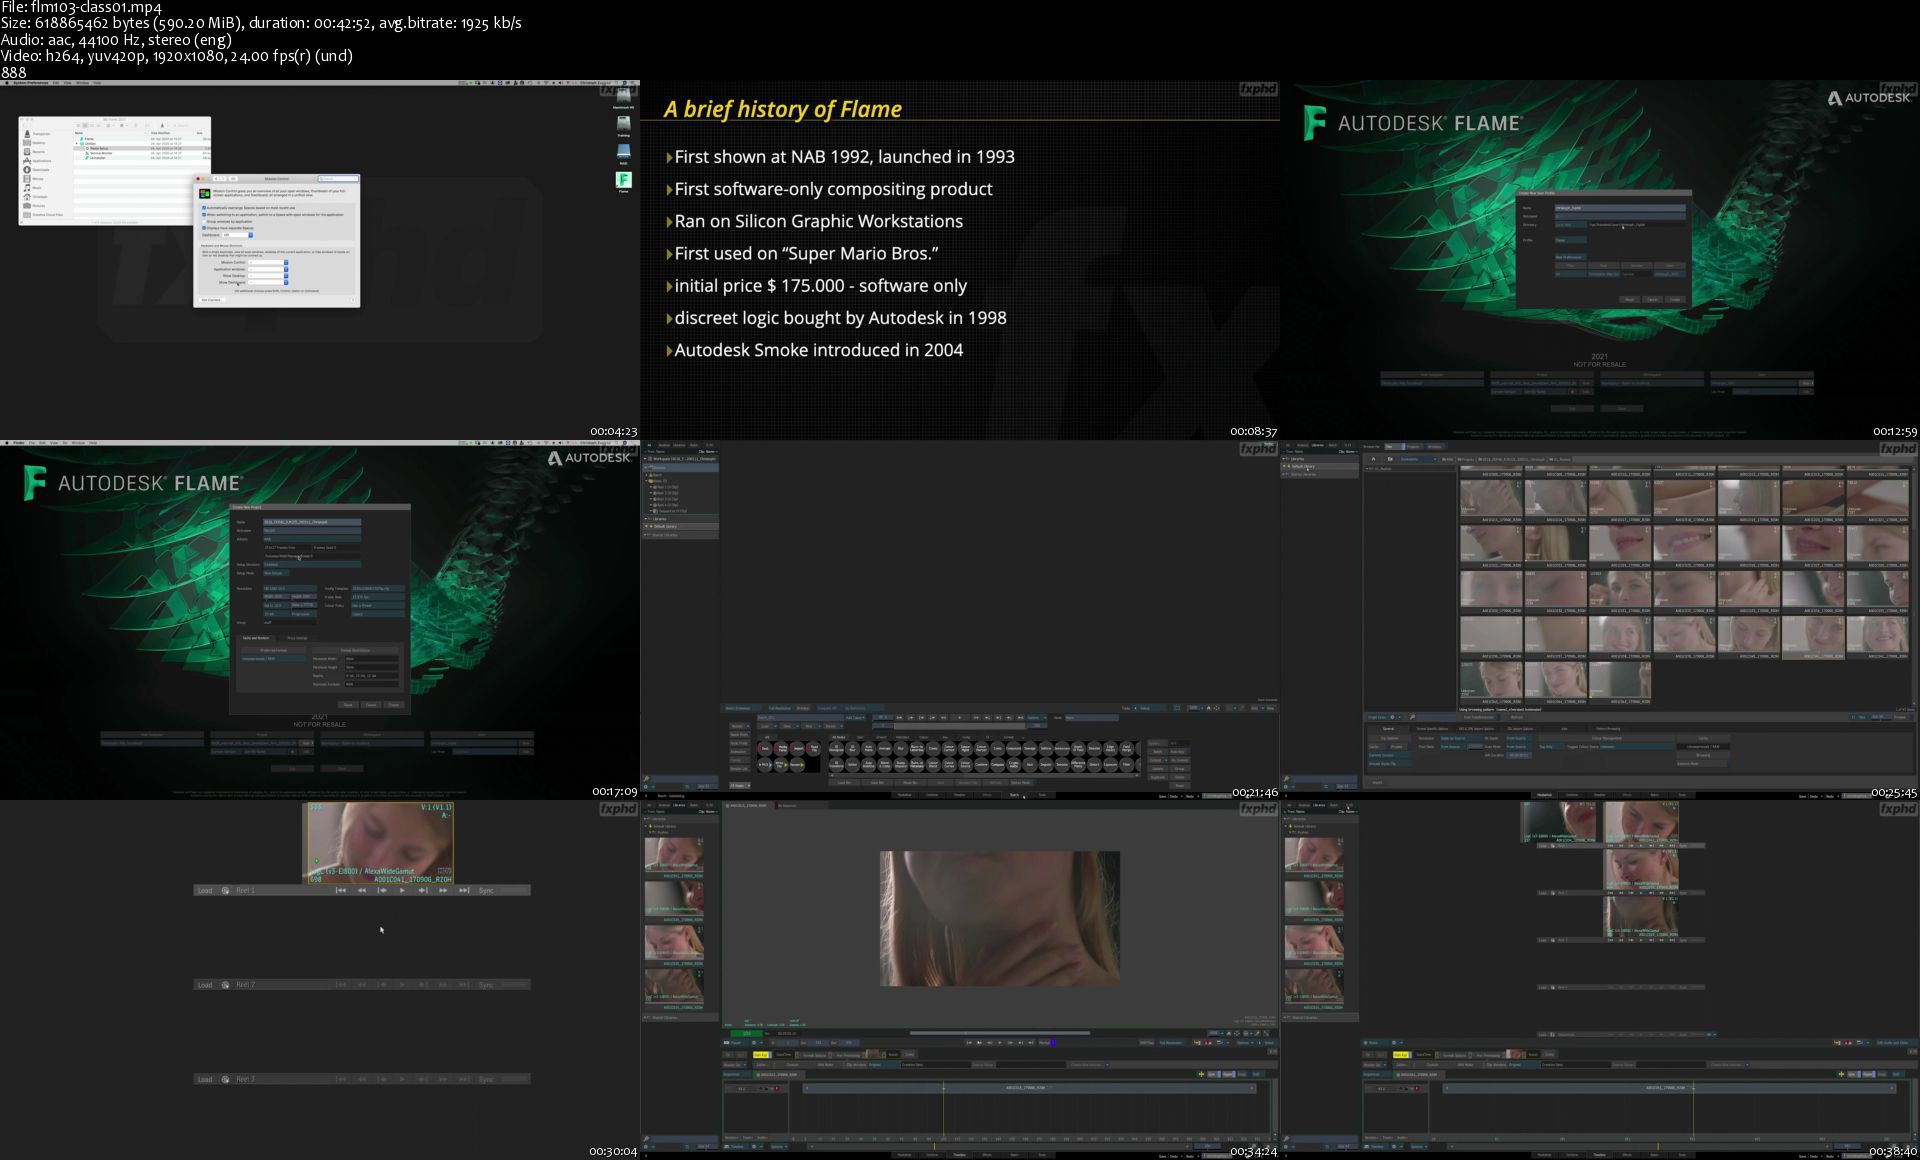
CLASS 1: INTRODUCTION After a brief introduction to mandatory and optional equipment, we take a brief look at the rich history of Flame. Following that, we finally start to dip our toes into Flame by taking a tour of the interface, focusing on both the viewer and the desktop.

CLASS 2: EDITING
Flame offers both gestural and track-based editing. We'll take a look at both techniques and also setup the desktop to resemble a more familiar NLE working enviroment.

CLASS 3: TRACKS, VERSIONS AND CONFORMING
Let's add some more tracks to our timeline and also learn what differentiates Tracks from Versions. A close look into the FX Ribbon is also on the table as is a guide to conforming sequences from third party NLE's

CLASS 4: COLOR CORRECTION AND BATCH FX
An in-depth look at both the classic Colour cCorrector as well as the Colour Warper. After that we transition our effects from the timeline into Batch FX to take full advantage of Flame's node based compositing environment.

CLASS 5: IMPORT, COLOR MANAGEMENT AND ANIMATION
The days of dealing with a single color space are over, so we take a good look on how to manage different colour spaces in your timeline. You'll also learn how to correctly import file formats like PSDs or OpenEXR. Finally, some fun with animating some titles.

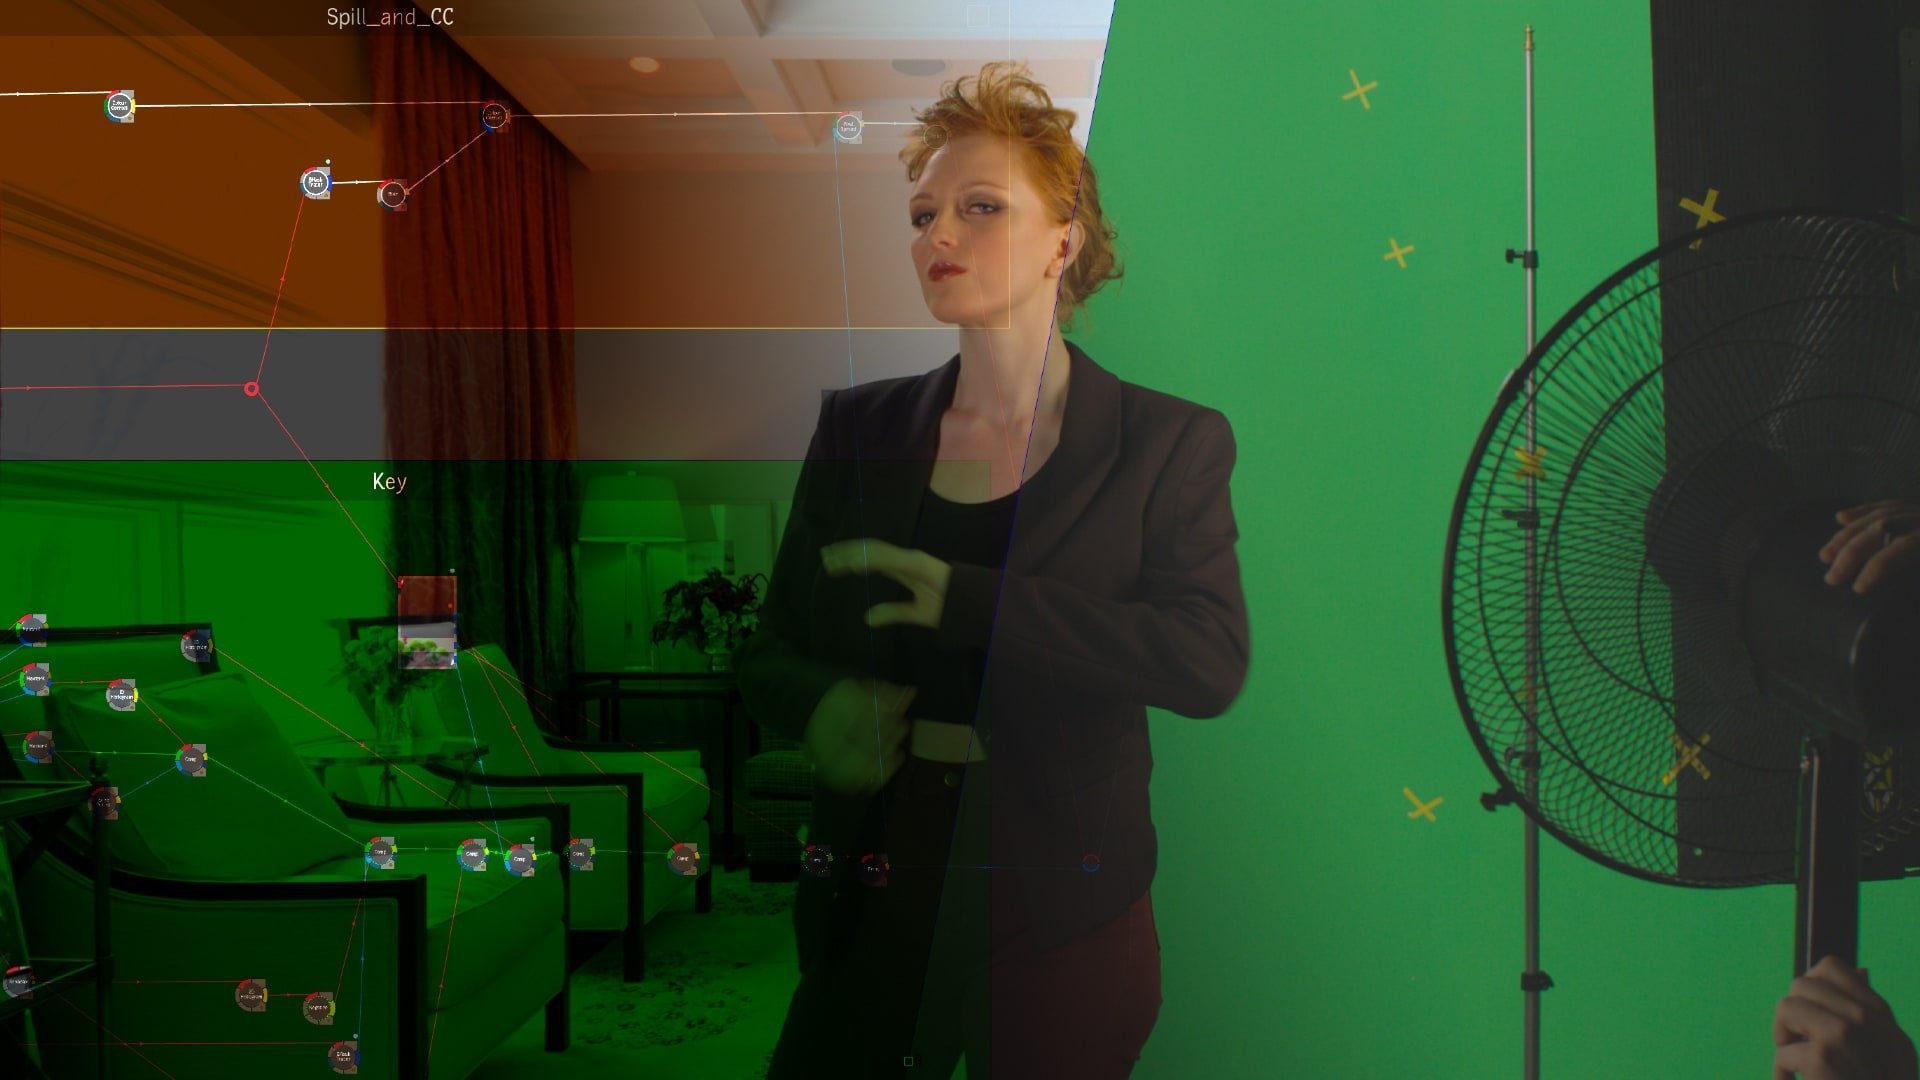
CLASS 6: KEYING SHOT, PART 1
Moving to the Batch tab, you'll begin keying a shot using Flame's Master Keyer and also explore the concepts of Batch Groups and BFX Clips.

CLASS 7: KEYING SHOT, PART 2
Refining the edges of the key for a better result. An exploration of the concept of iterations, followed by a deep-dive into tracking inside Action and the GMask Tracer.

CLASS 8: KEYING SHOT, PART 3
With the matte complete, a switch over to dispelling, color correction and edge treatment. After a brief stop in the paint node, we finish things off by adding a subtle light wrap to our talent. Along the way we explore the render node and how Flame manages rendered media.

Introduction to Flame - Part 2 Content
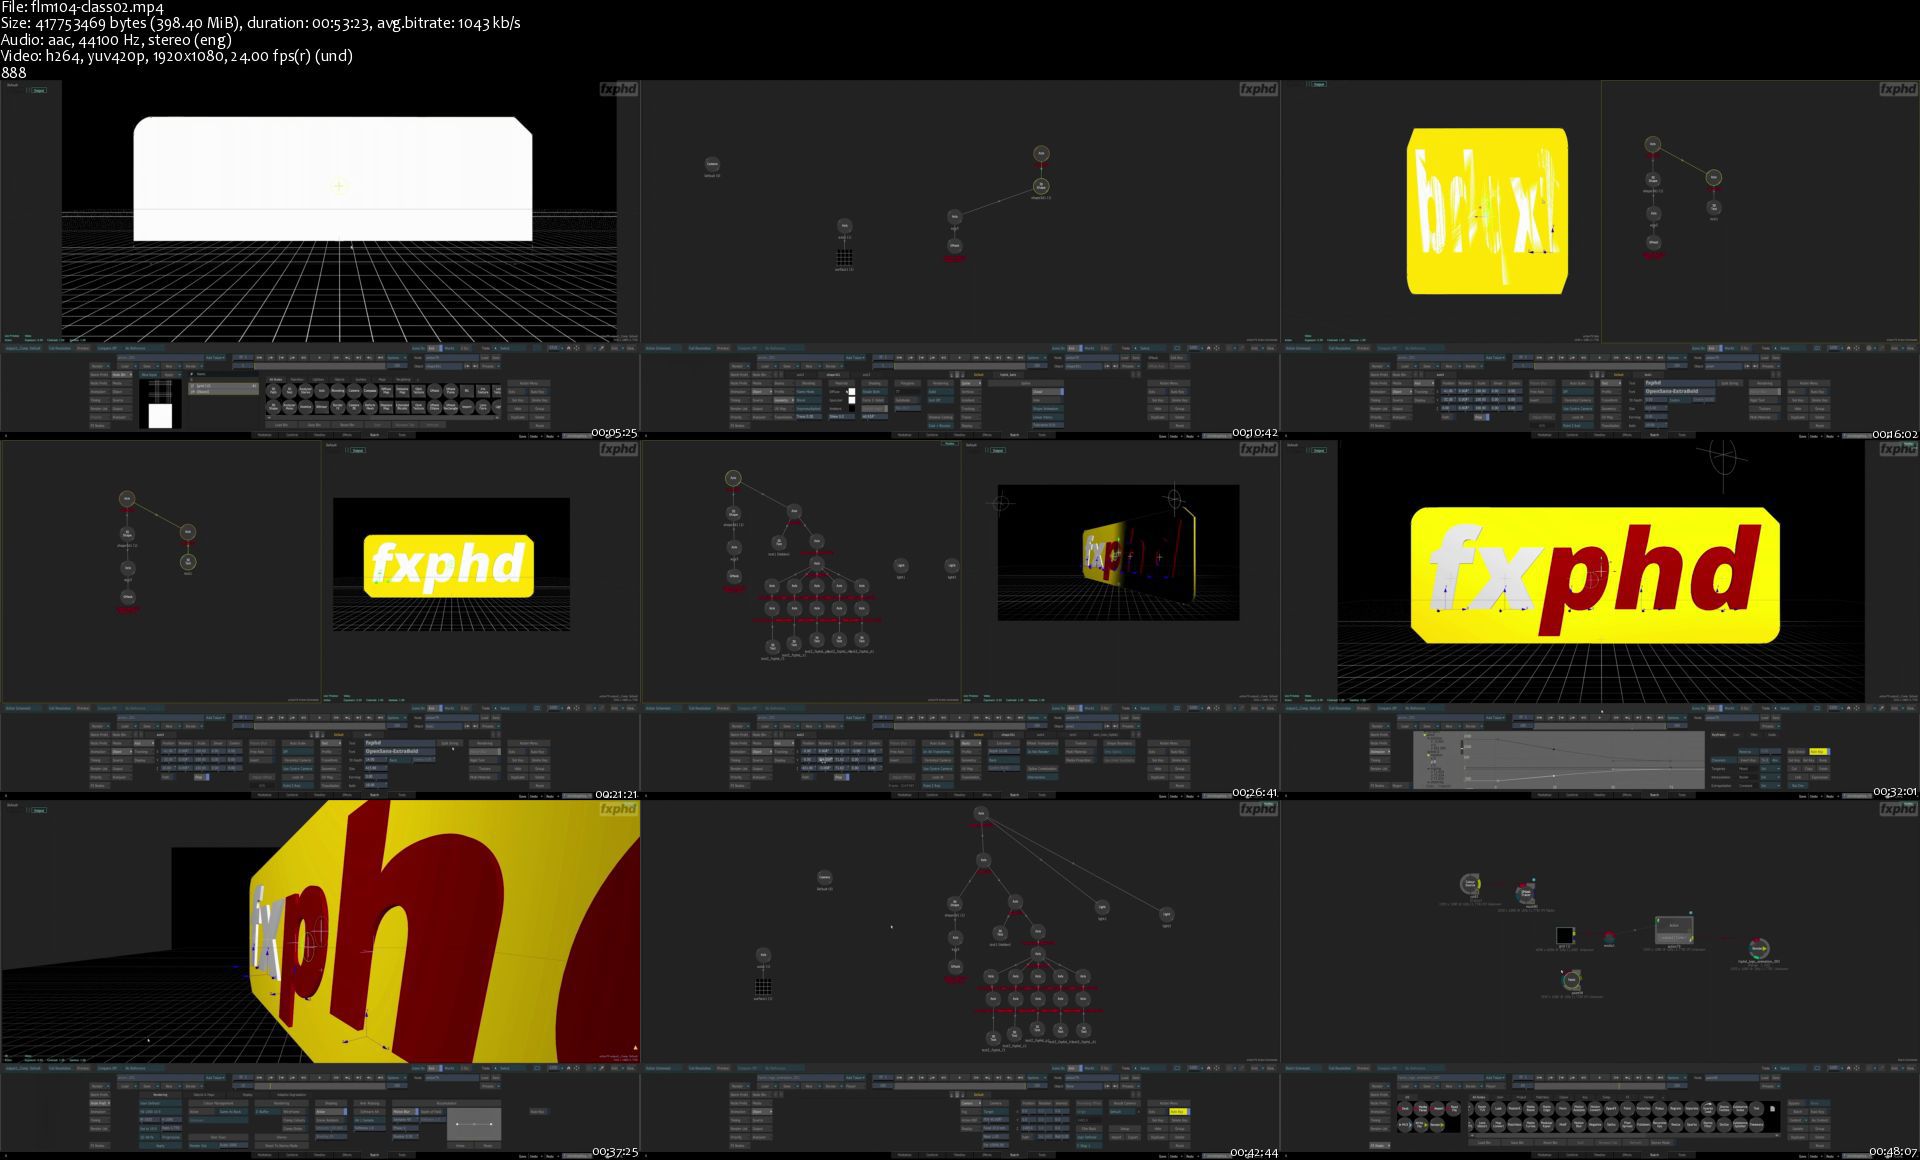
CLASS 1: ROTO AND TRACKING While these two topics may be considered grunt work, they are essential for making good composites. So we return to the GMask Tracer to explore it in even more detail and also look at corner pin tracking.

CLASS 2: 3D COMPOSITING INSIDE ACTION
Starting from scratch, we build a small logo animation. In the process, we'll explore how to intelligently parent different objects in Action, setup lights, animate the camera, and finish off the class with a quick examination of displacement maps.

CLASS 3: MULTI-PASS COMPOSITING AND BATCH GROUPS FROM THE TIMELINE
A node-based compositing system really shines when it is supplied with decent passes from CGI, and Flame is no exception. We take an up-close look at comping CGI in Flame, starting with a proper shader rebuild. From there, we'll utilize both matte passes and the depth pass to further enhance our pack shot. After that, we'll discuss a neat workflow on how to tie your Batch Groups to the Timeline of your project.

CLASS 4: INTRODUCTION TO GRADING AND MASTER GRADE
After a brief introduction of the underlying architecture of the grading environment, we explore the Master Grade tool in all its varieties and flavours.

CLASS 5: THE IMAGE TOOLSET AND THE EFFECTS TAB
Using different keyers and all-new machine learning tools, the Image Toolset is a great way to set up your secondary colour correction. Once we're done mastering this tool inside of batch, we switch over to the Effects Tab, where we learn how to quickly navigate between different shots, tracks and timelines.

CLASS 6: WORKFLOW STRATEGIES, EXPORT AND ARCHIVING
To finish off the course, we examine how to best apply the various tools you learned to master in all the previous classes. After that, a close look at how to properly export your finished work and, of course, archive it off your system for storage and later reuse.

Homepage

flm103class01sy7kzi.jpg

flm104class02sttkm1.jpg


Concept Art | Prop Design in Photoshop 2020

007bc0966okdt.jpg


Concept Art | Prop Design in Photoshop 2020
Video: .mp4 (1280x720, 30 fps(r)) | Audio: aac, 44100 Hz, 2ch | Size: 6.09 GB
Genre: eLearning Video | Duration: 28 lectures (8 hour, 58 mins) | Language: English

Learn Concept Art and Design amazing props using Photoshop


What you'll learn

Photoshop
Prop Design
Design for Animation and Videogames

Requirements

Passion for design and concept art
Access to the software: Photoshop
Mac or PC able to run Photoshop
Willingness to work hard


Description

Learning Concept Art is amazingly fun and in very detailed videos I will guide you through the process of designing props for videogames, animation, and more! I want to make the learning process easy for you, going through all the tools and fundamentals in an easy and detailed way.

In this course, we design props from scratch. From looking at references to drawing techniques, this is the course for you.

We will do a series of exercises, to make sure that after finishing this course, you'll have the knowledge required to design your own props for any projects you might be working on.

You'll learn tips and shortcuts that will accelerate your workflow and make you understand the fundamentals of concept art.

I will be available for you through the whole course, feel free to send me a message if you encounter any issue. I will help you solve it and understand why it presented itself.

So please, take this course now.

Who this course is for:

Begginer and aspiring artists looking to learn the basics of Concept Art
Students that have already some Photoshop knowledge and want to get into Concept Art
People that know how to draw and want to make the jump into digital tools, such as Photoshop for Concept Art

007bc09739jz7.jpeg


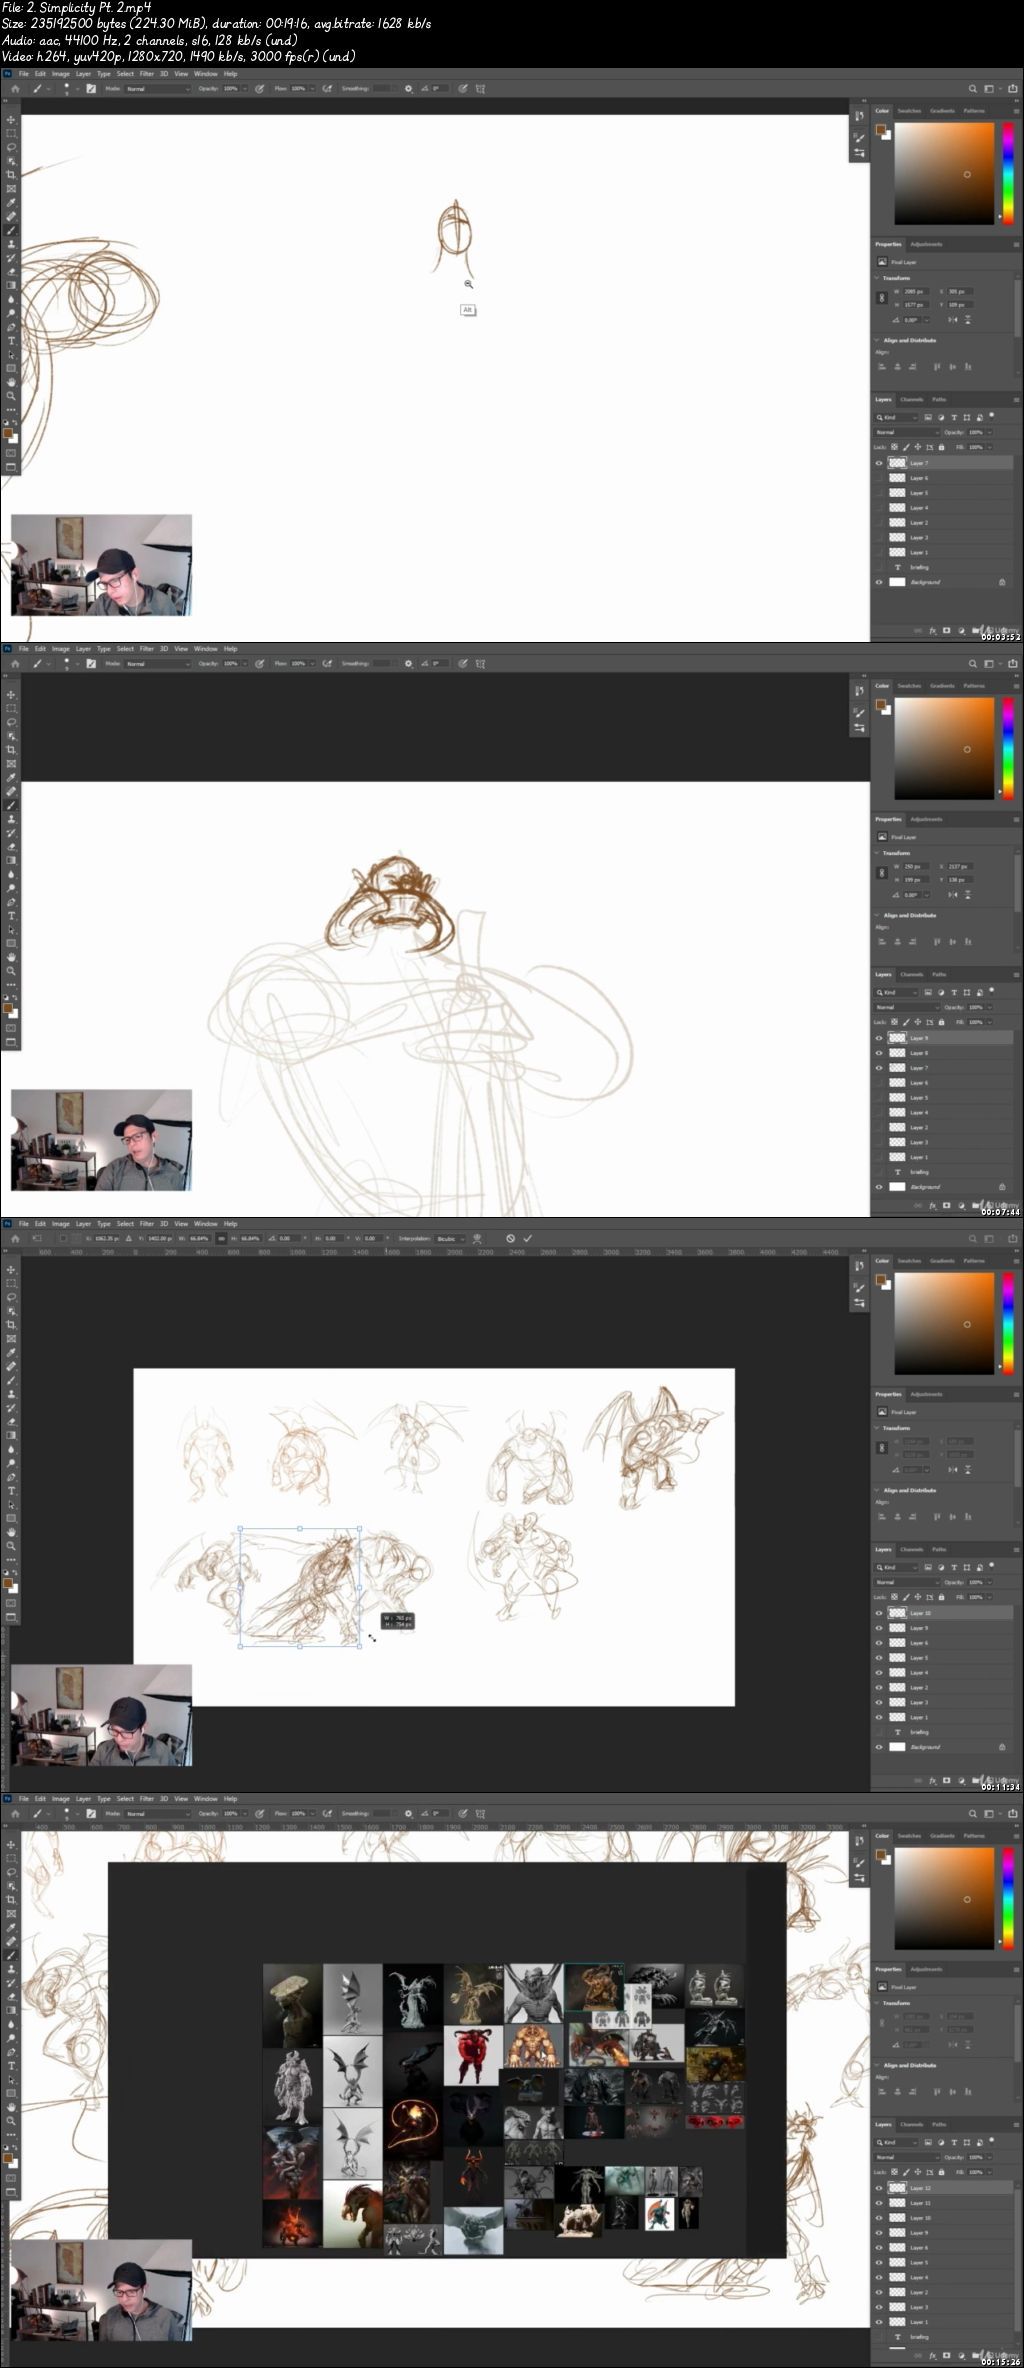
Character Concept Art & Design in Photoshop 2020

007bc0ddxpjca.jpg


Character Concept Art & Design in Photoshop 2020
Video: .mp4 (1280x720, 30 fps(r)) | Audio: aac, 44100 Hz, 2ch | Size: 14.7 GB
Genre: eLearning Video | Duration: 70 lectures (17 hour, 27 mins) | Language: English

Learn Concept Art and Design Amazing Characters using Photoshop


What you'll learn

Concept Art
Character Design
Creature Design
Photoshop

Requirements

Access to the software: Photoshop (or equivalent)
Mac or PC capable of running Photoshop (or equivalent)


Description

Learning Character Design can be very time-consuming when doing it by yourself. I want to make the learning process easy for you, going through all the tools and concepts of Concept Art and Character Design in very detailed videos.

In this course, we will create a Character and Call Out Sheets from A to Z. From planning the concept, exploring ideas, developing views, exploring colors, and all the necessary callouts to create and design professional characters.

We will do a series of explorations, from poses ideas and color explorations, to make sure that after finishing this course, you'll have the knowledge required to design your own characters.

You'll learn tips and shortcuts that will accelerate your workflow and make you understand the fundamentals of character design.

I will be available for you through the whole course, feel free to send me a message or post any questions in the Q&A section if you encounter any issue, I will do my best to help you solve these issues.

So please, take this course now.

Who this course is for:

Students that want to get started in the Concept Art world.
Begginer and aspiring artists looking to improve and learn new skills.

007bc0de3ukno.jpeg


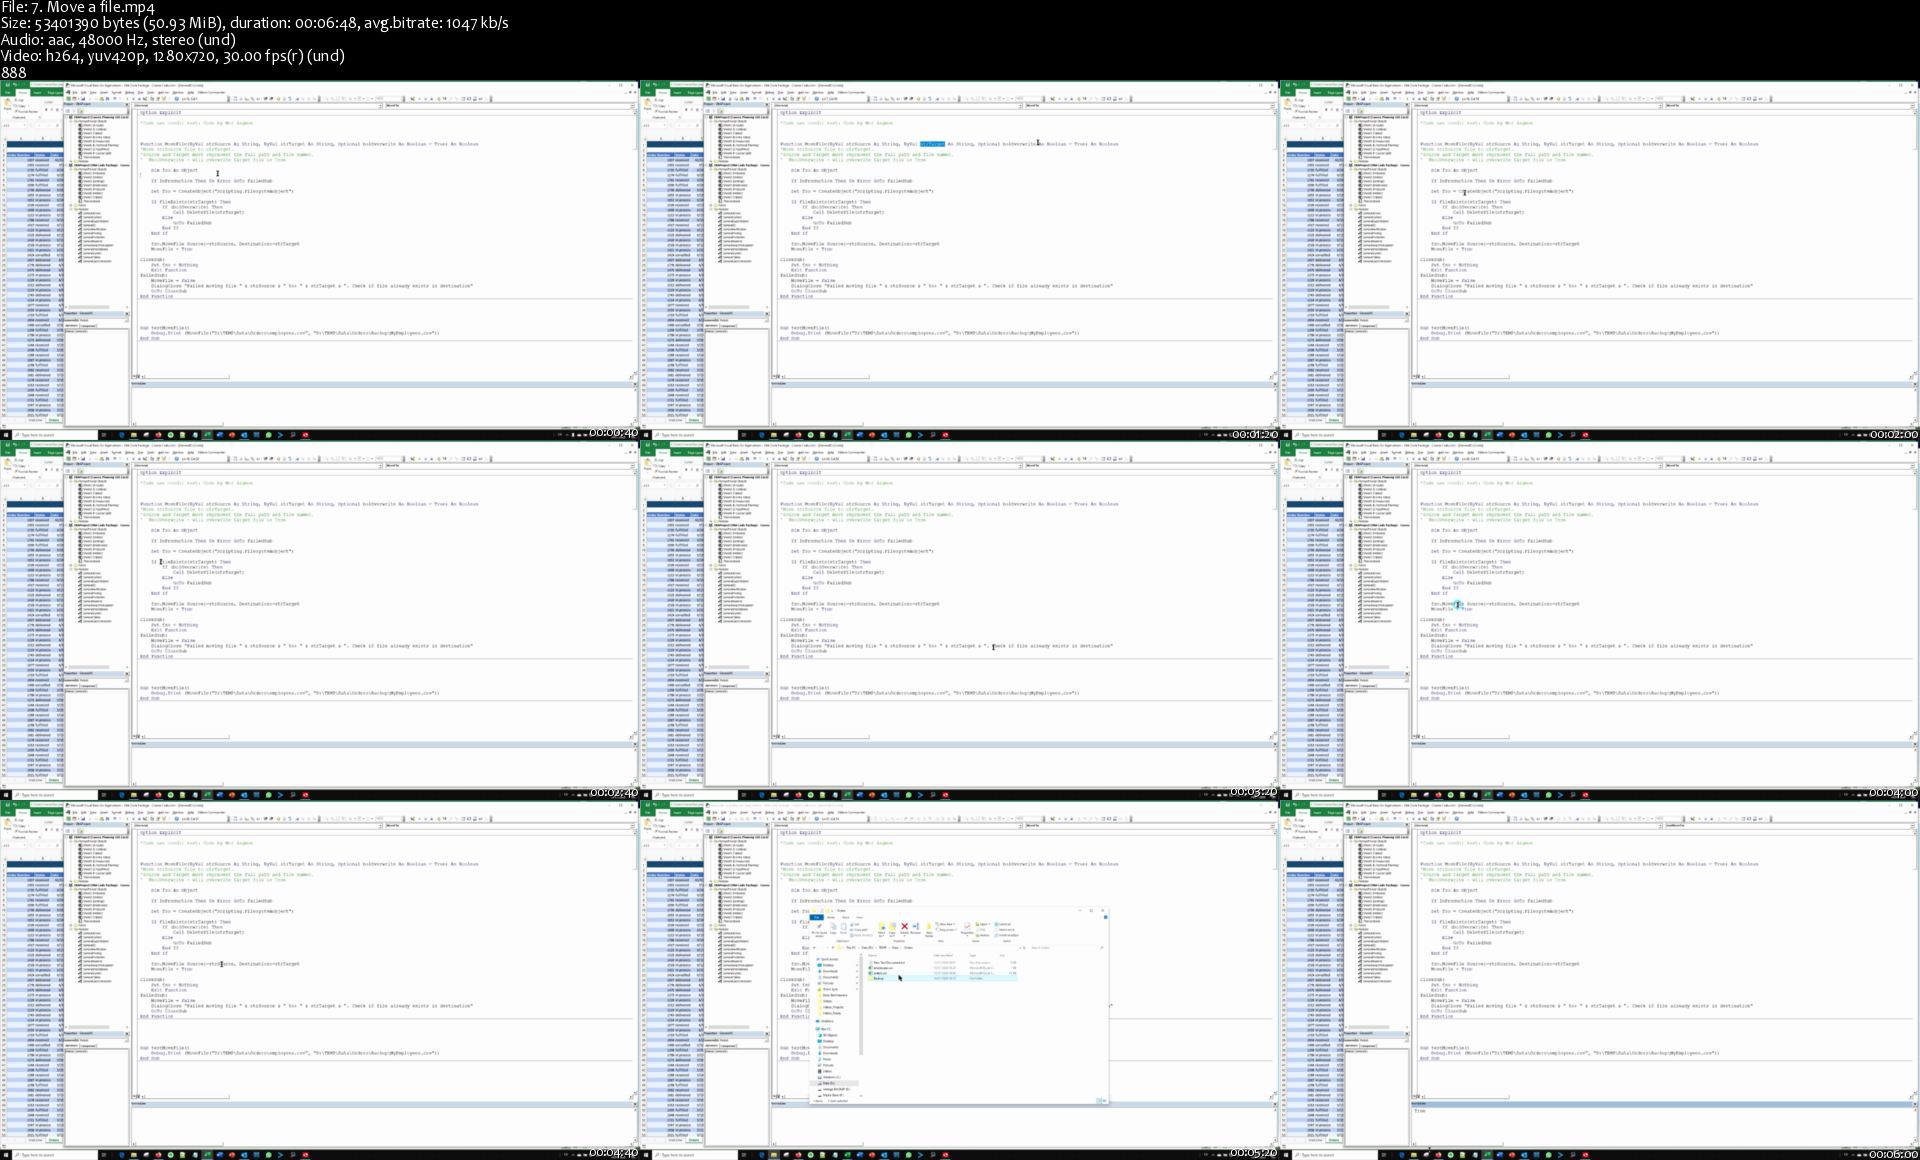
105 Excel VBA Functions Explained

d7kmvfinsuwtavoanhygbcukn6.jpg


105 Excel VBA Functions Explained
Genre: eLearning | MP4 | Video: h264, 1280x720 | Audio: aac, 48000 Hz
Language: English | VTT | Size: 5.85 GB | Duration: 11.5 hours


What you'll learn
Advanced use of Excel VBA in business applications development
Computer programming techniques implemented in Excel VBA
Layout a strong foundation for efficient, professional business applications built with Excel VBA

Requirements
Basic Excel knowlegde: Worksheets, Cells, Formulas, Tables, Ranges
Basic Excel VBA knowlegde: Subs, Functions, Variables, Conditional Flow, Loops

Description
"Since I have started your 105 Excel VBA Functions course on Udemy I have become a big fan of your approach. This course is not just a basic VBA course but it actually generates useful tips for real life problems" - Marcel Eggen, The Netherlands

In this course I'll walk you through 105 Excel VBA functions that have been proven in real life business applications I developed for my customers over the years.

Unlike a boring walk-through of explaining VBA, here you learn in the fastest way possible, which is learning by example.

In addition to giving you actual code you can use today, each of the 105 pieces of code include a video where I explain the code line by line, along with imporant programming best practices and VBA masters secrets.

You will not find any course like it anywhere!

You will have the option of downloading* all of these functions and using them in your own programs!

I have also included user interaction dialog boxes for a professional look and a pleasant user experience. Use these User Forms to create more dialog boxes for your specific applications.

By understanding my thought process and how these functions are written, you will improve your own VBA skills when writing your own functions.

In addition, if you plan to create Excel VBA applications for clients, or even within your company, when you download this functions library of mine, you will have a solid foundation for actual business applications built with Excel.

I have used these functions in projects for companies like: Citadis, Re-solutions Insurance, Hospitality Designs, Customer Faithful and many others.

This library will save you tons of time and frustration you would otherwise invest to create these functions yourself.

* Your name and email are required if you wish to download the 105 Excel VBA Functions Pack


Who this course is for:
People looking to develop a professional Excel VBA career
Excel VBA developers looking to take it to the next level by developing business-grade information systems on Excel VBA
Advanced Excel users curious about Excel VBA


Homepage

7.moveafiles00kcc.jpg


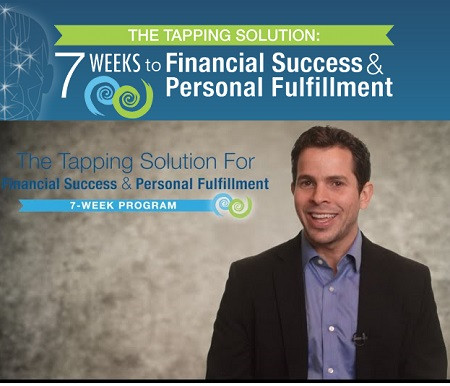
Nick Ortner - 7 Weeks to Financial Success & Personal Fulfillment

05a8a23a2acdaba1149551430e04c038.jpg

Nick Ortner - 7 Weeks to Financial Success & Personal Fulfillment | 7.11 GB
In this program, we are not only going to transform your experience with money and success, we are also going to focus on creating more abundance and deep passionate joy.

What You Get:
- Module 1: Overcoming Overwhelm
- Module 2: What Are You Really After?
- Module 3: Quieting the Critical Voice
- Module 4: Money & Your Past
- Module 5: Ending Procrastination & Self-Sabotage
- Module 6: Standing Out in the World
- Module 7: Outrageous Dreams

Bonus:
- Bonus Classes
- Additional Resources to Dive Deeper
- Supplemental Bonuses
- Your Questions Answered

HOmepage:

Screenshots
b0a4a891fc2a4ba216238b9244e2cf6f.jpg


Link Download
Extract files with WinRar 5 or Latest !
 
Zurück
Oben Unten